Link to all my Gen II mods
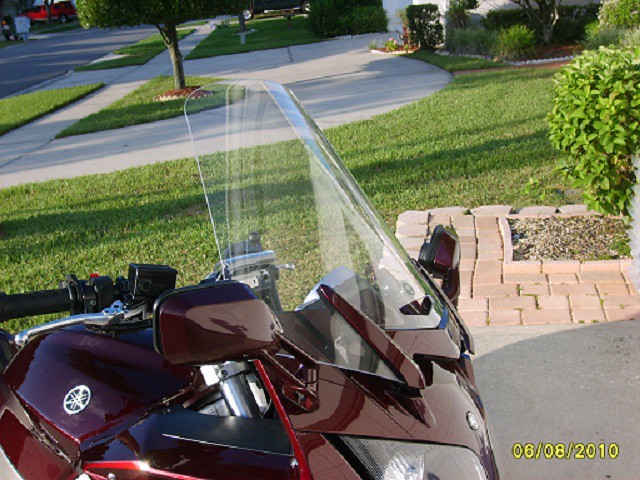
Like many of you, I jump back and forth between tall and short screens depending on seasonal weather changes. A modified OEM low version gets installed in the hot summer months for those commutes to work and a Cal-Sci in the cool months and for any long trips.
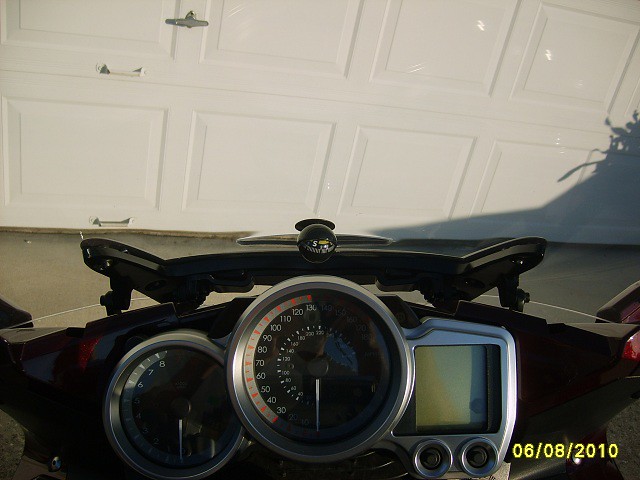
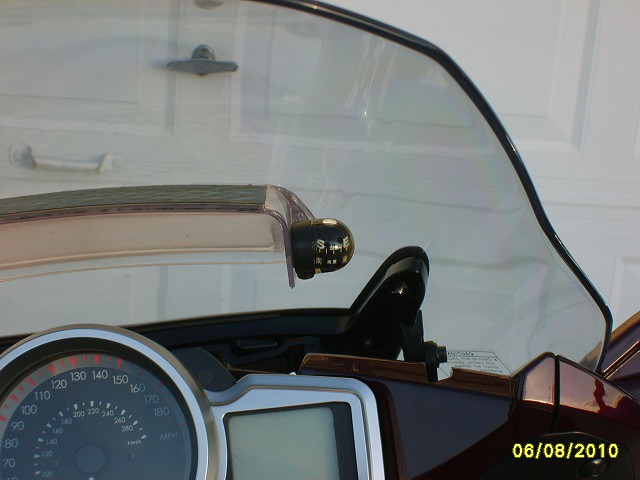
I played around with spacer blocks under the OEM screen and it just didn’t help enough so I opted for the Cal-Sci Large (+4.5 x 14.5) and it works very nicely. With it all the way up, I get smooth air yet it does not block my vision forward. Mark @ Cal-Sci helped me choose the right one (I was also considering the taller version) and I’m happy with the decision. I also ordered another gasket (Yamaha p/n 3P6-2838G-00-00) to pad the screen against the mount just like the OEM screen, but it’s probably not necessary. Much to my surprise, that cheap little suction cup mounted compass stays attached, regardless of weather. Even with a GPS running, I still seem to look at it :dntknw:
BTW, I’m 6’0” with a 32” inseam, for those trying to figure out what screen to buy.
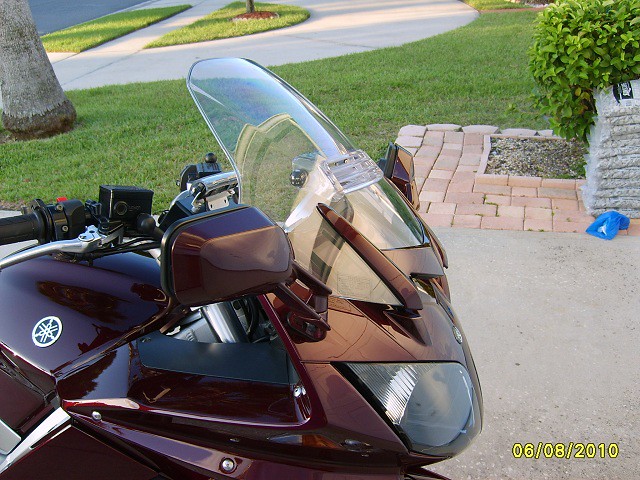
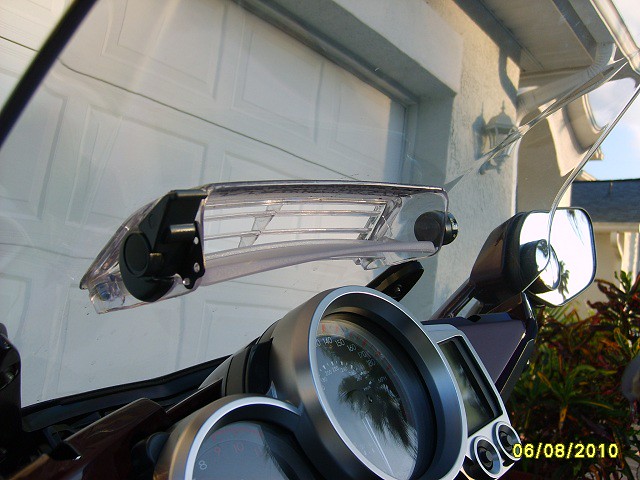
The stock shield still blocks a lot of air so I thought it would be beneficial to install a vent in it to help me out on those 95F afternoon city rides from work. A coworker had a Goldwing that I parked next to so I compared the curvature and size of the shield locally where the vent would fit. They were very similar so I ordered an aftermarket vent for about $30. Here is a link to one current vendor: Vent. You can get the OEM Honda parts from any dealer for about $50, which may be higher quality parts, but I opted to save a few bucks and spend that $20 buying an extra OEM shield on ebay to play with in case I messed it up (this was before I had the Cal-Sci as a backup).
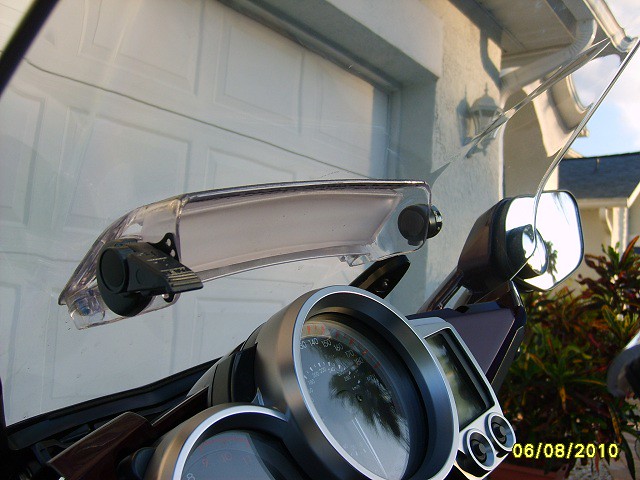
I made a template out of cardboard and went at the shield with a Dremel tool. The plastic tends to melt rather than cut so you have to go slow. That got me real close, but I had to do a little hand filing to get it to fit perfectly. To offset the LH vent door lever, I added a little stick-on compass on the RH side of the vent. The vent can be completely closed, but so far, I’ve never done so. I guess with this being said, one could simply cut out the hole and not bother mounting a vent in it.
I really can’t put a number on airflow improvement but I do feel some air coming through so I’m sure it helps somewhat. And down here, I’ll take any improvement I can get. Besides, it’s just another farkle to add to the list.
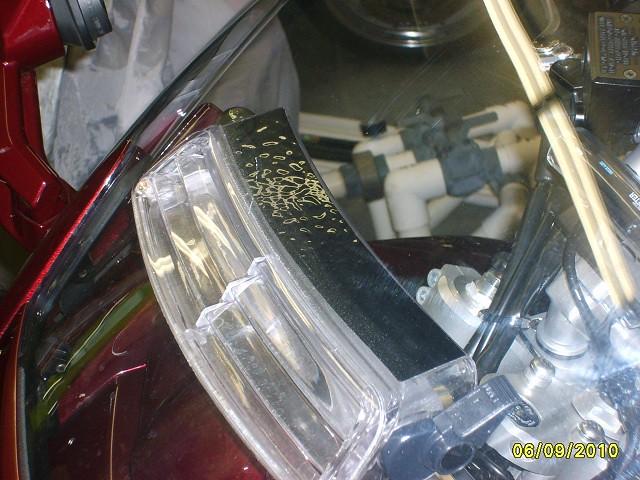
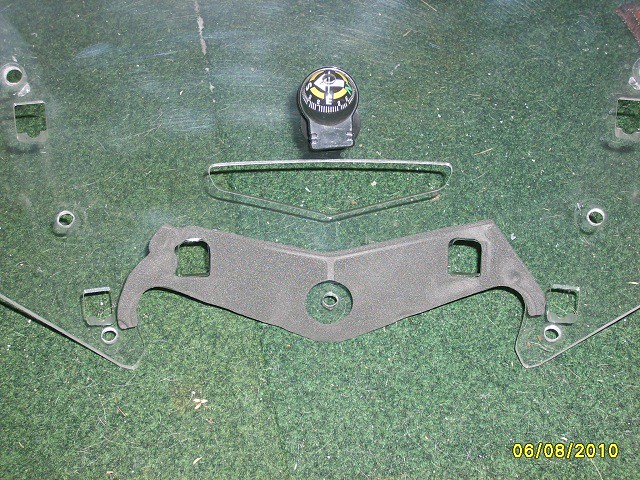
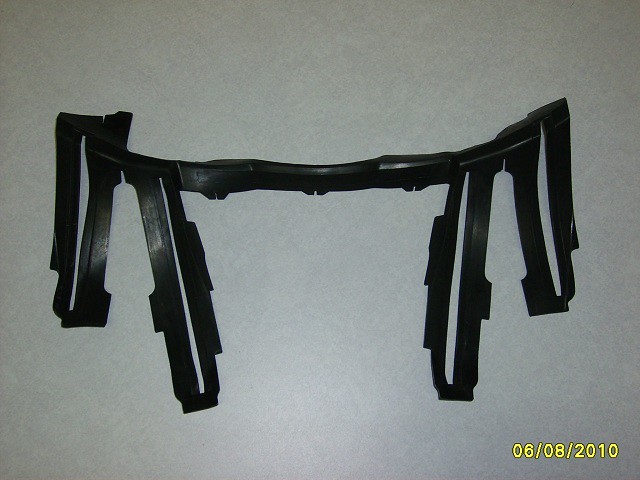
One last thing I ended up doing is remove the windscreen gasket where height adjustment arms come through the front fairing. Mine, like many, had come loose and was binding the mechanism. With the screen and mount off, you can wiggle the gasket out without cutting it. Someday I hope to attach it back in there since I believe it helps the slide channels stay a bit cleaner.
BTW, before you butcher that part up, the part (Yamaha p/n 3P6-28428-00-00) costs about $100 to replace. Ouch!
Like many of you, I jump back and forth between tall and short screens depending on seasonal weather changes. A modified OEM low version gets installed in the hot summer months for those commutes to work and a Cal-Sci in the cool months and for any long trips.
I played around with spacer blocks under the OEM screen and it just didn’t help enough so I opted for the Cal-Sci Large (+4.5 x 14.5) and it works very nicely. With it all the way up, I get smooth air yet it does not block my vision forward. Mark @ Cal-Sci helped me choose the right one (I was also considering the taller version) and I’m happy with the decision. I also ordered another gasket (Yamaha p/n 3P6-2838G-00-00) to pad the screen against the mount just like the OEM screen, but it’s probably not necessary. Much to my surprise, that cheap little suction cup mounted compass stays attached, regardless of weather. Even with a GPS running, I still seem to look at it :dntknw:
BTW, I’m 6’0” with a 32” inseam, for those trying to figure out what screen to buy.
The stock shield still blocks a lot of air so I thought it would be beneficial to install a vent in it to help me out on those 95F afternoon city rides from work. A coworker had a Goldwing that I parked next to so I compared the curvature and size of the shield locally where the vent would fit. They were very similar so I ordered an aftermarket vent for about $30. Here is a link to one current vendor: Vent. You can get the OEM Honda parts from any dealer for about $50, which may be higher quality parts, but I opted to save a few bucks and spend that $20 buying an extra OEM shield on ebay to play with in case I messed it up (this was before I had the Cal-Sci as a backup).
I made a template out of cardboard and went at the shield with a Dremel tool. The plastic tends to melt rather than cut so you have to go slow. That got me real close, but I had to do a little hand filing to get it to fit perfectly. To offset the LH vent door lever, I added a little stick-on compass on the RH side of the vent. The vent can be completely closed, but so far, I’ve never done so. I guess with this being said, one could simply cut out the hole and not bother mounting a vent in it.
I really can’t put a number on airflow improvement but I do feel some air coming through so I’m sure it helps somewhat. And down here, I’ll take any improvement I can get. Besides, it’s just another farkle to add to the list.
One last thing I ended up doing is remove the windscreen gasket where height adjustment arms come through the front fairing. Mine, like many, had come loose and was binding the mechanism. With the screen and mount off, you can wiggle the gasket out without cutting it. Someday I hope to attach it back in there since I believe it helps the slide channels stay a bit cleaner.
BTW, before you butcher that part up, the part (Yamaha p/n 3P6-28428-00-00) costs about $100 to replace. Ouch!
Last edited by a moderator: