


mcatrophy
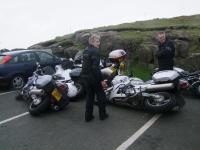
Privileged to ride a 2018 FJR1300AS
After the having had the bike blown over by the wind

(Click on any image for larger view)
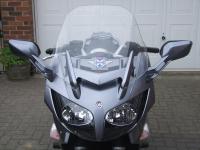
I had to replace the mirror, front brake lever and upper and lower right side fairings (SWMBO really doesn't like to see my bike scratched - apart from marrying me she has excellent taste
 ).
).
I also needed to straighten the mirror mounting on the front fairing mounting frame as the mirror stub was almost touching the screen

I take many pictures whenever I dissasemble anything so that I have a clue as to how to re-assemble it, so if anyone wants to know about removing lower side, upper side or front fairings, my pictorial record is here.
It's now (almost) as good as new

(Click on any image for larger view)

I had to replace the mirror, front brake lever and upper and lower right side fairings (SWMBO really doesn't like to see my bike scratched - apart from marrying me she has excellent taste
I also needed to straighten the mirror mounting on the front fairing mounting frame as the mirror stub was almost touching the screen

I take many pictures whenever I dissasemble anything so that I have a clue as to how to re-assemble it, so if anyone wants to know about removing lower side, upper side or front fairings, my pictorial record is here.
It's now (almost) as good as new
Last edited by a moderator:


