bhendron
Well-known member
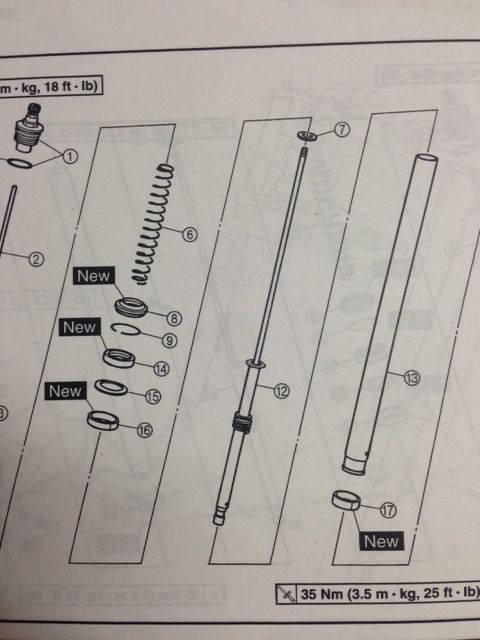
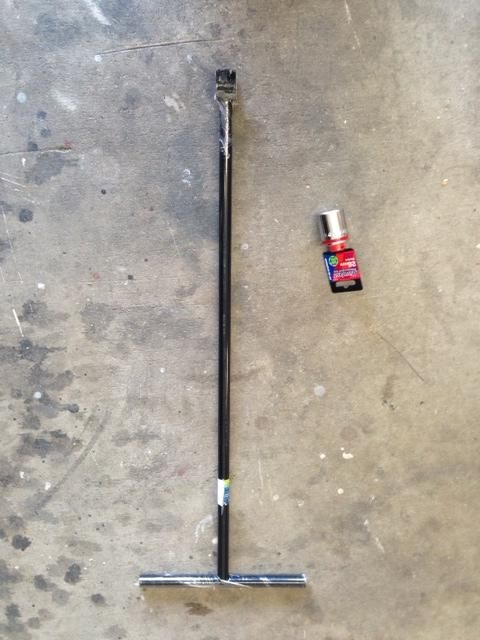
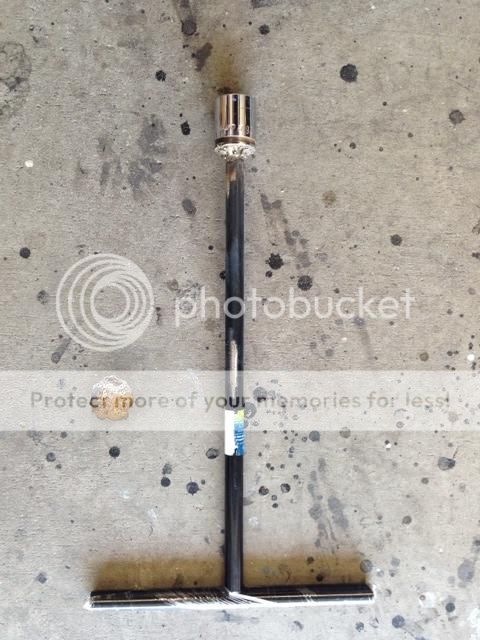
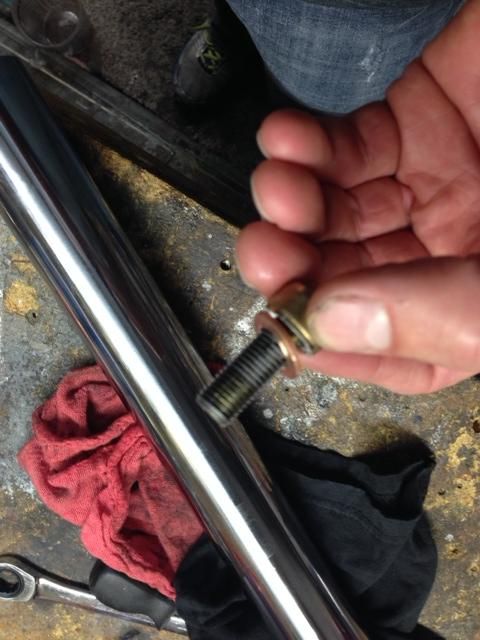
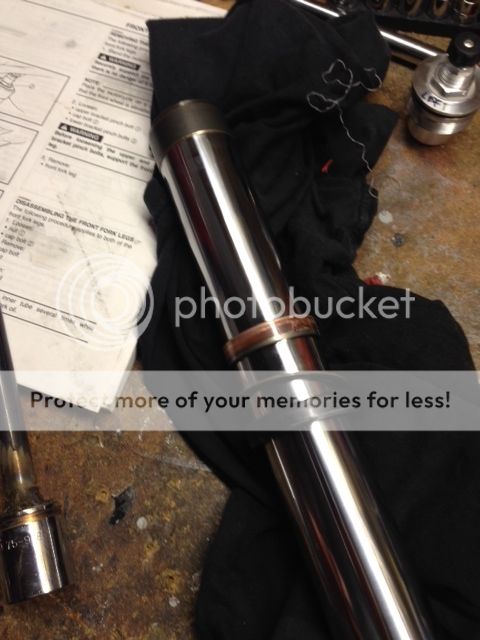
Hey all. I have a 2004 that had a seal give up the ghost. I've replaced the seals on several other bikes with success. Many of them gave me fits with the goddam damper bolt. The FJR is proving exceptional. The impact wrench method has failed and, of course, I don't have the tool. So, now what? I had this happen with one other bike in the past. I ended-up drilling the head off of the bolt and the replacing it afterward.
So, suggestions? Will the drill the head off method work for the FJR?
Thanks.
So, suggestions? Will the drill the head off method work for the FJR?
Thanks.