Sounds intriguing,
Any pic's?\
I had a Corbin Smuggler on my RT and loved it, but I can't bring myself to spend $800 on another one. I saw a similar project to the one below posted and thought I'd give it a shot.
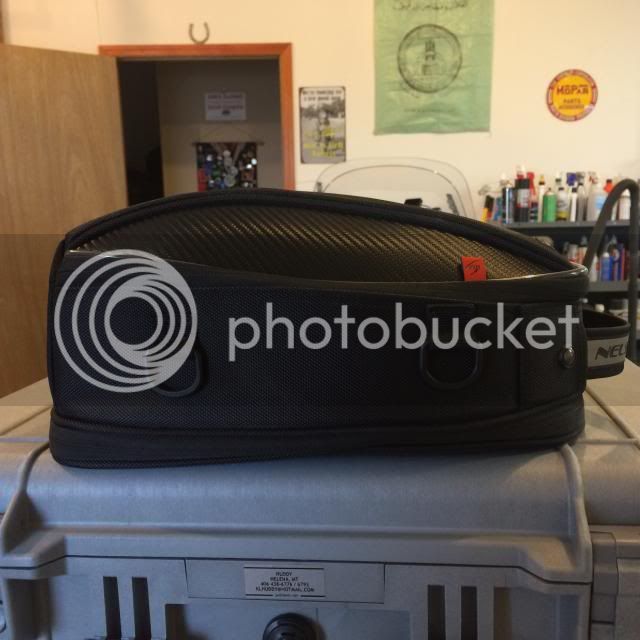
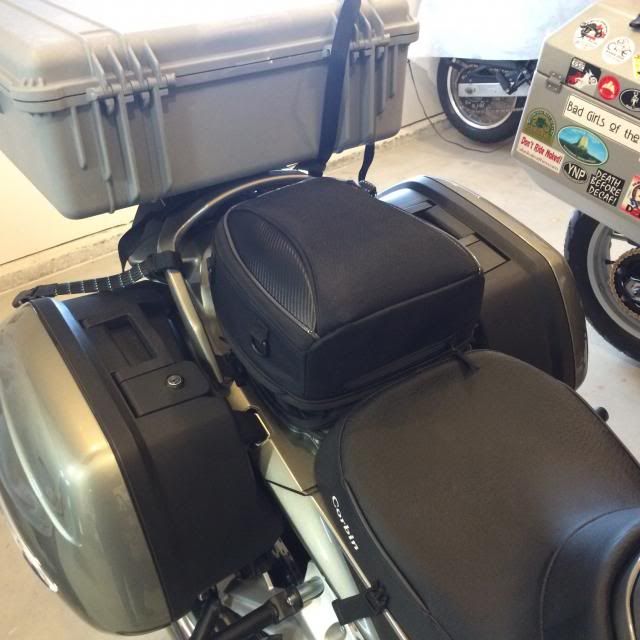
I replaced my rear seat with a Nelson-Rigg CL-1060 tailbag. I went with a smaller bag because I plan to use it only for tools. There are larger bags with the same foot print if you want more verticle space. This is the bag unexpanded; when installed I expand it to hold my tools.
I carry too many tools I suppose, but you never know; you may break down and someone will come along who knows how to use them. I almost always travel with Annie so I am carrying tools for two bikes. here is what goes in the bag: (left to right) Tire repair kit with pump and spare tire irons; jumper cables and rags; wrenches, ratchets, sockets, multi-meter, misc. other tools; a tool roll for all other tools.
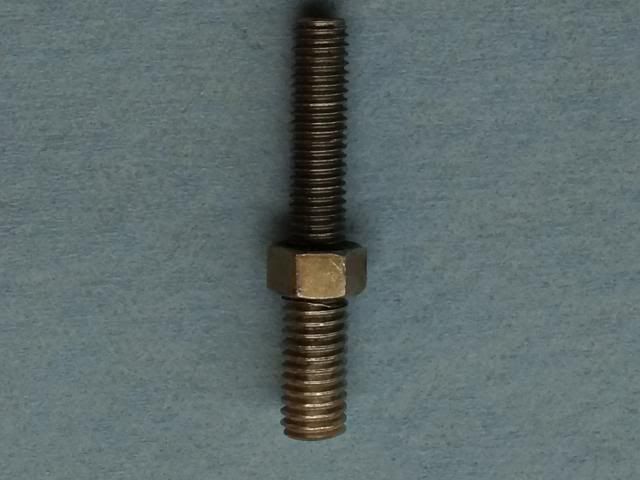
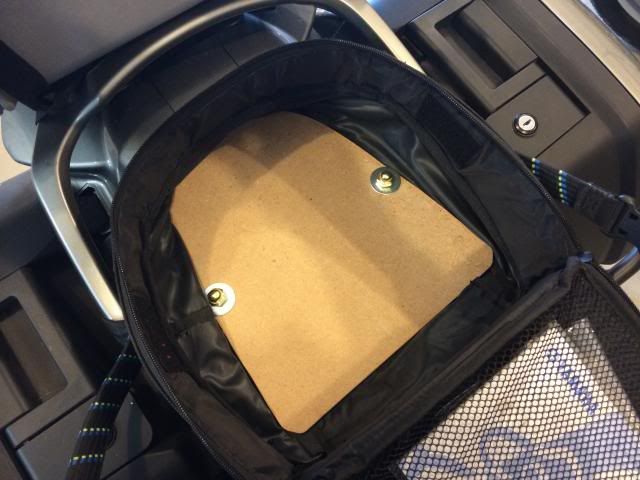
It is bolted to the bike through the bottom. I replaced two bolts with some special studs a friend made. He took a 3/8" hardened bolt and turned one end to be a M8- 1.25-30mm stud. This end receives a nut and replaces the OEM bolt. That leaves about 20mm of 3/8" stud protruding to act as the attachment points for the bag.
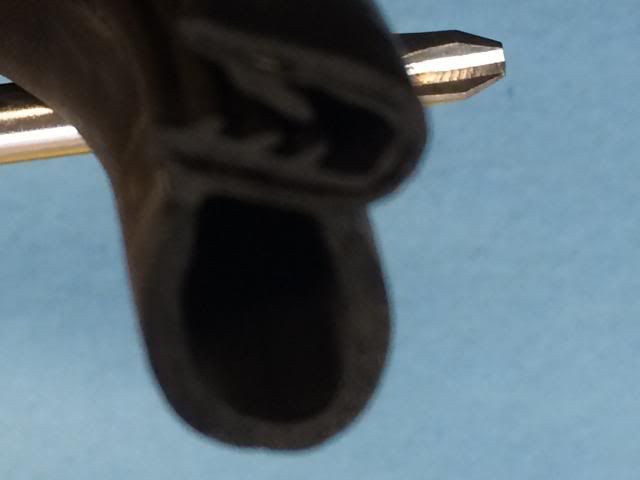
and using automotive door seal around the edge of the opening it provides good protection for the under seat area.
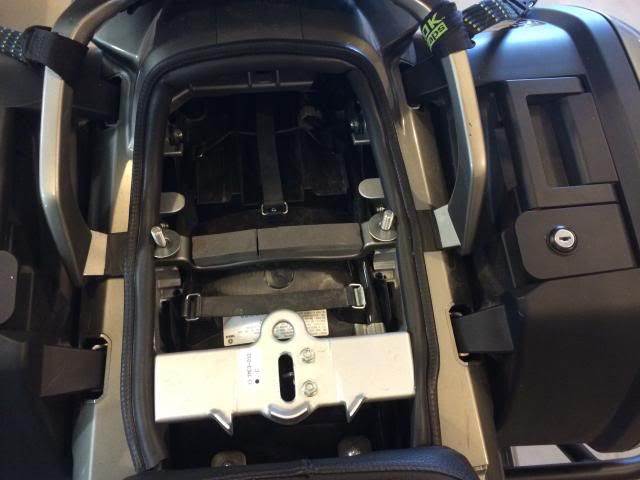
This is the set-up with the studs installed and the door seal in place. I add fender washers on the 3/8" studs for more sopport for the bag and some closed cell foam between the studs, again for more support..
Next mount the bag. I made the holes in the bottom of the bag with a heated phillips head screw driver, so there is little issue with tearing or fraying. I placed a piece of thin fiber board in the bottom to spread the load; I will replace the board with hard rubber in the future. It is secured with fender washers and acorn nuts.
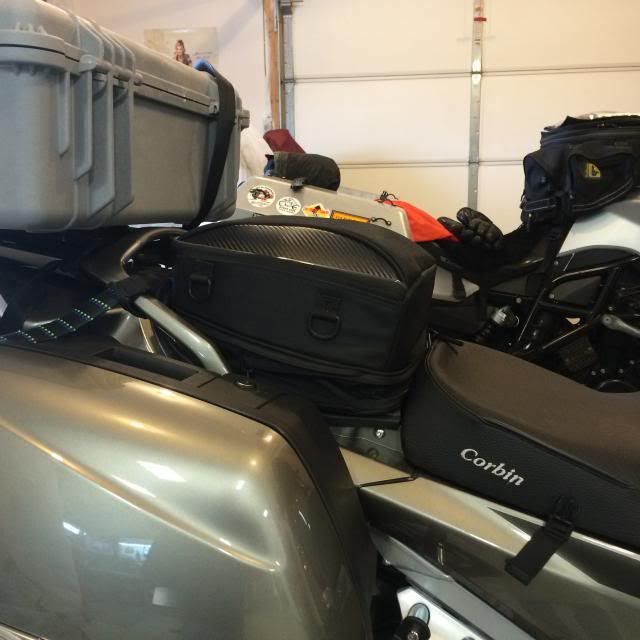
And here it is installed. These were taken as we prepared the bikes for an upcoming 2 week trip, so the Pelican case top box is mounted. I like that the heavy tools are carried low on the bike. (Yup, I have a stiffy kit installed and I keep the load in the Pelican Case limited to a Netbook and mostly light fabric stuff: rain gear, bike cover, rags, first aid kit, etc.)
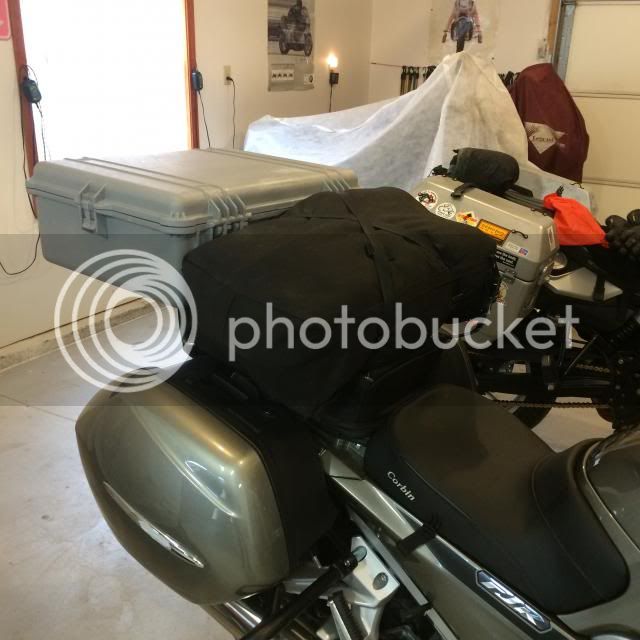
Here is the bike fully loaded. I don'tlike the look of any top box and the Pelican case is certainly not any better than most. But it does offer a low profile, 45 liters of space and is inexpensive. The black bag is a Kermit Duffle and holds all the camping gear: tent, sleeping bag / pad, chair, Jet Boil and a few other items.


")