So, I dropped my '14ES a month or so ago when at a stand still and my right mirror mount is a little loose. I want to pull the upper panel to check the mount and hopefully just tighten it down. I've searched all through here and looked at the how to on fjrtech, but could not find anything explaining how to remove the upper panel on a Gen3.
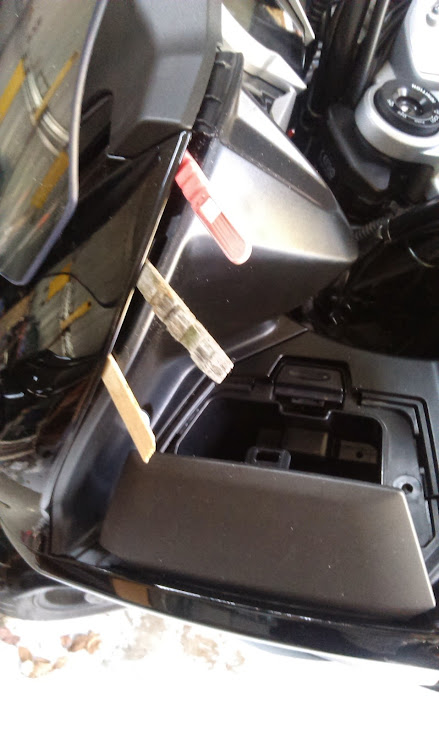
Has anyone here had to get into this panel? It looks like one quick faster and one screw on each side holds it in place and the headlight adjust knobs also need to be removed. Anything else? Does the battery panel need to be removed too to access the mirror mount?
Thanks!
Has anyone here had to get into this panel? It looks like one quick faster and one screw on each side holds it in place and the headlight adjust knobs also need to be removed. Anything else? Does the battery panel need to be removed too to access the mirror mount?
Thanks!