Ijuggle
Well-known member
What is the favored spot for installing an Eastern Beaver Fuseblock under the seat of the Gen 3? Photo's?
Favored route to the battery?
Favored route to the battery?


Yesterday I mounted a fuse block picked up at an auto parts store all the way to the rear of the seat compartment. Zip tied it to the aluminum structure back there. Also mounted the relay for switched power next to the fuse block. Takes up very little room. Ran the wires up the left side with the factory harness to the positive post on the fuse block, not the battery. Ran the ground along the same route on down to the connection at the front of the engine. Used Silverhound's jumper solution for the relay trigger.

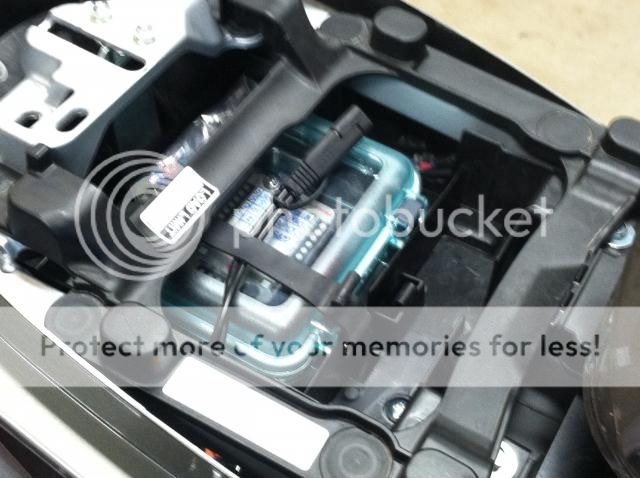
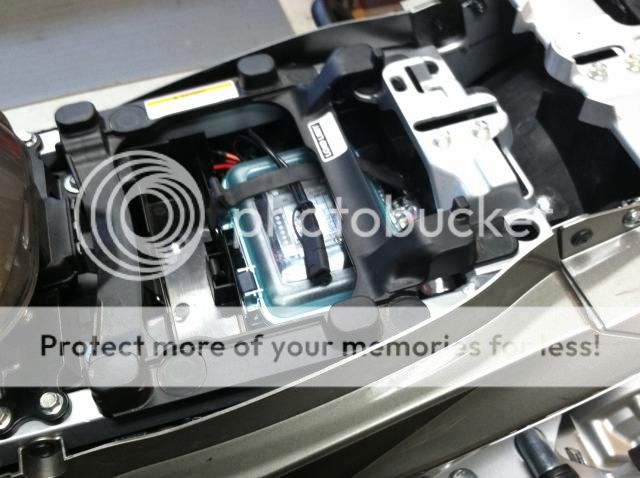
This is a awesome placement unless you have a Corbin Smuggler.How about this ????!?!?
https://www.fjrforum.com/forum//index.php/topic/126617-genii-fuse-box-bracket/
Works on Gen 3 also from what I gather as well....
Or sometimes your good friend with talent makes it for you.Go to post three, easy to make something yourself.
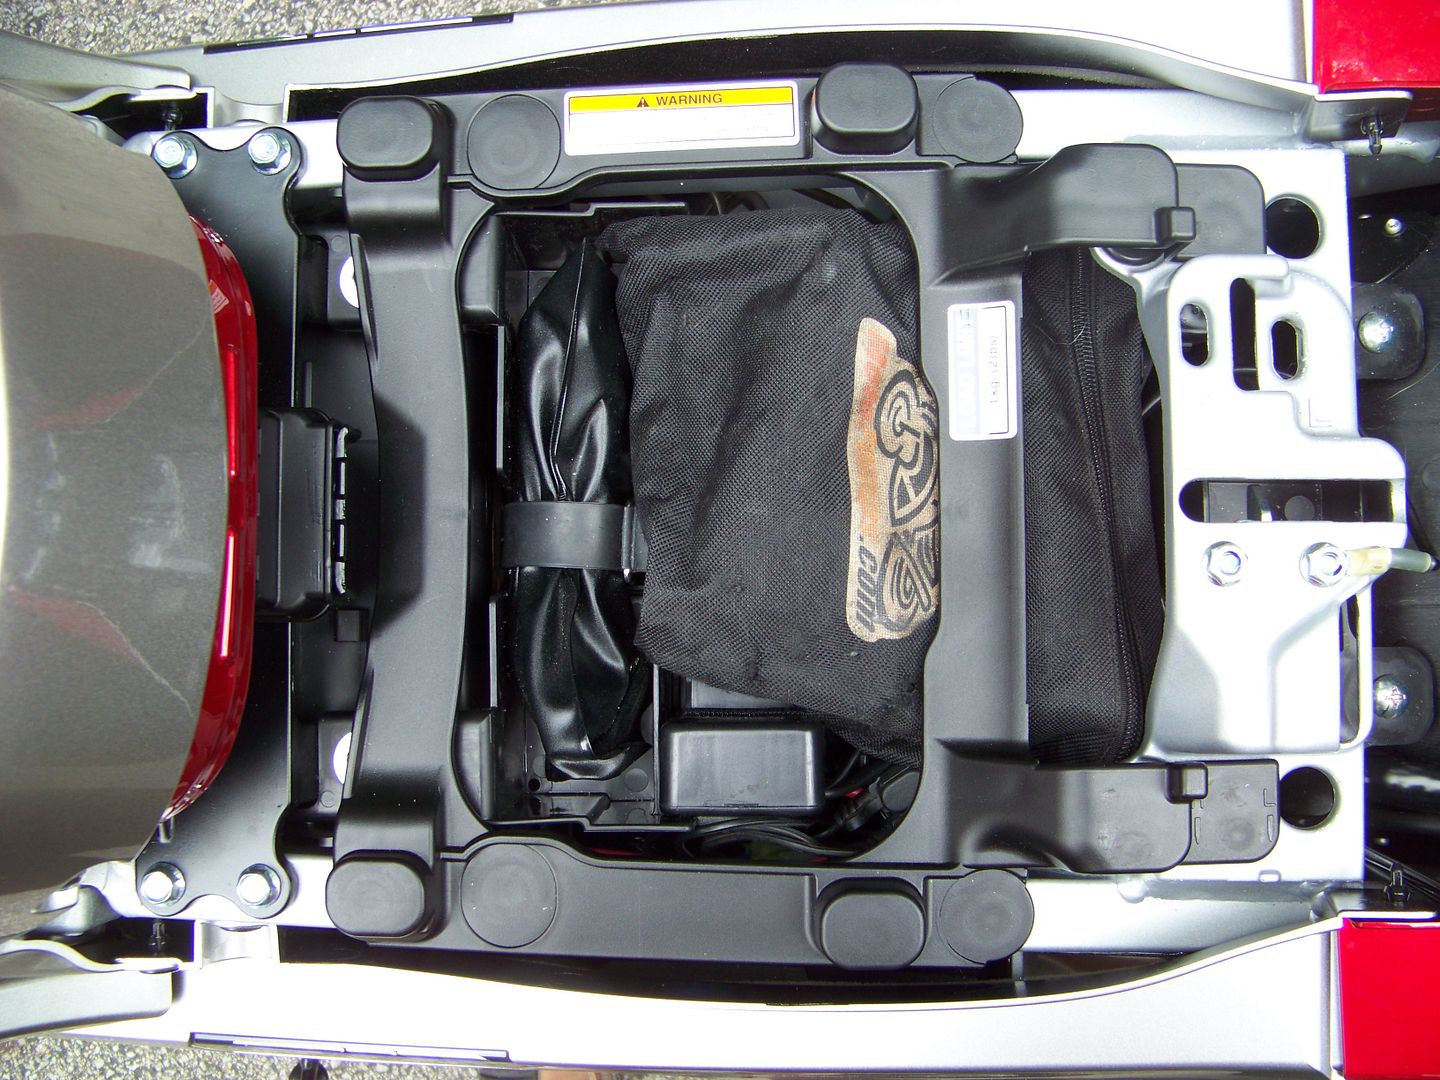
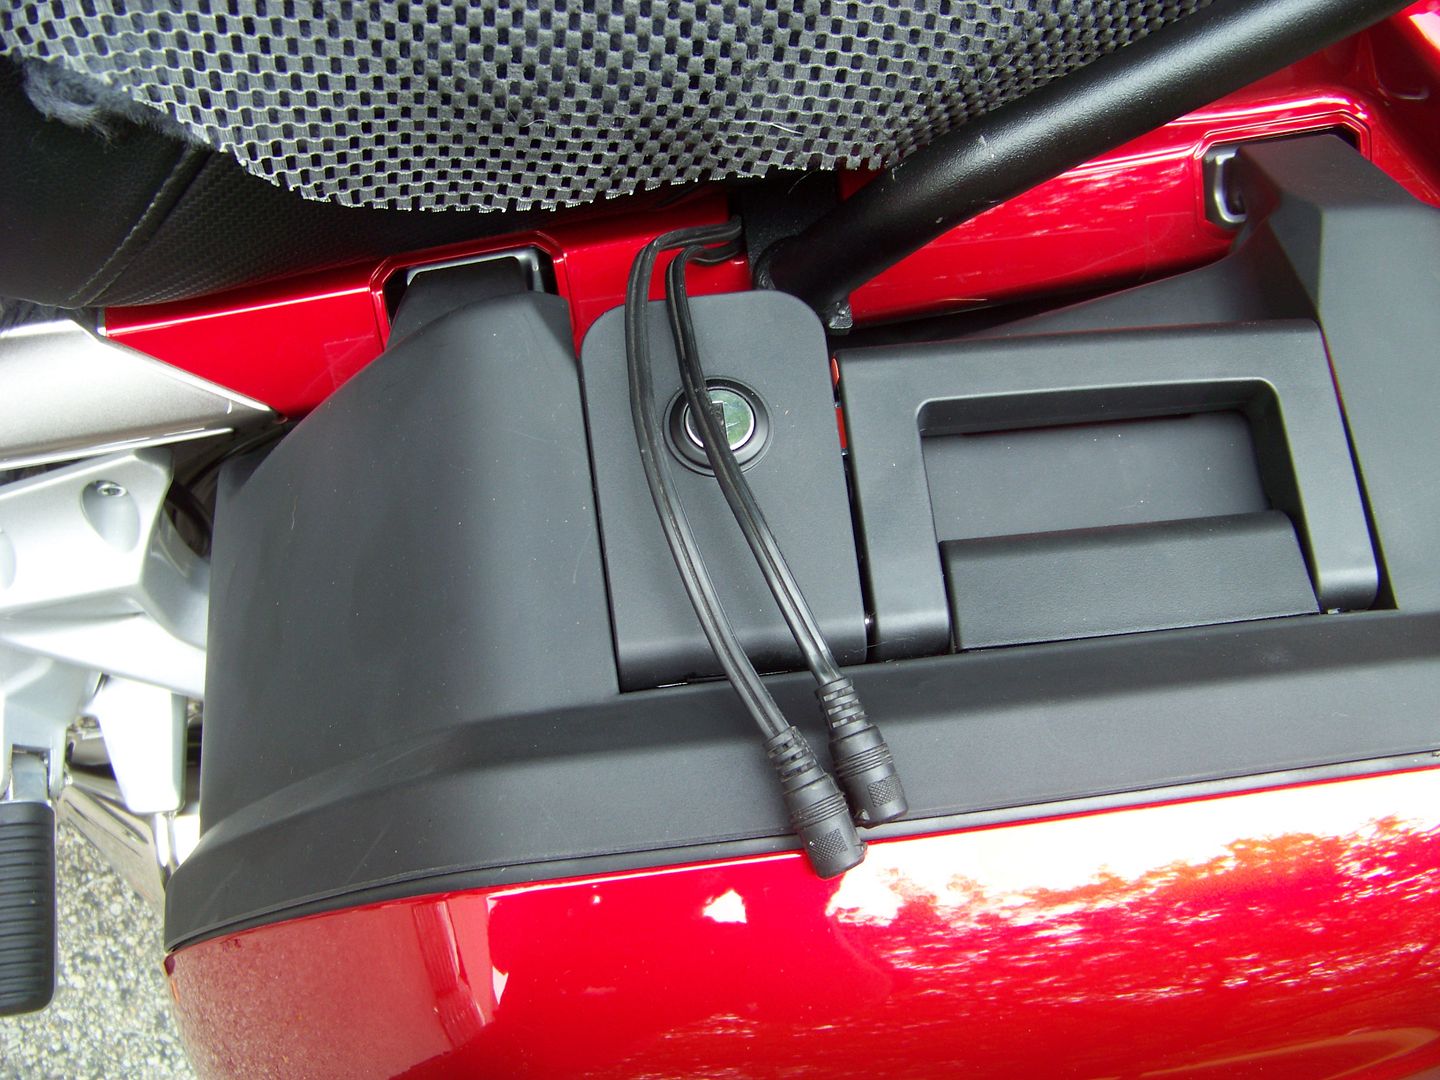
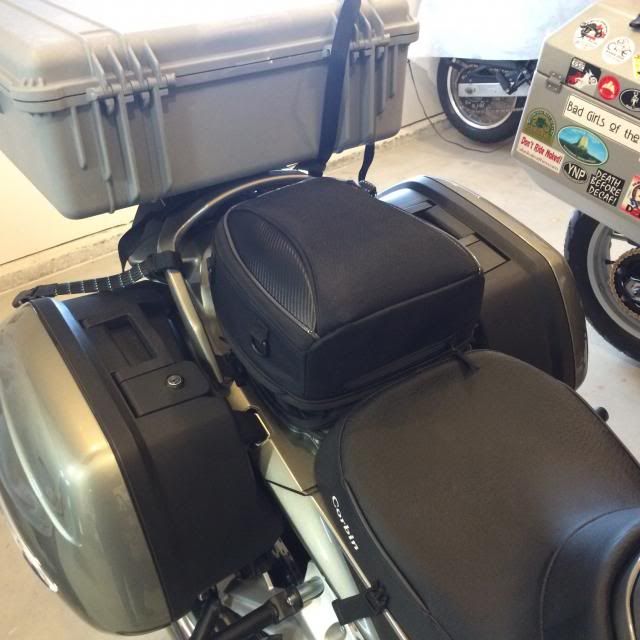
That is way to nice a job. I have spagetti all over the place.I put my FuzeBlock brand fuse block under the front of the seat. I installed the block in a Pelican case and ran wires into the case through gromets in holes I drilled in he case. The case makes the block very water resistant and protects it from inadverdant contact. It also provides a place to store spare fuses in a small zip lock bag. Wires are run behind the right side cowl and outside the frame. All the wires are bundled in an anti-chaffee, high-temperature wire loom. The Pelican case is held in place by velcro and the existing rubber tie-down strap; the fuse block inside the case is also attached with velcro. Been installed over a year with no issues.
Pops, how many miles have you and I ridden? I have a Smuggler.This is a awesome placement unless you have a Corbin Smuggler.How about this ????!?!?
https://www.fjrforum.com/forum//index.php/topic/126617-genii-fuse-box-bracket/
Works on Gen 3 also from what I gather as well....

Panman, are those off the shelf angle stock (if so, from where?) or did you fabricate them?Go to post three, easy to make something yourself.
Enter your email address to join: