Jewlery for Naomi - Steering head bearing swap

Yamaha FJR Motorcycle Forum

Help Support Yamaha FJR Motorcycle Forum:

This site may earn a commission from merchant affiliate links, including eBay, Amazon, and others.

dcarver

Well-known member
Joined
Sep 5, 2005
Messages
13,814
Reaction score
3,468
Location
Creston, CA
FJR Peeps - I know this thread is obsolete to begin with. Who would ever spend the time and money to farkle a 4 year old bike when bitchen new ES rides are out?

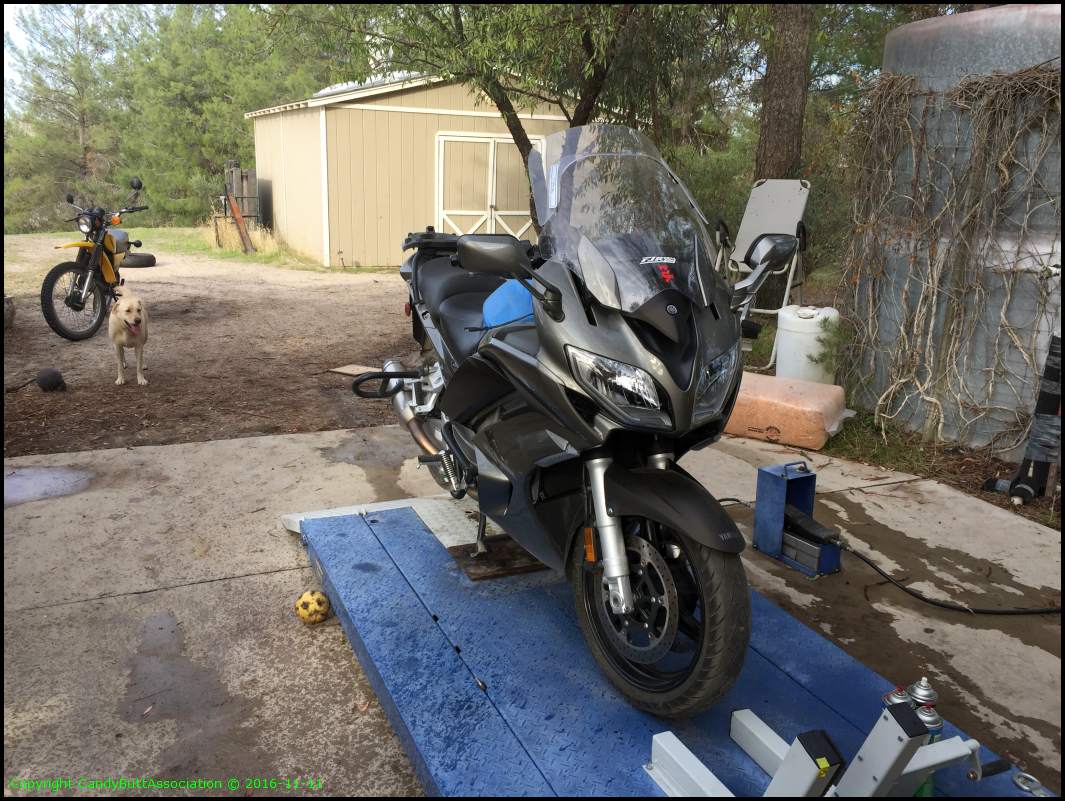
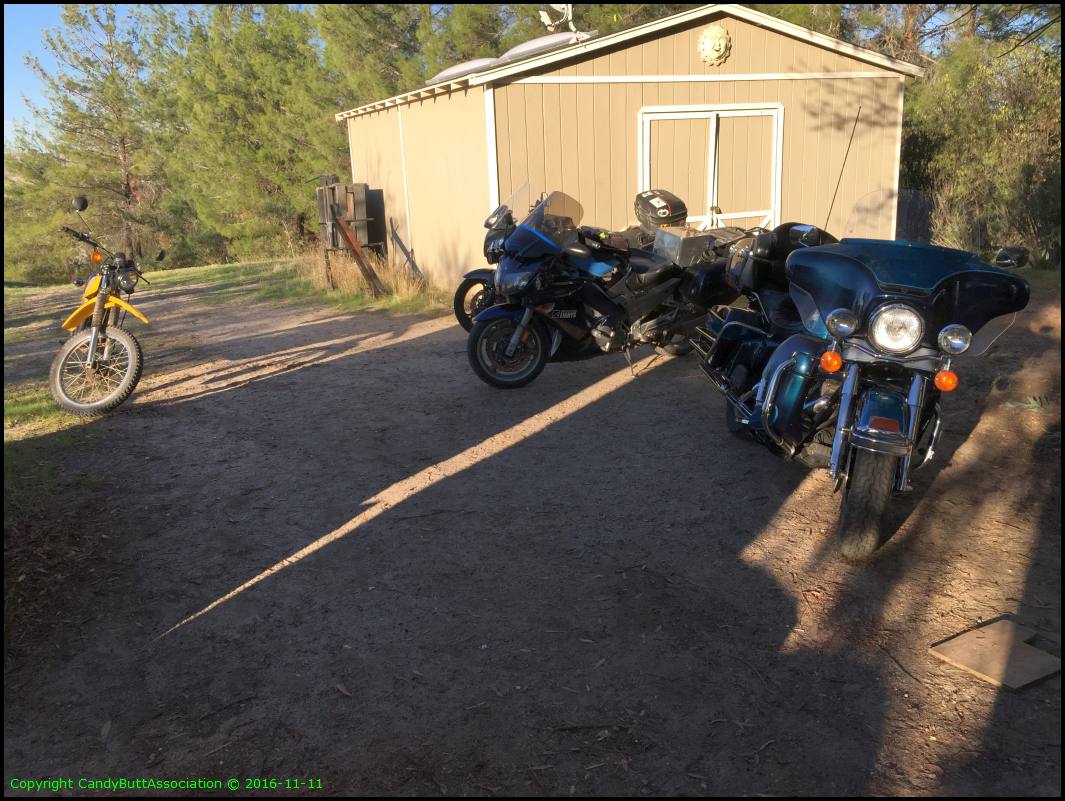
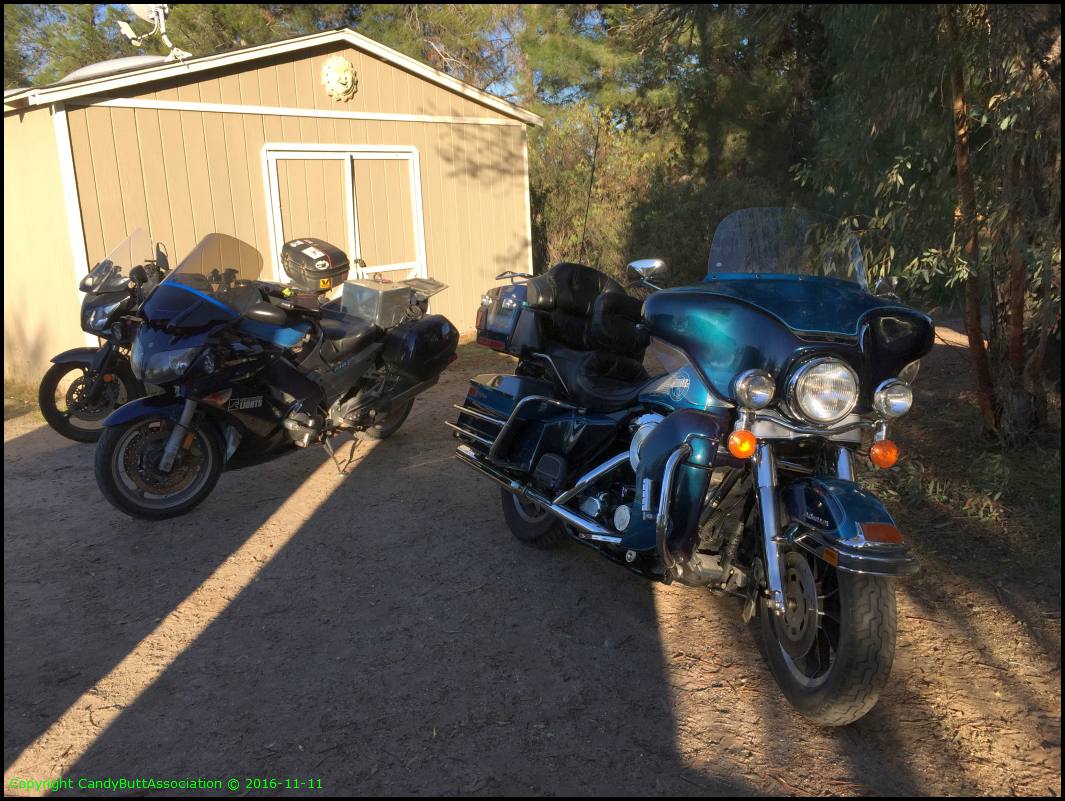
Well, me. This is Naomi, BeemerDon's bike, that has been ridden by many fine FjrForum peeps, including SkooterG (where ARE the boogers), Dave and Sylvia S and others too!

Over time, I've been fortunate to purchase nice bling for Naomi. Now it's her time to shine. She will be my new Long Distance Gurrl while KrZy8 racks up the local miles.

I am a fortunate man, a grateful human. I am blessed.

So let's get going. The links below will take you to CandyButtAssocation. The site is safe and secure.

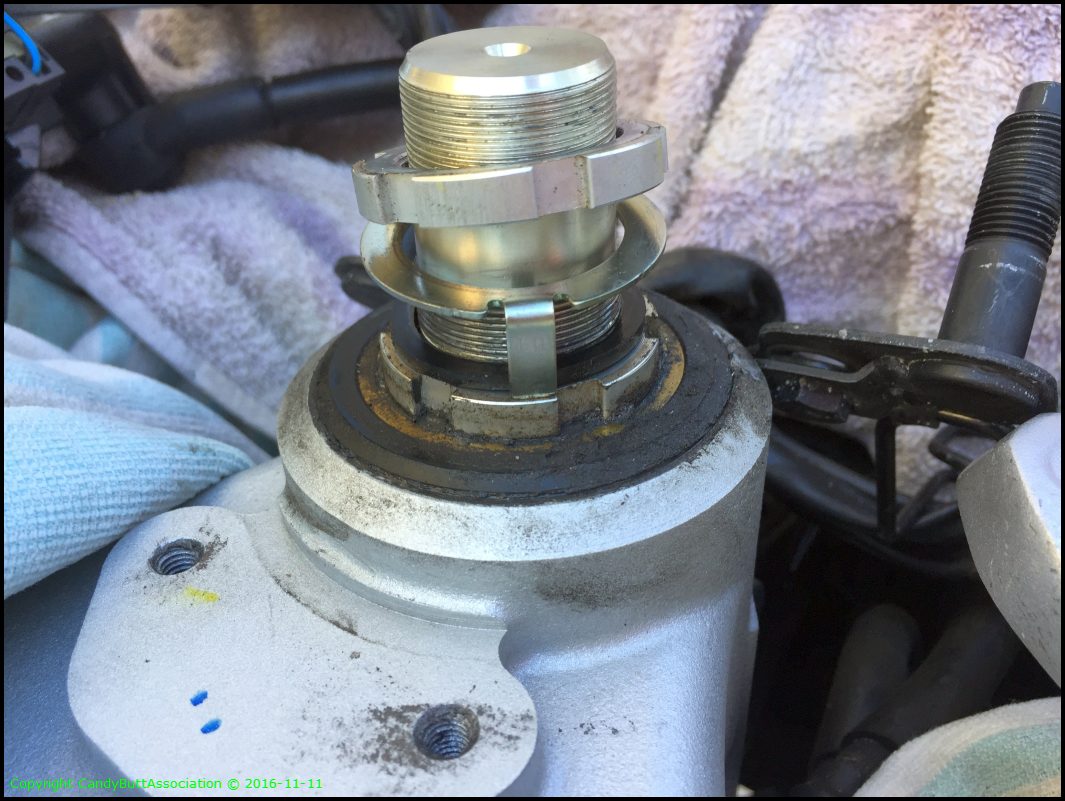
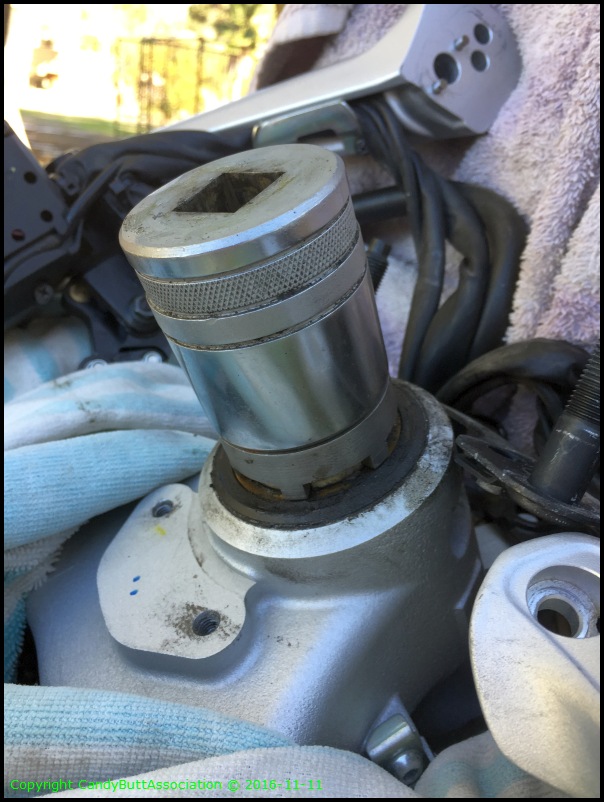
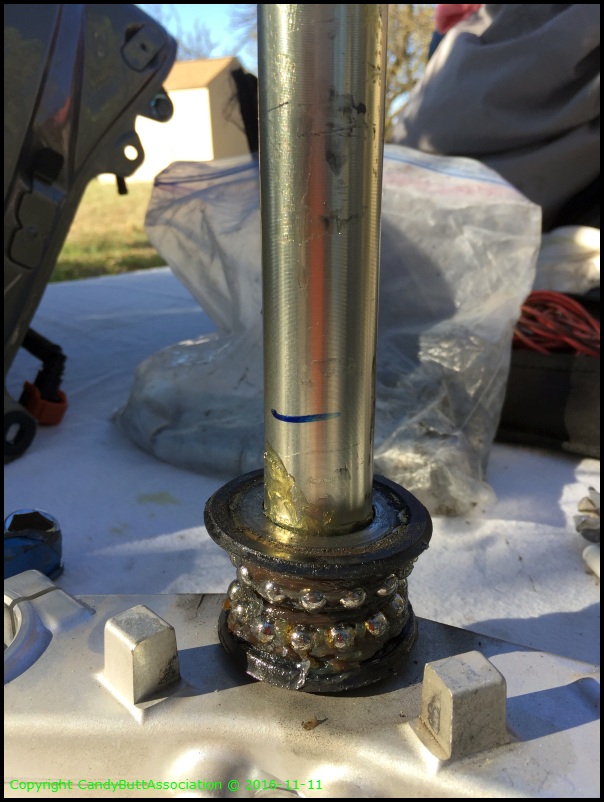
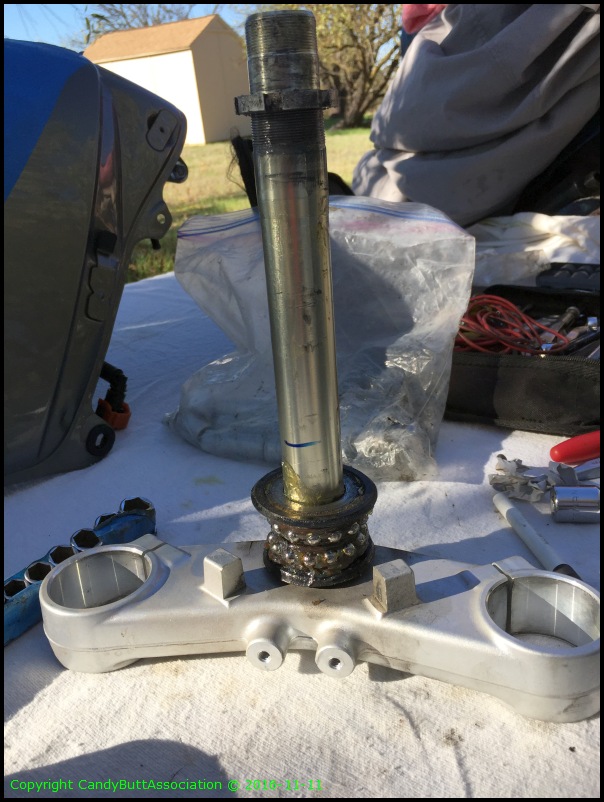
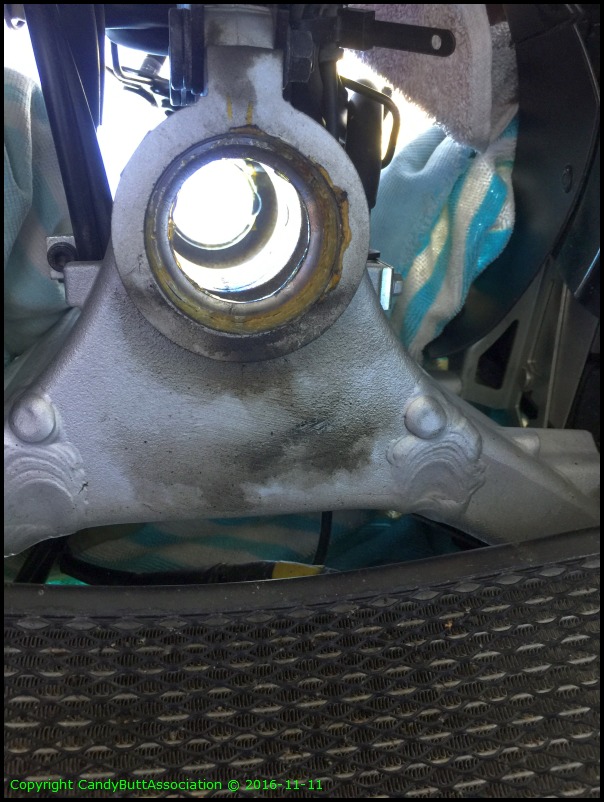
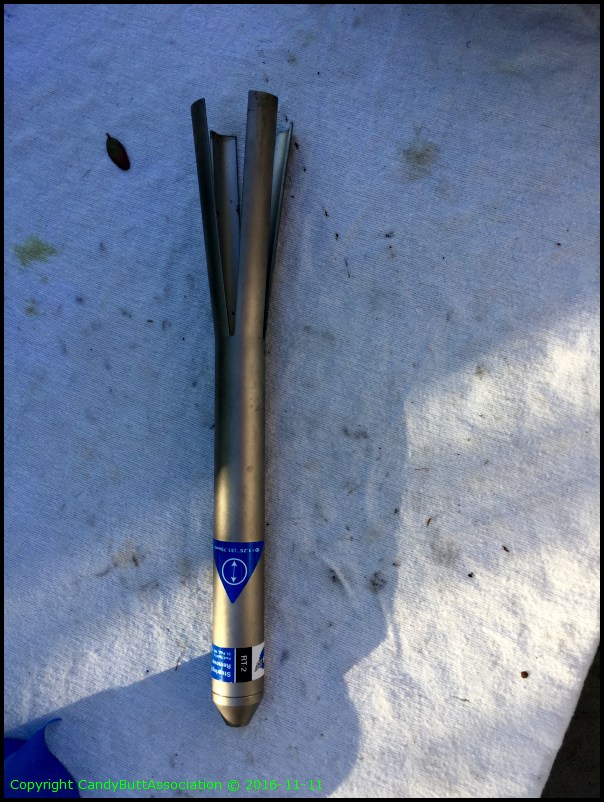
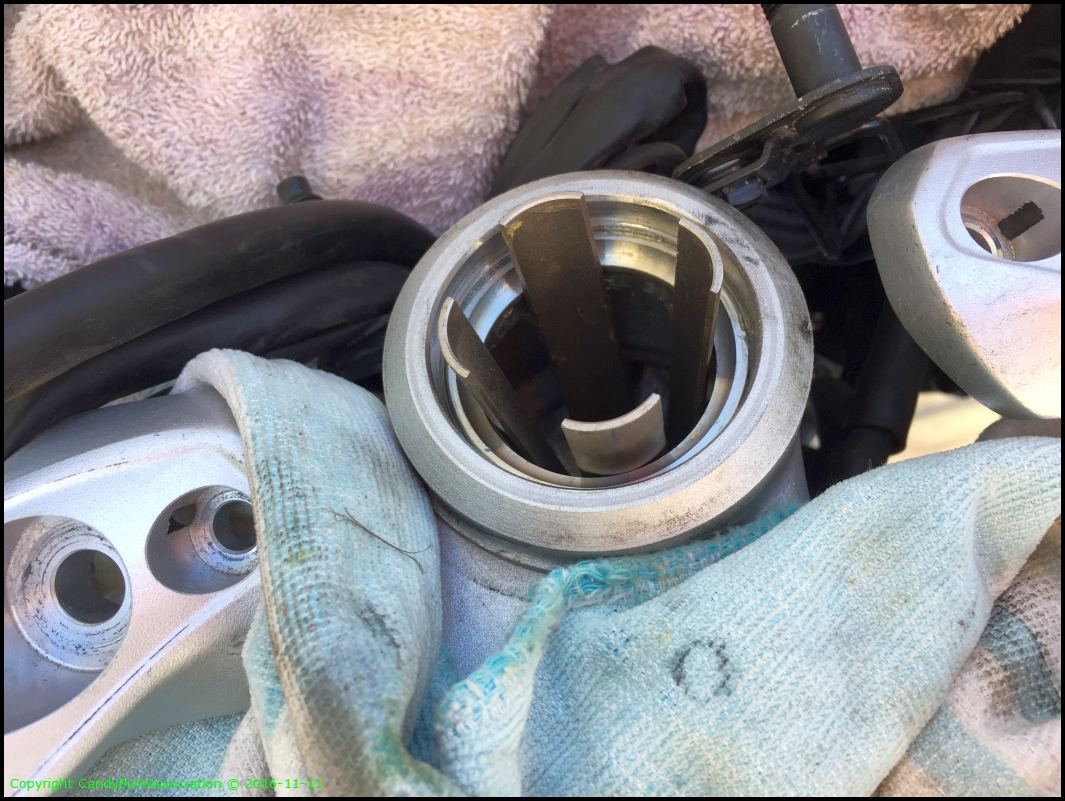
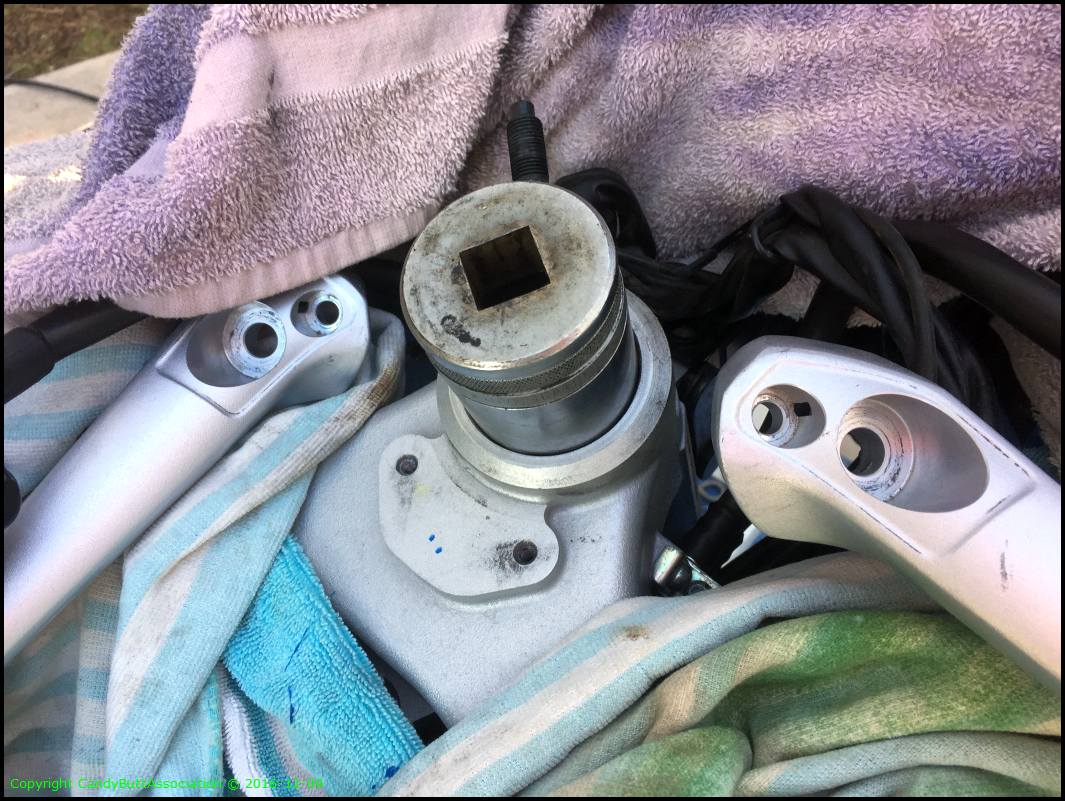
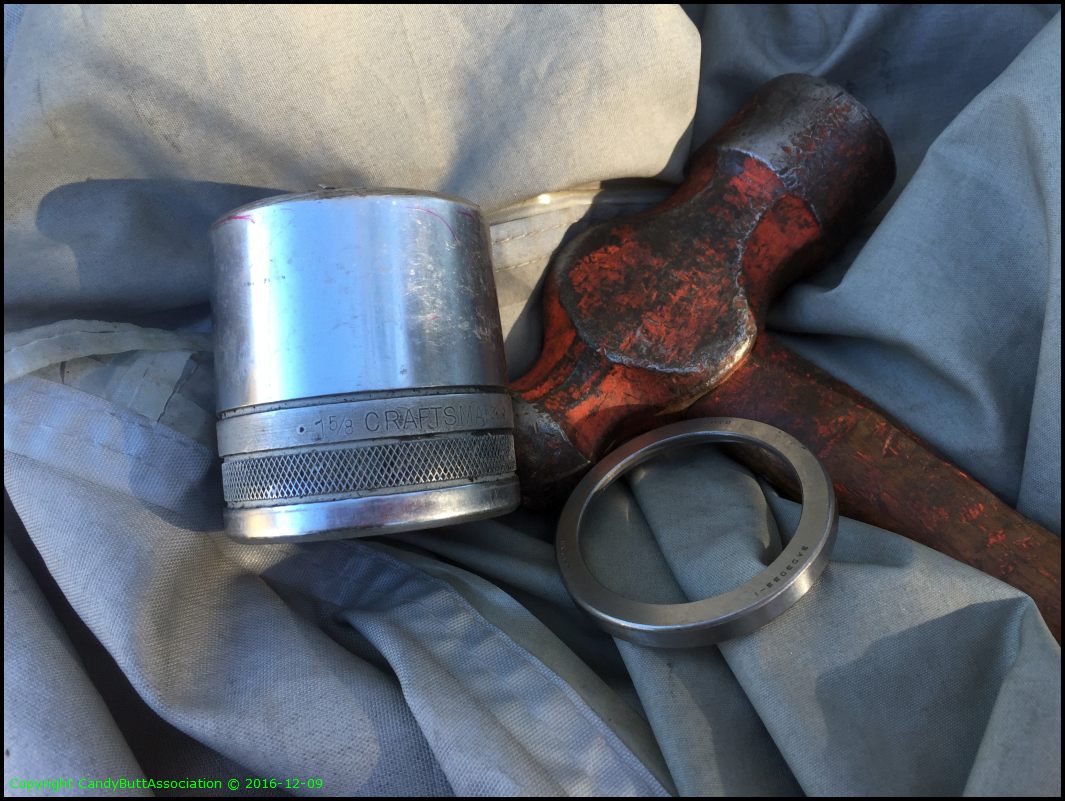
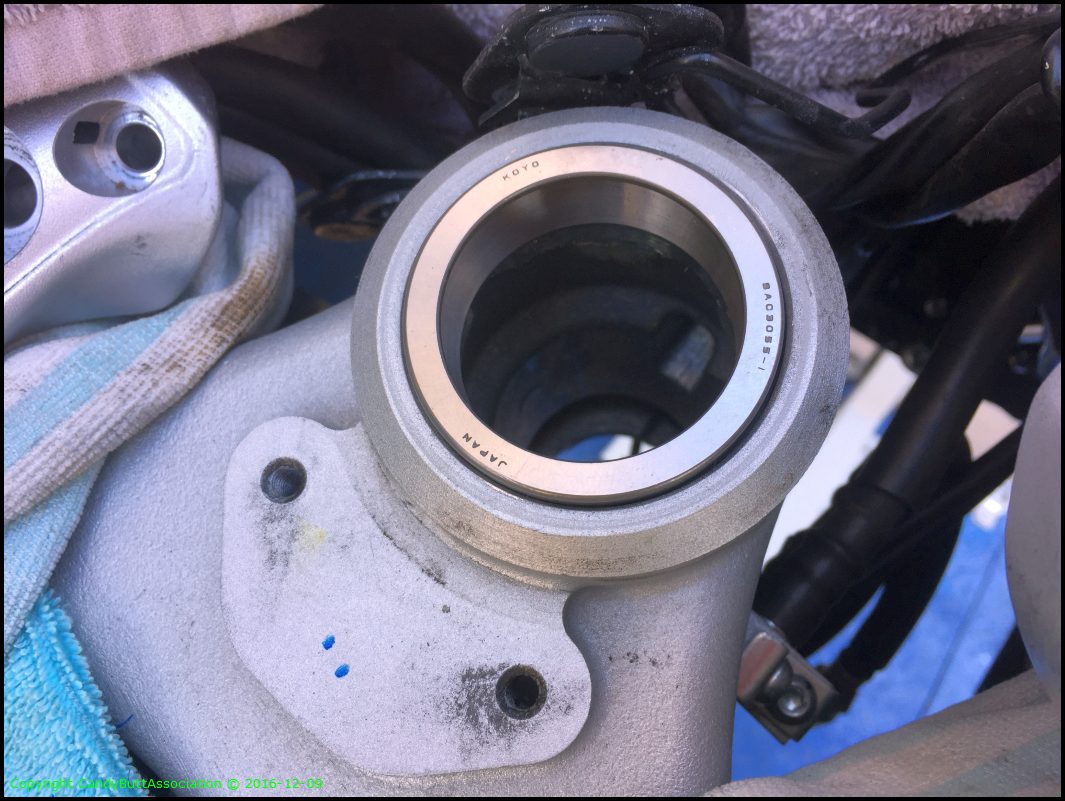
* Steering Head Bearing Swap part 1 (on fjrforum)

* Steering Head Bearing Swap part 2 (on fjrforum)

* Steering Head Bearing Swap (ball bearing to tapered roller bearings - on CandyButtAssociation website)

.. edited to include posts on fjrforum
 
Last edited by a moderator:
Hey Carver:

Is that a DT400 I see in the background??

Been on the hunt for one of those.....

Would like '75, but a 77 or 78 would do.

Biknflyfisher

 
2016-11-11 Steering Head Bearing Swap

She has been patiently waiting. How long has it been since I got her? I don't recall dates so well. But Don was still alive and happy she was going to a good home. That meant much to Don.

On the lift ready to rock. Sure, my 'shop' is outside, but living in drought stricken central Kali has benefits. MollyDog waits for her balls to be kicked. Well, you know what I mean..


Forks off first. Heading to GP Suspension in their new location, Oxnard, Friday 11/18/16.


First foray under the tank of a gen III 2013.


Is it my imagination or is there more room in here? Of course there is.. No Audiovox CCS-100 cruise control up front of the water bar. And the PAIR will soon be history. Also, no ignition coils in upper right corner which is out of view. New coils are over plugs.


Ok then, the triple trees need to come out. Tapered roller Timken bearings to replace stupid ball bearings. This bike has SERIOUS head shake.


Which brings me to a new topic. Why does the factory so over-torque fastenars? The two 8 mm headed bolts attaching the brake lines to the lower clamp must have been at 40-50 lb/ft break-away torque. Seriously, I had to get after it with a box end wrench *with extension* to break them free. No, no locktight. Carbon steel bolt into alumunium holding a non-critical bracket.

What a dream it is to have a lift. I remembered back to 2007 or so when I was working on my back on the shop floor and hating life for 5 days afterward.
This pix shows the plastic air dam thingieamajiggie.


Because digital pix cost nothing. Hose alignment left and right.


Now to the topside. Upper triple clamp removal. Lots of rags to protect paint. Screwdriver to show washer on top.


First view of ignition switch and tamper switch screws. I did not have the glory of removing them on KrZy8, the 2006 FJR, due to a factory recall of the switch. Some other poor smuck did. I was baffled, and called Ray Slocomb and EscapeArtist. Both said the same thing as George Bush, Drill Baby, Drill!


Researched FjrForum.com and even though Brodie said he drilled the tamper proof bolts out while holding parts in his lap! I'm not that talented and per EscapeArtist's recommendation disconnected the leads and removed the upper clamp for drill press action.


Stock upper clamp.


The plastic switch ring will not be re-used on the HeliBar clamp.


I'm not perfect. Missed the center by thaaaat much. No real harm, no foul. It will work in the new clamp.


Copper anti-sieze used everywhere.


HeliBar, old style. I don't like the new HeliBar, and good bud Fairlaner sold me his off his old FJR. Copper anti-seize to prevent thread galling and corrosion.


Stock versus new-old part. This model HeliBar no longer available.


As-Found condition. Is this correct? Top nut separated by ~3mm from lower bolt?


Pic for later so I know how it goes back together.


A 'JustRoy' piece of art under the socket..


Ugly and stupid ball bearings on the steering stem. Why do manufacturers still use ball bearings on modern bikes? Like KrZy8, Naomi has SERIOUS head shake when decelerating from about 50 to 35 or so when hands off bars. I know many pundits on the fjrforum have stated 'Don't do that'. But that's BS. Since putting tapered rollers on KrZy8 over 180k miles ago, no headshake ever. EVER. Worn tires, different brands, running the arrows backwards...


Steering head lower triple clamp.


Stock races. The bottom drove out pretty easy using hammer and drift punch. But the upper one.. I was getting tired, and my drift wasn't long enough to allow a good smack from the hammer while laying upside down so I said fook it and quit for the day.


And then I discovered this! I bought it after struggling with KrZy8's conversion..


And that's where it sits as I type this the day after.. You can see how the fingers will pull down, expand against the race, then stay in place while the hammer does it's thing. But for the day, light is fading, tools need be cleaned and put away, the doggies pool needs be drained (she's a LAB!) and thoughts about work now take top priority.


The rest of the gang says what the fook?


Of all the bikes.. The HD still is my main gurl. Just look at how sexy she is. And she always starts and is ready to run.


So long for now.. to be continued....

 
2016-12-03 Steering Head Bearing Swap (continued)

A week or so later, some of us still have to work.. and it's time to get wrenching again.

The old races are out, now it's time to install the new tapered roller races. First thing is to find a suitable sized 'driver'. I use a 1" drive socket.


1-5/8" to be exact. Use the old race as an exact fit driver.


The old race driving the new race in. I freeze the new race to shrink it and heat the steering head with a propane torch to make it expand. Easier to drive the race in that way.


When the race hits bottom, the sound changes to a thunk when hit. Listen for it.


The bottom side is the trouble side. Not much room, working upside down. It's truly a PITA.


My lead mallett handle is too long to get a good swing, so I cut. Hated to, but had to.


Used the RV freezer to shrink parts.


Well CRAP. Had to cut another handle as the lead mallet didn't work. Oh well. Used electrical tape to hold the old race to the driver socket.


No pic but the new lower race is installed. Now to play seal games. Here is the stock, OEM lower race and seal.


The problem is the tapered roller bearing have different physical construction. The seal inner lip will not fit nicely. The bearing would ride against, squishing the seal. Not good.


So I cut the lip away using a pair of flush cuts. After I finished the entire project, I realized coulda shoulda used a new top-side seal. It would be perfect. It's flat, skinny. Damn. Live and learn.


This will work. This side will be against the lower triple clamp e.g. it's upside down now in this pic. Now to drive the bearing onto the stem. Should be easy-peasy.
"

Which of course means NOT. When I did the swap on KrZy8 in 2006, using FAG bearing, I simply used a section of PVC pipe and it worked great. This time, I can't get the bearing to fit, the pvc broke. I tried carefully working all sides with a long drift punch but felt I was going to soon do more damage than good so I quit and enlisted the help of my neighbors.

One has a lathe! So for the next hour or so we (he) machined a perfect tool to drive the inner race and not load stress the outer race. Here he's making the ID close to size prior to final machining.


I truly have great neighbors. The feller on the left an his wife basically fed me and kept me sane during my 2nd divorce. We help each other all the time with various stuff.

zzzzzzzzzzzzzzzzz

https://vimeo.com/195012311

https://vimeo.com/195012391

It's good to have great neighbors!


Back on the press. This bearing was a bitch to seat. I'm not convinced it isn't slightly undersized. This was an SKF bearing, made in India.


A few pix of the custom tool.


A perfect fit. And yes, I carefully cleaned and re-lubed the bearing later.


Sweet!


Ready for reassembly.


In the hole.


The stock cable clamp..


Not used with HeliBar. So I used a Dremel and cut the ends to free the hoses/cables.


The bottom side again.


Brake line brackets in place, triple tree torqued.. ready for forks.


Which are fresh back from a full GP Suspension cartridge install!


Pretty!


A good place to stop. I have new rubber to install on the front rim.. and it's getting late.. work tomorrow.


So long for now..

 
Glad to help out DC!
Watch your line length...that's the same Heli design that I chose not to use.

--G
Thanks --G.. take a look at these pic's.. I think I'm ok. How do the pics compare to your install?

Hey Carver: Is that a DT400 I see in the background?? Been on the hunt for one of those..... Would like '75, but a 77 or 78 would do. Biknflyfisher
No, it's an itty-bitty 125, 1978. Back in the day I too lusted for a DT400!

 
In. I have 77k on my 09 and experienced handlebar shake once at 30k miles - I never serviced the forks the first 30k miles - silly me. Installed GP suspension and haven't experienced it again. If I do I will remember this thread. Don does a great job with these post. Alway good a read a DC ride report or technical post.

 
Last edited by a moderator:
TaDah! Back together. Now for the rear end..

55.jpg


Pics look good DC, you're going to love the tapered head bearings.
How did the line length turn out?

--G
--G, I think it's OK. Same as what I've running for years on KrZy8. I think your FJR was weird or something?
angel.gif


Top