Skyway Light Brackets - Installation

Yamaha FJR Motorcycle Forum

Help Support Yamaha FJR Motorcycle Forum:

This site may earn a commission from merchant affiliate links, including eBay, Amazon, and others.

kaitsdad

I'm confused - Just ask my Wife.
FJR Supporter
Joined
Oct 16, 2005
Messages
2,956
Reaction score
62
Location
Orange, CA
Many of us have received the Skyway light brackets recently.

Here's what you get in the package:
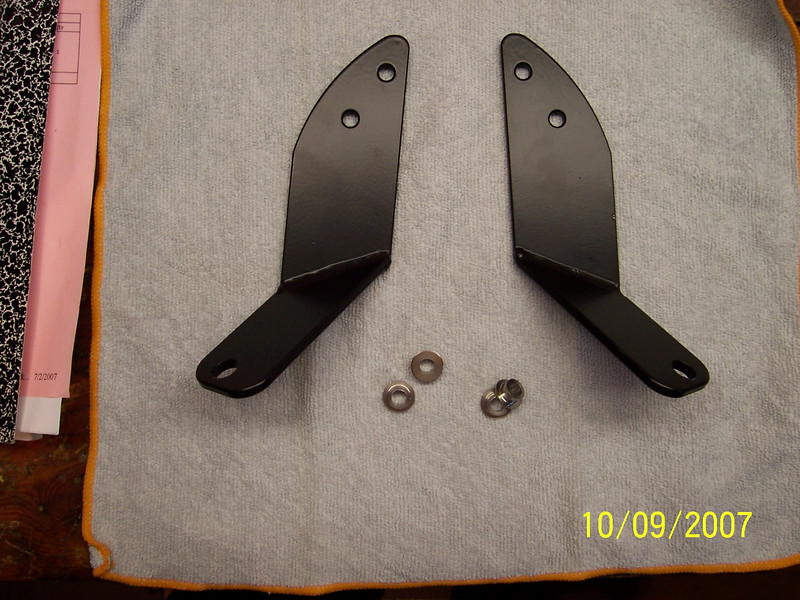
206304494-L.jpg


1 left bracket

1 right bracket

4 GenII mirror bushings. (NOT needed for GenI bikes)

The purpose of the bushings is to compensate for the thickness of the brackets - this allows adequate threads for the nuts to hold the mirrors on. Which is a good idea, by the way.

First - I'll state the obvious. You have to remove to mirrors to install these brackets. So - pull off the A,B,C, and D panels, remove the 4 10mm nuts, and lift off the mirrors.

The gasket with the stock bushings is obvious once the mirrors are off.

206305034-L.jpg


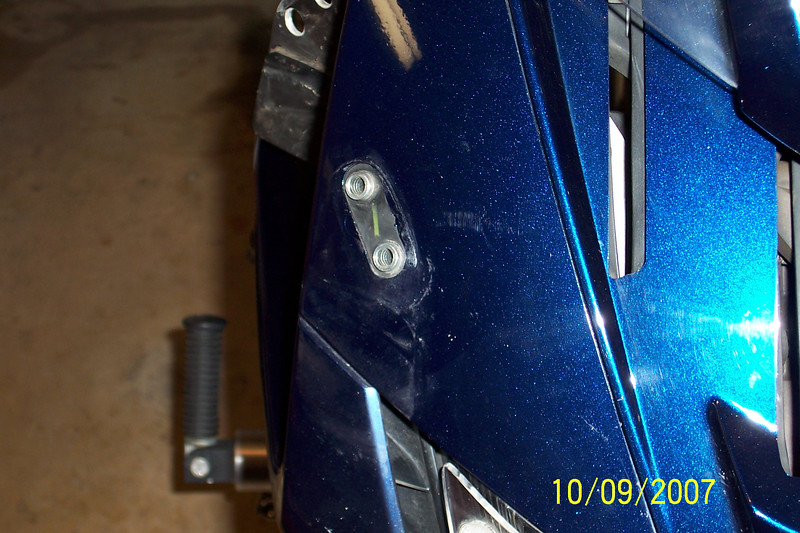
You want to pull the gasket and bushing out of the cowling - I just used a 90 degree probe, and pried it out of the hole. It's asynchronous in design, so take a moment to understand the way it sits in there.

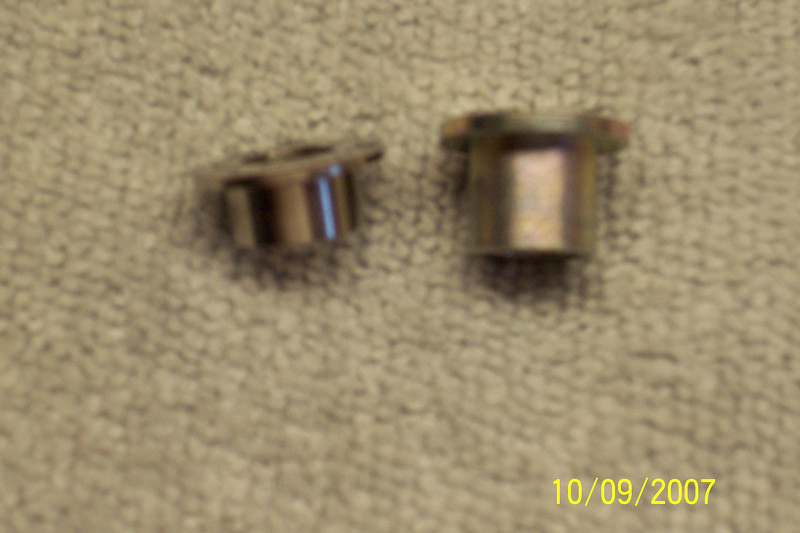
Here's what it looks like:

206305434-L.jpg


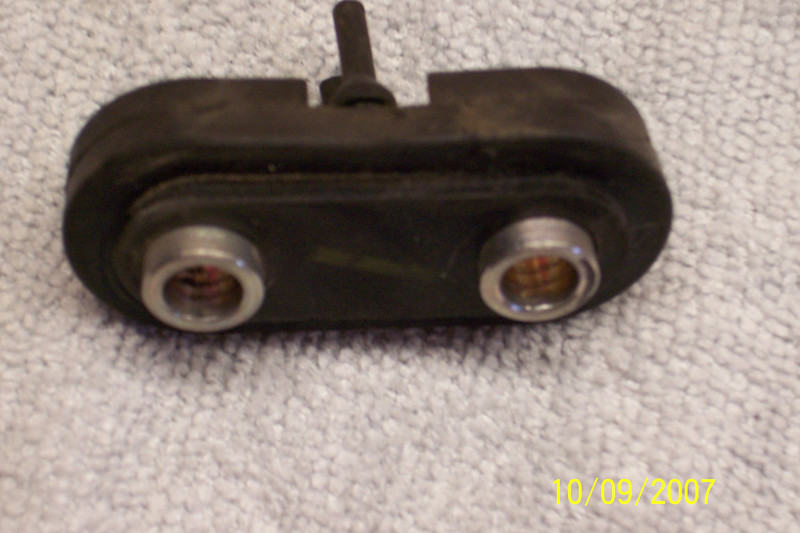
I removed the two long 'pips' on the back - they slide into small holes in the cowling stay to hold the gasket in place during assembly. I tried to replace the gasket with the pips in place - but gave up, and removed them. I just used a pair of side cutters, and snipped them off. This won't present any issues unless you remove the cowling at some point in the future.

206305966-L.jpg


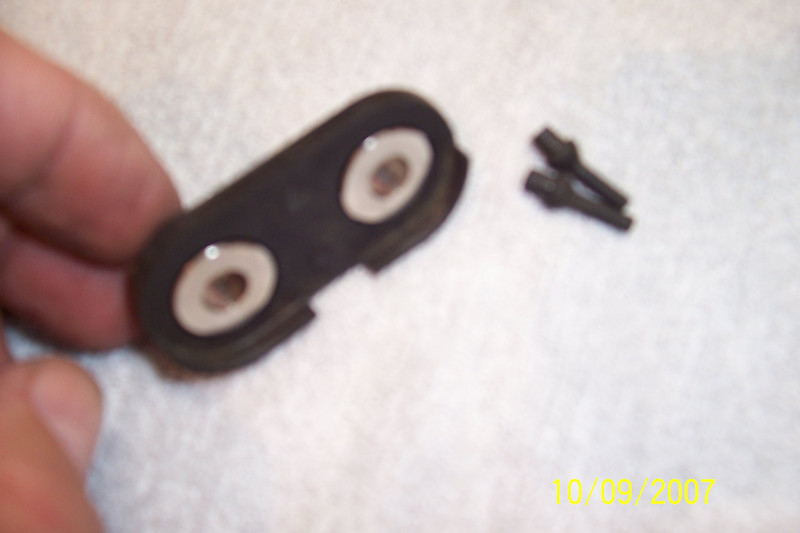
Remove the stock bushings, and replace with the provided bushings:

206305512-L.jpg


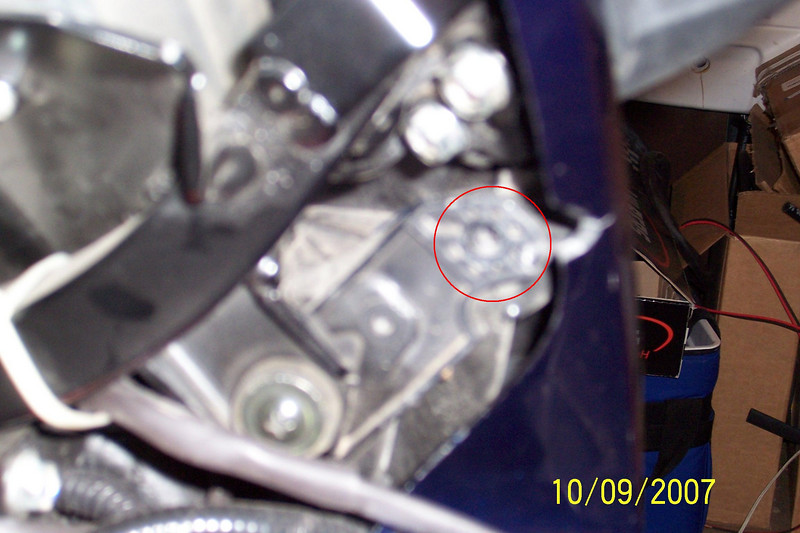
I found that it was a good idea to loosen fasteners on the fairing, and remove the two screws holding the cowling to the cowling stay.

(I apologize for the poor focus - I'll try to edit in a cleaner picture later.)

206337537-L.jpg


Then you have to slide the gasket back into the cowling from behind:

206305920-M.jpg


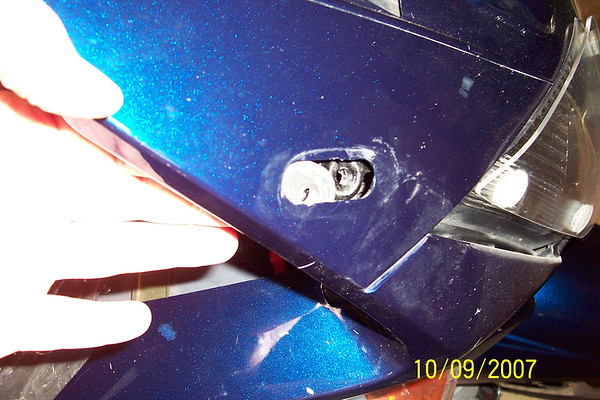
This is where the loosened fasteners present themselves - you can pull the cowling plastic away from the cowling stay, and slip the gasket back in. I had first tried to just shove it back into the hole, but it was kinda like pushing rope.

206301104-L.jpg


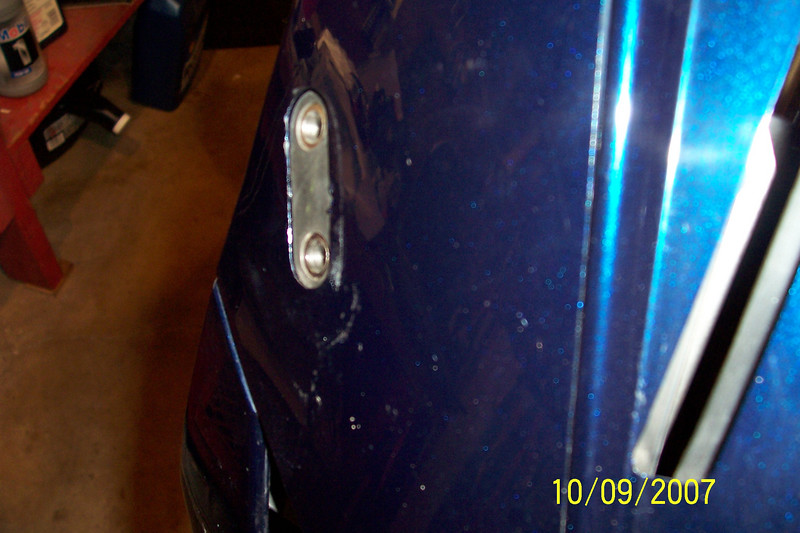
The new bushings in place - slick.

Prior to installing the mirrors, I would suggest a dab of blue Loctite -

206301672-L.jpg


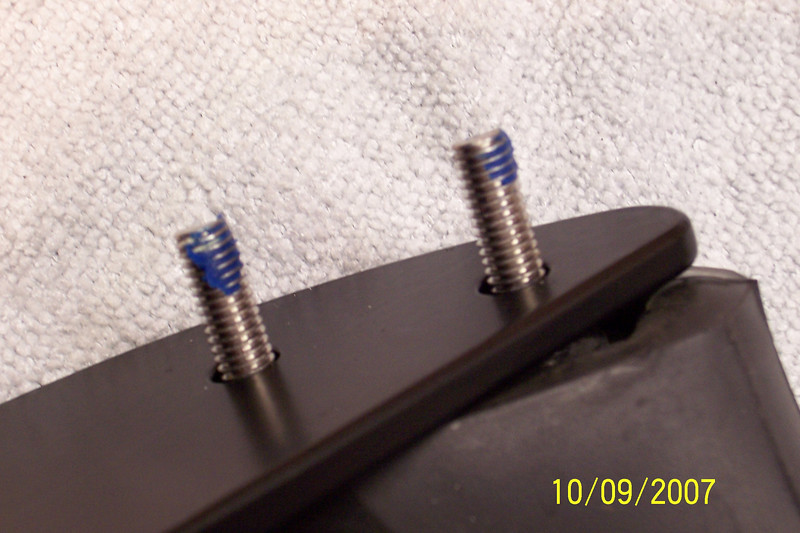
I've installed FZ1 mirrors (love seeing what's behind me!) and the bolts are slightly shorter than the stock mirrors - but even with stock mirrors, use the Loctite. They're now holding up the brackets and lights, so you don't want the nuts dropping into the cowling at the wrong time.
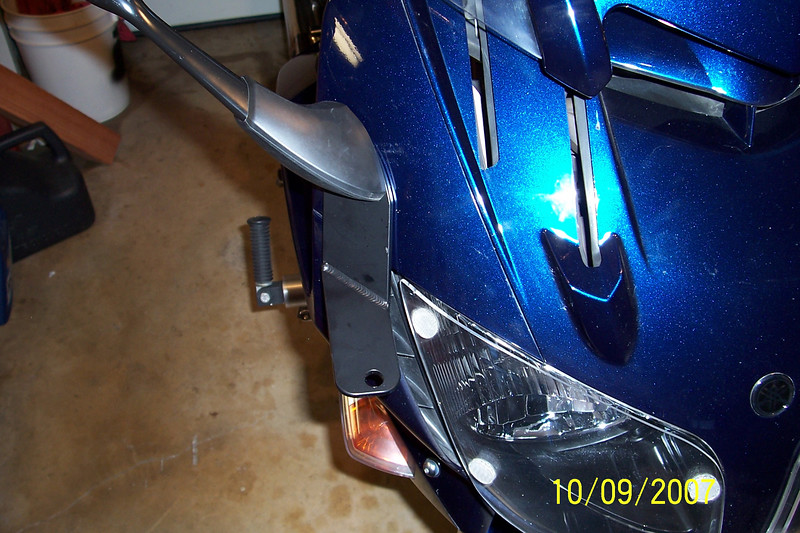
End result:

206302097-L.jpg


Great write-up!

One other thing:

MAKE REAL SURE YOU LOCATE THE SWITCH IN A PLACE YOU CAN QUICKLY TURN OFF THE LIGHTS WITHOUT DELAY!!!

Optimally, also where you don't have to take hands off the grips. You might have to shut 'em down in the middle of a turn.

 
Excellent write up Hal. Even though I'm not installing the Solteks, I always appreciate the fact that someone will go out of their way in guiding the blind. :clapping: .....Thats the type of post that makes this forum great.

 
Thank You Hal for pointing this out. I did not recieve a packing slip or anything & just went thru the trash & found the bushings I had thrown away. Sure would be nice to know what's going on when you recieve parts. Nice to have you helping out where Ian dropped the ball. I just ran the L.O.E Rally & the brackets were delivered afterwards... Had the bike apart waiting for brackets up until the night before I left since I was told I would have the brackets in time . . .

 
Last edited by a moderator:
Hal, thank you for the instructions. I also missed the Bushing and had to dig them out of the trash.

In case you read this Ian ! Great work, thank you for doing this for us.

Douglas.

 
In case someone doesn't know.

Be careful and don't get loctite on your abs plastic. it will eat abs like it was acid.

 
Great write-up!
One other thing:

MAKE REAL SURE YOU LOCATE THE SWITCH IN A PLACE YOU CAN QUICKLY TURN OFF THE LIGHTS WITHOUT DELAY!!!

Optimally, also where you don't have to take hands off the grips. You might have to shut 'em down in the middle of a turn.
Like a modified European flashing switch?

Any suggestions... (performing infamous search even before I posted... and still am...)

 
Like a modified European flashing switch?
Any suggestions... (performing infamous search even before I posted... and still am...)
US owners have been trying to source those since the FJR was released here. The only option found was to buy the whole switch assembly from Europe or make your own.

 
Like a modified European flashing switch?
Any suggestions... (performing infamous search even before I posted... and still am...)
I picked up a miniature rocker switch from my local eletronics parts store and, with a little trimming on the switch and housing, and bending over of the contact tabs, got it to fit in the Euro flash-to-pass switch location. Very convenient! But not very waterproof (yet).

 
Drat and DoubleDRAT. I don't have bushings. Even dug throught the trash, twice.

Which are the new bushings? The long or short ones? If short, could a fella just grind down the stock long ones?

 
Last edited by a moderator:
Drat and DoubleDRAT. I don't have bushings. Even dug throught the trash, twice. Which are the new bushings? The long or short ones? If short, could a fella just grind down the stock long ones?

Small plastic ziplock - about 2" x 2".

And I suppose you could grind down the stock ones. Or, you could just call Ian, and have him send you some more ?

 
As for locating a switch in a quickly accessible spot: I mounted the switch for my driving lights above the dimmer switch on the left bar. I wired the driving lights from the high side of the FJR's leadlights. That way, when I meet traffic and I dim the regular headlights, the driving lights are also turned off. The only down side to this arrangement is that, with the lowbeams on, the driving lights will not come on. Admittedly, I can't think of an instance when I'd want the lows on and the driving lights on. It would be relatively simple to wire a bypass, using a toggle and a diode. For me, way too much hassle.

-GSE-

 
Drat and DoubleDRAT. I don't have bushings. Even dug throught the trash, twice. Which are the new bushings? The long or short ones? If short, could a fella just grind down the stock long ones?
Small plastic ziplock - about 2" x 2".

And I suppose you could grind down the stock ones. Or, you could just call Ian, and have him send you some more ?
Hal, Thanks for all your effort on posting these how-to's. I for one certainly appreciate you for doing so.

I just triple checked the trash, no plastic ziplock for me.
Since I have a gen I, you can have my bushings. PM me an addy and they are on the way

Jim

 
Hal, Thanks for all your effort on posting these how-to's. I for one certainly appreciate you for doing so.I just triple checked the trash, no plastic ziplock for me.
I have some, and since I don't need them on my Gen I, you can have them. PM your address and they'll be on their way!

Edit- Since JIM beat me to the generosity, my offer is open to anybody who needs them.

 
I recently ordered these brackets, so will be referring back to this post for sure in the near future.

THANK YOU!!

 
Drat and DoubleDRAT. I don't have bushings. Even dug throught the trash, twice. Which are the new bushings? The long or short ones? If short, could a fella just grind down the stock long ones?
Small plastic ziplock - about 2" x 2".

And I suppose you could grind down the stock ones. Or, you could just call Ian, and have him send you some more ?
Hal, Thanks for all your effort on posting these how-to's. I for one certainly appreciate you for doing so.

I just triple checked the trash, no plastic ziplock for me.
Since I have a gen I, you can have my bushings. PM me an addy and they are on the way

Jim


Hal, Thanks for all your effort on posting these how-to's. I for one certainly appreciate you for doing so.I just triple checked the trash, no plastic ziplock for me.
I have some, and since I don't need them on my Gen I, you can have them. PM your address and they'll be on their way!

Edit- Since JIM beat me to the generosity, my offer is open to anybody who needs them.
Vol210 and ToeCutter - THANKS guyz! I appreciate the offer. I emailed Skyway last night, and had a response this AM, 0723, saying new ones are in the mail today! What a great community this is! :yahoo: Free beer(s) for both of ya at NAFO!!

 
Free beer(s) for both of ya at NAFO!!
Said by the one guy who actually DID buy me a beer at WFO. Carver's not a "lip service" type, even if the beer was low octane. Next year....I hear Colorado has real beer!

Anybody else need some Gen II bushings?

 
Top