Wicked Webby
Right is Harder than Wrong.
Here it is my FJR Friends,
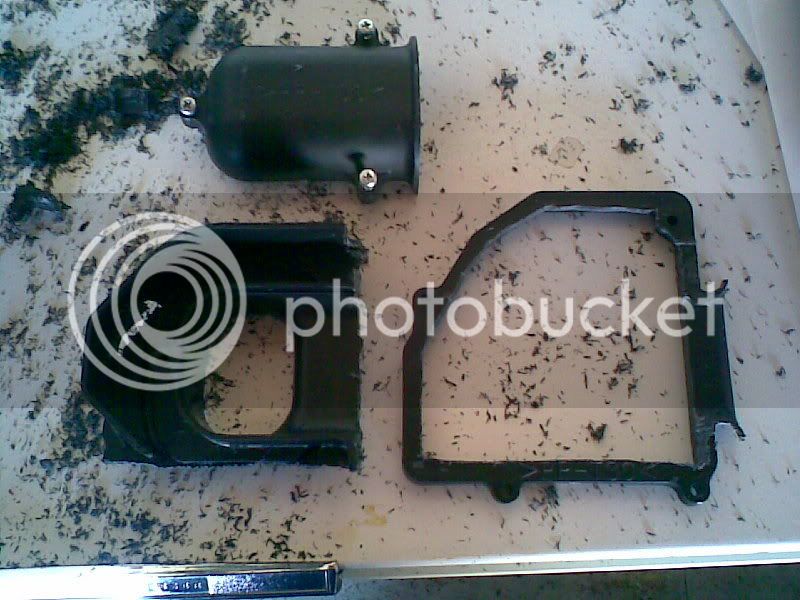
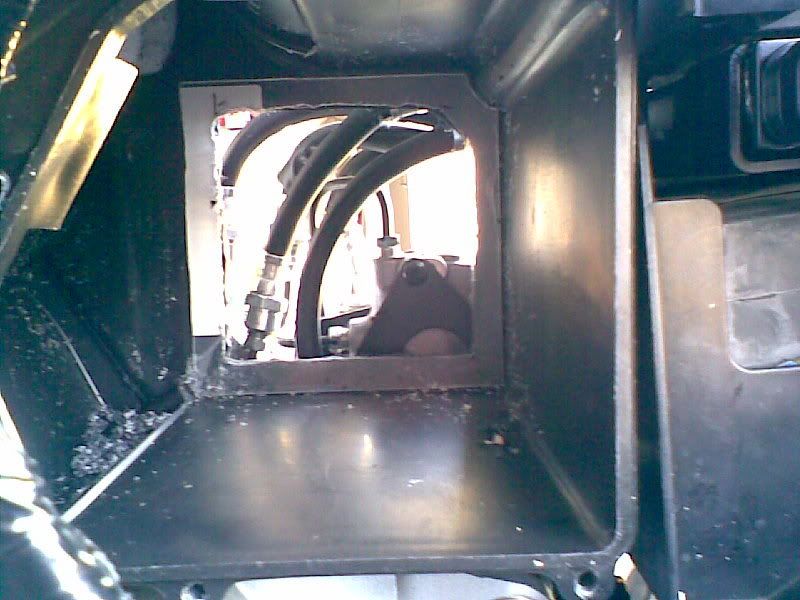
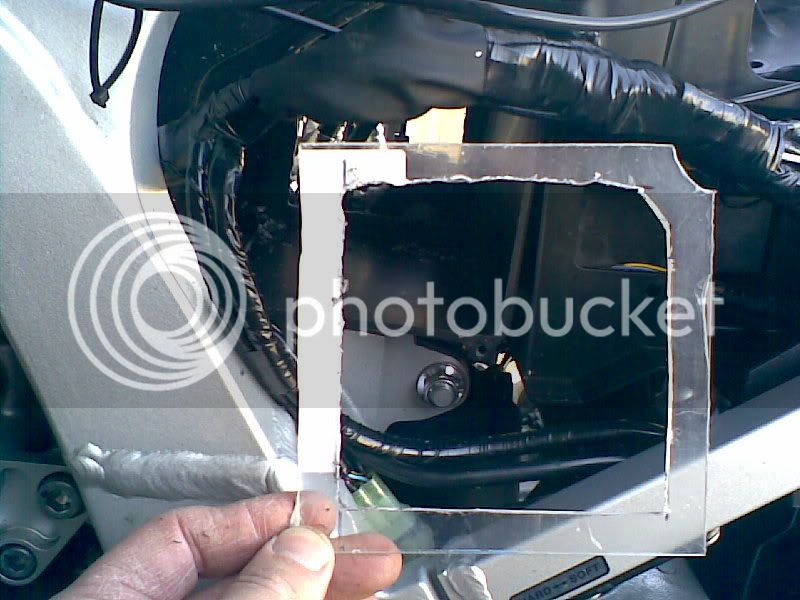
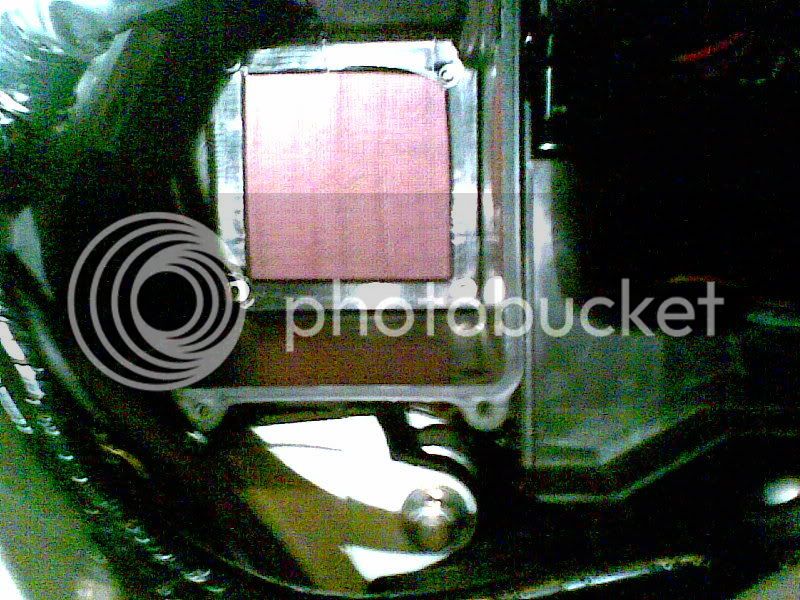
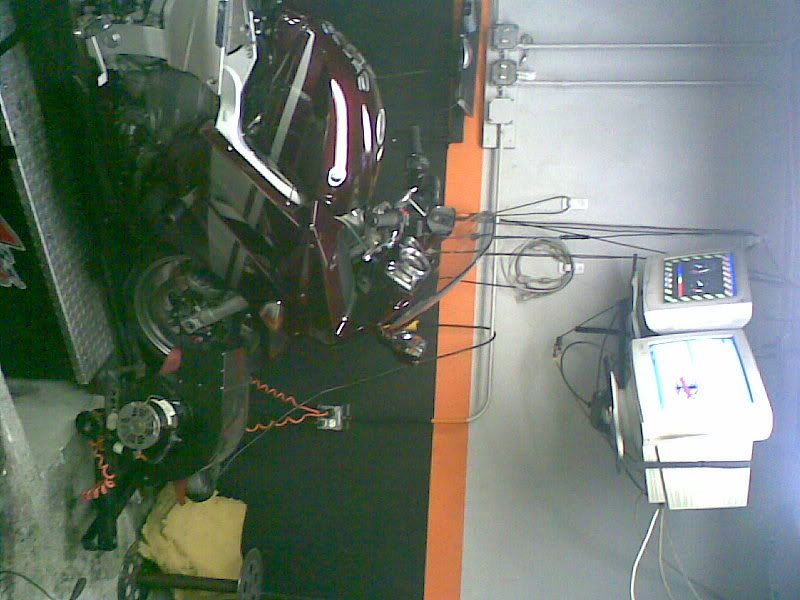
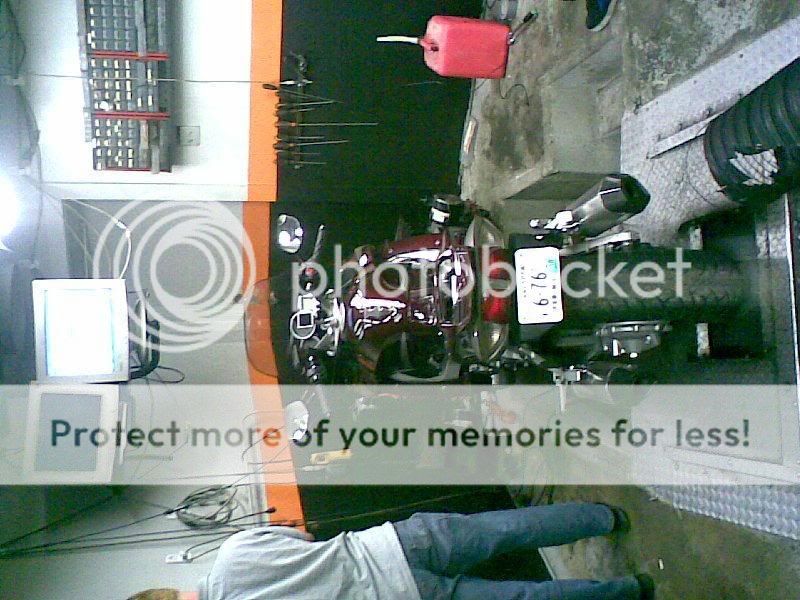
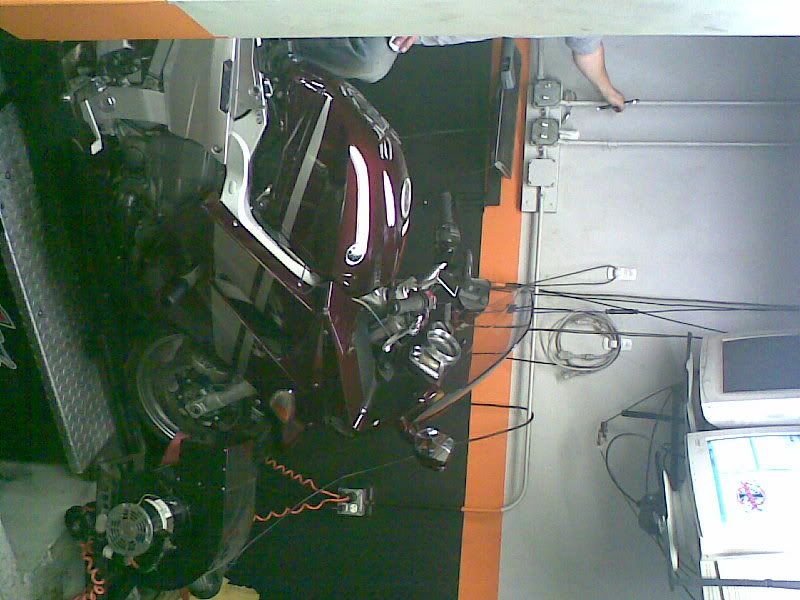
First here are some pics form my day at the dyno yesterday. Please excuse the quality as all I had was my cell phone(but it is a 1.5 megapix camera).

Well here is my dyno sheet. I spent a lot of time figuring out what is the best recipe for power and torque on my 07 FJR1300A. Burnt the shit out of my F'N tire!!
The 130.2 HP/ 94.4 FT-LBS run was my baseline with my Remus Hexacone slip ons only, with muffler baffles out, stock CO levels, completely stock air box.
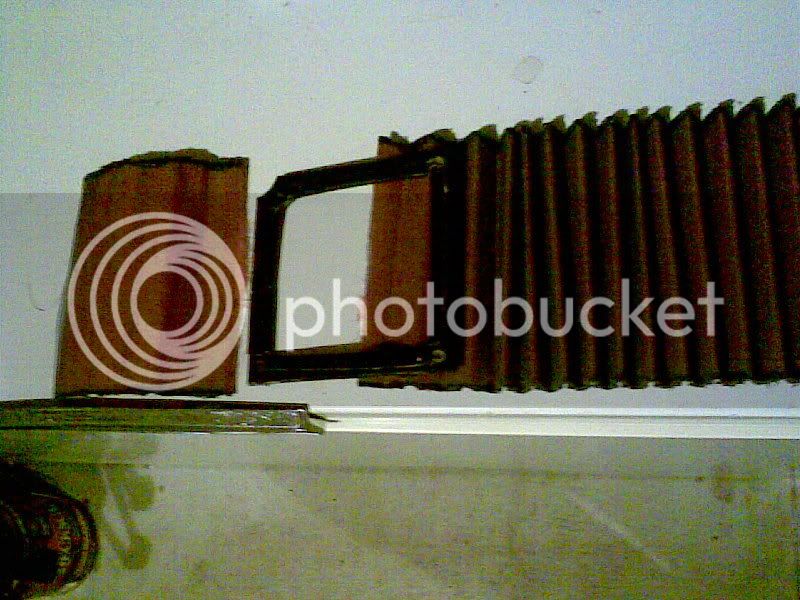
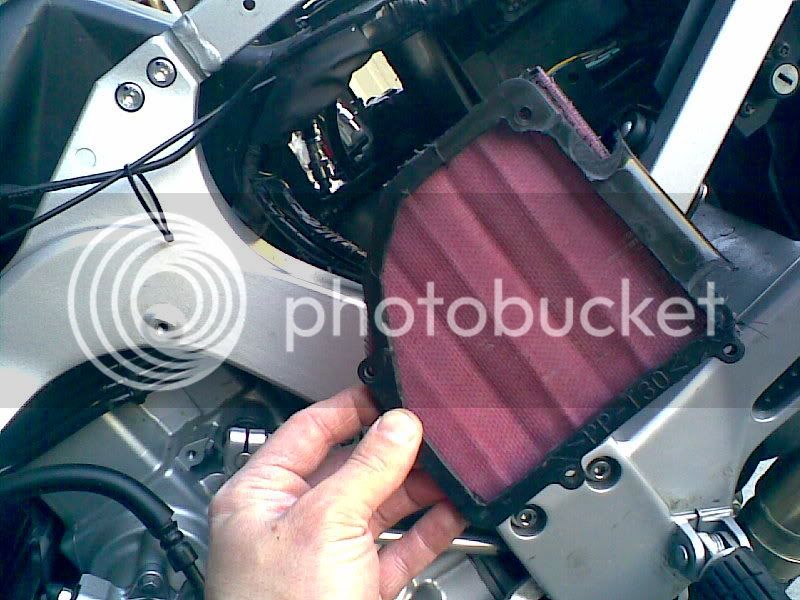
The 133 HP/ 95.6 FT-LBS run was with putting in my super duper surgery reduced funnel Air box cover (air box still stock) everything else the same!!
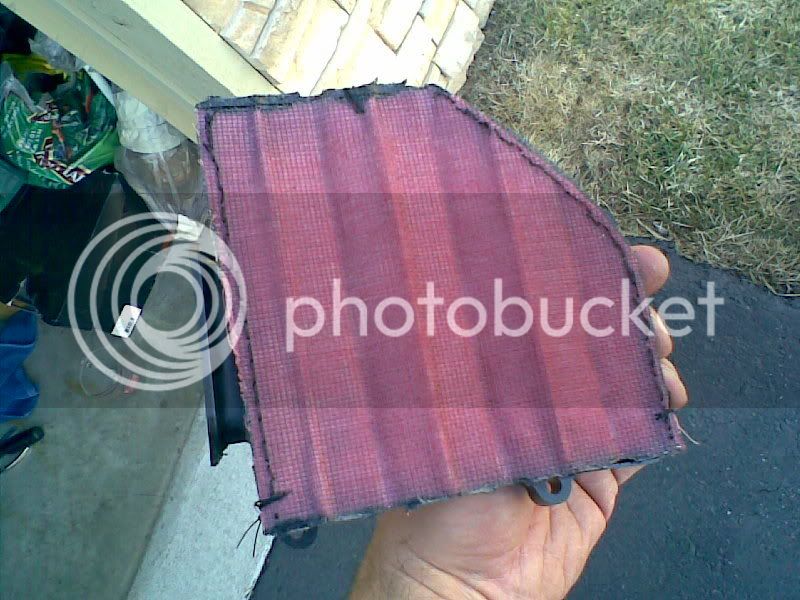
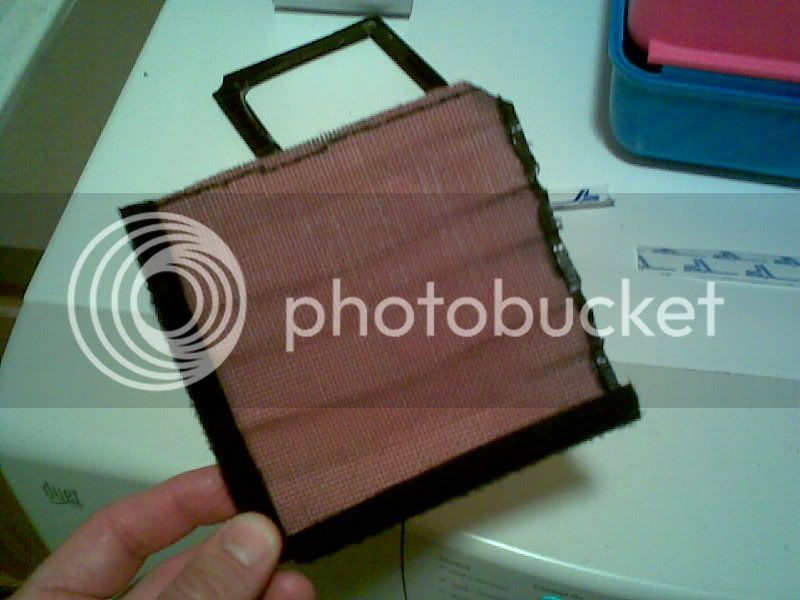
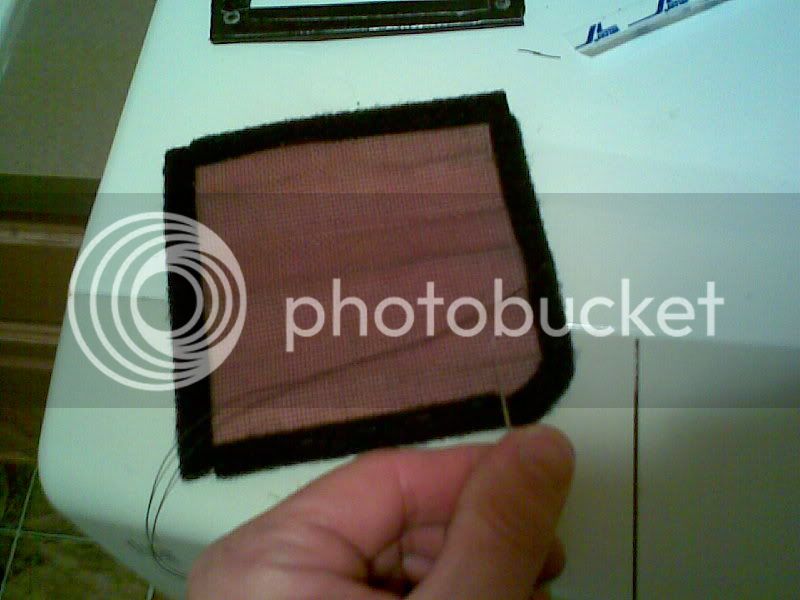
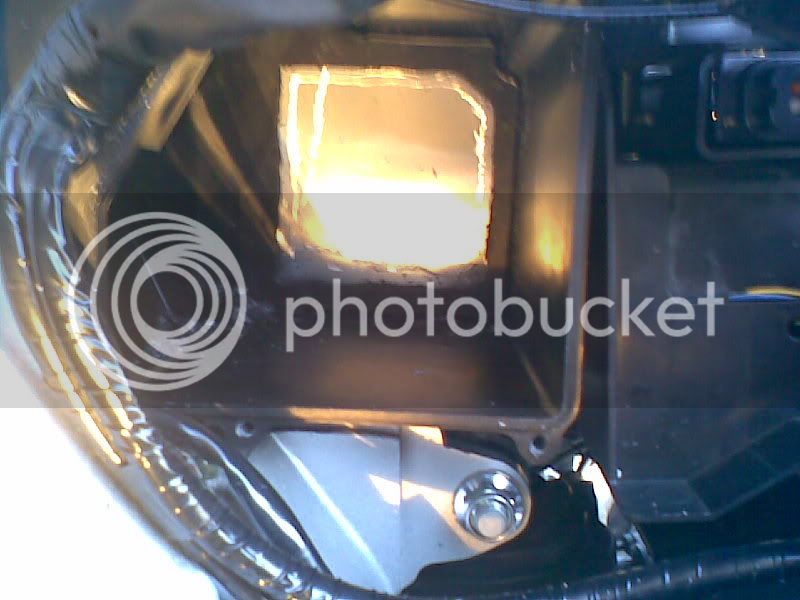
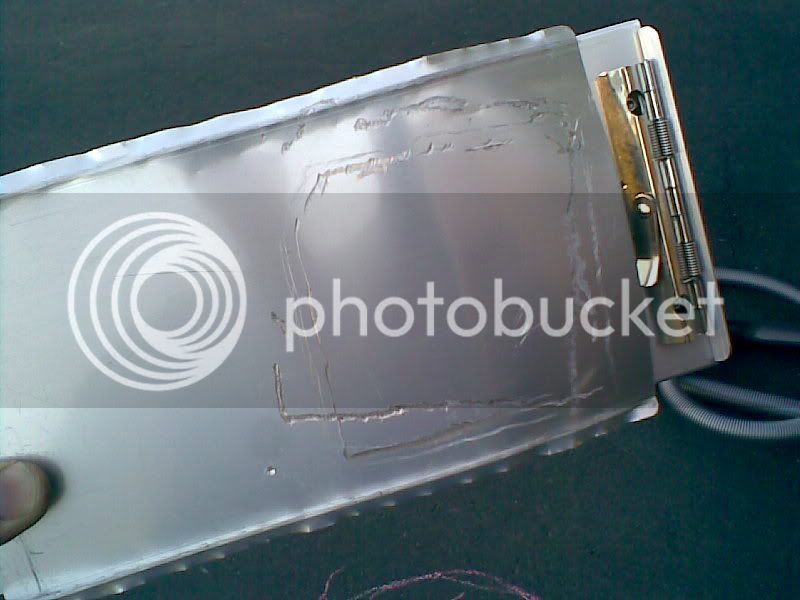
The final tuned 138.2 HP/ 96.4 FT-LBS run was with the stock air box chopped and very modified and a lot more CO values tuned in!!!
And Yes, Yes, all you INTERNET tuners and doubting Toms... I did 16 total runs and various levels of CO values, air box changes, baffles ins and baffles out. Burnt my tire up!! I am no novice to the dyno or tuning bikes and I found the sweet setup for the 07FJR1300A with only slip ons, the barbarian mod tuning and a very much customized BUT cheap air box set up!! My pocket book is empty but I love the results.
BTW, If some of you remember... After I did the funnel reduction on the air box horn. I did a TBS and cylinders #1 and #2 both needed a lot of adjustment to even out the extra air they were now getting.
Also, I don't think this matters much but I am running the iridium plugs. Just for those who are interested in knowing exactly what I have done to my bike. I am not claiming iridium plugs give you HP gains, even though some claim they do.
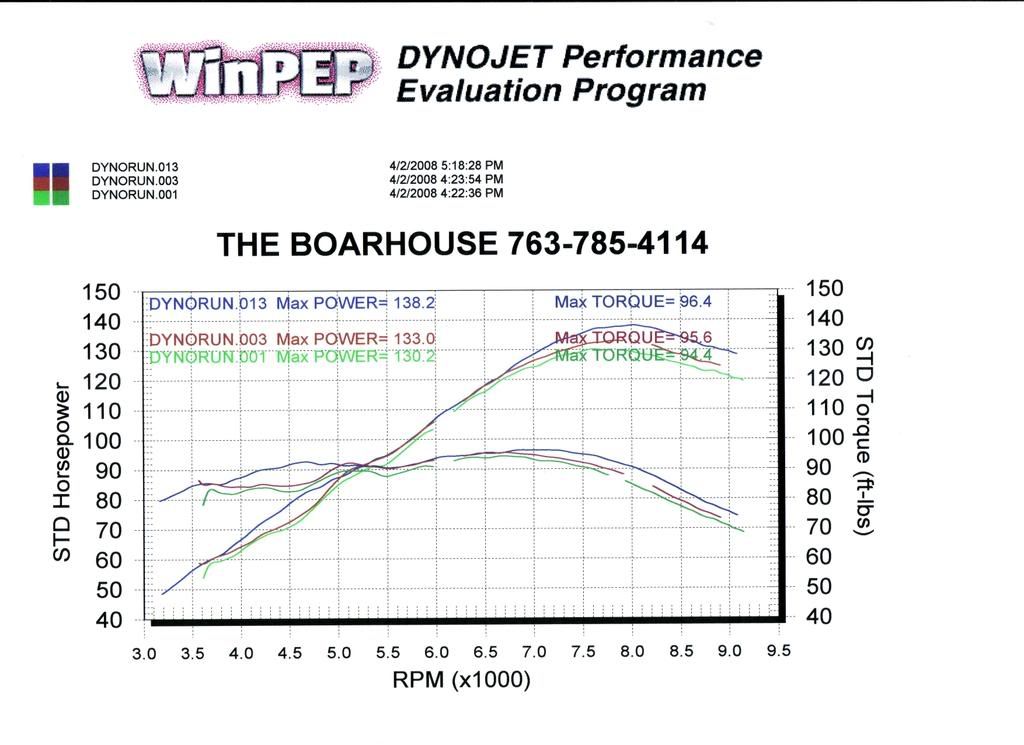
It should be noted.. The Boarhouse's dyno is notorious around these parts for reading lower than other guys around here (Hypersports, Silverback ect ect ect). When I rolled my FJR in, the owner and my very helpful dyno helper asked me what do the magazines usually say this bike has at the tire. I told them It is usually around 124 to 128 depending on the magazine and their dyno. They laughed and the my helper predicted 116 at the tire on this dyno. The owner said that he thought my slip ons looked pretty free flowing and he predicted 119. HaHAHAHAHAHAHAHAHA!!!!
More to come fellas. I am waiting for another member (here on this forum) to pitch in for his half of this endeavor!! Then I will be sharing my recipe for this with whoever wants to benefit from my research, time, and money spent. This forum has been really AWESOME about sharing quality info and I do not intend to do anything but!!!
:yahoo: :yahoo: :yahoo: :yahoo: :yahoo:
WW
First here are some pics form my day at the dyno yesterday. Please excuse the quality as all I had was my cell phone(but it is a 1.5 megapix camera).
Well here is my dyno sheet. I spent a lot of time figuring out what is the best recipe for power and torque on my 07 FJR1300A. Burnt the shit out of my F'N tire!!
The 130.2 HP/ 94.4 FT-LBS run was my baseline with my Remus Hexacone slip ons only, with muffler baffles out, stock CO levels, completely stock air box.
The 133 HP/ 95.6 FT-LBS run was with putting in my super duper surgery reduced funnel Air box cover (air box still stock) everything else the same!!
The final tuned 138.2 HP/ 96.4 FT-LBS run was with the stock air box chopped and very modified and a lot more CO values tuned in!!!
And Yes, Yes, all you INTERNET tuners and doubting Toms... I did 16 total runs and various levels of CO values, air box changes, baffles ins and baffles out. Burnt my tire up!! I am no novice to the dyno or tuning bikes and I found the sweet setup for the 07FJR1300A with only slip ons, the barbarian mod tuning and a very much customized BUT cheap air box set up!! My pocket book is empty but I love the results.
BTW, If some of you remember... After I did the funnel reduction on the air box horn. I did a TBS and cylinders #1 and #2 both needed a lot of adjustment to even out the extra air they were now getting.
Also, I don't think this matters much but I am running the iridium plugs. Just for those who are interested in knowing exactly what I have done to my bike. I am not claiming iridium plugs give you HP gains, even though some claim they do.
It should be noted.. The Boarhouse's dyno is notorious around these parts for reading lower than other guys around here (Hypersports, Silverback ect ect ect). When I rolled my FJR in, the owner and my very helpful dyno helper asked me what do the magazines usually say this bike has at the tire. I told them It is usually around 124 to 128 depending on the magazine and their dyno. They laughed and the my helper predicted 116 at the tire on this dyno. The owner said that he thought my slip ons looked pretty free flowing and he predicted 119. HaHAHAHAHAHAHAHAHA!!!!
More to come fellas. I am waiting for another member (here on this forum) to pitch in for his half of this endeavor!! Then I will be sharing my recipe for this with whoever wants to benefit from my research, time, and money spent. This forum has been really AWESOME about sharing quality info and I do not intend to do anything but!!!
:yahoo: :yahoo: :yahoo: :yahoo: :yahoo:
WW
Last edited by a moderator: