MarFJR
URGNT
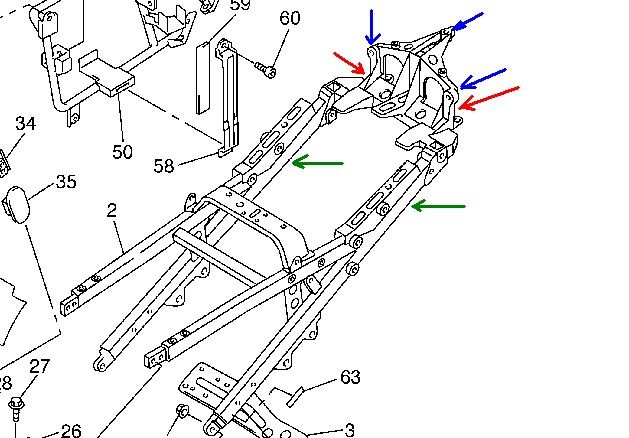
2 Simple bolts that are an absolute PITA to get off and on. Between the center stand and getting the holes to line up with the new ones…
This is my improvised fix for getting the back end off the ground. With this litte set up and a car jack I was able to get this done myself.
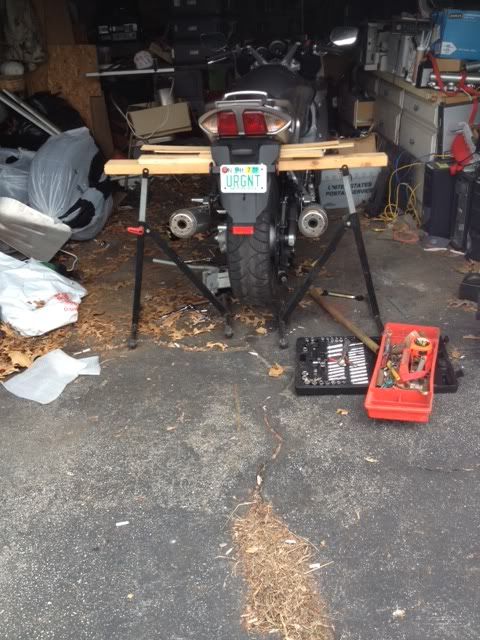
And it is off the center stand so I could move that around freely.
This is my improvised fix for getting the back end off the ground. With this litte set up and a car jack I was able to get this done myself.
And it is off the center stand so I could move that around freely.