


Posted this elsewhere, and thought I'd post here too, in case it would be of use to anyone.
After years of using a Camelback in a small backpack for long rides in hot weather, I decided to figure something out that could be carried by the bike. The pack that started as cool and weightless in the morning, began to be cumbersome and hot after a few hours.
In the FJR world, there are a couple of hydration systems which are using an Igloo jug mounted on a metal bracket which is bolted to the rear footpeg. While I really like the looks of the peg-mounted hydration systems, I thought it might be nice to have one put together of readily-available materials, and easily transferrable among bikes.
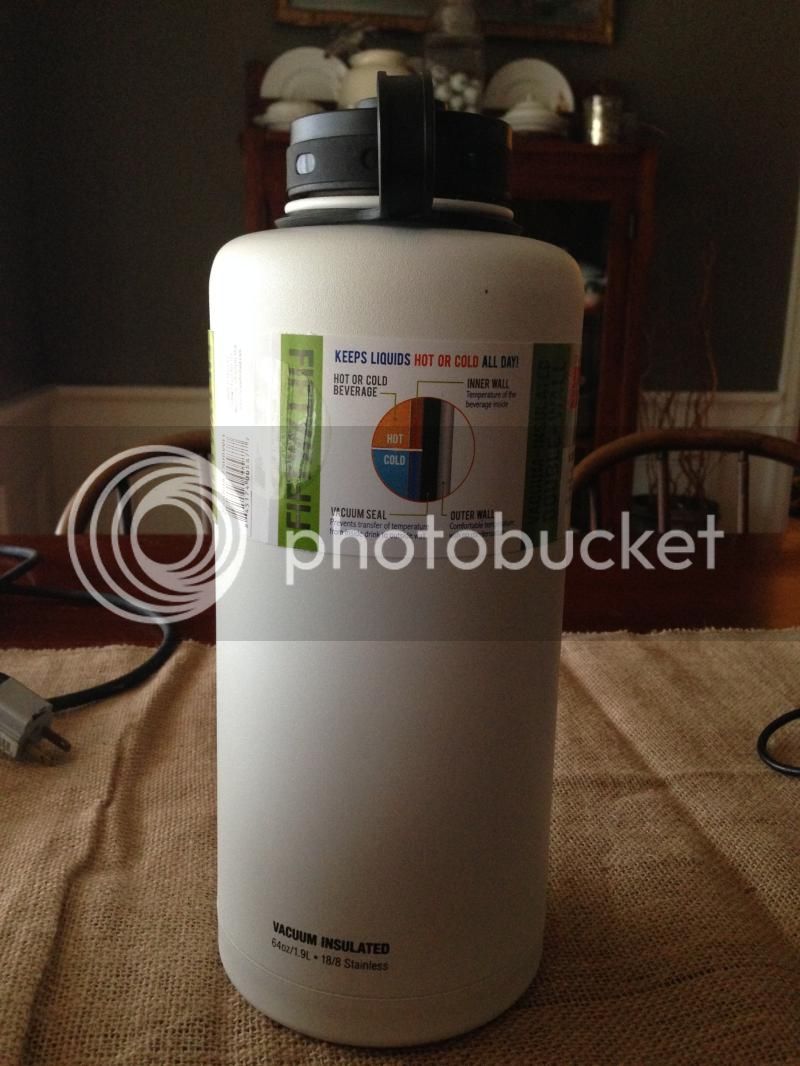
Based on manufacturer's measurements, it looked like the Lifeline 64oz stainless insulated jug...
https://www.amazon.com/gp/product/B00E63TI32/ref=pd_lpo_sbs_dp_ss_1?pf_rd_p=1944687742&pf_rd_s=lpo-top-stripe-1&pf_rd_t=201&pf_rd_i=B00BJHS6RM&pf_rd_m=ATVPDKIKX0DER&pf_rd_r=0HSK81AGEQ6R329K1857
Would fit nicely inside the Maxpedition insulated jug bag.
https://www.amazon.com/gp/product/B001DRJHAI/ref=oh_aui_detailpage_o02_s00?ie=UTF8&psc=1
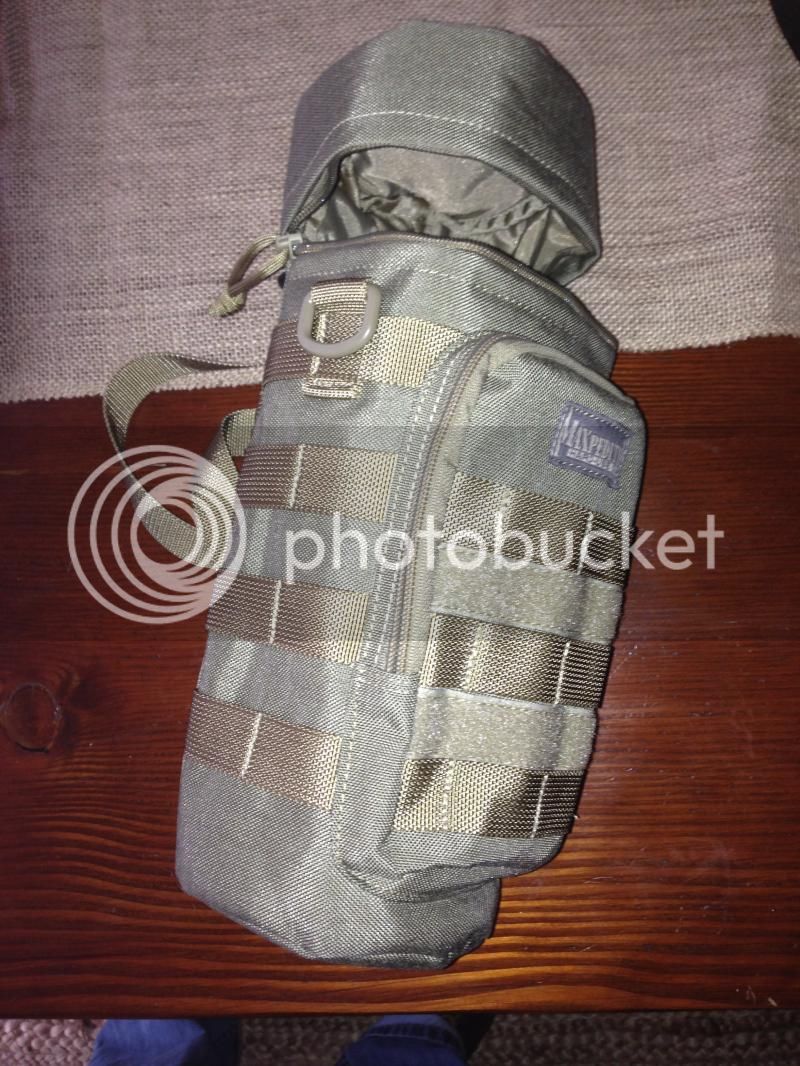
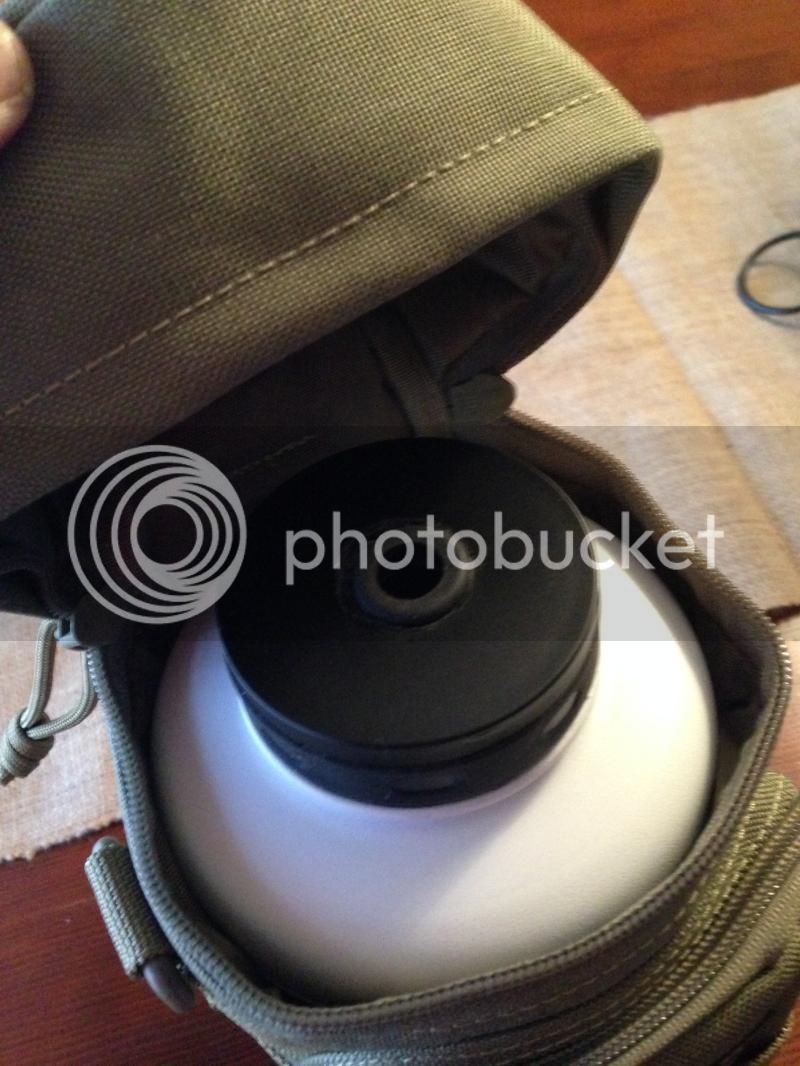
And it does, perfectly.
The first order of business was to remove the cap retainer. I drilled a 1/4" pilot hole in the top, and snapped it free.


I then used a 5/8" forstner bit to enlarge the hole to accomodate a water line.
The cap is actually double-walled, with only an air gap in between layers, so there were actually two holes to drill.
Using 3/4 OD rubber grommets, I cleaned up both holes a bit

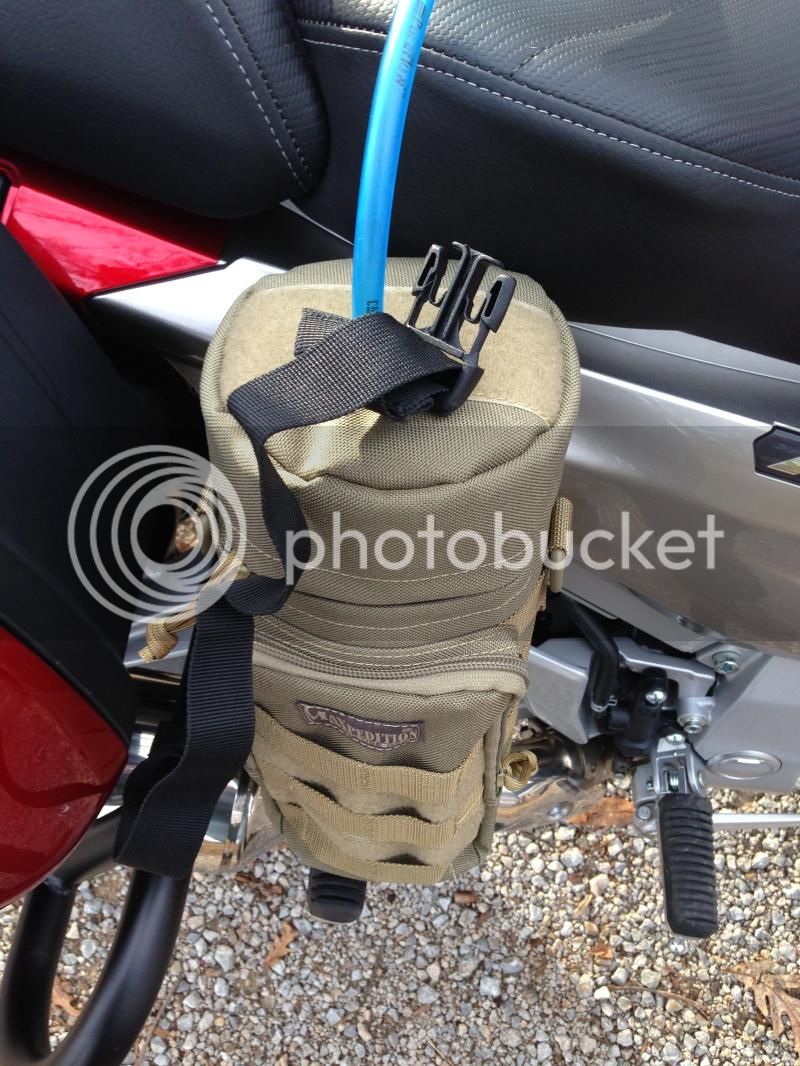
Now for the top of the bag. A brass grommet worked nicely to accomodate the line while keeping the jug zipped in. All three holes are very slighly oversized, so I offset all three just a bit from the others, to make sure the water line stayed secure.
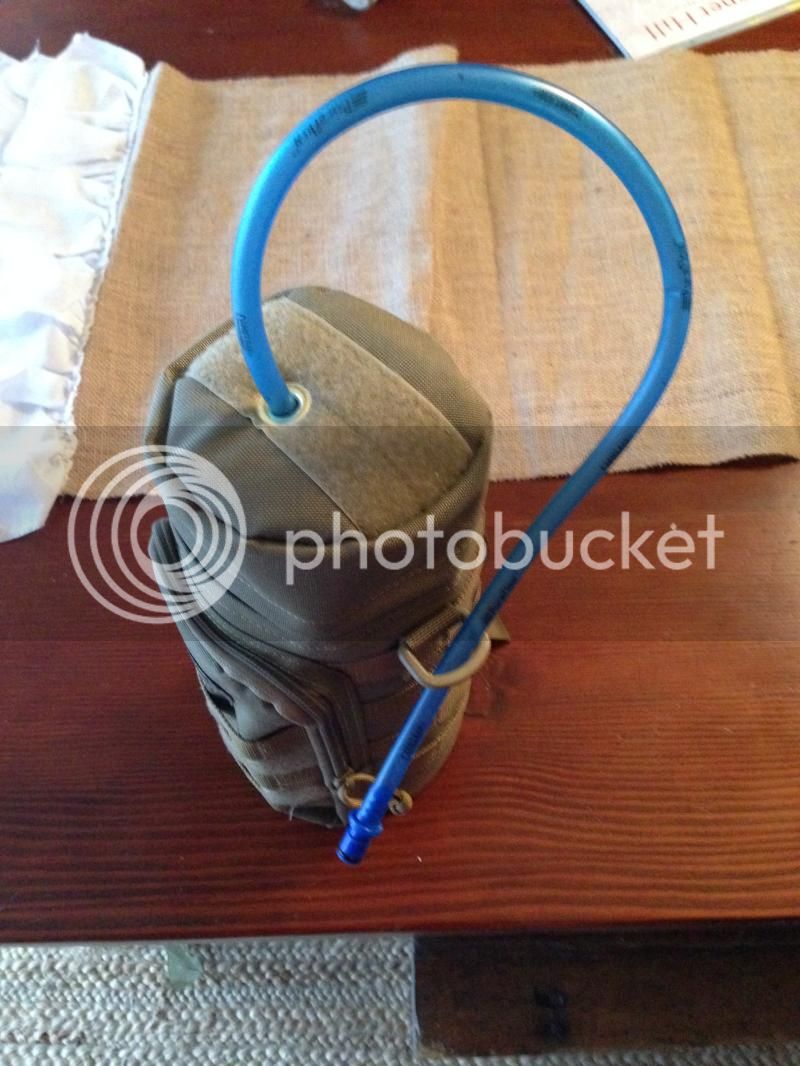
I'm very happy with the results. The loop velcro on the top of the bag lends itself to further securing the line, or placing a dust cover over the holes. The front of the bag has a pocket which will work great for small items, extra bite valves, tire gauge, etc.

I'm using a quick coupler on the line so the tube can stay in the lid when I pull the jug from the bike to fill it.
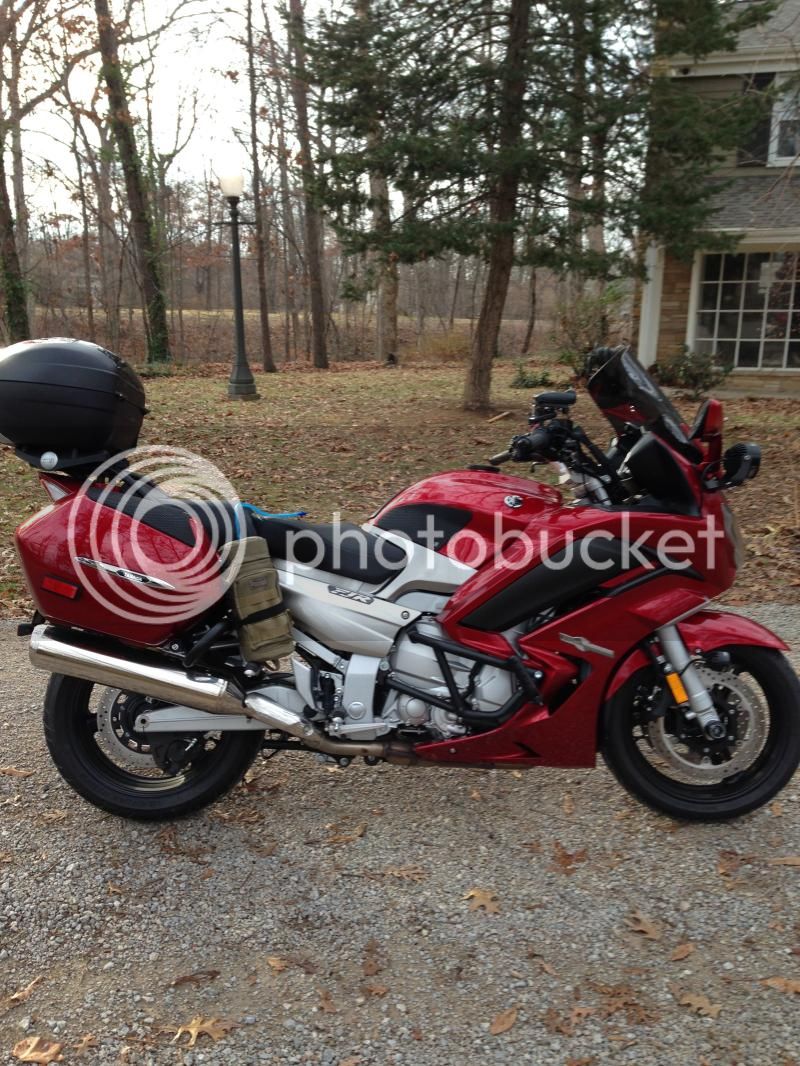
The bag will sit on the passenger peg and be tied to the bag guard using a nylon strap with a quick-release buckle. The strap can pass through any of the dozens of nylon loops on the outside of the bag. Once tightened, the bag can't move in any direction. It could also be tied to the subframe or rear rack just as easily,
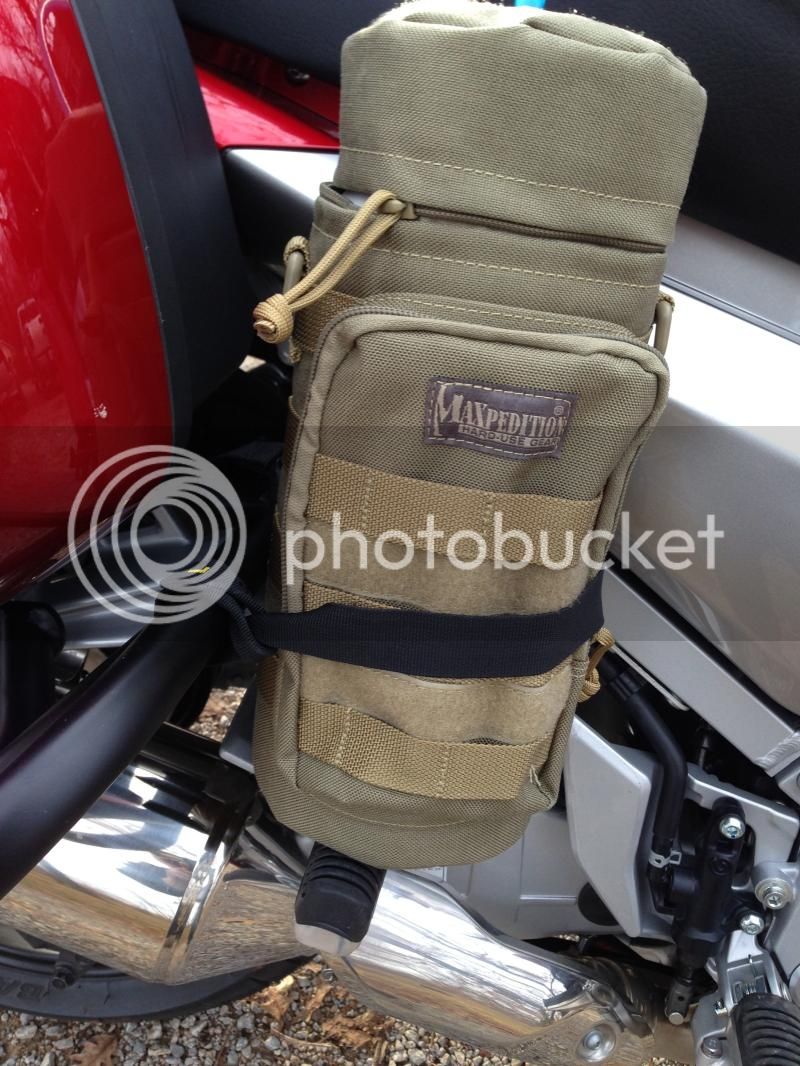
While I think a black bag (also available), would've looked really nice, the tan was a few bucks cheaper, and even though the jug and the bag are both insulated, the lighter color seemed more useful for keeping things cooled.
After years of using a Camelback in a small backpack for long rides in hot weather, I decided to figure something out that could be carried by the bike. The pack that started as cool and weightless in the morning, began to be cumbersome and hot after a few hours.
In the FJR world, there are a couple of hydration systems which are using an Igloo jug mounted on a metal bracket which is bolted to the rear footpeg. While I really like the looks of the peg-mounted hydration systems, I thought it might be nice to have one put together of readily-available materials, and easily transferrable among bikes.
Based on manufacturer's measurements, it looked like the Lifeline 64oz stainless insulated jug...
https://www.amazon.com/gp/product/B00E63TI32/ref=pd_lpo_sbs_dp_ss_1?pf_rd_p=1944687742&pf_rd_s=lpo-top-stripe-1&pf_rd_t=201&pf_rd_i=B00BJHS6RM&pf_rd_m=ATVPDKIKX0DER&pf_rd_r=0HSK81AGEQ6R329K1857
Would fit nicely inside the Maxpedition insulated jug bag.
https://www.amazon.com/gp/product/B001DRJHAI/ref=oh_aui_detailpage_o02_s00?ie=UTF8&psc=1


And it does, perfectly.
The first order of business was to remove the cap retainer. I drilled a 1/4" pilot hole in the top, and snapped it free.


I then used a 5/8" forstner bit to enlarge the hole to accomodate a water line.
The cap is actually double-walled, with only an air gap in between layers, so there were actually two holes to drill.
Using 3/4 OD rubber grommets, I cleaned up both holes a bit

Now for the top of the bag. A brass grommet worked nicely to accomodate the line while keeping the jug zipped in. All three holes are very slighly oversized, so I offset all three just a bit from the others, to make sure the water line stayed secure.


I'm very happy with the results. The loop velcro on the top of the bag lends itself to further securing the line, or placing a dust cover over the holes. The front of the bag has a pocket which will work great for small items, extra bite valves, tire gauge, etc.

I'm using a quick coupler on the line so the tube can stay in the lid when I pull the jug from the bike to fill it.
The bag will sit on the passenger peg and be tied to the bag guard using a nylon strap with a quick-release buckle. The strap can pass through any of the dozens of nylon loops on the outside of the bag. Once tightened, the bag can't move in any direction. It could also be tied to the subframe or rear rack just as easily,


While I think a black bag (also available), would've looked really nice, the tan was a few bucks cheaper, and even though the jug and the bag are both insulated, the lighter color seemed more useful for keeping things cooled.

")