I have spent the past couple of weekends taking my 'new' 2019 apart or at least uncovering so I could get to the battery and appropriate locations to wire in a new power center, PC-8 from a company based in Japan called Eastern Beaver. They sell fuse blocks, wiring harnesses that are bike-specific among other electrical things. Good email communication though they did not have a PDF guide to doing the install. Since I have had these on previous bikes, including an older FJR, I was not at a total loss however there were some key tips I got via email support, like which mainline fuse went where (there are two)!
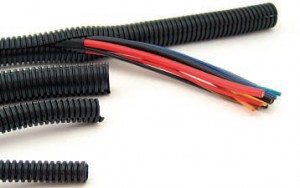
The biggest issue for many will be routing wires up and around the gas tank and then around the right side of the battery to tap into power. They provided a clever bit of connectivity that allowed to connect into the cable that powers the license plate light as a trigger. Their male and female links worked perfectly, even if it was a close fit.
I recorded multiple short clips to show what all I went through and then spliced them together in what I hope is a helpful bit of a walk-through. It is a bit over 500MB so not even sure if I will be allowed to upload here... And I was not. So I split it into two separate videos, MP4. And I cannot upload that either. OK, will keep trying. Maybe I can break it into 3 different videos... dang.
Was able to grab some pix to show parts of the install however.
Keith Quigley
2019 FJR1300
2020 XMax


")