


70bsalightning
Member
Read the posts on right side cowling removal/installation for 2007 FJR.
Wish to confirm that I MUST remove the front cowling (kaitsdad's post: https://www.fjrforum.com/forum//index.php?showtopic=116788) to access the two inside bolts at the lower front side of the right cowling (the two brackets in the pic of a new right cowling panel). No other way?
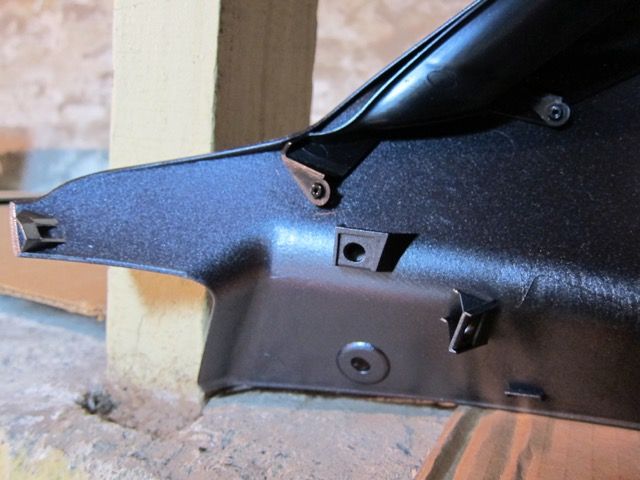
Wish to confirm that I MUST remove the front cowling (kaitsdad's post: https://www.fjrforum.com/forum//index.php?showtopic=116788) to access the two inside bolts at the lower front side of the right cowling (the two brackets in the pic of a new right cowling panel). No other way?
