Iron Butt Mods..

Yamaha FJR Motorcycle Forum

Help Support Yamaha FJR Motorcycle Forum:

This site may earn a commission from merchant affiliate links, including eBay, Amazon, and others.

Dj'sFJR

Well-known member
Joined
Nov 30, 2006
Messages
57
Reaction score
0
Location
Mont Belvieu, TX
Well maybe "Semi-Iron butt mods". I should have done this a long time ago...having made several long hauls over the past couple of years, figured I'd make a few changes before the wife and I make our journey to TN, NC and VA. Looking foward to finishing the first 'real' set of mods to the FJR.

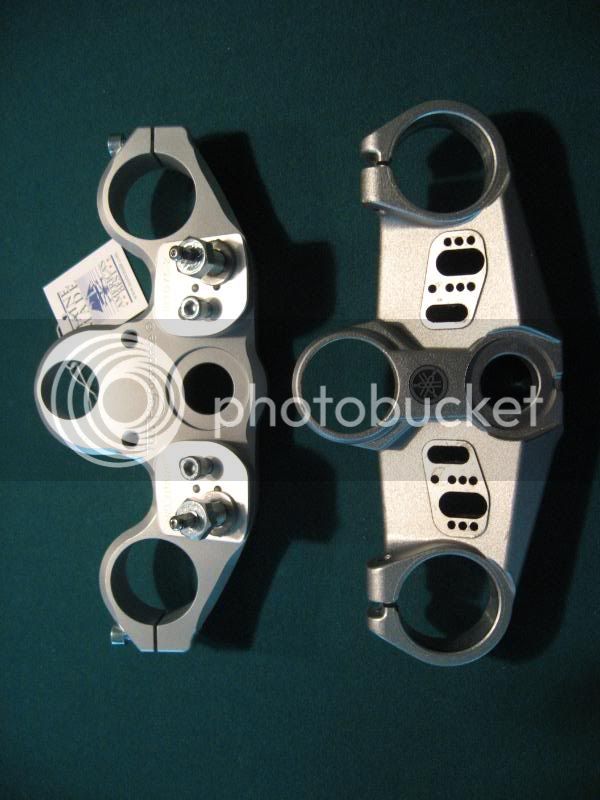
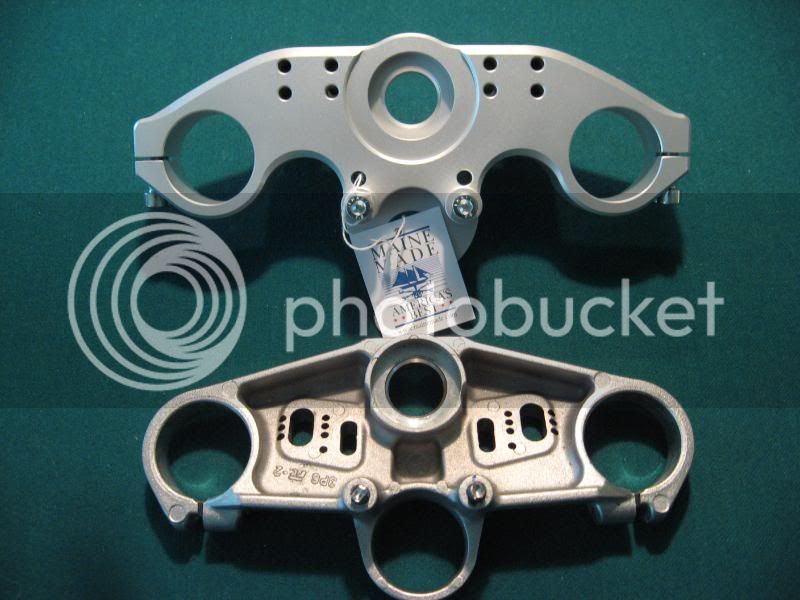
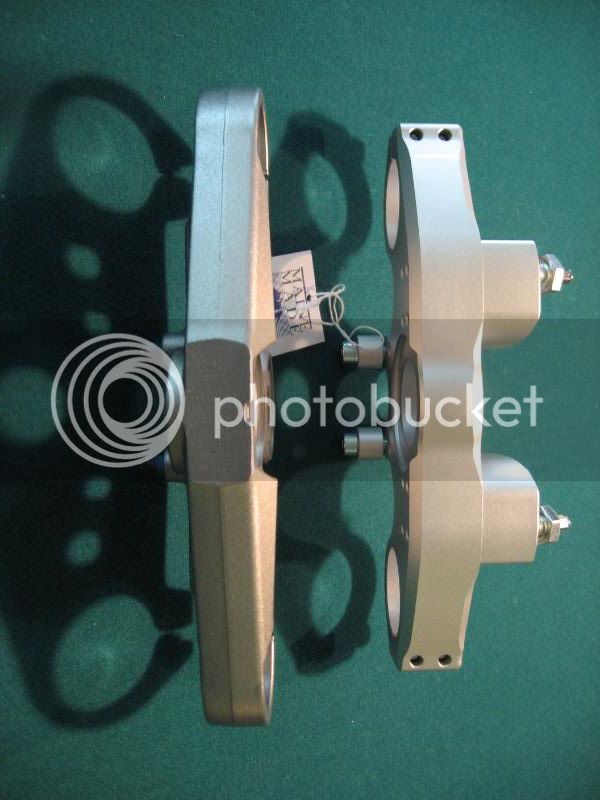
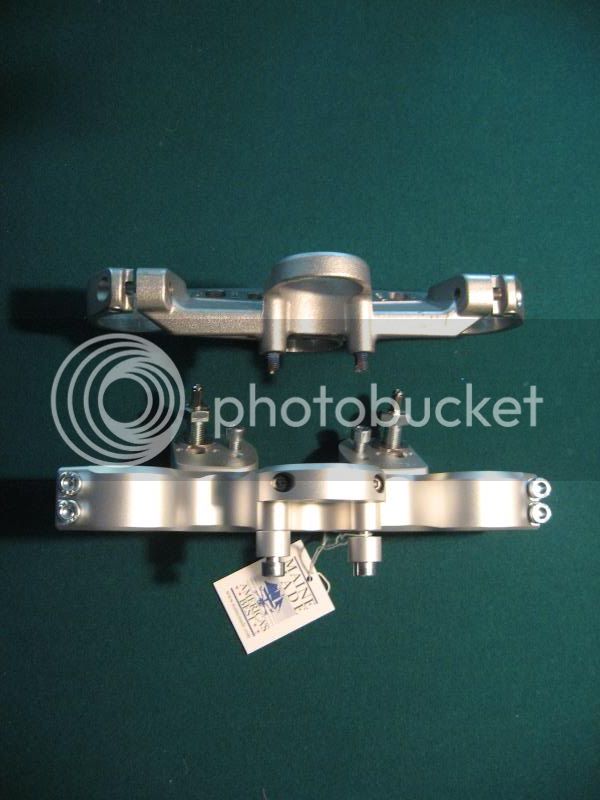
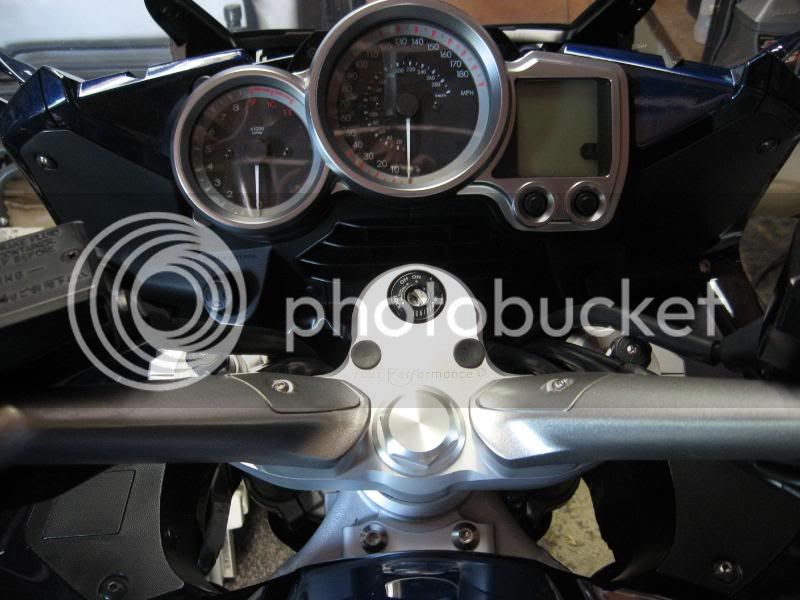
Got everything ready for the Helibar triple clamp that will be here monday. (BTW...anyone deciding to do this mod buy a 'new' set of good, proper size drill bits before tackling the ignition studs, damn that was a PITA). Yes it would have been much easier drilling the two studs with the stock triple clamp OFF the bike (even easier with a drill press as others have mentioned) but I decided to do it without having to prop up the tank or unplug the ignition wires.

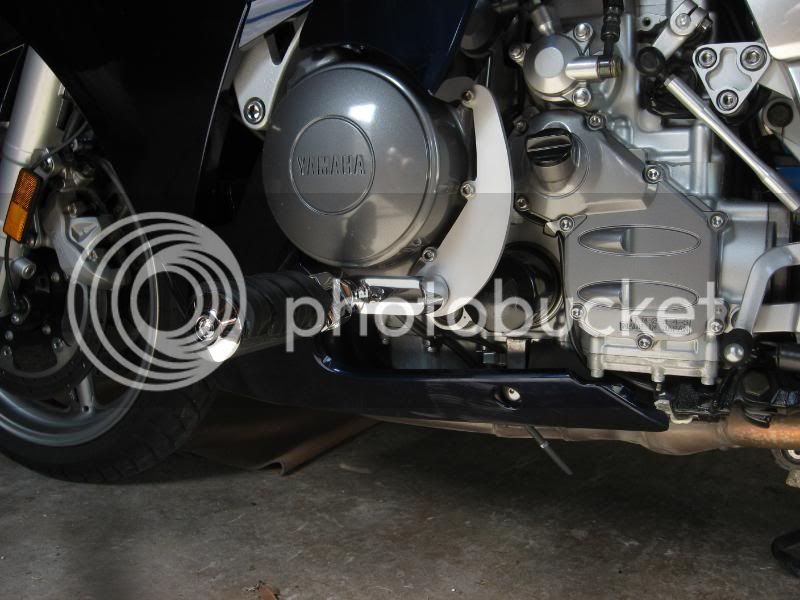
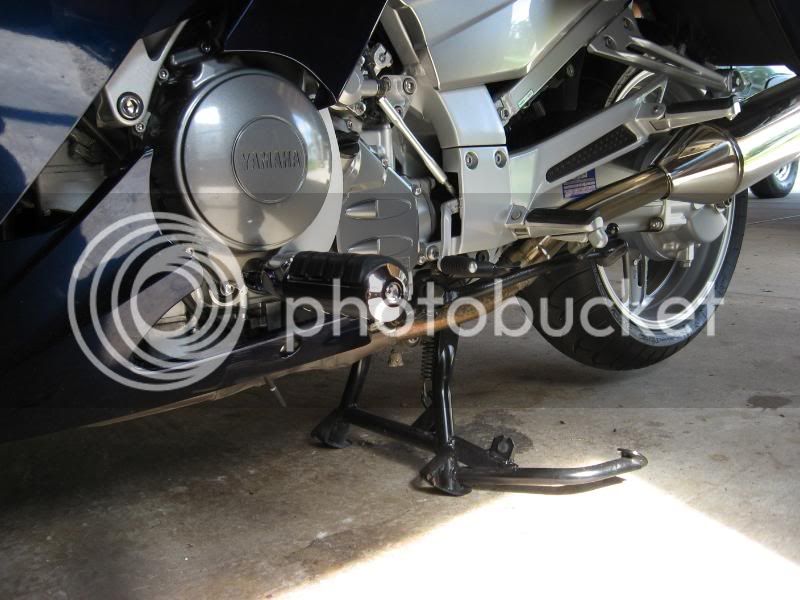
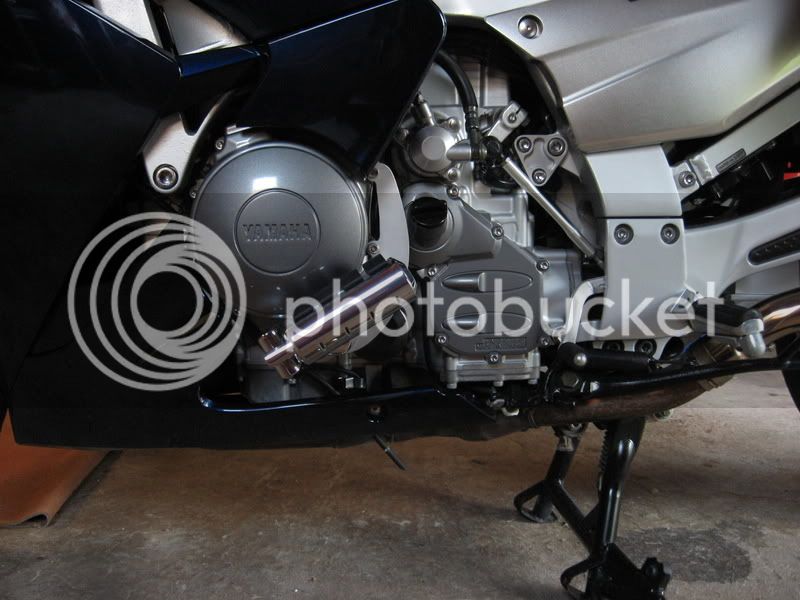
I was on the fence about which highway peg set up to go with. After quite a bit of research I decided on Wild Bills mounting plates along with the Kuryakyn offsets and pegs, identical to FuzzyRiders. Bill and Terry thank you so much for all the answered questions. I couldn't be happier with the way everything turned out, awesome work. What a great mod...!! Functional and looks great.

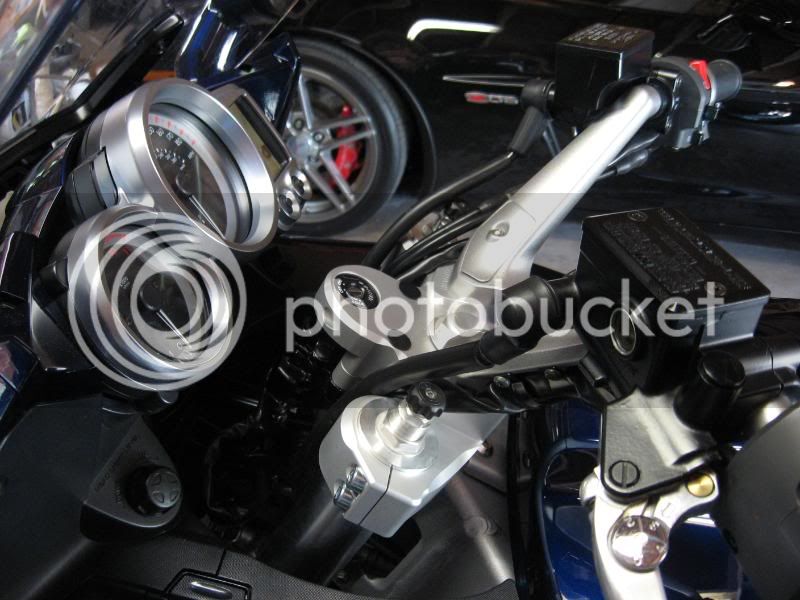
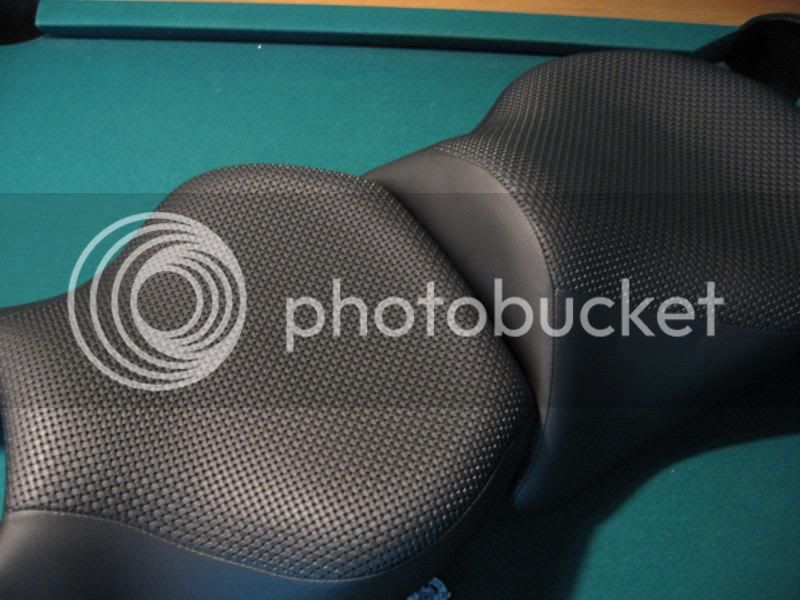
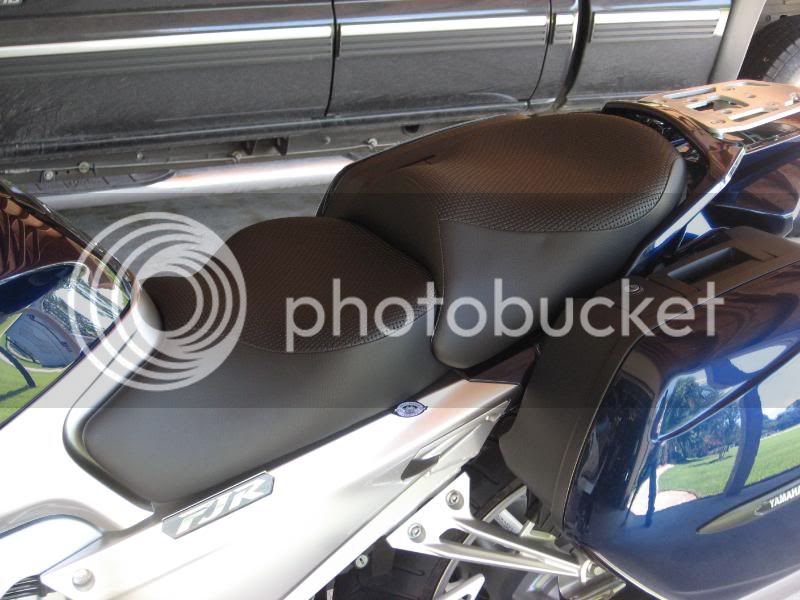
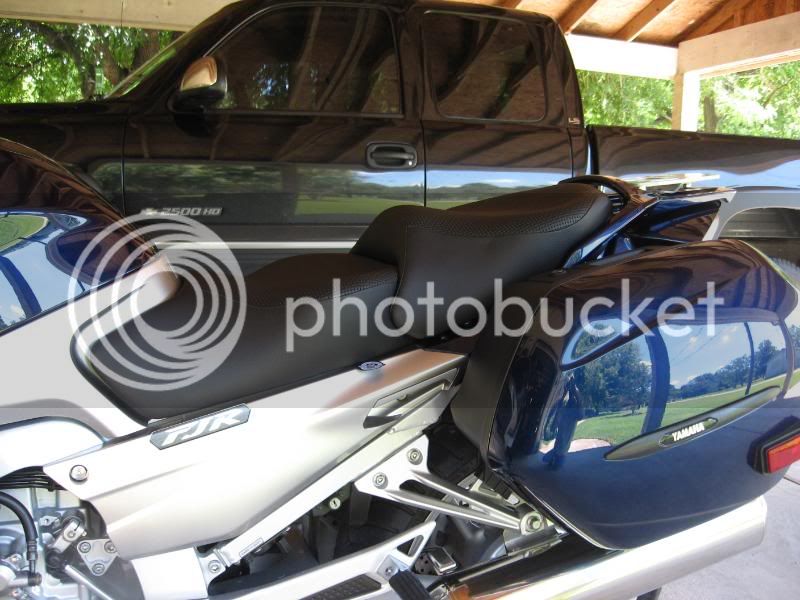
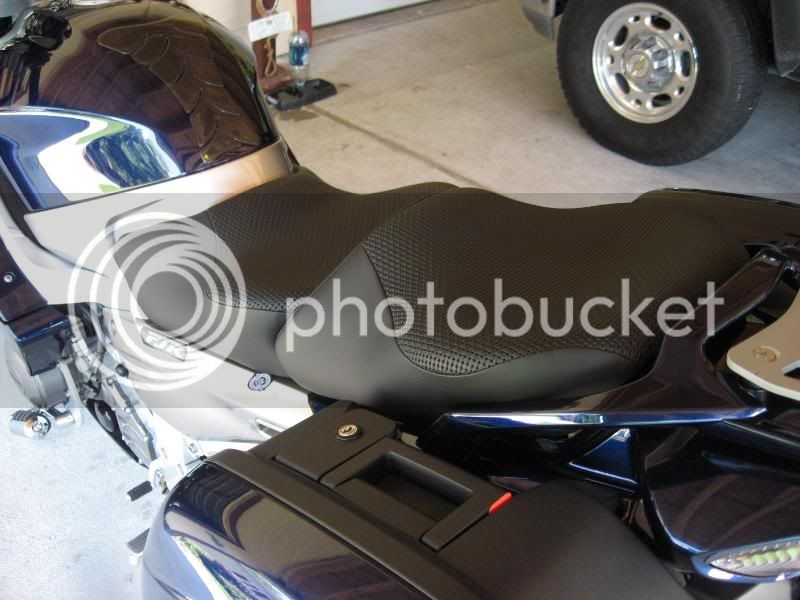
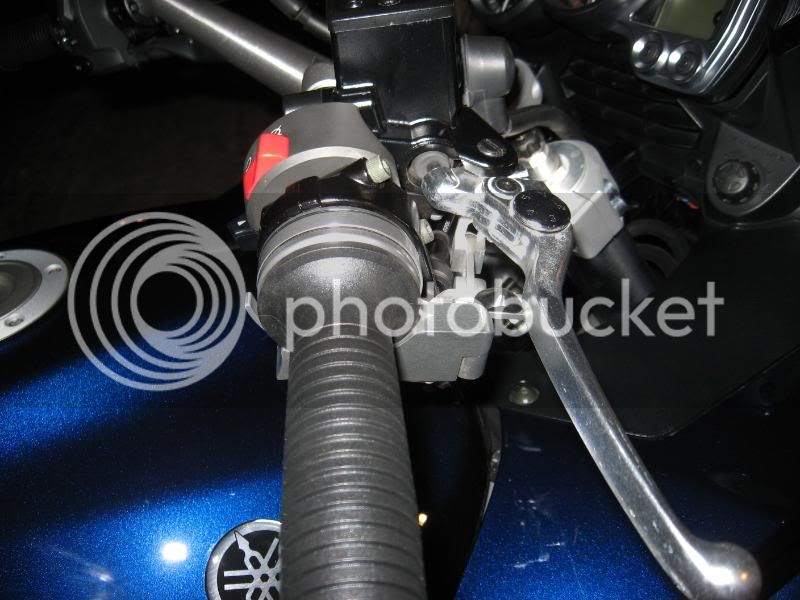
Went with the BMW sport grips (big improvement) for $9.00 each you can't beat it. Now just waiting on the Bill Mayer custom seats that will be here next week, Knifemakers passenger floorboards and she'll be ready for the long haul... :D

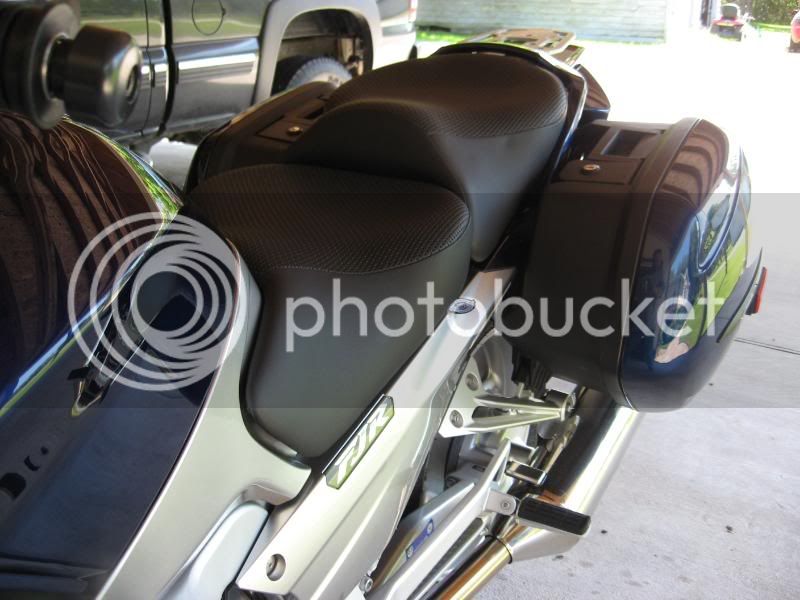
I really couldn't be happier with the way Wild Bills Highway mounts look (the color is damn close to the engine/frame color which was a pleasent surprise) along with the Kuryakyn offsets and pegs. Here's a few pics...I'll post more when everything is buttoned up the floorbords installed and the seats come back from BM.
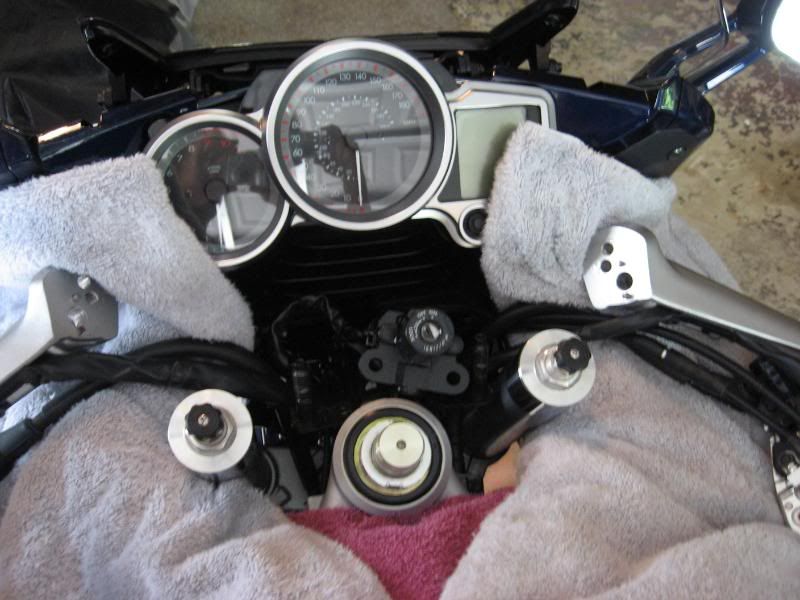
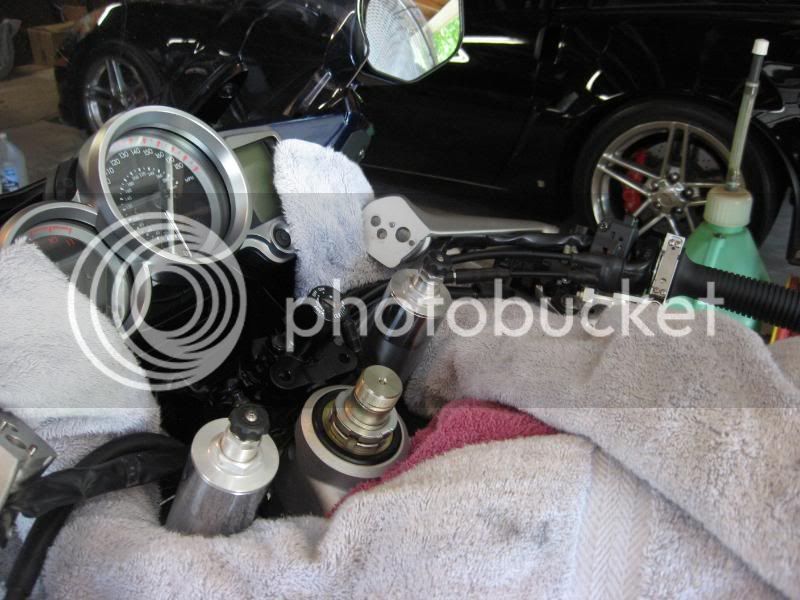
IMG_0949.jpg


IMG_0948.jpg


IMG_0950.jpg


IMG_0952.jpg


IMG_0953.jpg


IMG_0956.jpg


Last edited by a moderator:
Nice. I have the same highway peg set up, and ground them down a little bit for the first time while riding out at NAFO. They will touch a little bit before your pegs will, and be damn sure they are tucked up before you hit the twisties.

Same grips as you have. I think I might have to replace them in another year or so, since I am starting to really wear them down in areas after having them on for about 30K miles.

I did risers on my bike, mainly because I didn't want to fork out the money for a new tripe tree.

 
Nice. I have the same highway peg set up, and ground them down a little bit for the first time while riding out at NAFO. They will touch a little bit before your pegs will, and be damn sure they are tucked up before you hit the twisties.
Thanks for the heads up. Yeah I've read a few people having problems and some not. Guess it all comes down how loaded the bike is to how hard someone's gonna ride and what exact peg/extention set up they have off the mounts. What part of your set up hit first...?

I would think the problem is under hard decel, hard front braking and tight turn in. I may do a little experiment and post the pics afterwards. Not sure if it will tell anything because the bike will not be loaded nor front shocks compressed as it is when hard into a deep turn.

Looking forward to feeling the difference in the Helibar install...

 
Last edited by a moderator:
I'm no Iron Butt expert but if you try riding your bike like that the highway pegs will be the least of your worries! :lol:

Just messing with ya, Nice looking bike! Now go ride the sucker and get it dirty or we're going to start spreading rumors about you! ;)

JW

 
I'm no Iron Butt expert but if you try riding your bike like that the highway pegs will be the least of your worries! :lol:
Just messing with ya, Nice looking bike! Now go ride the sucker and get it dirty or we're going to start spreading rumors about you! ;)

JW
LOL...that would be one hell of a ride... :eek:

Don't let the camera shine fool ya...it's been pretty damn dirty over the past 2 years. Gotta keep her clean when I can though...

Guess I'll have to post some dirty pics from the trip to show she's not a garage queen...lol...actually I only sit on her and make engine noises. Wonder why I get that funny ass look from my wife... :blink:

 
Last edited by a moderator:
Thanks for saying that you were able drill out the screws without taking everything apart. I just did the Helibar install today and followed your example. I didn't take evreything (fuel tank, seat, panels, disconnect wires) apart per the instructions. I had a helper which made things much, much easier; he held the the old triple clamp while I drilled.

For those who posted that they had trouble getting the Heli triple clamp on, it must have been a fluke because I had no troubles at all. I had my wife weight the back of the bike the get the front end off the ground and my helper wiggled the forks and the Heli slid right into place. The total time for the installation was an hour and a half.

 
My highway pegs touched down right at the joint between the peg itself, and where the peg attaches to the offset. I have mine set so that the peg folds more vertically than yours, so I wonder if yours would have ground along the length as well.

My bike was not heavily loaded at the time, I was not breaking hard, but there were a few bumps as I went through the corner. I went for a ride yesterday morning, and touched the foot pegs on both sides of the bike down, and neither of the highway pegs touched. I think it is worth while to mention that when I did grind some of the highway peg off, by some I mean a good 3/8 to 1/2 inch. I was with a group of riders, and we were ripping it up on some of the fine CO roads. The bike never felt like it wanted to grab or anything, there was just a load grinding sound, and a little extra vibration.

More than anything, I think it is EXTREMELY important to make sure the pegs are retracted (and adjusted to stay that way) when you are going to push it through corners. I am amazed when I see guys that leave these pegs down all of the time. I am constantly checking to make sure they are up before I go through a curvy section.

 
My highway pegs touched down right at the joint between the peg itself, and where the peg attaches to the offset. I have mine set so that the peg folds more vertically than yours, so I wonder if yours would have ground along the length as well.
My bike was not heavily loaded at the time, I was not breaking hard, but there were a few bumps as I went through the corner. I went for a ride yesterday morning, and touched the foot pegs on both sides of the bike down, and neither of the highway pegs touched. I think it is worth while to mention that when I did grind some of the highway peg off, by some I mean a good 3/8 to 1/2 inch. I was with a group of riders, and we were ripping it up on some of the fine CO roads. The bike never felt like it wanted to grab or anything, there was just a load grinding sound, and a little extra vibration.

More than anything, I think it is EXTREMELY important to make sure the pegs are retracted (and adjusted to stay that way) when you are going to push it through corners. I am amazed when I see guys that leave these pegs down all of the time. I am constantly checking to make sure they are up before I go through a curvy section.
Thanks for the info...Yeah there is no way I would ride aggressively with the pegs down. Mine seem to be tight in the upright position so I don't see them falling down on they're own. I'll be checking regularly though. I'll have to post back up after my ride back to the Dragon. If that place isn't a true test to the clearance issue no place is...I'm still going to do my little test just to ease my mind a bit. I'll post up some pics afterwards.

 
What can Brown do for me...? LOL...nice surprise this morning.

I know this Helibar deal has been talked about time and time again over the past year or so but damn what a nice piece, very high quality. The differences are incredible. I love the way the stocker looks with its curves, the tuning forks symbol but sometimes function trumps form...

IMG_0980.jpg


IMG_0981.jpg


IMG_0982.jpg


IMG_0979.jpg


[SIZE=12pt]EDIT...[/SIZE]

Couldn't wait till this afternoon. Waiting for the Bill Mayer seats and she'll be ready for the 'LONG HAUL'...BTW the install of the clamp was a piece of cake. No honing or fitment issues at all. Slipped right on with one hand on the seat rail pushing down to line up the forks and stem mount and the other on top of the new clamp. Slid right on with no problem...

IMG_0986.jpg


IMG_0988.jpg


Last edited by a moderator:
Sure is nice when something shows up a day early... :yahoo:

Talk about one hell of a nice seat...!! I cannot thank Rocky enough for getting us our seats before our trip so we can put some break-in miles on them. If anyone is on the fence about a seat for our FJR's...I cannot say enough about the craftmanship and materials used by Bill "Rocky" Mayers seats. I think the pics are proof of that. My ass cannot thank you enough Rocky...!!

I just got back from a few mile ride to check out all the additions. WOW...between the Helibar, G2 throttle, BMW grips, highway pegs and these incredible seats I don't know what it say...it feels amazing. I may just have to shorten my work day. The bike just feels so much more comfortable. Still a sport feel but I can definately see it being much better for the long hauls...

https://billmayersaddles.com/october25homepage.html

IMG_1029.jpg


IMG_1031.jpg


IMG_1034.jpg


IMG_1033.jpg


IMG_1036.jpg


IMG_1038.jpg


Last edited by a moderator:
The LD guys know more than I about this stuff, but you may want to add a cruise control or throttle lock to give your right hand a break occasionally.

 
The LD guys know more than I about this stuff, but you may want to add a cruise control or throttle lock to give your right hand a break occasionally.
No doubt...one of the 1st things I did when I got the bike. I really like this set up, very nice piece (Brakeaway)

IMG_1039.jpg


IMG_1042.jpg


Last edited by a moderator:
"Wild Bills mounting plates along with the Kuryakyn offsets and pegs"

Which part numbers for that setup? Will it work on an 04 (seems as though the body work is basically the same).

 
"Wild Bills mounting plates along with the Kuryakyn offsets and pegs"
Which part numbers for that setup? Will it work on an 04 (seems as though the body work is basically the same).
You could probably do a search to get the manufacture part #'s for the Kuryakyn stuff, I don't have that. I do have the Dennis Kirk part #'s though...

Footpeg Offsets: H500524

Footpeg (male mount): H49608

 
Heli ignition removal problems here! I drilled both bolts off center.....Tried grinding them ect. 2hours ect......nothing worked until i went back to Home Depot and purchased a Dremel tool bit that eats steel for breakfast....5 min's later the ignition was off and reinstalled on the Heli! That was the only hard part of the installation, and if I had bought the Dremil bit befor I started there would have been NO problems. "Dremil" ....highly recomended for this installation.

gsozz :clapping:


Latest posts

Top