Can saddle bags be split in two from the inter and outer shells and be reused as donors? I know they are pop riveted on but I am not sure if the cases are glued together.
Can saddle bags be split in two from the inter and outer shells and be reused as donors? I know they are pop riveted on but I am not sure if the cases are glued together.
That is a great reference to the locking mechanism inside the rear of the bag.
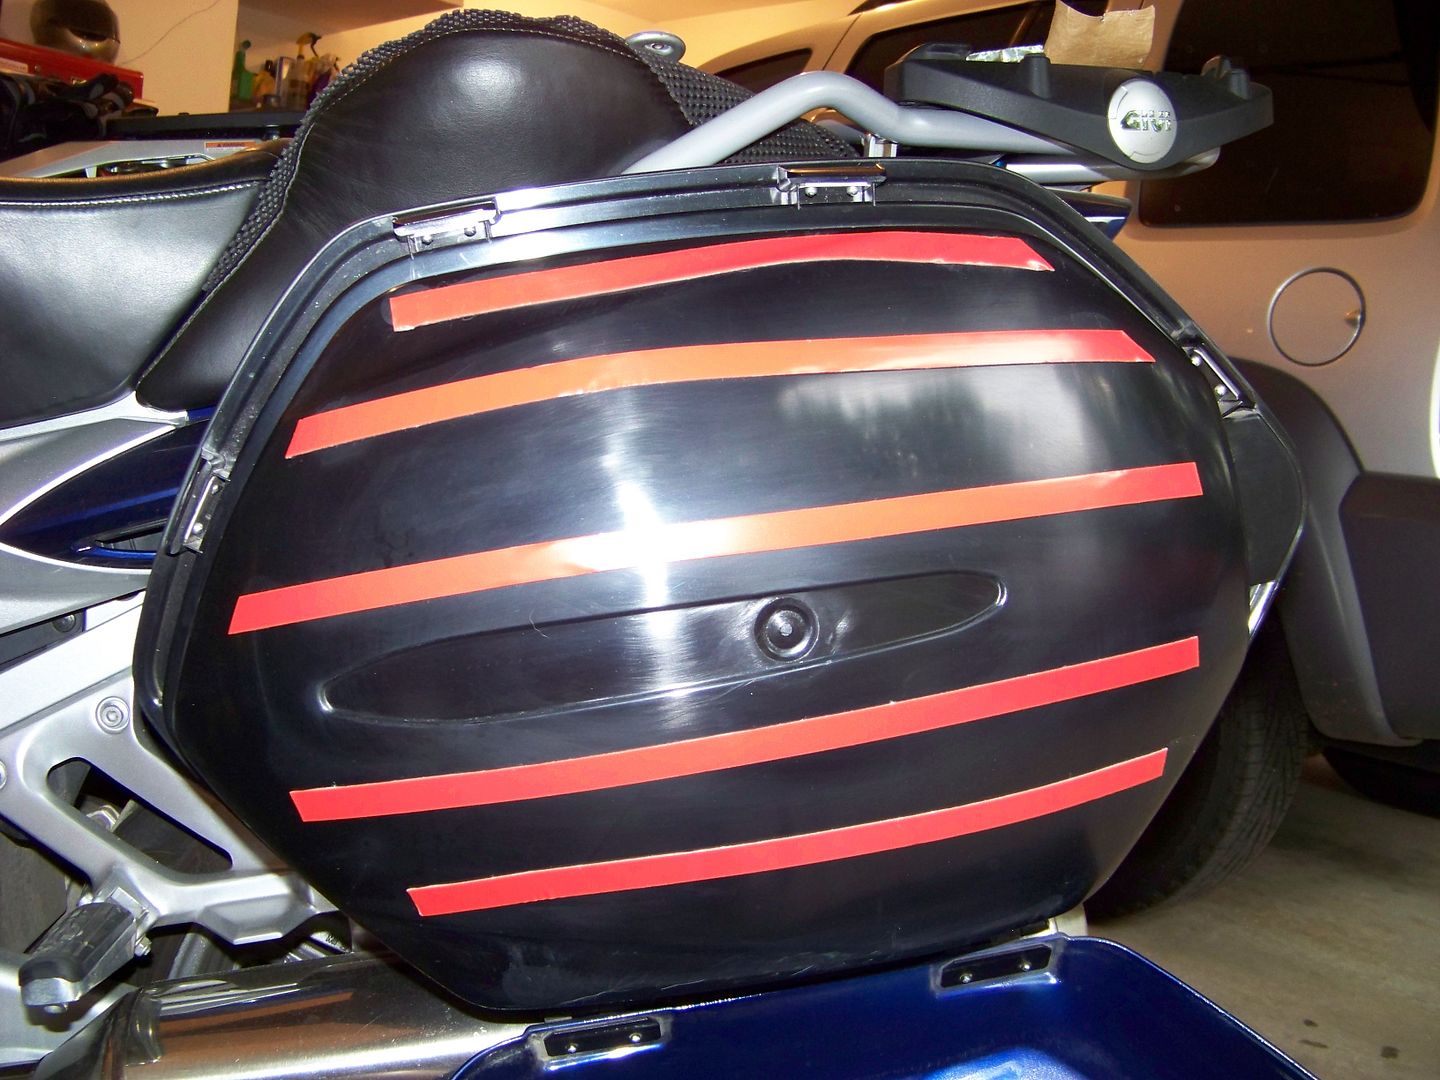
I'm assuming that the OP is talking about the lid here since that is the only painted part.
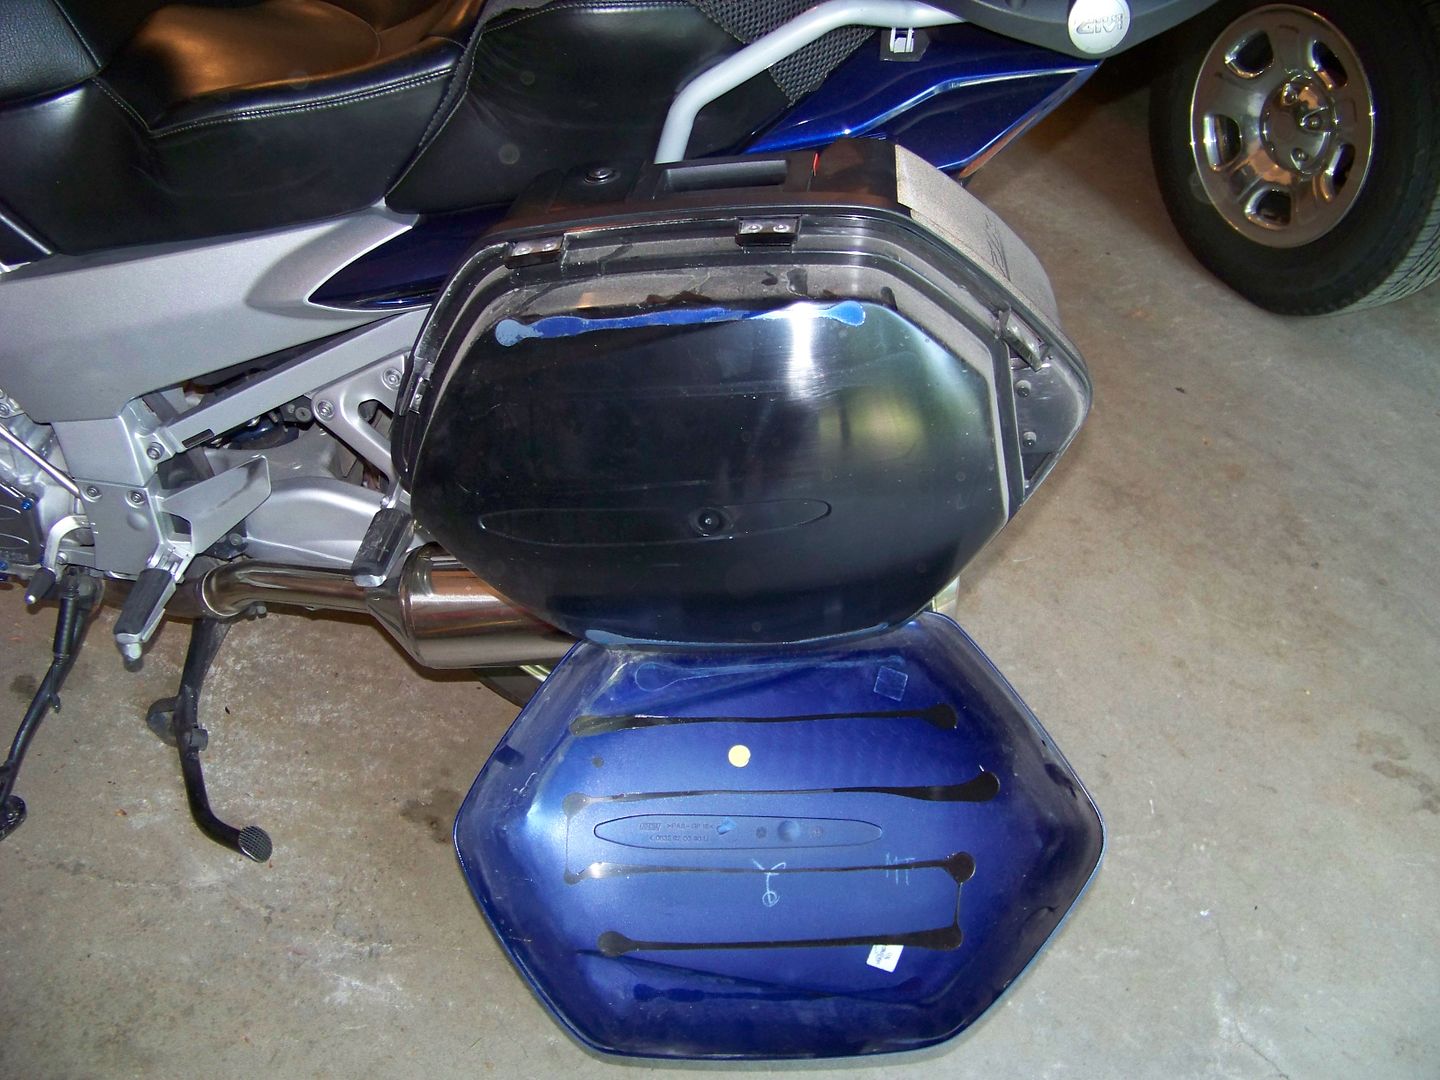
If you look closely at your sidebags you can see that the painted outer lid is attatched to the inner lid and the main section of the bag only at the hinges along the lower edge. The lid is then glued to the inner lid with adhesive just pivoted up into place for the adhesive to grab and hold it. One of my outer lids popped open on its own one day, wasn't particularly hot out either. The glue just let go on its own.
Here are a couple thousand words to show you what I mean:
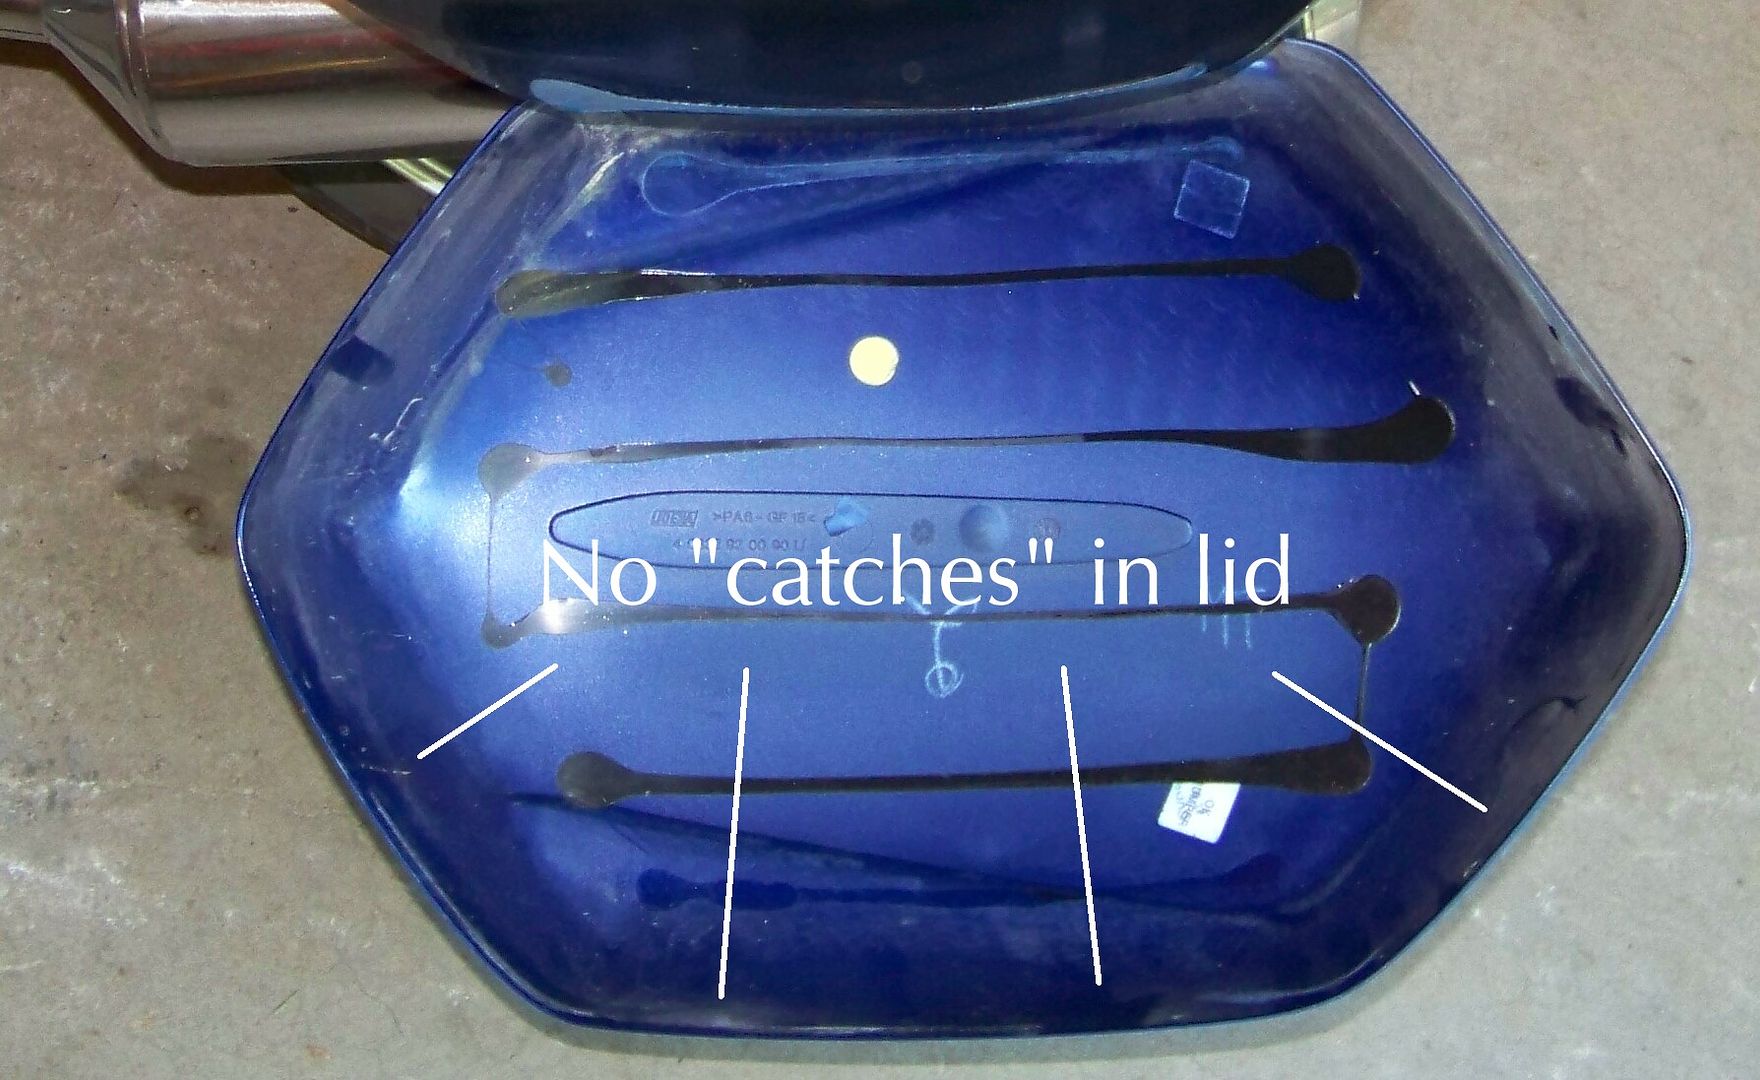
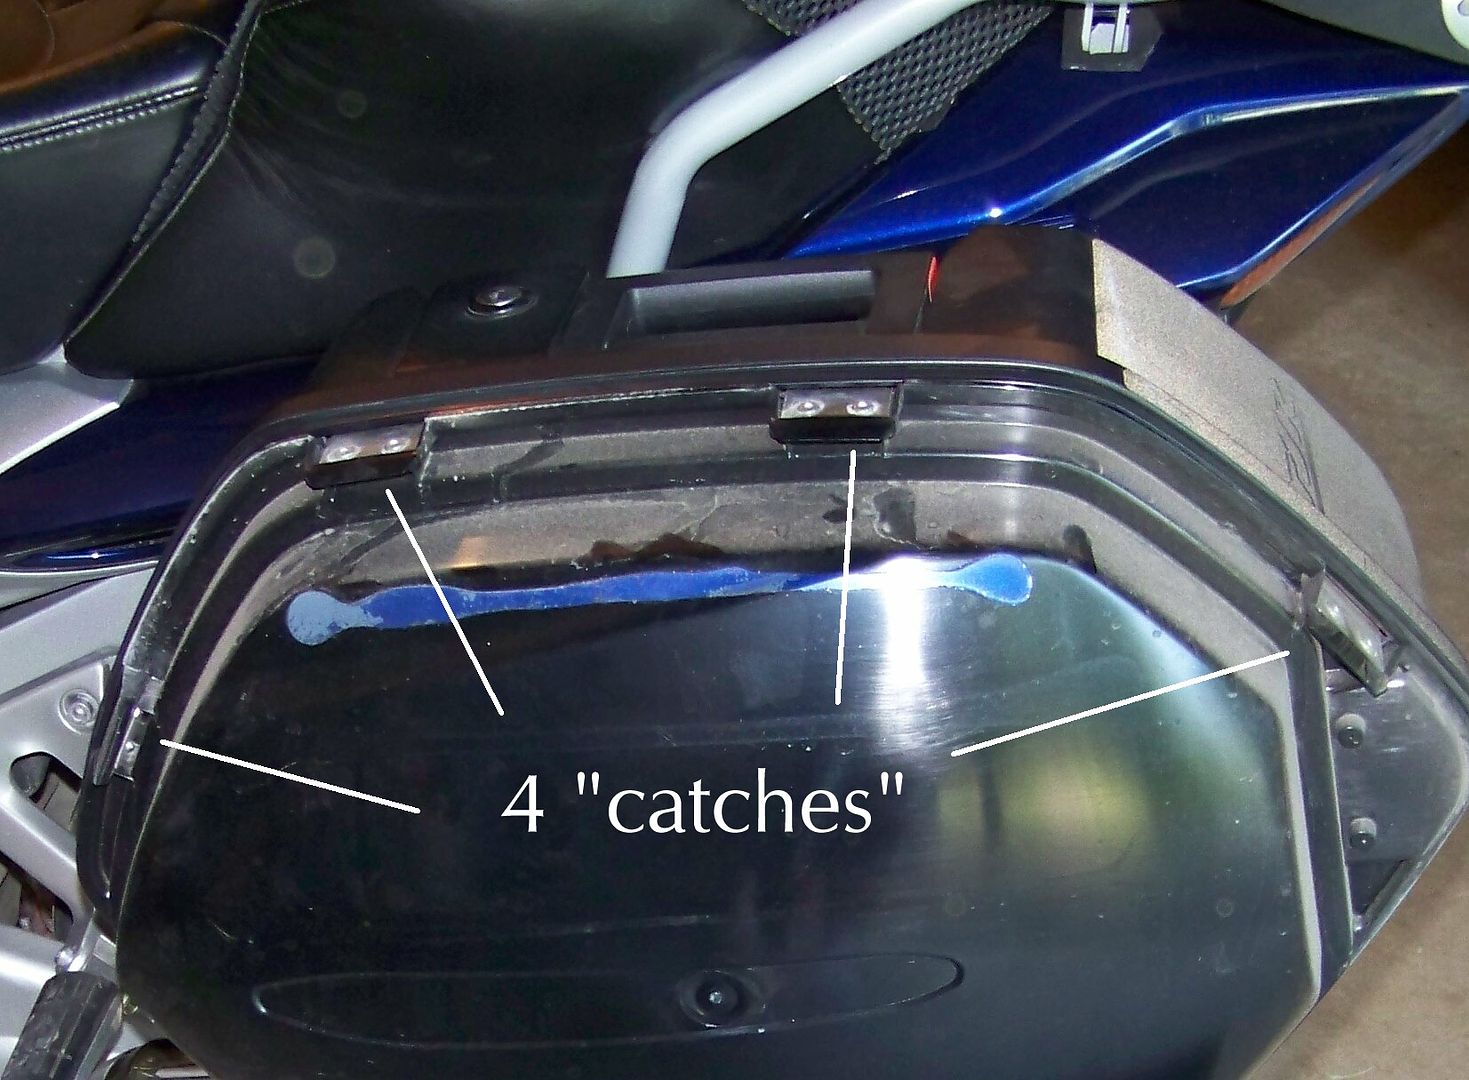
Bag lid popped open. Remnants of the adhesive can be seen on the inner and outer lids. Outer lid is left hanging from the lower hinges
Close up of the adhesive
Better look at the lower hinges.
My fix for reassembly (which has held fine now for over a year) was to use 3M acrylic automotive trim foam double sided adhesive tape.
I think with a judicious amount of heat (not enough to melt the plastic) and leverage from the top you should be able to pop the lid adhesive open. Might also be able to use a long, thin flexible piece of plastic or steel to nudge the adhesive edges from the inside. That would be the tough part. Once you pop it just drill out the rivets and Bob's your Uncle!
<snipped>
My fix for reassembly (which has held fine now for over a year) was to use 3M acrylic automotive trim foam double sided adhesive tape.
I think with a judicious amount of heat (not enough to melt the plastic) and leverage from the top you should be able to pop the lid adhesive open. Might also be able to use a long, thin flexible piece of plastic or steel to nudge the adhesive edges from the inside. That would be the tough part. Once you pop it just drill out the rivets and Bob's your Uncle!
Hi Michalis, don't want to hijack this thread but FYI:
Did a slow-speed drop when I hit some gravel in a corner. The bag and the sliders protected my leg, biggest problem was finding somebody to help me pick the bike up!
Actually, it's become a real conversation piece - I might just leave it.
Hi Michalis, don't want to hijack this thread but FYI:
Did a slow-speed drop when I hit some gravel in a corner. The bag and the sliders protected my leg, biggest problem was finding somebody to help me pick the bike up!
Actually, it's become a real conversation piece - I might just leave it.
I had both panniers repainted last year. I'd scratched the right badly against a concrete pillar in a parking garage, and the left had some rock chips.
The lids come off easily, after drilling out the rivets. There are small metal plates on the inside of the plastic, which are held in place with small pieces of double-sided tape. There is no need to separate the inner and outer shell. Just use needle-nose pliers, hemostats or heavy tweezers to remove the metal plates. Clean off the remnants of the double-sided tape.
During re-assembly, I used a dab of silicone to glue the metal plates in place; clamped to set overnight. I placed the new rivets in the holes temporarily to hold the plates in alignment. The next day I fitted the lids.
Note: Make sure you locate some seriously strong rivets that are both long and heavy-duty steel, not aluminum. I found some at NAPA that required both hands on the pop riveter to install! The new rivets are more robust than the OEMs, having slightly larger flanges.
Yep, that's what I meant. There are rivets out there that seem to be just all aluminum, and are not terribly robust.
The ones I used were both difficult to find, (the NAPA guy had to look in the back for 'em!), and difficult to install with my puny riveter, and equally puny grip!
Sorry I've been working on by deer bait. My situation is.... I hit a deer and my right side case busted off. Both upper attach points and the bayonet are broken clean off. My intention is to save the silver painted side and drill off the busted back side case. Find a busted replacement donor with a good back side and attach it. Replacement cases are hard to find.