Reluctant fork tube

Yamaha FJR Motorcycle Forum

Help Support Yamaha FJR Motorcycle Forum:

This site may earn a commission from merchant affiliate links, including eBay, Amazon, and others.

FJRay

Well-known member
Joined
Jun 25, 2005
Messages
5,513
Reaction score
2,865
Location
LaPine, OR
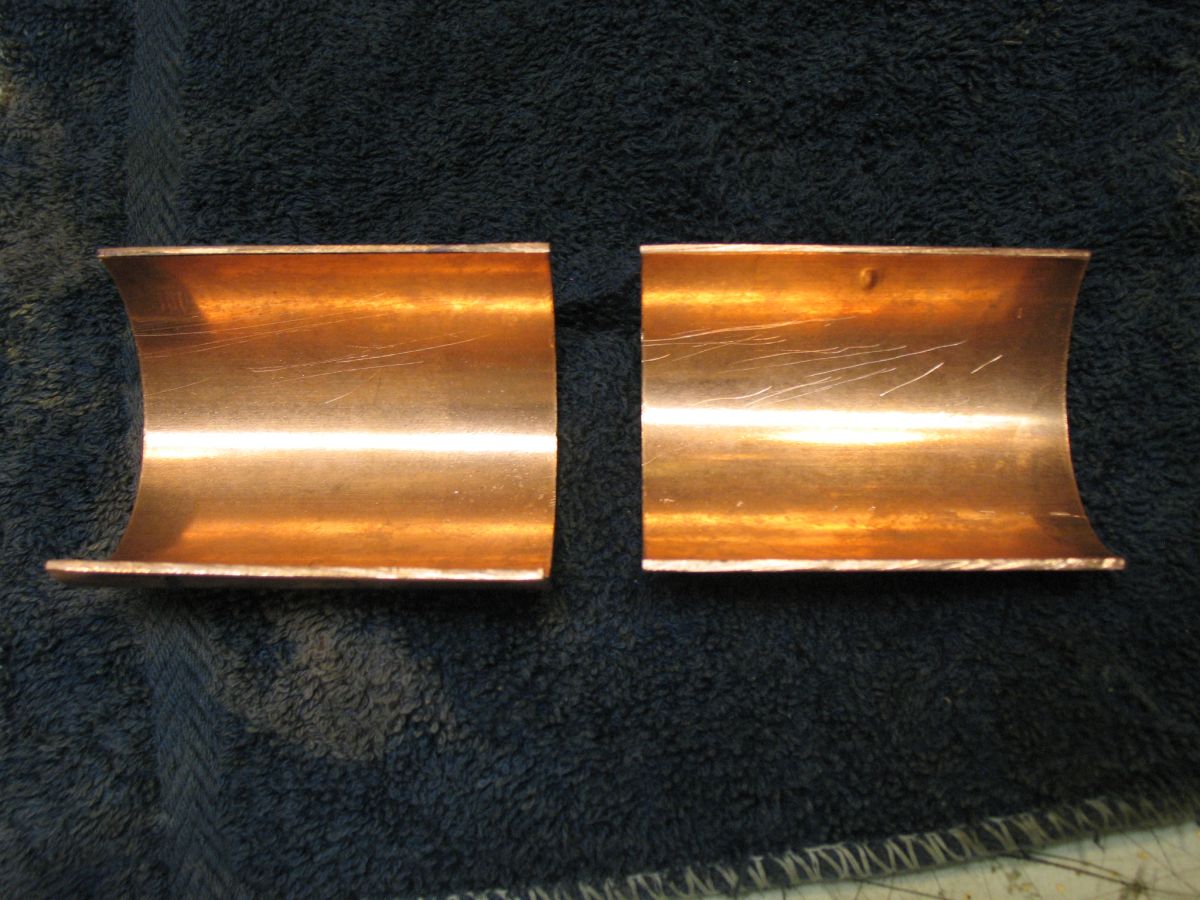
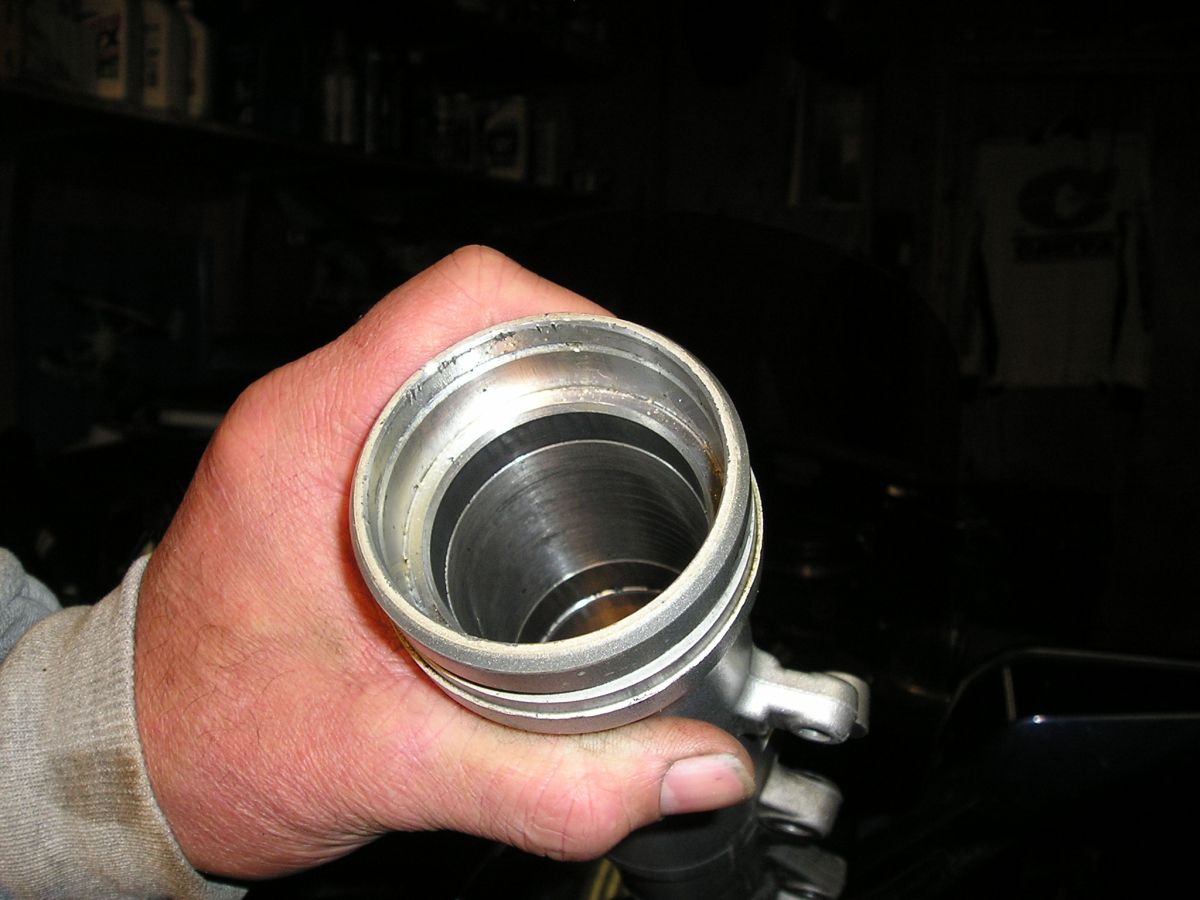
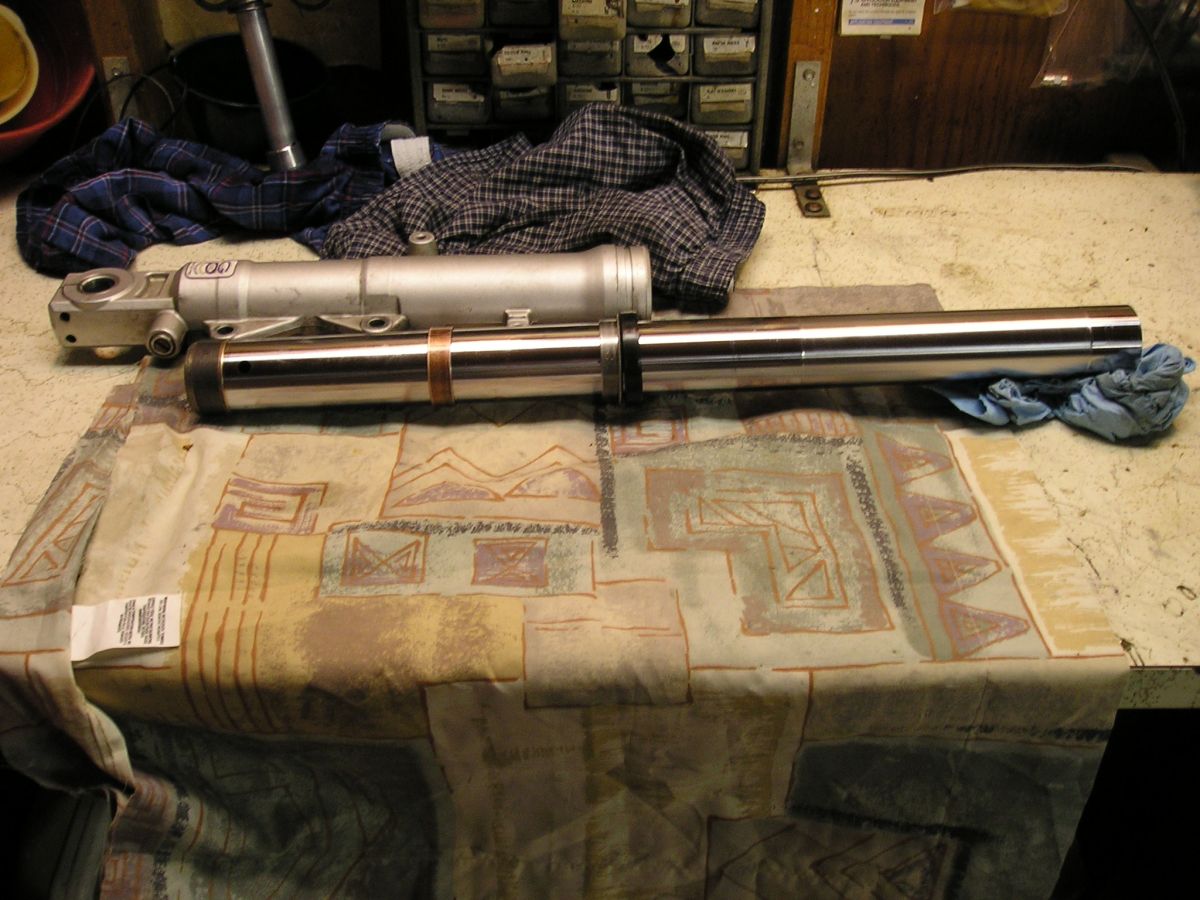
I'm attempting to get a 06 fork assy. apart. I didn't need to take it apart to do what needs to be done but I got as far as getting the inner bushing loose before I realized it. The upper bushing and seal won't let go. Yes I removed the snap ring and have read the FSM . I've been working at it for about an hour and my wrists are shot from the pounding. it feels like the inner bushing is trying to slide inside the upper one and cause the bind. Any good tricks out there??? I considered explosives but I really want to reuse the forks. I don't understand the purpose of the second bushing as the Gen 1 forks work just fine with a single bushing in the tube. Any reasonable ideas are welcome. I suppose I could just let it rattle around in there but I don't want to sell it that way.

 
They boys at GP Suspension use a propane torch to heat the outer lower then bang the hell outta it. And yes, several peeps have permanently damaged gen 2 forks by jamming the bushings, IIRC, together.

 
Here's some of what you'll be seeing..

2008-12-26 Replacing Fork Seals and Bushings


The entire assembly. Each bushing is approximately located where it would be when assembled, fully compressed.

1-ForkTool.jpg


Close up of the bushings.

B-Bushings.jpg


Here you can see where bushings 'bottom out' on the ridges. The 'middle' bushing sits about 4 - 5 inches deep from the seal, the 'upper' bushing sits just below the seal. Ben said the upper bushing can be driven in place by using the flat washer and normal seal driver + heat.

C-OuterTube.jpg


Another whole picture shot..

D-WholeEnchilida.jpg


No, I don't even know what that method is...
rolleyes.gif
I simply clamped the outer fork tube into a soft-jawed vice, applied heat to the outer fork tube using a propane torch (heat from outer fork tube lip down about 6 inches) until it was just too hot to touch by hand. Gently but firmly pull the inner tube out, using it as a slide hammer. Use multiple hits. Keep applying heat. I destroyed my bushings by not applying enough heat and popping the tubes with too much force, causing the middle bushing to destroy the lower bushing.
My first time, I'm still much better off $$$ wise than having a shop do it, and know I know better!


Last edited by a moderator:
I've been doing this shit a long time and have not seen this. Heat is going to happen in the morning. I do have some bushings and seals. I need this done tomorrow cause I'm shutting down for the winter to work on projects. Hope to have a clean shop by spring.

 
Auburn uses a MAPP gas torch to heat the lower tube. We've had some stubborn bushings that required quite a bit of heat to loosen, but with a few good whacks, they came apart. Be patient and it'll come apart Ray.

~G

 
The first time I did this, the first one went well. A few whacks a-la-slide-hammer technique and it popped open. The second one was a separate issue. Combination of patience (or lack thereof), brute strength (Ha), and creative linguistics and it finally came apart. I am hoping that with the "new" 2011, the first time goes a bit better. The forks were done by Traxxion Dynamics (by the previous owner) and it is my understanding that they don't use the middle bushing on the Gen II forks. (I think that is the one that causes the problems with disassembly. Either it jams under the top bushing or the bottom bushing jams under it - can't remember.) I'll keep the heat trick in mind the next time.

 
I agree with Ross. It has to be the middle bushing that jams things up after it has freed up from its seat. I think the lower bushing gets inside the middle one and expands it, limiting the force you can get to the upper bush. Never had a lick of trouble on any regular two bushing forks, and Ive done many.

The seal itself shouldnt be much trouble to wrangle out of there (destructively). Its getting that upper bushing to move thats the trick. If you get the seal out of the way you can get some penetrating oil on the upper bushing, that and the heat should help get things moving.

 
I resonantly did the seal, bushings, gold valve, spring, thing. Ordered all the parts, (including the lock clip and plastic rock guard, not needed), but failed to get the flat washers, (brain fart). First timer, so didn't know what to expect. Didn't want to wait a week for those, not knowing if I would damage them or not. So I heated up the top of the bottom tube, and couple of good whacks and the top tubes came out pretty easily without bending the flat washers.

Disclaimer: I didn't have that pesky middle bushing to deal with, but it still helped a lot.
smile.png
Heat is your friend on this job anyway.

If you don't happen to have, or are Leary of torches, a heat gun will work. It'll just take longer to heat evenly.

Hope it goes smooth!

 
Sorry Ray, I didn't mean you. I know you can handle a torch. I was speaking to those who might be reading this and contemplating if they could tackle this job or not.
smile.png


Karl

 
Finally got the SOB apart. Lots of heating and beating and comments about it's ancestry. Silly ass set up. If I were keeping the bike I would machine the tubes so a full width bushing would fit in the top and delete the center bushing so it would be like the gen 1.A as it is the top bushing is much to narrow to last for very long. I don't need to pull the tube to accomplish my mission so I won't worry about the other one other than cleaning. Anyway it will be good to have the GP suspension on the 04 I am keeping.

P.S. sure glad I have a lathe and a bunch of stock . It made the bushing driver quick and easy.

 
Last edited by a moderator:
Finally got the SOB apart. Lots of heating and beating and comments about it's ancestry. Silly ass set up. If I were keeping the bike I would machine the tubes so a full width bushing would fit in the top and delete the center bushing so it would be like the gen 1.A as it is the top bushing is much to narrow to last for very long. I don't need to pull the tube to accomplish my mission so I won't worry about the other one other than cleaning. Anyway it will be good to have the GP suspension on the 04 I am keeping.
P.S. sure glad I have a lathe and a bunch of stock . It made the bushing driver quick and easy.
As mentioned earlier, I have had to use a lot of heat on a couple. Even had them come apart with the top bushing still in place. I use the smallest wood chisel I have (1/4") and drive it between the back of the bushing and the fork tube to bend the bushing inward so I can get a hold of the bushing with pliers. It does take a small chip out of the ALU tube, but that is not a wear surface, so all is good.

But you are right some are very difficult and take a lot of force and heat to pull apart.

 
Last edited by a moderator:
Patience dear boy. This aint burger king, you don't get it your way you get it my way or you don't get the SOB.
smile.png
smile.png
.

The last victim is on the lift and then things are shut down until spring so I can concentrate on projects. Unless it's some kind of emergency repair they will just have to wait or take it down the street

 
Hey, changed my fork oil and thanks to FJRay's suggestion I flushed the forks with kerosene then let drip overnight. Bike has just over 10K miles and I was surprised at the nasty goop that came out. Going to do it again at 26K miles when I check the valve clearance. Re-filled with the Yamaha gold plated fork oil just to be safe.

 
Top