v65
ouch
After using the HB changer for a year I decided to make some improvements.
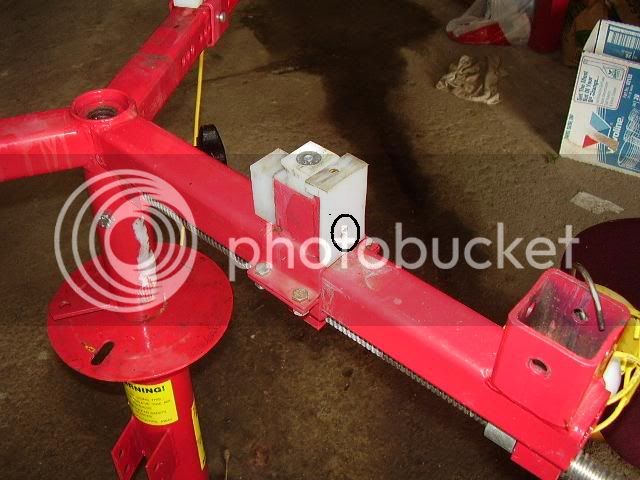
The first thing I did was remove that ridiculous post that is supposed to hold the motorcycle attachment from rotating on the base. Then I drilled a hole and bolted the MC attachment to the base (you can see the bolt just peeking out from under the arm facing you).
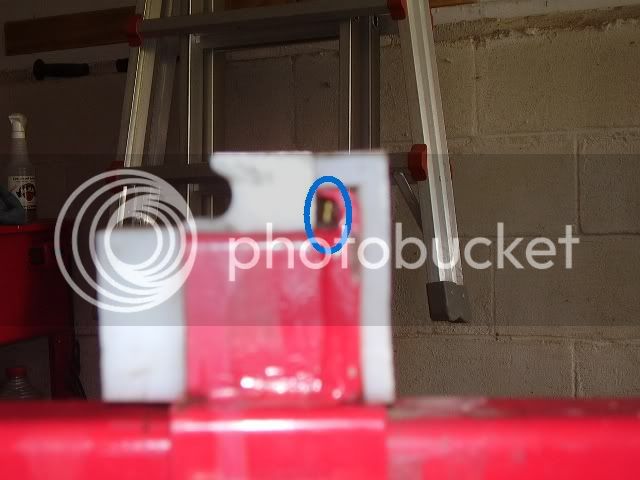
Next I got some Mojo Blocks, but was not really satisfied with the amount of protection they provide. Last year I was using rim protectors to prevent marring, but the rim slipped off the outside of the clamp resulting in a nice mark on the rim. I had some HDPE laying around from another project, so I made some blocks to cover the inside and outside of the clamps.
Don't ask why I bought the mojo blocks and didn't make my own, I don't know.
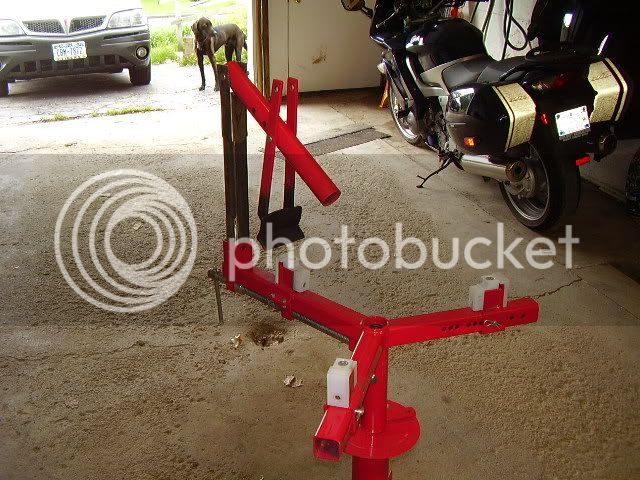
Last year I made a square out of 2x4's to hold the wheel while using the bead breaker on the floor. I have a small basement, but I could never seem to find that stupid thing when I needed it, so I made the above attachment to break the beads on the changer. I used 1 1/2 tube steel, and had a friend weld the the two pieces sticking from the top of it that hold the bead breaker. The 1 1/2 doesn't fit well in the receiver on the tire changer, it's too small, so I also had him weld on some shims to make a tight fit. (Note the dog in background, he wants to come in the garage but does not appreciate the grinder I was using to shape to shims)
I use a Parnes balancer, usually on the floor on a couple of jack stands. I also use this setup to clean the rims, and it's not very ergonomically sound. So the last thing I did was make an attachment so I could do this on the changer.
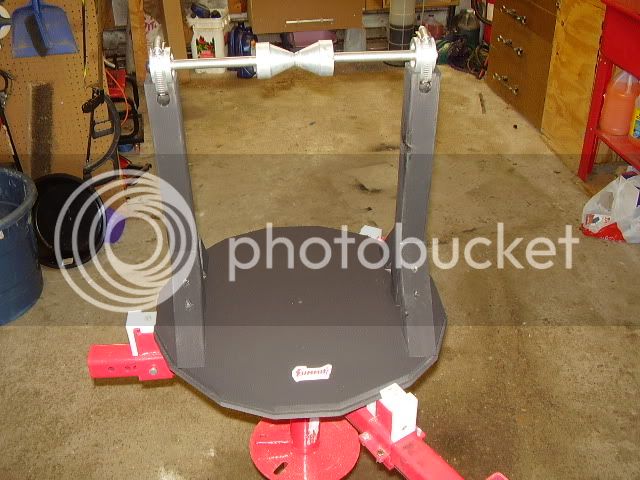
The summit sticker is there so I know which side goes towards the garage door. The two posts are not of equal length, I had to make one shorter than the other to level the balancer. I used MDF as the base (probably not a good choice, but I had a piece laying around), so I had to paint it - liquid and MDF do not mix well.
I haven't had a chance to test the setup yet, but the balancer holds a beer nicely! :lol:
The first thing I did was remove that ridiculous post that is supposed to hold the motorcycle attachment from rotating on the base. Then I drilled a hole and bolted the MC attachment to the base (you can see the bolt just peeking out from under the arm facing you).
Next I got some Mojo Blocks, but was not really satisfied with the amount of protection they provide. Last year I was using rim protectors to prevent marring, but the rim slipped off the outside of the clamp resulting in a nice mark on the rim.
I had some HDPE laying around from another project, so I made some blocks to cover the inside and outside of the clamps.
Don't ask why I bought the mojo blocks and didn't make my own, I don't know.
Last year I made a square out of 2x4's to hold the wheel while using the bead breaker on the floor. I have a small basement, but I could never seem to find that stupid thing when I needed it, so I made the above attachment to break the beads on the changer. I used 1 1/2 tube steel, and had a friend weld the the two pieces sticking from the top of it that hold the bead breaker. The 1 1/2 doesn't fit well in the receiver on the tire changer, it's too small, so I also had him weld on some shims to make a tight fit. (Note the dog in background, he wants to come in the garage but does not appreciate the grinder I was using to shape to shims)
I use a Parnes balancer, usually on the floor on a couple of jack stands. I also use this setup to clean the rims, and it's not very ergonomically sound. So the last thing I did was make an attachment so I could do this on the changer.
The summit sticker is there so I know which side goes towards the garage door. The two posts are not of equal length, I had to make one shorter than the other to level the balancer. I used MDF as the base (probably not a good choice, but I had a piece laying around), so I had to paint it - liquid and MDF do not mix well.
I haven't had a chance to test the setup yet, but the balancer holds a beer nicely! :lol:
Last edited by a moderator: