OHFJR
Well-known member
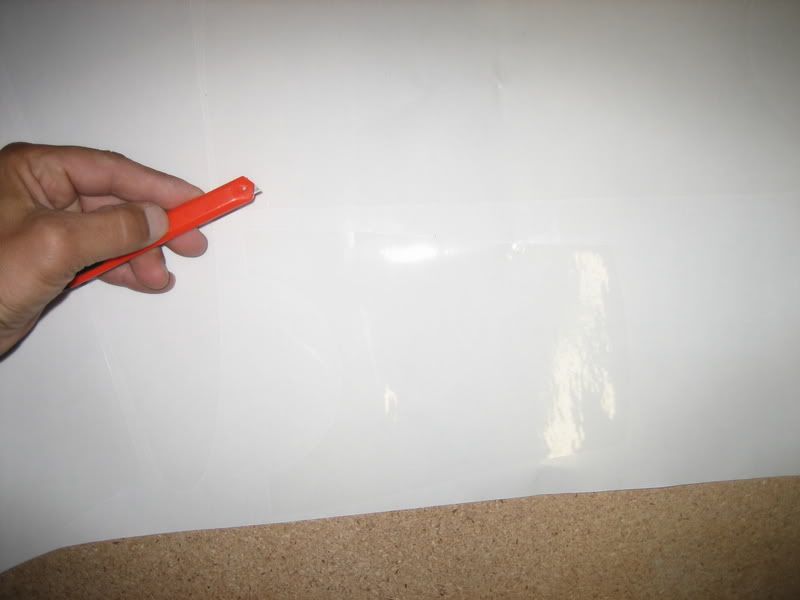
We are now making paint protection film kits for the 06 and 07 FJR. As a fellow owner it seems we either have to settle for an affordable static cling material that is hard to put on and doesn't always work or you have to purchase an expensive adhesive film kit that covers the bike from head to toe and sells for over $250.00. We feel that owners should have more of a choice as to which areas of their bike they want to protect. We now offer top quality, crystal clear, adhesive backed film protection kits for various parts of your bike. This lets you choose which parts of the bike you want to protect and makes it affordable to do so. The film we use is made just for this purpose and is manufactured by a world leading film and vinyl manufacturer. The film is guaranteed not to yellow and is nearly invisible after it is installed. The kit come complete with step by step installation instructions and application tool. These film kits are easy to install and no other special tools are required.
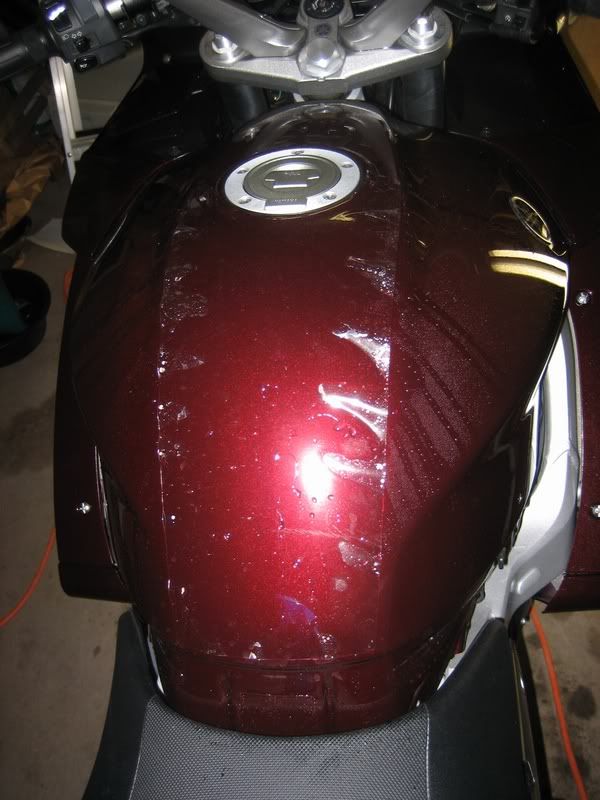
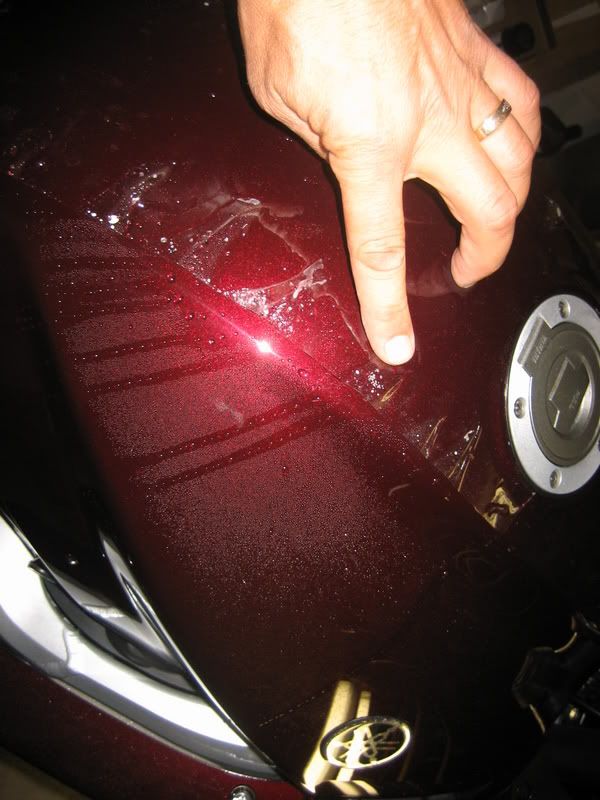
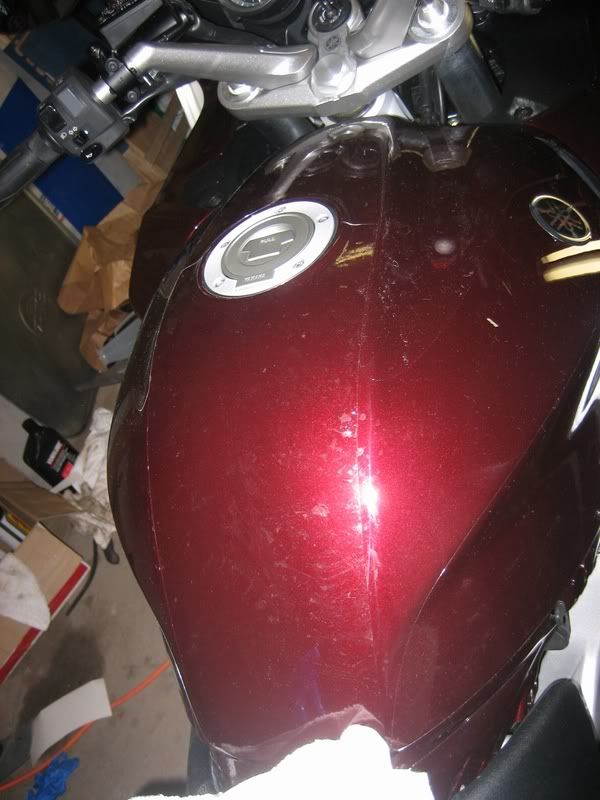
At this point we have kits available for the saddlebags and the gas tank as these are the two most vulnerable areas on the FJR. We will be adding other areas of protection in the near future. You can find out more about these kits by visiting our website. Premier Cycle Accessories
At this point we have kits available for the saddlebags and the gas tank as these are the two most vulnerable areas on the FJR. We will be adding other areas of protection in the near future. You can find out more about these kits by visiting our website. Premier Cycle Accessories