


dcarver
Well-known member
published by dcarver on Mon, 04/08/2019 - 10:01
Forums:
Naomi - 2013 Yamaha FJR
2019-04-07 Heated Grip Replacement
Needed to replace throttle side heated grip due to inept tech screwing up the wiring last time the throttle came off for maintenance. Sigh.'
Lets just say this is a PITA job. Nearly threw the damn thing away but finally got it.
Maybe this will help you.
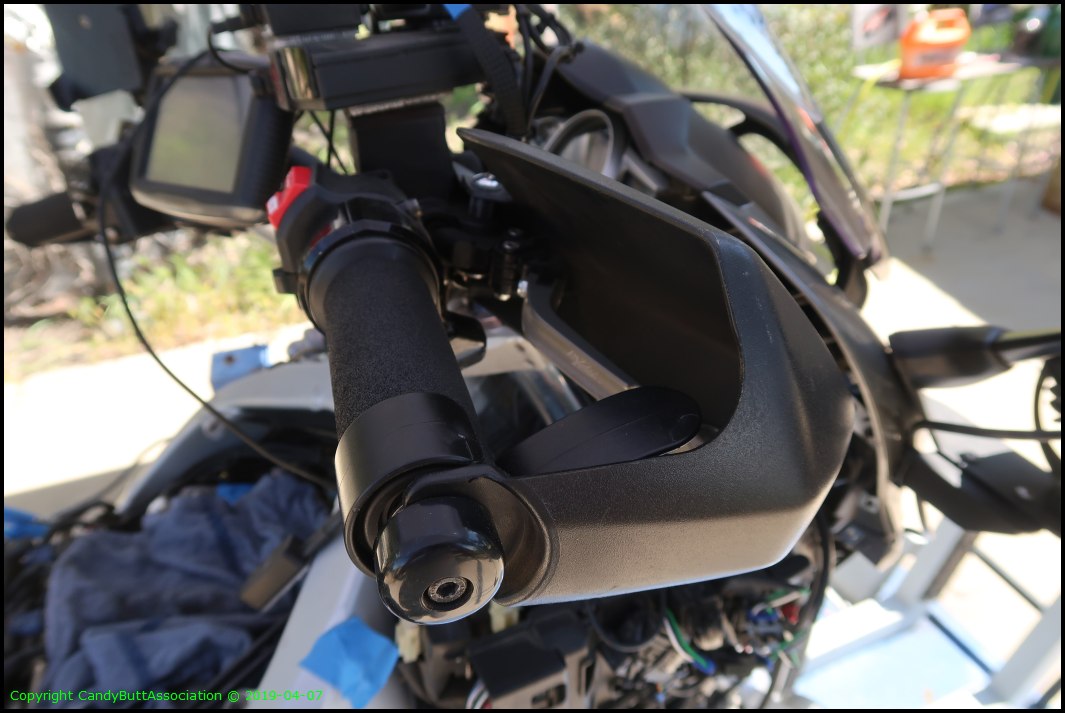
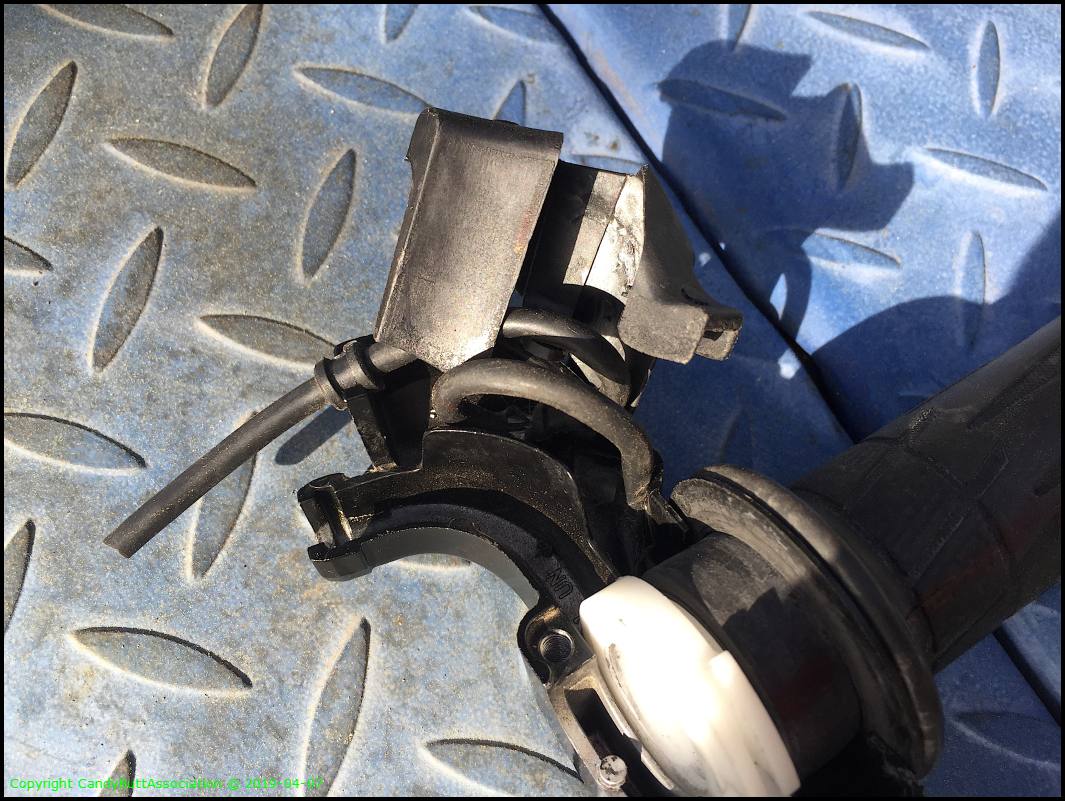
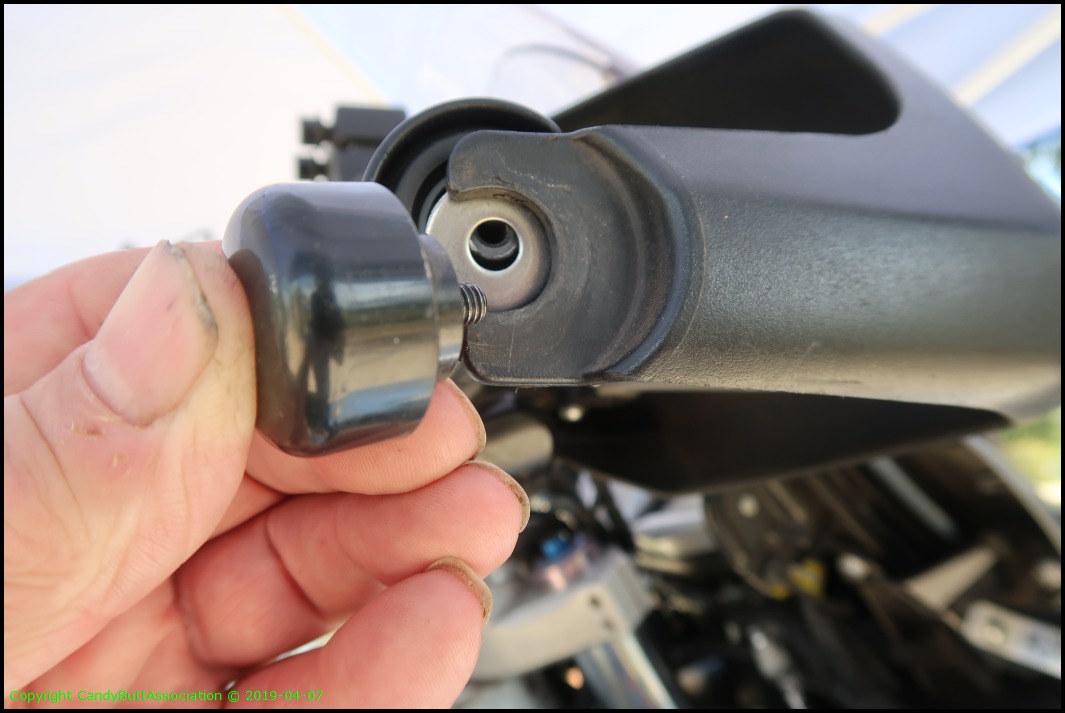
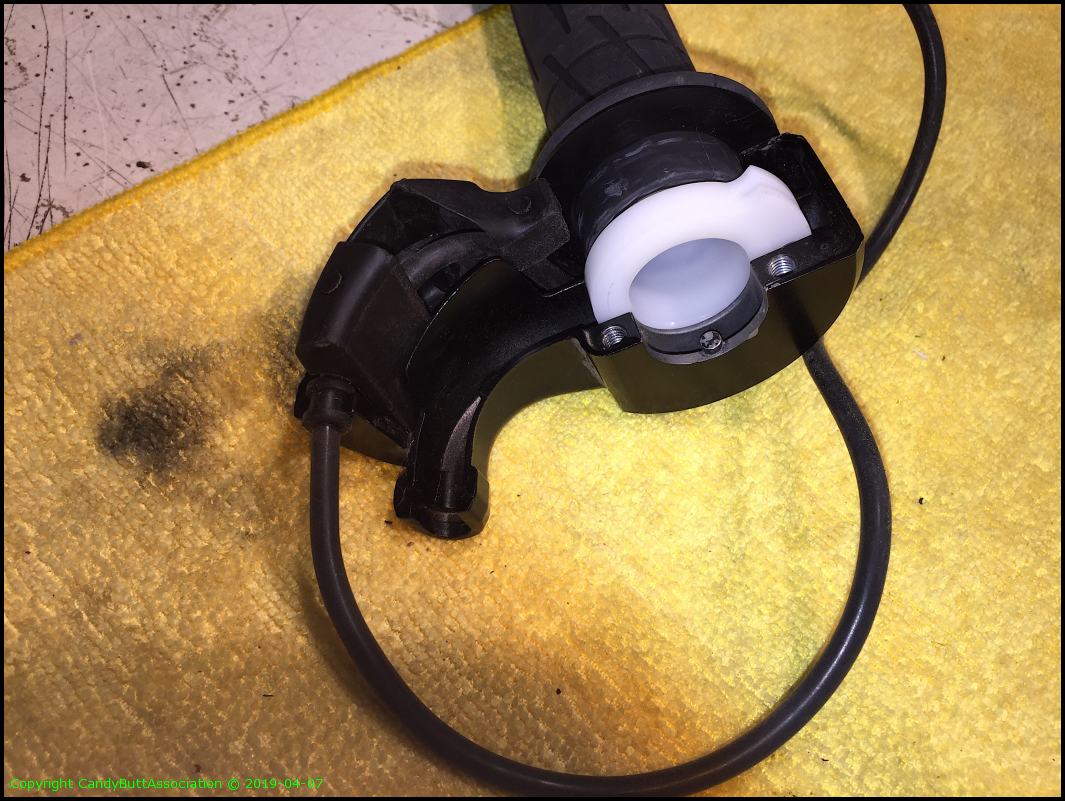
Decided to remove the brake lever for easier access to grip. Also for maintenance of lever pivot point.
Since it will be apart for awhile, some re-assembly pictures.

The speckles are pollen from the pine trees.

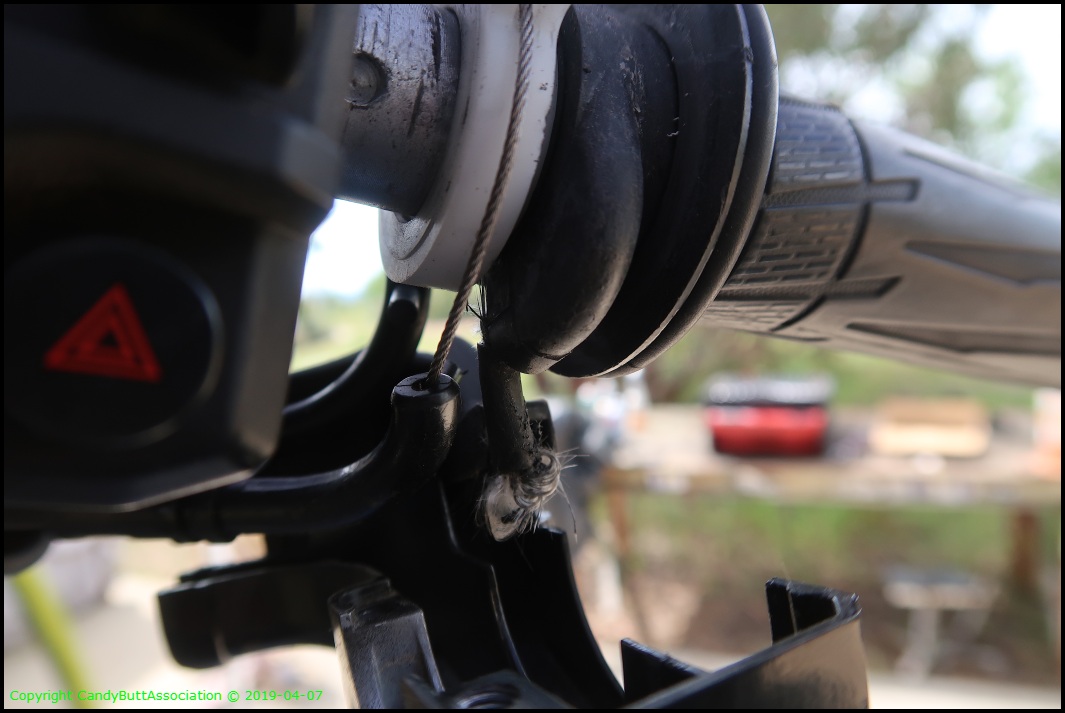
Check out the throttle adjustment, as in there isn't any. Probably due to bar risers/set-backs.

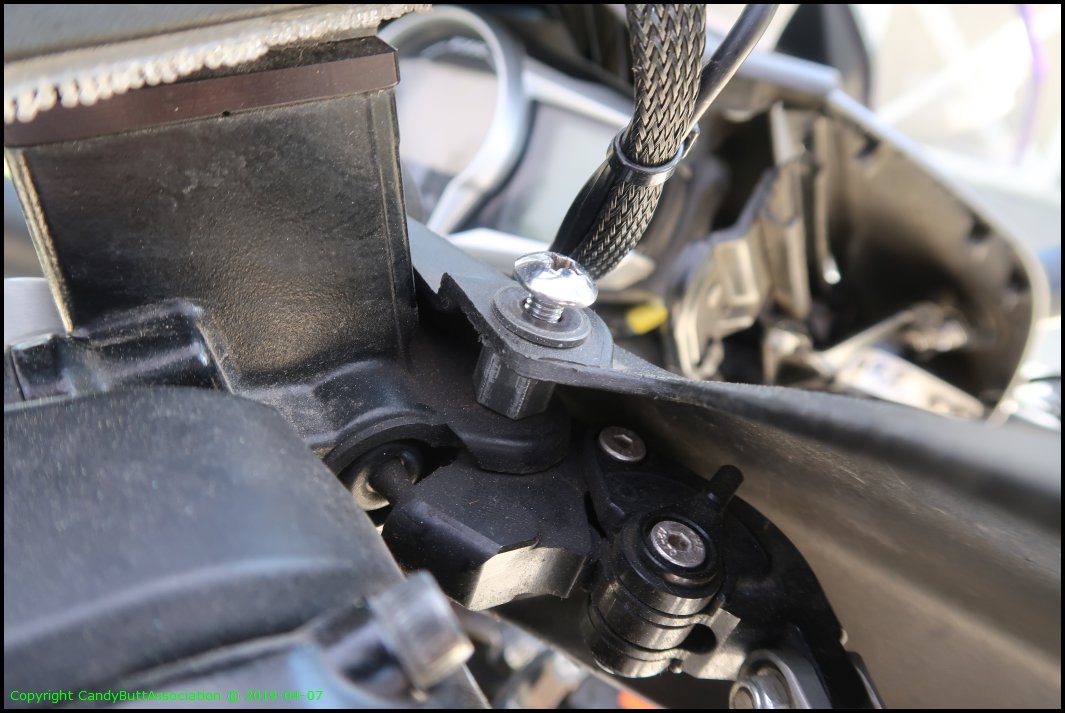
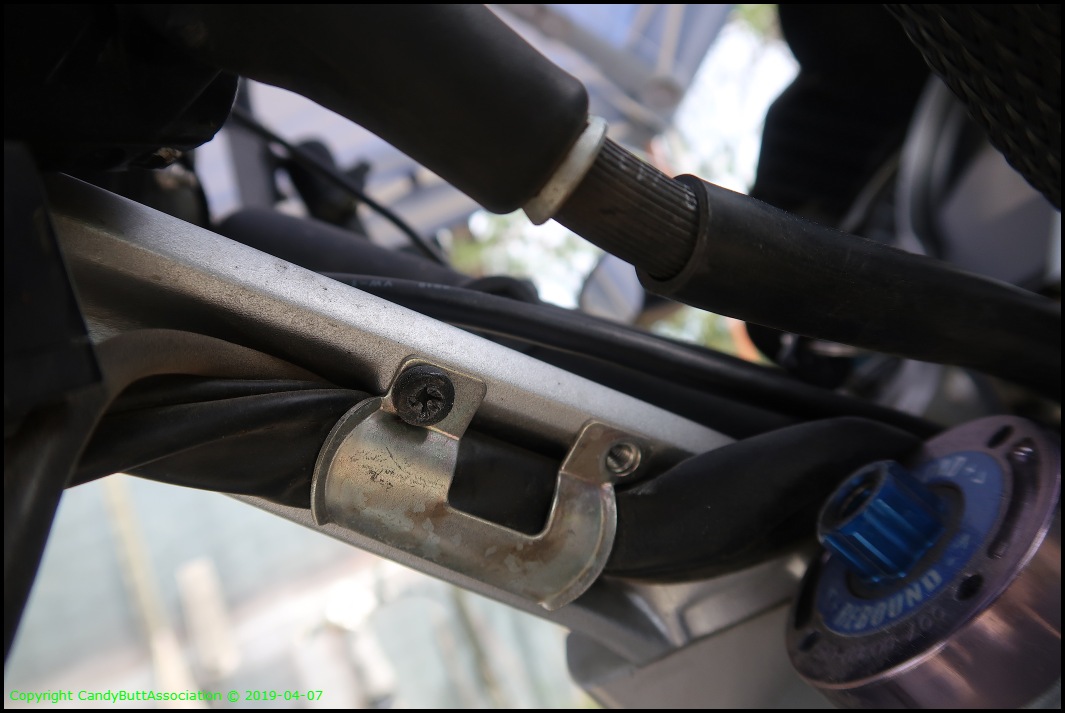
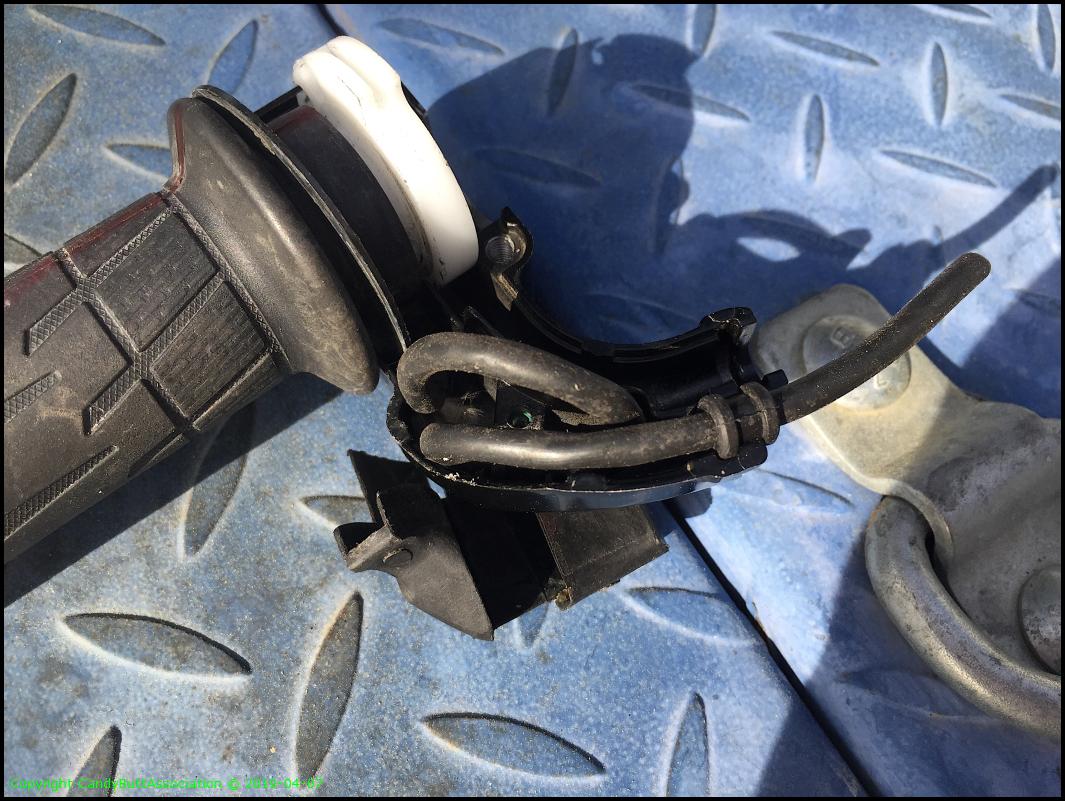
Bottom side showing cable and wiring routing.

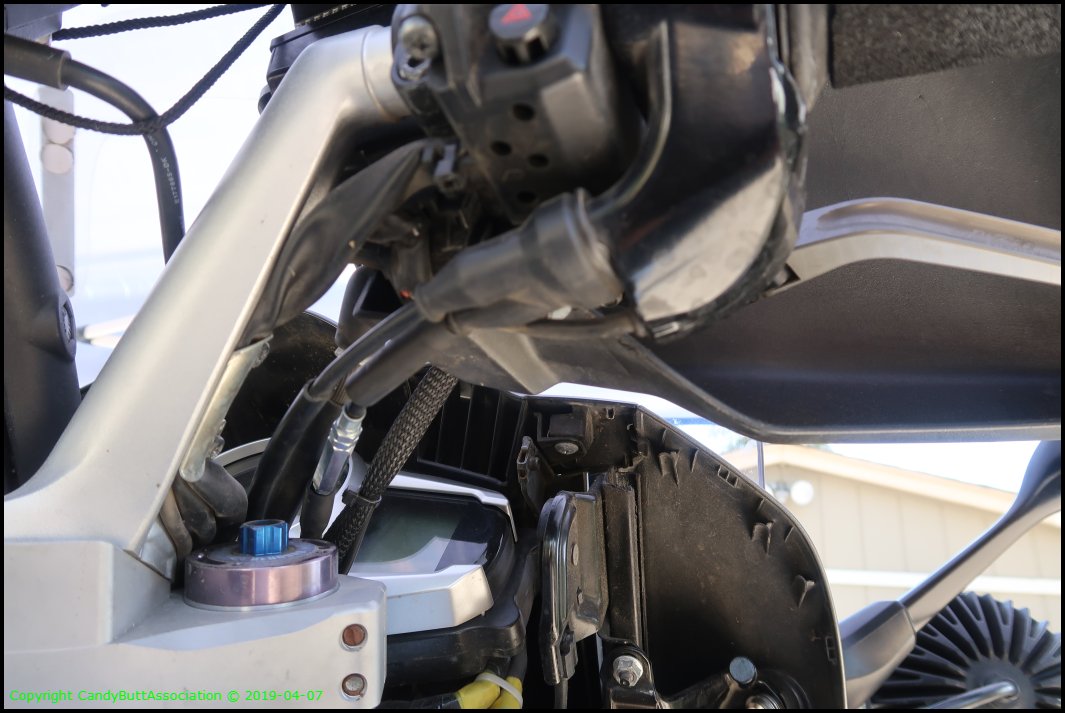
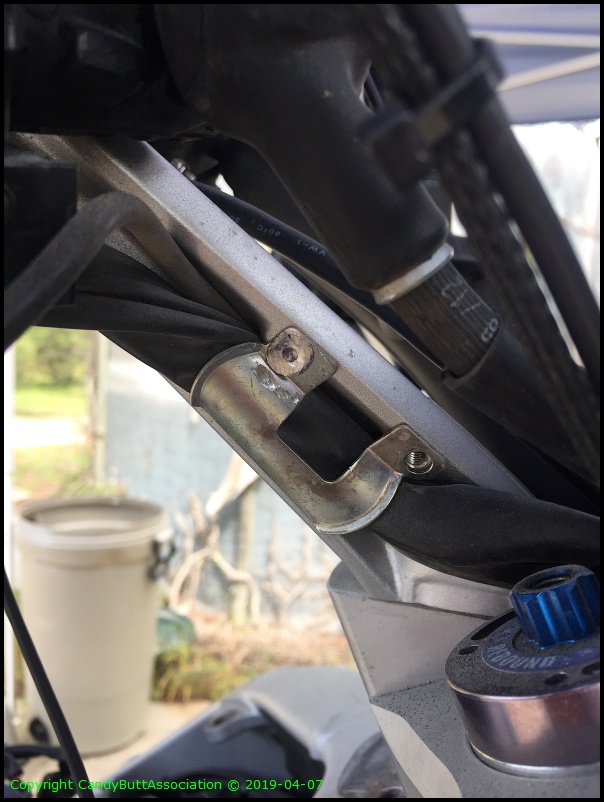
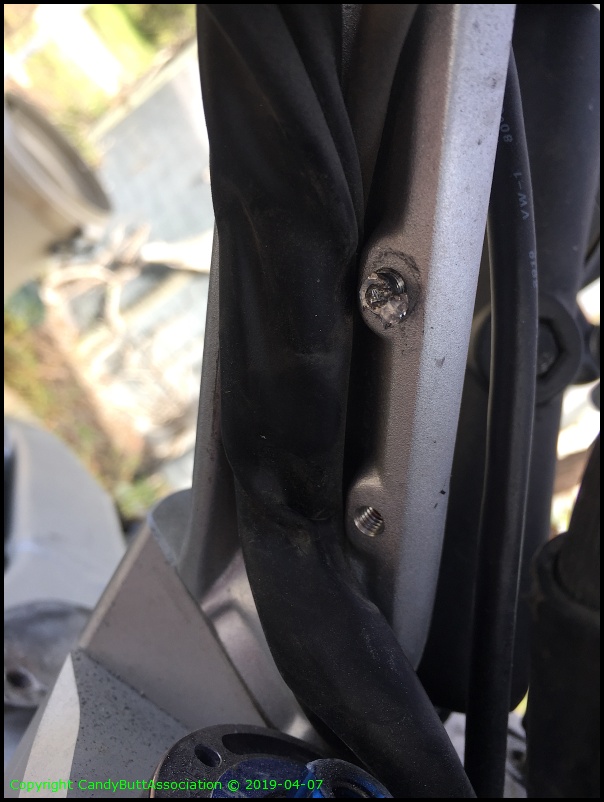
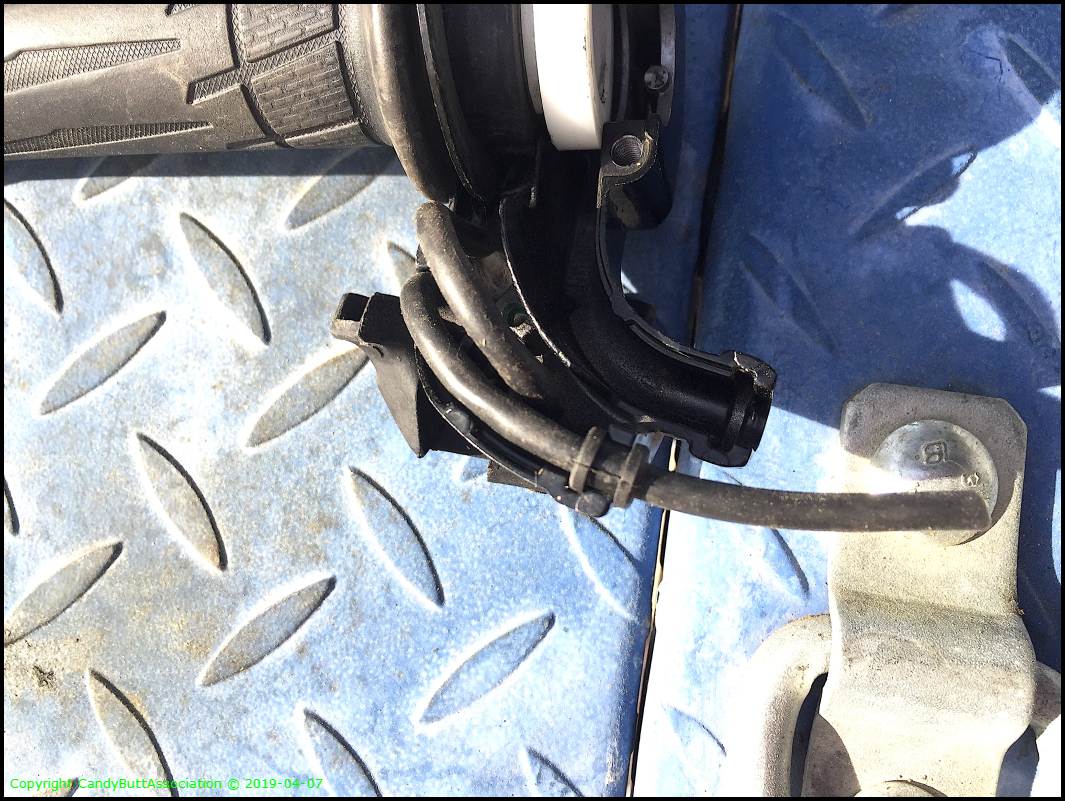
Another view.

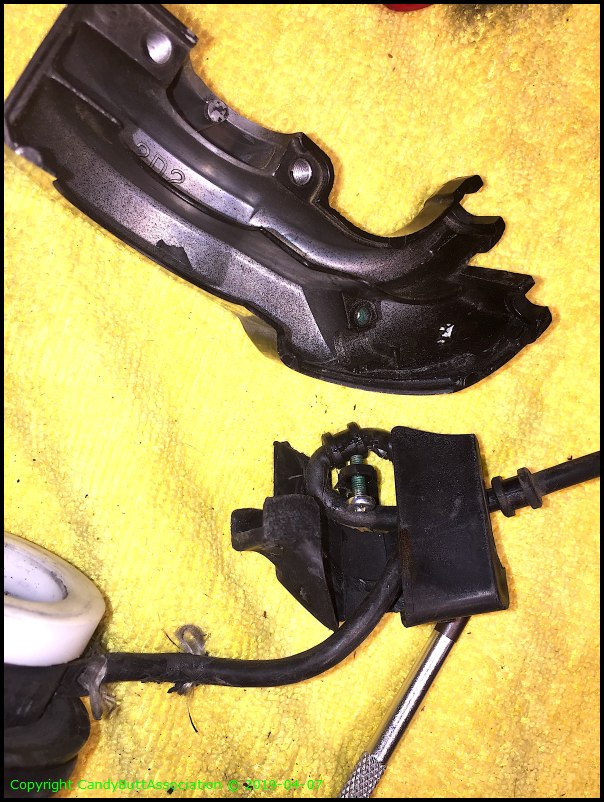
Hand guard pics.

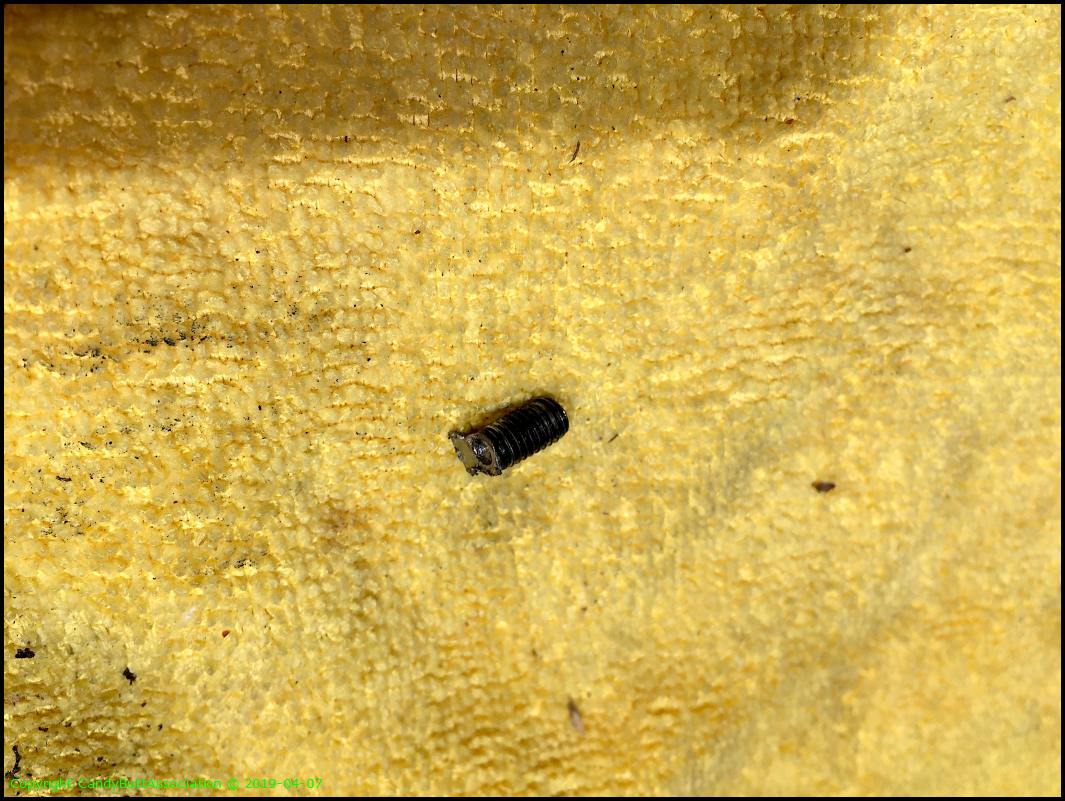
Washer underneath!
The new grip, factory OEM.

Grip was still working, even with frayed insulation.
The hole matches with grip pin to fix grip in position.
First problem. That screw was TIGHT. Used impact driver on it but the head rounded. I need an impact driver with JIS bits...
Dremel to the rescue.

Got the cover off. For some reason, now the screw was loose. Removed it by hand.

Not sure why so tight. No LocTite or anything.
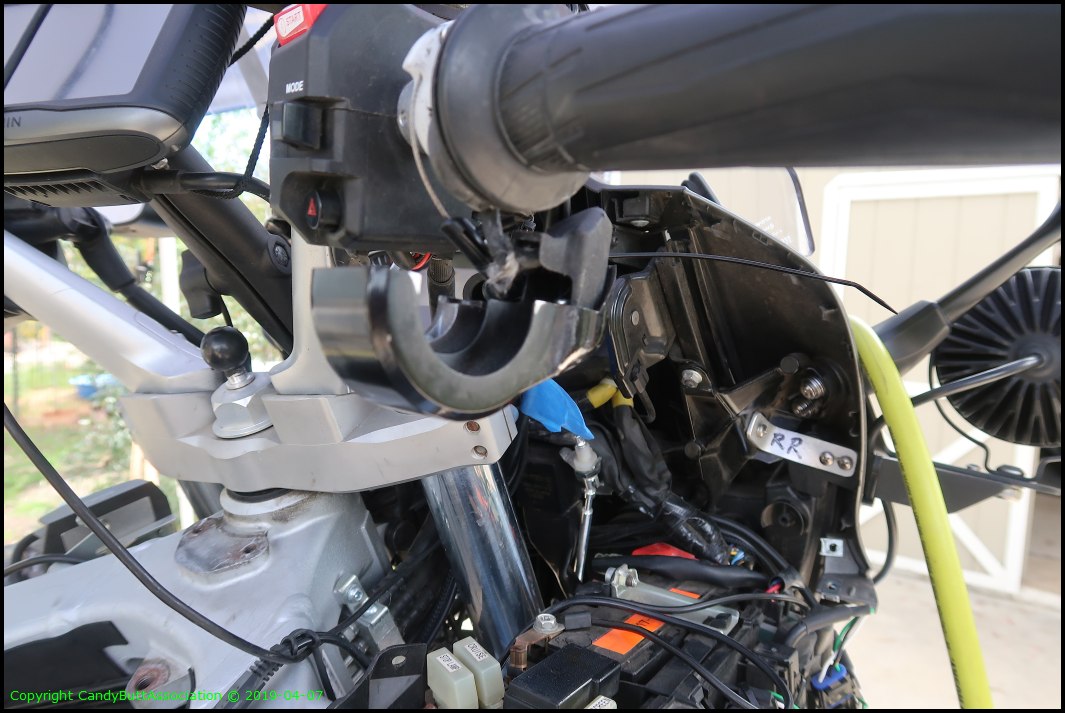
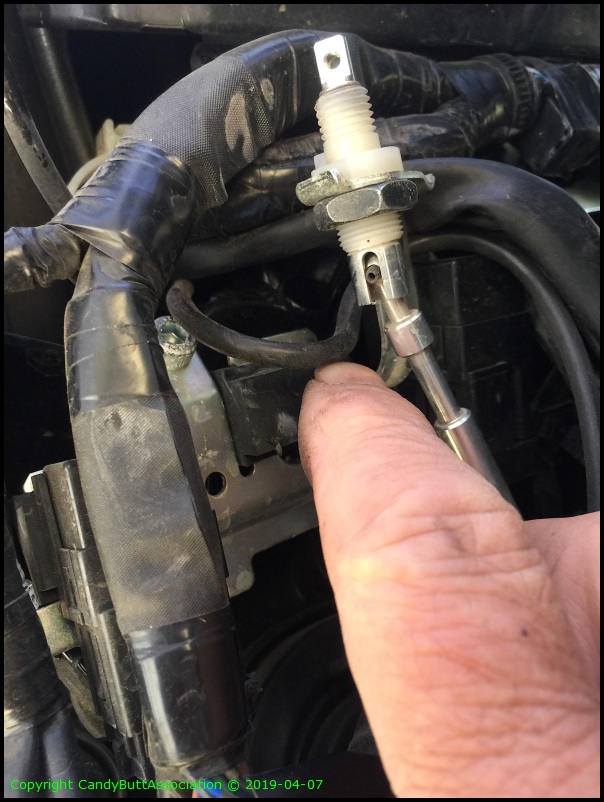
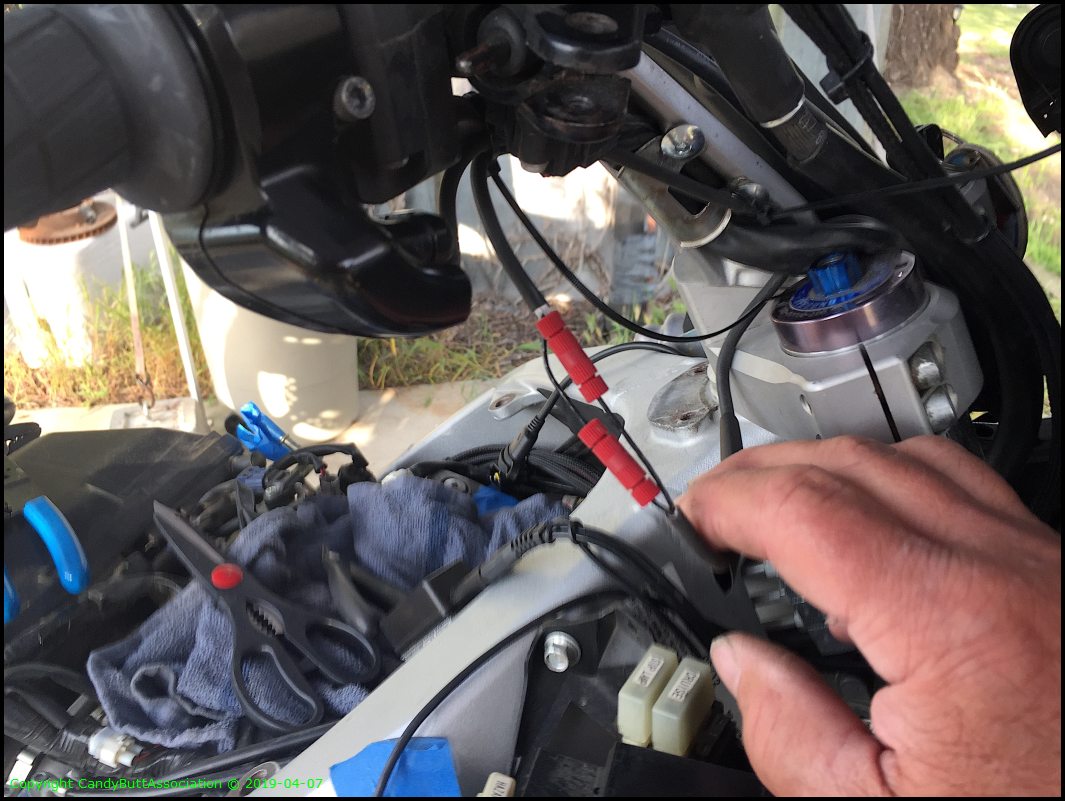
Chasing down the wire loom to see where it connects. This is the LHS looking up into the dash.
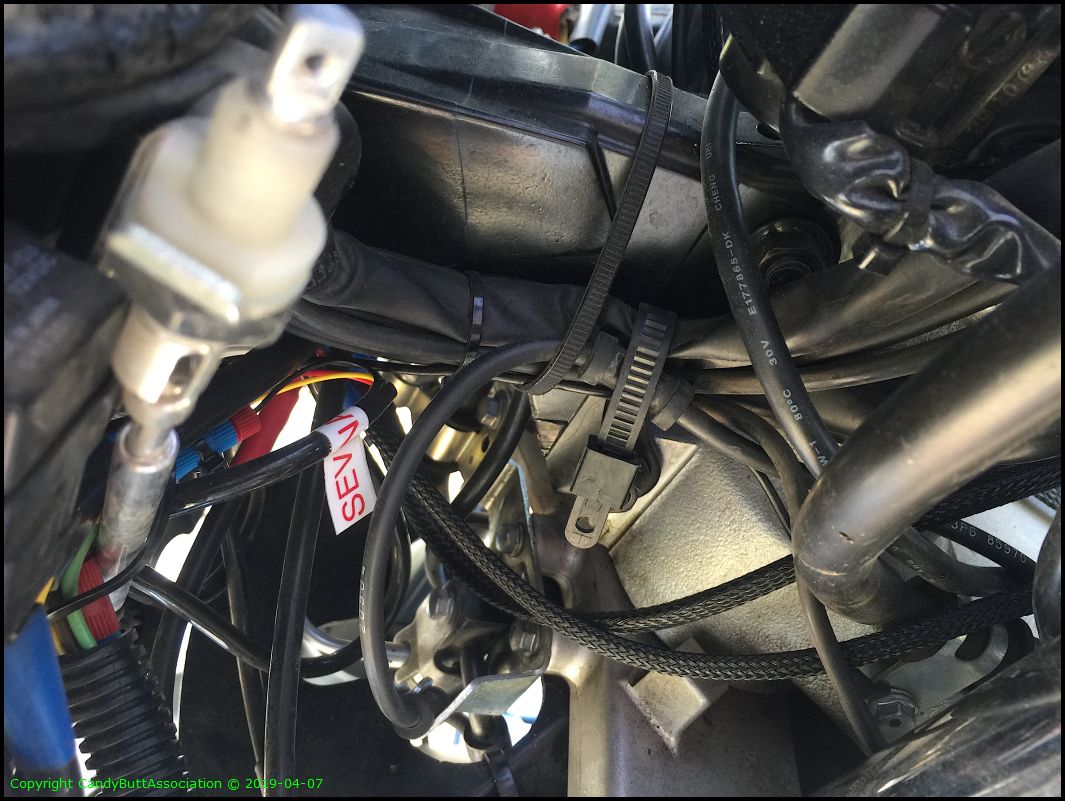
...and it appears the connector is up in dash cowling... somewhere. I am NOT removing the front nose cowling. Just got done installing new Antler Mirrors (FZ1) with furniture nuts and fabricated re-enforcing brackets. So I'll splice.

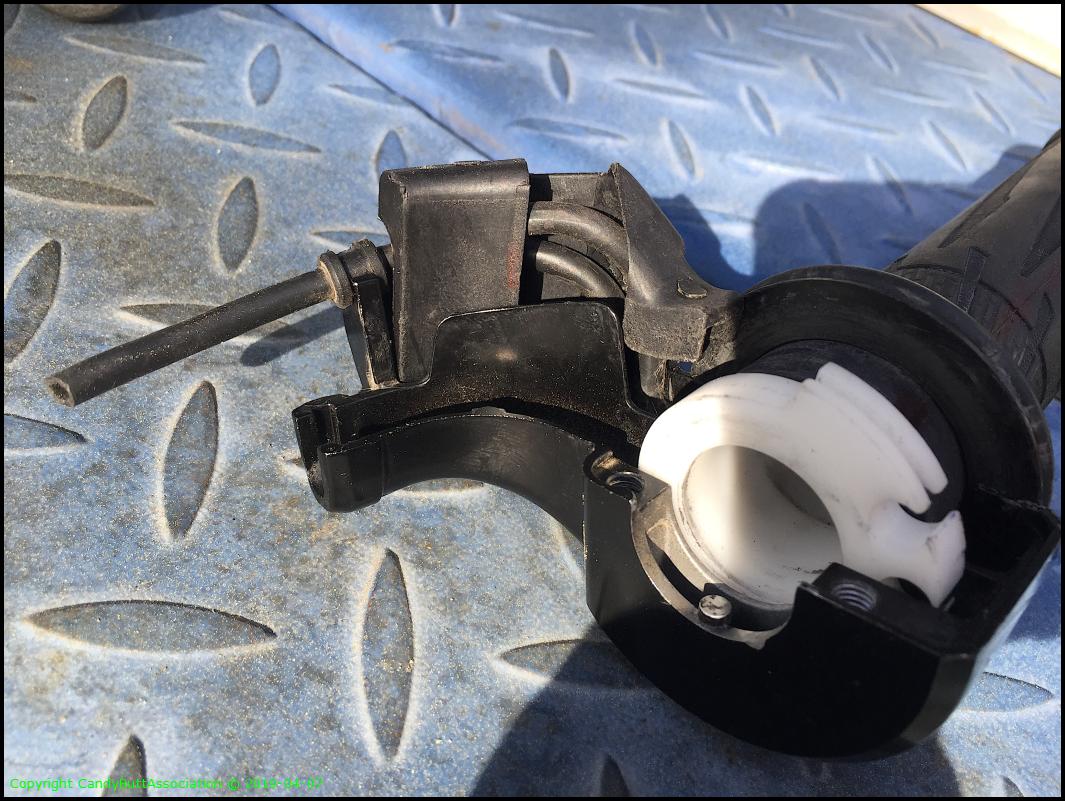
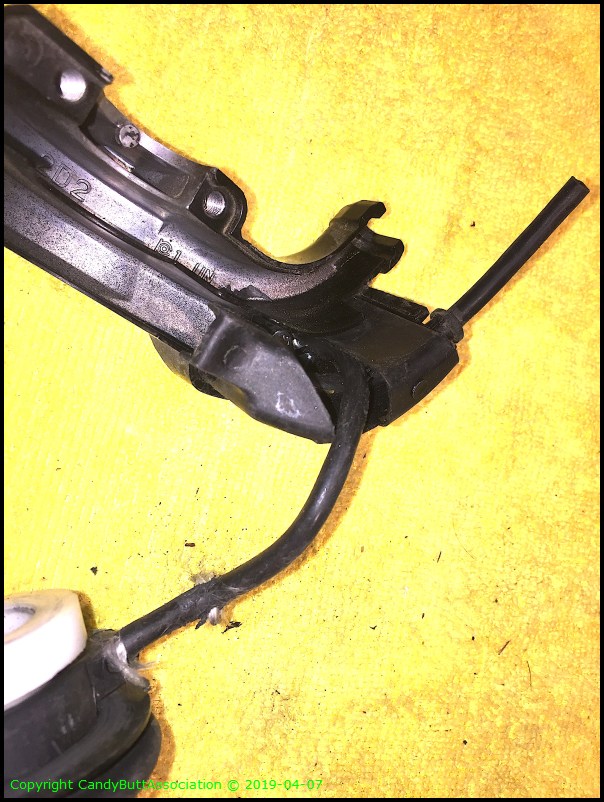
Inside the throttle housing. Not the cable routing. The cable collects in the channel next to the throttle tube channel. PITA.

I had everything laid out perfect so I could install the new cable. Then the cat jumped on the bench and things went foooey. That's my story and I 'm sticking to it..
It loops and the loop has to be perfect.
So simple when done. LOL.
Got it? OK, your turn Bucko.

Not sure I'd use OEM again.

Here's the new heated grip with cable installed.

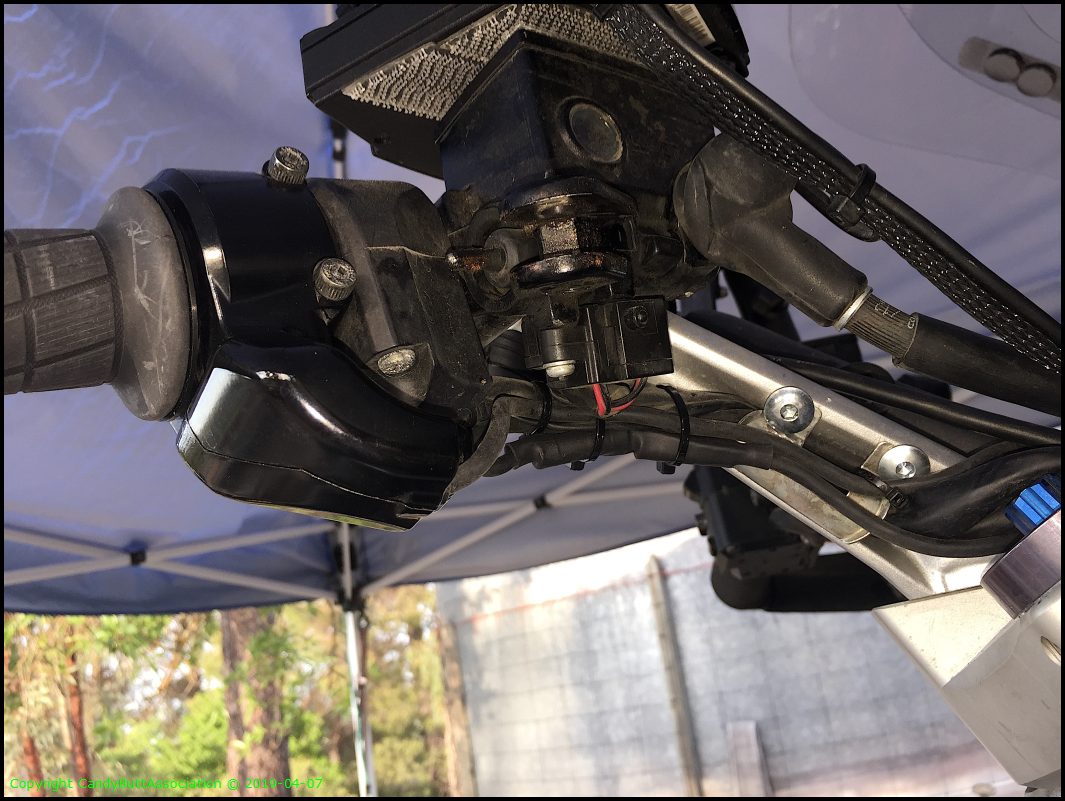
OK then, making progress.

Time for a spice job. Stagger the connections to keep the loom from being too fat.

Some heat shink and ty-raps and almost done.

I'll use liquid electrical tape to seal both ends of the heat shrink.. even though it's protected from water by fairing, still a good idea to seal it up.
That's it. Still have to connect throttle cables, but I'm doing a valve clearance check and need cable slack to remove valve cover..
..To be continued.
Forums:
Naomi - 2013 Yamaha FJR
2019-04-07 Heated Grip Replacement
Needed to replace throttle side heated grip due to inept tech screwing up the wiring last time the throttle came off for maintenance. Sigh.'
Lets just say this is a PITA job. Nearly threw the damn thing away but finally got it.
Maybe this will help you.
Decided to remove the brake lever for easier access to grip. Also for maintenance of lever pivot point.

Since it will be apart for awhile, some re-assembly pictures.

The speckles are pollen from the pine trees.
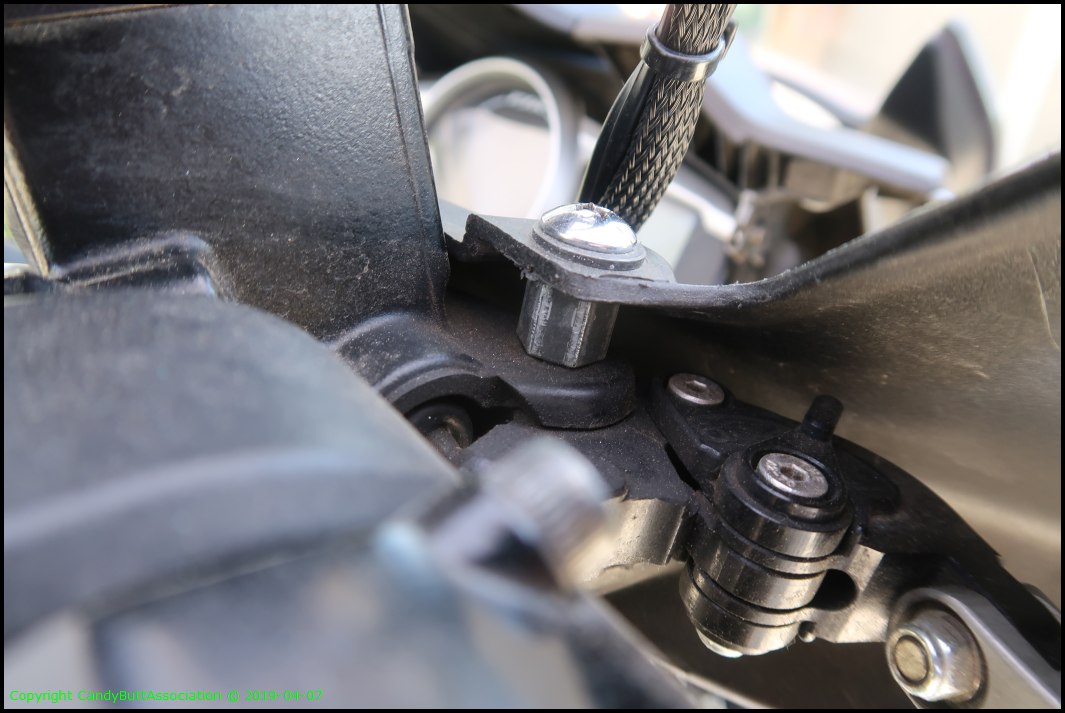
Check out the throttle adjustment, as in there isn't any. Probably due to bar risers/set-backs.
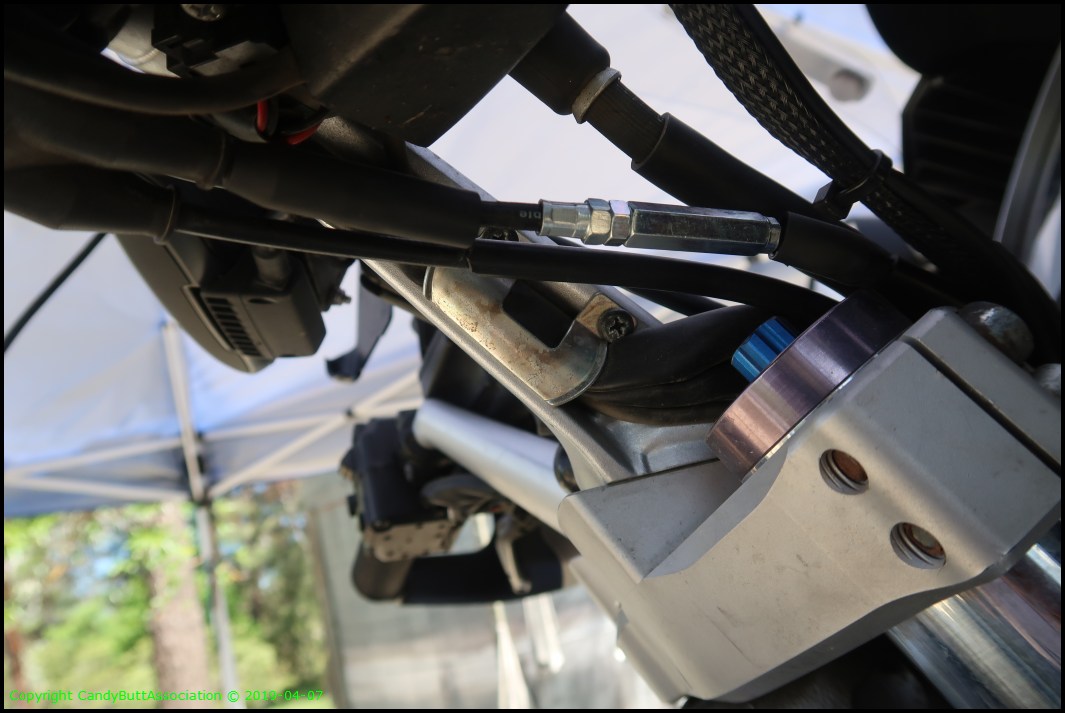
Bottom side showing cable and wiring routing.

Another view.
Hand guard pics.
Washer underneath!

The new grip, factory OEM.

Grip was still working, even with frayed insulation.

The hole matches with grip pin to fix grip in position.

First problem. That screw was TIGHT. Used impact driver on it but the head rounded. I need an impact driver with JIS bits...
Dremel to the rescue.
Got the cover off. For some reason, now the screw was loose. Removed it by hand.
Not sure why so tight. No LocTite or anything.

Chasing down the wire loom to see where it connects. This is the LHS looking up into the dash.

...and it appears the connector is up in dash cowling... somewhere. I am NOT removing the front nose cowling. Just got done installing new Antler Mirrors (FZ1) with furniture nuts and fabricated re-enforcing brackets. So I'll splice.
Inside the throttle housing. Not the cable routing. The cable collects in the channel next to the throttle tube channel. PITA.
I had everything laid out perfect so I could install the new cable. Then the cat jumped on the bench and things went foooey. That's my story and I 'm sticking to it..

It loops and the loop has to be perfect.

So simple when done. LOL.

Got it? OK, your turn Bucko.
Not sure I'd use OEM again.
Here's the new heated grip with cable installed.

OK then, making progress.
Time for a spice job. Stagger the connections to keep the loom from being too fat.
Some heat shink and ty-raps and almost done.
I'll use liquid electrical tape to seal both ends of the heat shrink.. even though it's protected from water by fairing, still a good idea to seal it up.
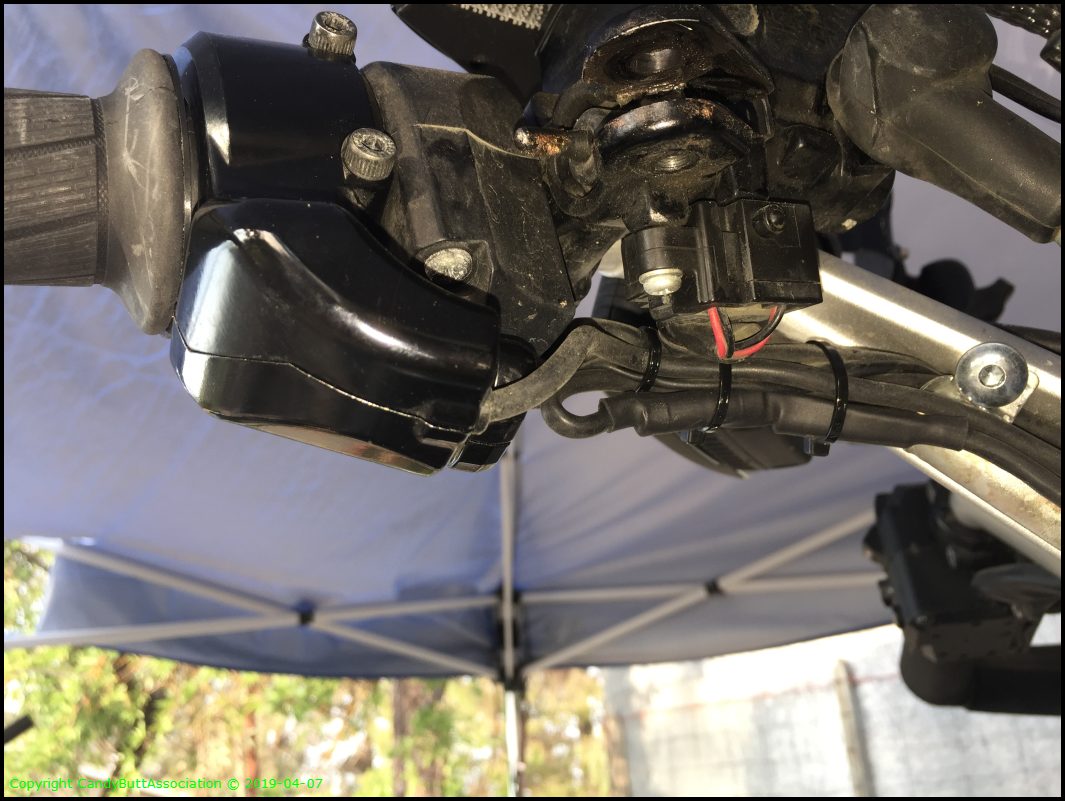
That's it. Still have to connect throttle cables, but I'm doing a valve clearance check and need cable slack to remove valve cover..
..To be continued.