Avoiding cracks when drilling plastic

Yamaha FJR Motorcycle Forum

Help Support Yamaha FJR Motorcycle Forum:

This site may earn a commission from merchant affiliate links, including eBay, Amazon, and others.

BobOdenweller

Well-known member
Joined
Oct 1, 2008
Messages
102
Reaction score
0
Location
Littleton, CO
I'm having a heck of a time adding a powerlet outlet to the cockpit area of the bike without causing harm to the plastic. First I tried the unpainted plastic on the left side of my '07, but soon after drilling the 3/4" hole and installing the powerlet outlet, the plastic cracked badly. I replaced the panel and tried it again with the same result. I replaced the panel again and this time decided to try drilling the nearby painted plastic. Yestday I noticed that it to has a slight hairline crack. I smeared some black ABS glue on the underside of the panel in hopes of stopping the crack from spreading, but I am very frustrated. Does anyone have any advice?

 
My FJR is an '05, but I expect that the plastic is made out of the same material. I drilled the black dash panel with no problem. Just push gently on the drill and let it cut through slowly. The painted stuff is more flexible and should be even easier to drill without cracking. The hole I drilled was for wires to pass through so there was no stress on it after it was drilled.

If I wanted to repair a crack like you have done, I'd glue a fender washer or something like that on the back to reinforce the area.

 
Last edited by a moderator:
I think I would have drilled the initial hole somewhat smaller than final dimension, then open the hole to final size with a dremel tool. This would impart a much smoother edge to the hole.

 
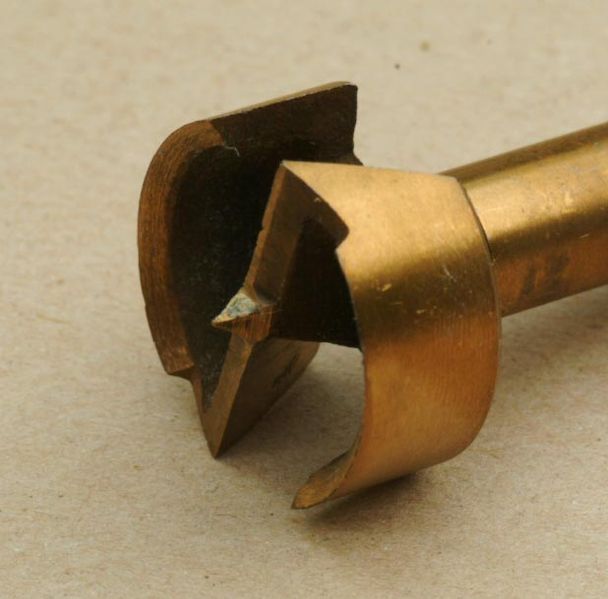
Here you go (plastic bit). I use these for plexiglass which is quite brittle. But the FJR plastic seems to be softer and I have not had any issues with regular bits. You may also need to remove the plastic part you are drilling and place it on a board to give the material some support. I drilled my '08 for a Powerlet, but now that I remember I used a spade bit which seems to not over grip the material and worked splendid:

sb1011.jpg


Tape will prevent chip-outs when drilling but won't help much with cracking after the drilling is done.

It will help to stress relief the hole by rounding the sharp edges with a fine rat tail file.

Are you possibly over tightening the Powerlet or does the Powerlet body have a flat spot down the threads (to prevent it from turning in the hole) making sharp corners that could initiate the cracks?

 
Last edited by a moderator:
Thanks for the replies so far. I used a regular spade bit with blue painters taple on the area where I was drilling. I think I will add a fender washer to the back side to strengthen the repair. In the future I will use a plastic specific bit or the other universal bit that was mentioned above.

 
Last edited by a moderator:
Unibit (or similar model) and cowling plastic IMO.

Drilled two in the lower faring so far and butta-smooth holes with no cracks.

main-unibit.gif


You guys are using the wrong tape and that unibit is asking for disaster if ya don't know what the hell yer doin.

edit:....actually, I don't think any of you klowns know what the hell yer doin.

 
Last edited by a moderator:
I'm reading that there were no cracks until the powerlet was installed. Is it on an absolutely flat area of the plastic? Any curve will be flattened by the hardware squeezing down and the stress will crack the material.

 
+1

I'm betting the drilling of the hole is not the problem. Once the powerlet has been installed you have to plug in and unplug which can put some strain on an the supported plastic. Gluing washers or a backing plate in may be what's called for. That said, I have not (yet?) had any problems with the powerlet socket in my "D" panel.

 
I have to agree that drilling isn't the problem. I drilled out two holes for powerlets (clicky) with a spade bit and have had no cracking yet ,almost a year later.

The powerlets that I bought came with an aluminum and a rubber washer. I used these and have had no problems with any cracks. It's not pictured on the powerletproducts website, but you can see it in my post above.

 
Holy fucking room full of engineers but noone knows how to drill a fucking hole. Bmw....you got the best idea so far. Unless you were the one putting forty foot pounds of torque on the cig lighter on the PLASTIC part.

 
Holy fucking room full of engineers but noone knows how to drill a fucking hole. Bmw....you got the best idea so far. Unless you were the one putting forty foot pounds of torque on the cig lighter on the PLASTIC part.
Well, I are a engineer of sorts (electronics), but we didn't cover hole drilling in my classes. I'm sure this won't meet the odot seal of approval, but when I had to drill holes in my plastic tail section for the 1st gen Yamaha trunk bracket, I used an appropriate sized hole saw in a variable speed drill run at very slow speed so the plastic wouldn't melt. The holes came out perfect.

Then after I decided I hated the butt ugly, double wall, space wasting ahamaY trunk and switched to a Givi, the two plastic hole plugs I got at the True Value fit those super smooth holes perfectly. :blink:

 
Last edited by a moderator:
Five 1/2 inch hole punches per session. If you need 3/4 inch holes the punch of choice is a 400-grain Hawk jacketed softpoint.

170231_large.jpg


Five 1/2 inch hole punches per session. If you need 3/4 inch holes the punch of choice is a 400-grain Hawk jacketed softpoint.
170231_large.jpg
A few years ago there was a story going around about one of our finest marking where he needed a hole for a wood stove chimney by laying on his back and shooting through the ceiling and roof with his service weapon. :rolleyes:

 
Top