08FJR4ME
-WYNPRO-
Nothing ventured nothing gained as they say.
Dave
Dave


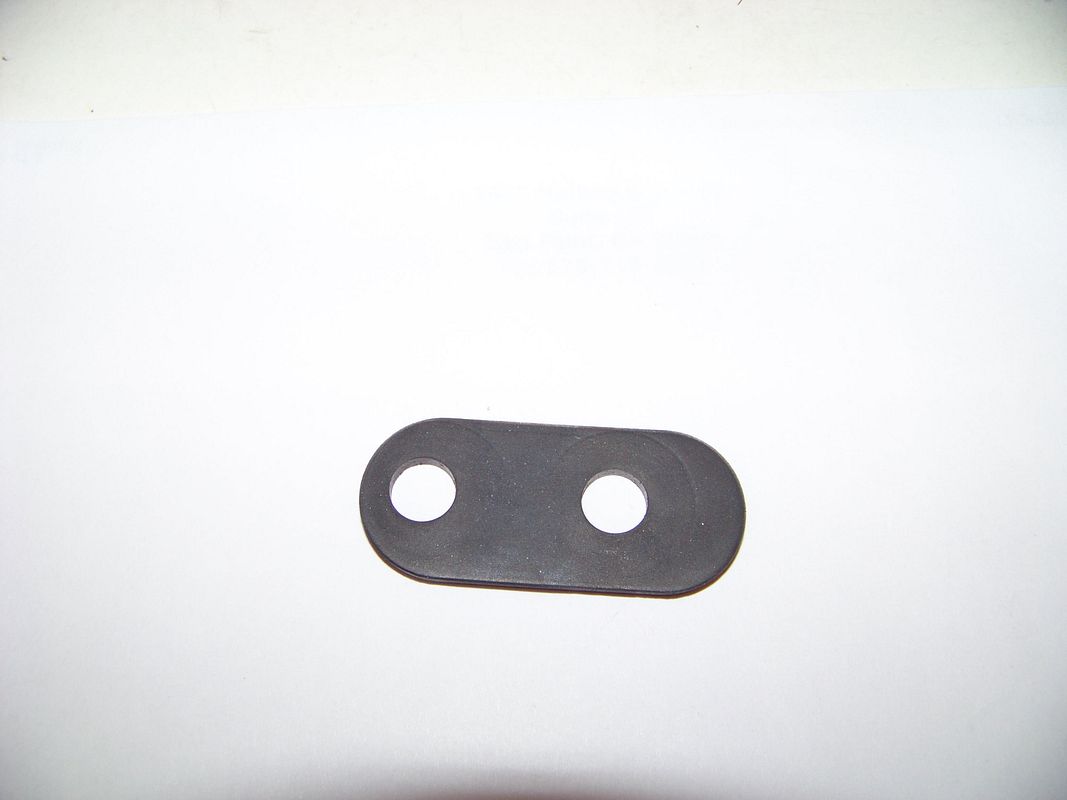
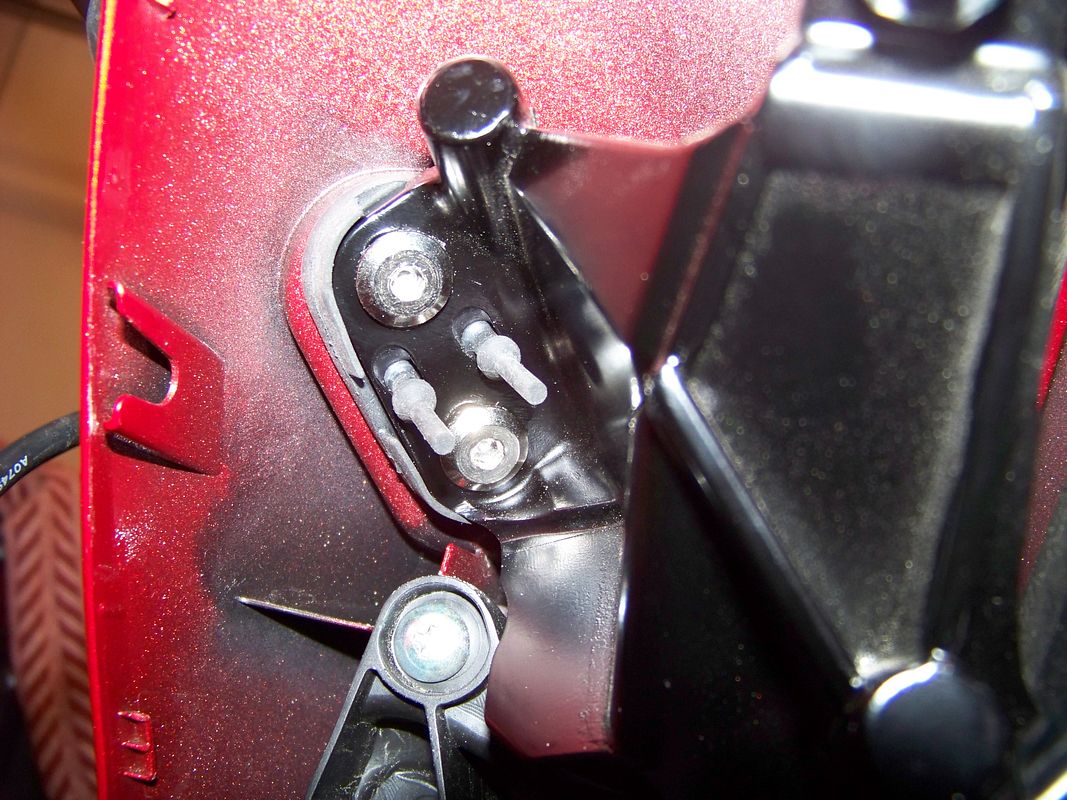
There is rubber between the bracket and faring already. It is plate #2. But the weight difference hanging on the subframe is not much of a concern to me.If weight of the mirror plus light is a concern, why not simply place a piece of rubber between the bracket and the fairing? That would take a lot of stress off the sub frame.
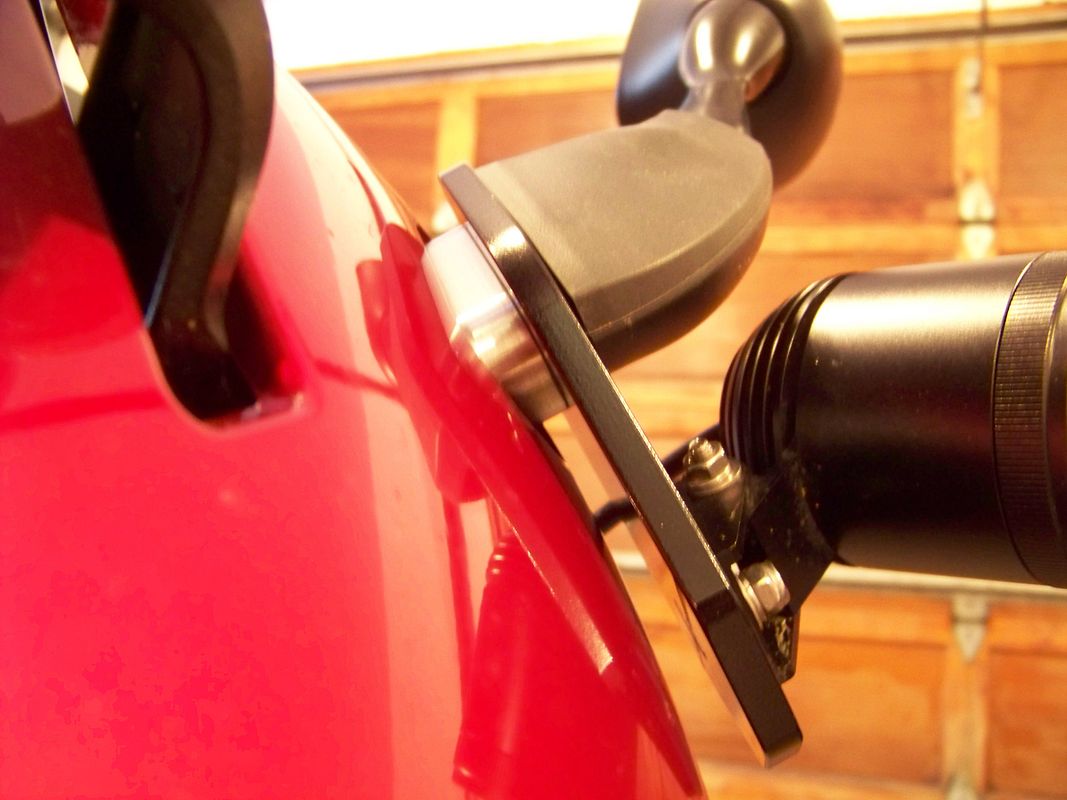
Not sure where you got that idea. When the 10mm spacers are installed the new mirror and bracket assembly will have exactly the same mounting surface, both in shape and contact area, that the stock mirrors do. The only difference is that the new configuration will be completely supported by the large rubber contact area, vs the stock configuration which is partially supported by the small diameter collars, which work to limit how tightly the rubber is compressed and also allow a direct mechanical connection for vibration, etc..I hope am wrong with my prediction. I see several differences with how the "chunky stock mirror" is mounted (i.e. flush, covering a larger surface area) and what you all will be doing.
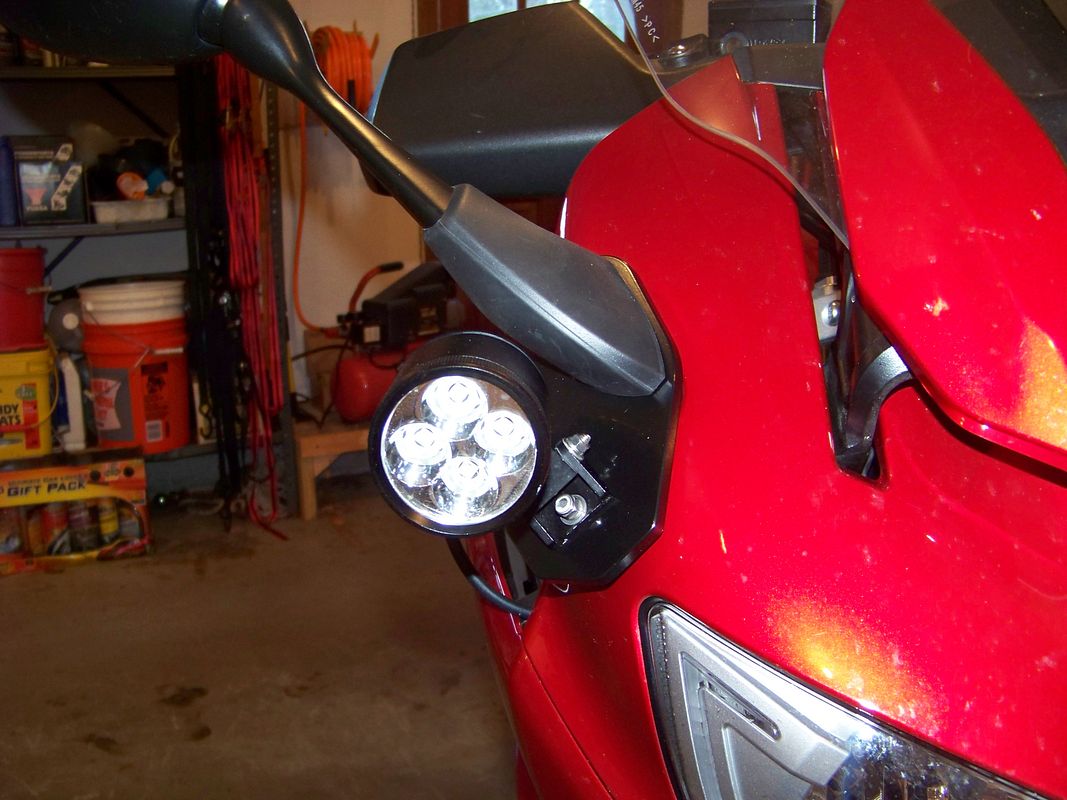
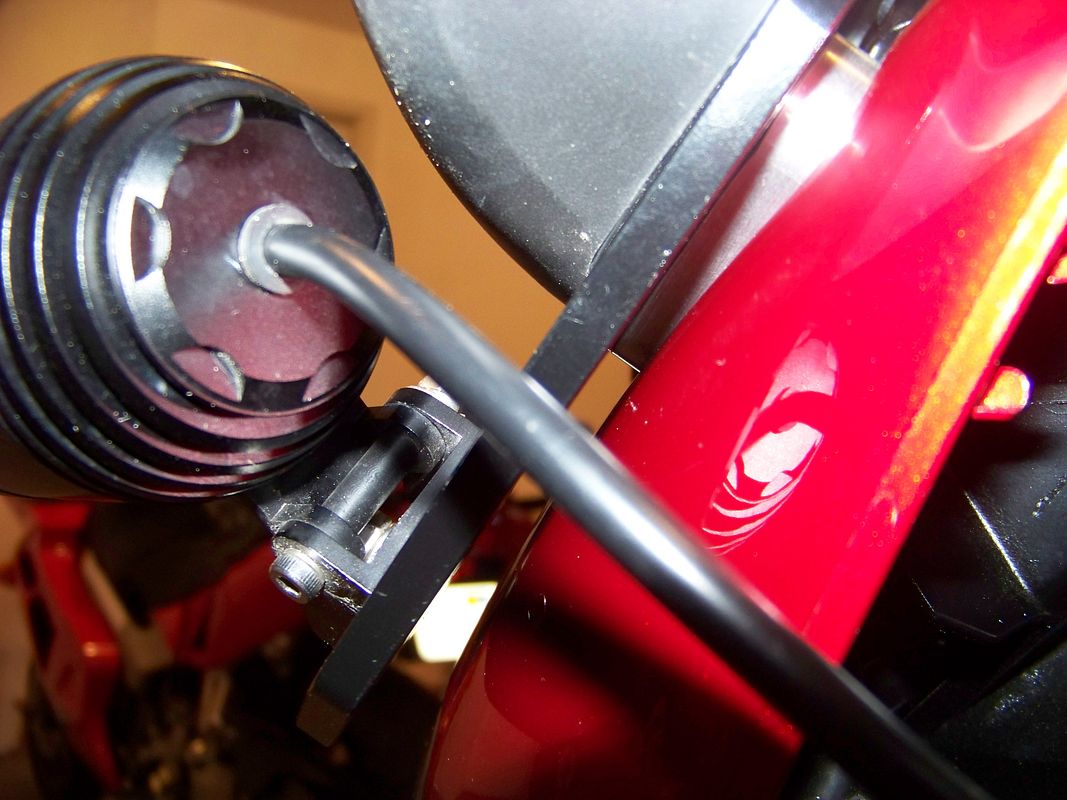
This pic seems to show The original mirror being supported by the rubber cushion:Not sure where you got that idea. When the 10mm spacers are installed the new mirror and bracket assembly will have exactly the same mounting surface, both in shape and contact area, that the stock mirrors do. The only difference is that the new configuration will be completely supported by the large rubber contact area, vs the stock configuration which is partially supported by the small diameter collars, which work to limit how tightly the rubber is compressed and also allow a direct mechanical connection for vibration, etc..
When I get it all assembled with the new 10mm spacers I will follow up with impressions of how stable it is compared to a stock mounted mirror.


B.S ->Yes, you had to actually read what I wrote, and not just look at the pictures.

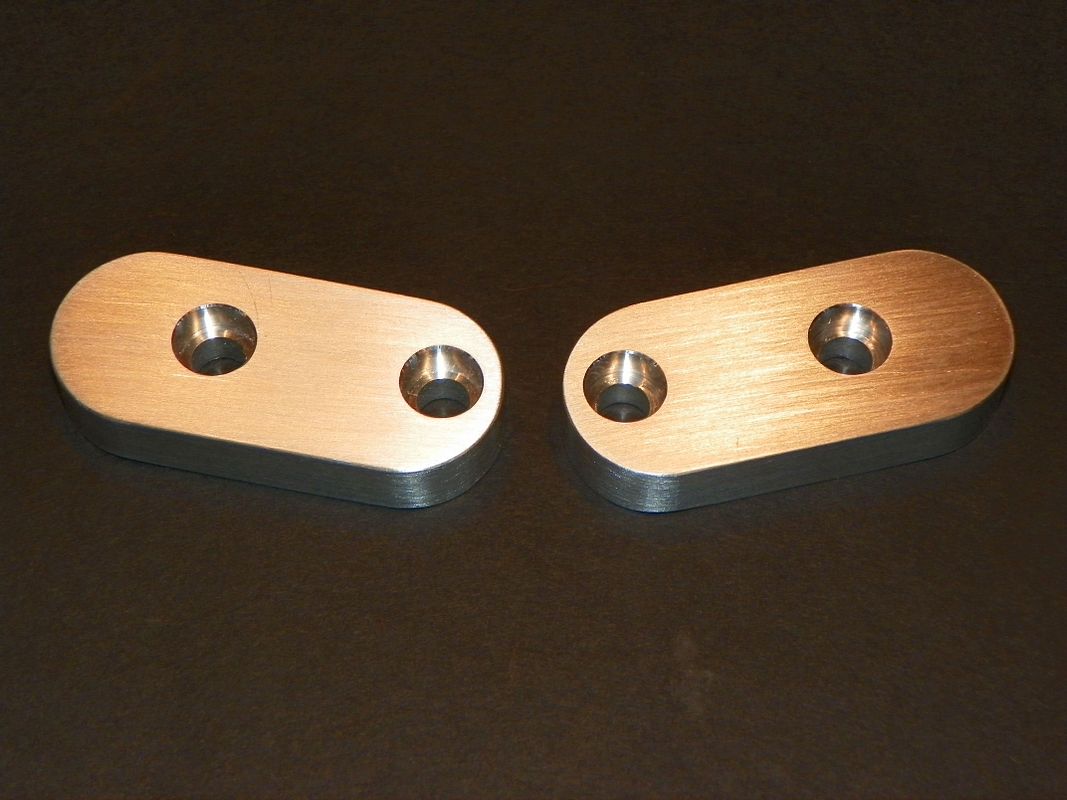
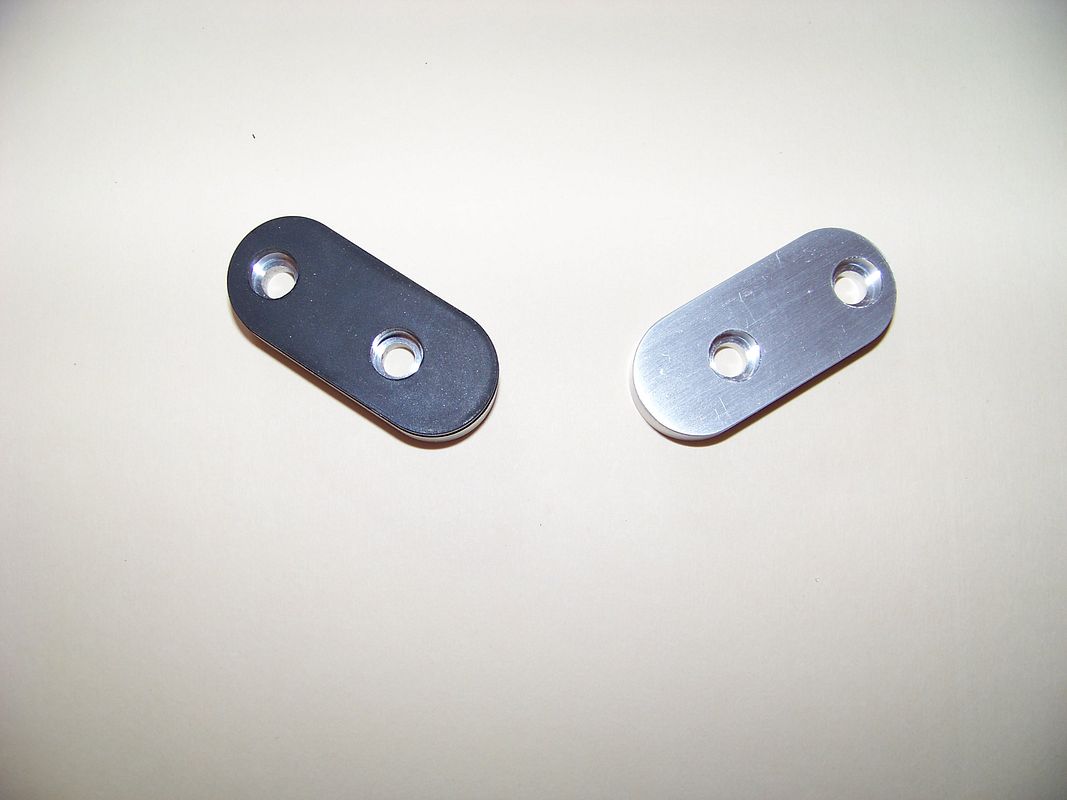
Now I am smellin' what you are cookin'!By fiddling around with a combination of nuts and washers I found that we need ~ 10mm of spacer between the mirror mounting and the AntiVibe bracket. Essentially we will want to make up some 10mm thick aluminum spacers that are shaped identically to Plate #2. I'll be sending those dimensions (and maybe one of my Plate #2's) to Dave so that he can make up a set from aluminum, which will give us the largest possible surface contact area to the rubber mounting, and allow the greatest amount of stability for the entire mounted assembly.


Enter your email address to join: