Alright' date=' so maybe this isn't a "BIG" project, but this forum was looking empty and this is the closest thing I've got.
I'm a big fan of music. Not just any music, but good music. Nothing I love more than rockin' out down the highway with the tunes blaring. Put some good 70's or 80's classic rock and I'm happy as a clam. So I had to find a way to pipe tunes into my helmet. I tried a number of different things. One was just earbuds that ran directly into an mp3 player in the inside pocket of my coat. This worked pretty well, but only for short distances as it would press against the ear lobe and eventually become unbearable. So the second option was earphones (headphones that wrap around each ear instead of around the head). This worked a little better and it was more comfortable. But the sound wasn't loud enough at the highway speeds and if I turned right, I could easily jerk the speakers out of the helmet or into an uncomfortable position. So the third option was to hide the cord inside the helmet so only the jack was sticking out. Then I bought a 6ft extension cable. The idea was that if I turned wrong, I would simply rip the extension cable off, and I would just lose the music without making the helmet more uncomfortable. But this got difficult to manage the cords and was a hassle to try and route the cables through my jacket and out of the way. Still no good.
So I got a brilliant idea. I bought these Logitech Wireless Headphones for $30, which were very uncomfortable to wear, but the sound quality was excellent and they had a range of about 30 feet. This is what I did.
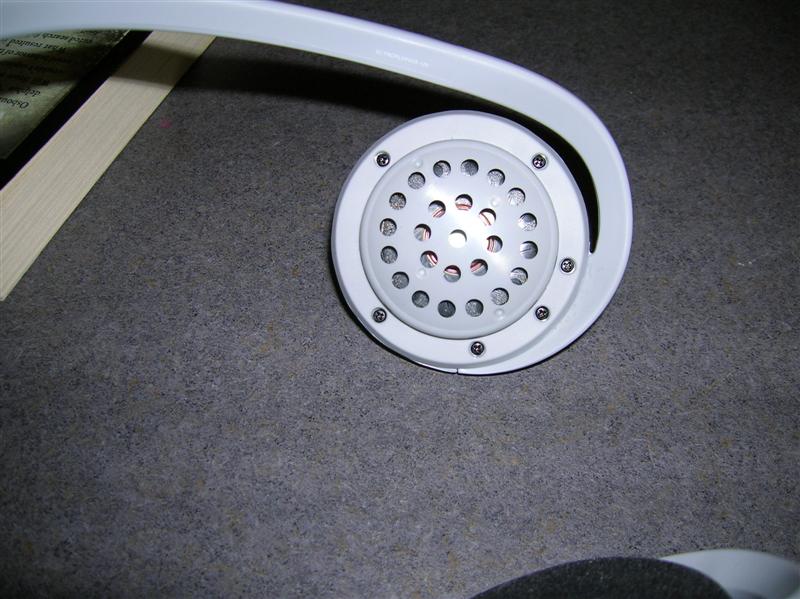
Here are the headphones. You can see the buttons on the side, which have volume control, track control (for iPod, which I refuse to own), and the center button is a power button:
[img']
https://www.naskie18.com/Timmy/helmet/001.JPG[/img]
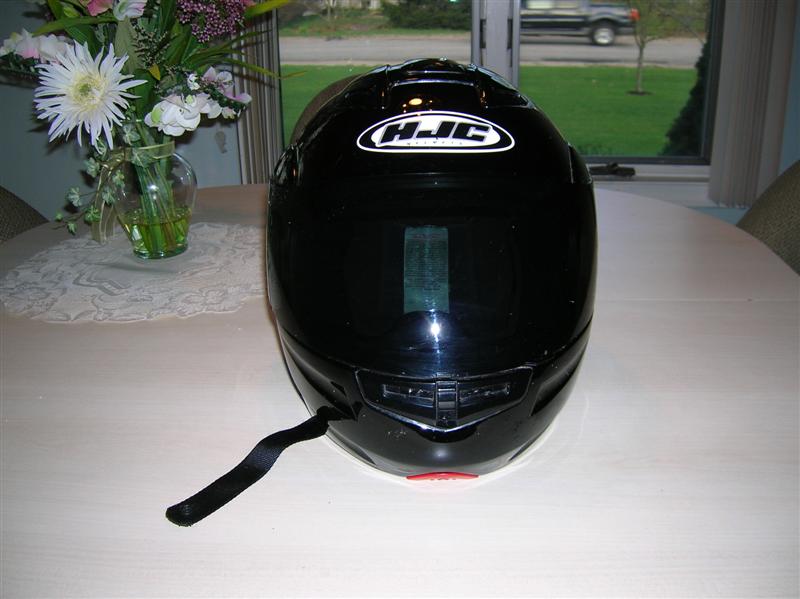
Here's the helmet. HJC-SyMax:
Once I popped off the snap on foam cover, there were 6 screws on each side.
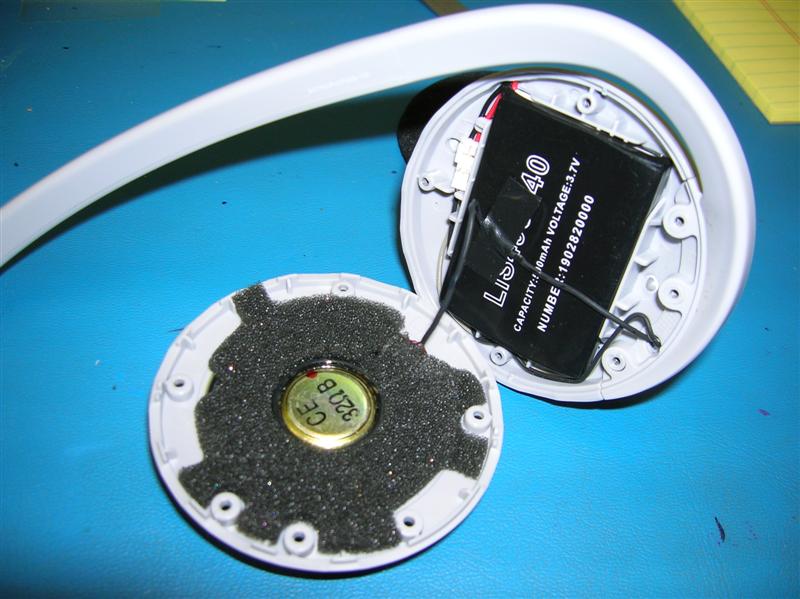
The battery is on one side, along with the other speaker.
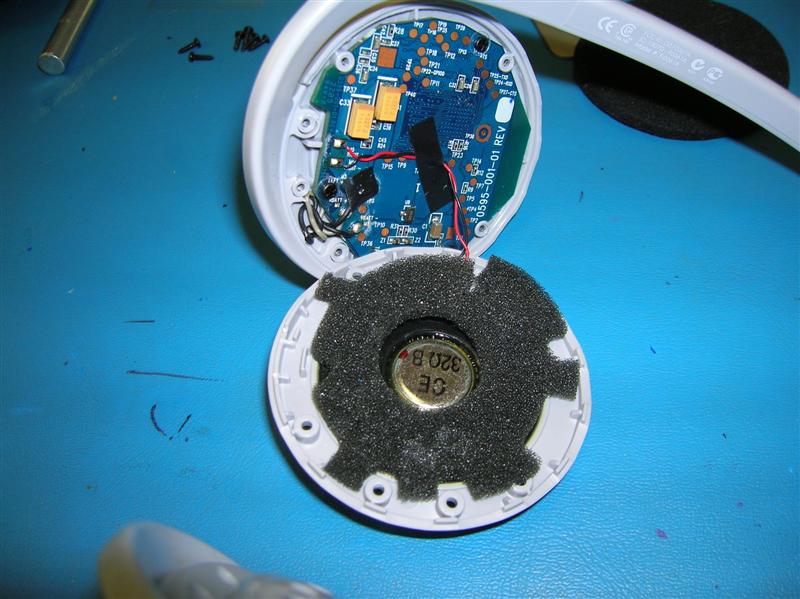
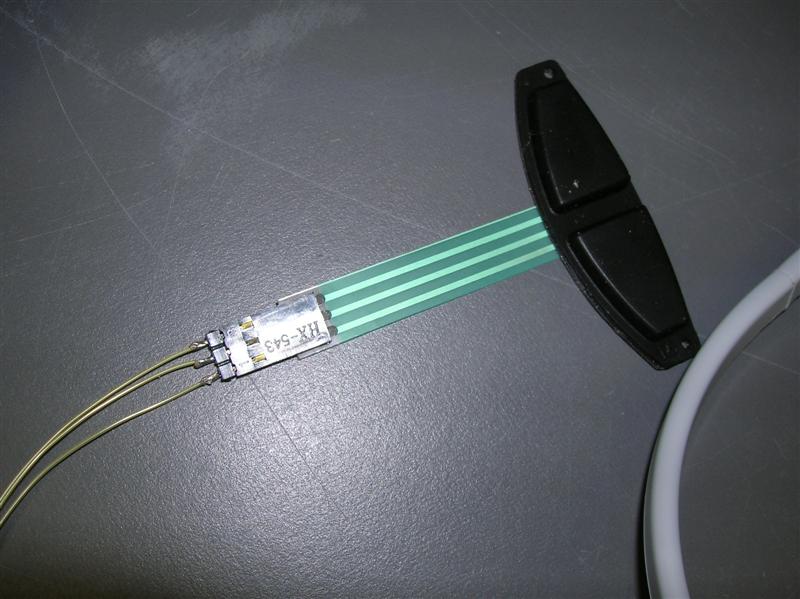
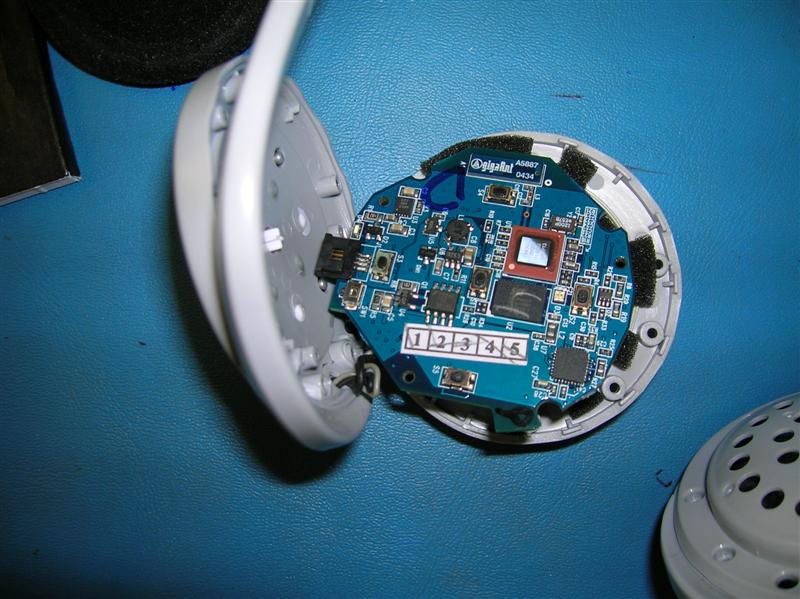
The circuit board with the switches is on the other side:
Here's the other side of the circuit board. You can see the switches mounted to the board and the adapter for the charger on the left side. That would normally be the bottom of the headphones. So the switch to the far right is the Volume up, and the switch in the center is the power.
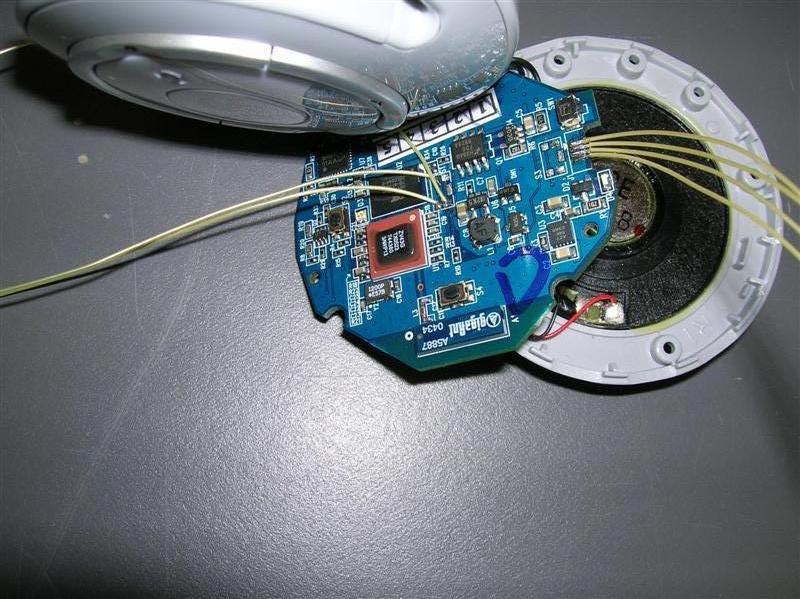
So I know I needed to run a new power switch to be able to turn them on and off. One of the features of the Logitech headphones is that if it doesn't sense music being sent to them, it will turn itself off to save battery life. The other thing I needed to be able to do is charge the headphones without taking them out each time. Using a meter to check for continuity, I found out which side of the switch connected when the switch was pressed. I also had to unsolder the charging adapter so I could run that somewhere else. This picture shows the wires I tacked on to the circuit board after removing the switches. I also removed the "Volume Down" switch, so I couldn't accidentally decrease the volume. There are also the 4 wires for the charging circuit.
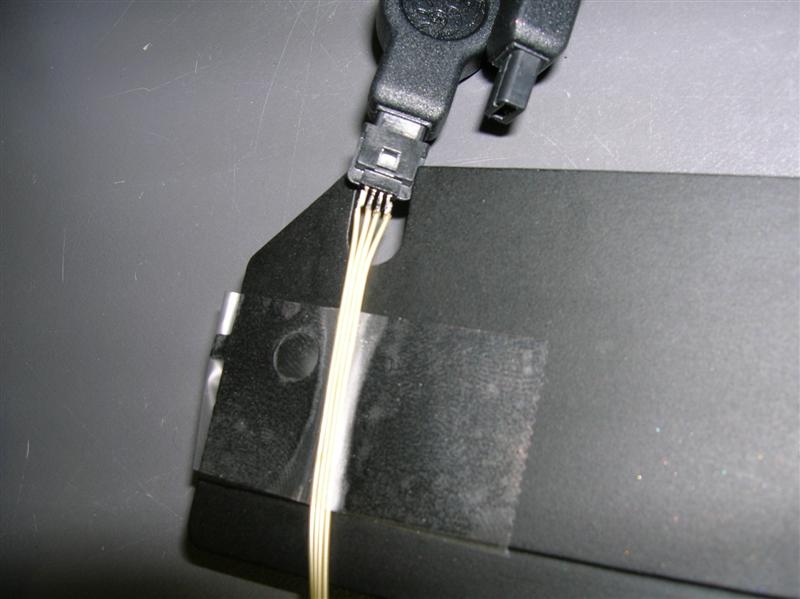
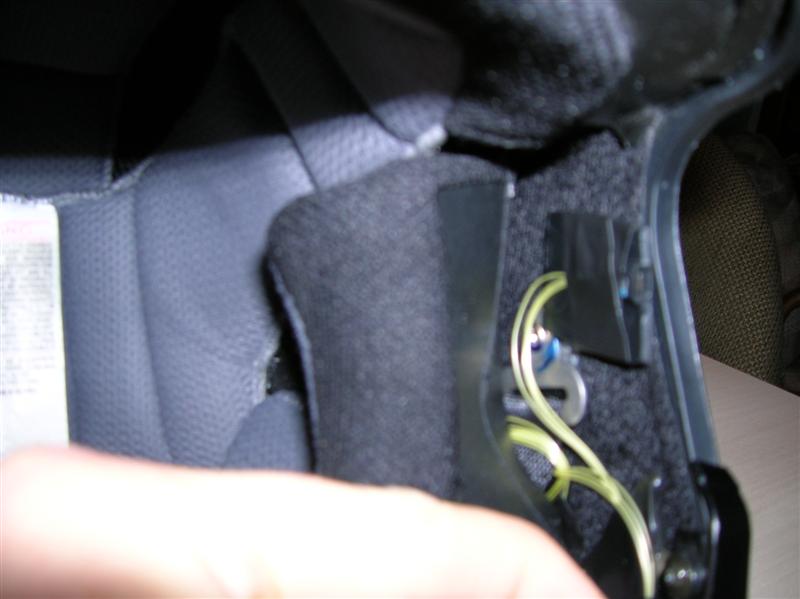
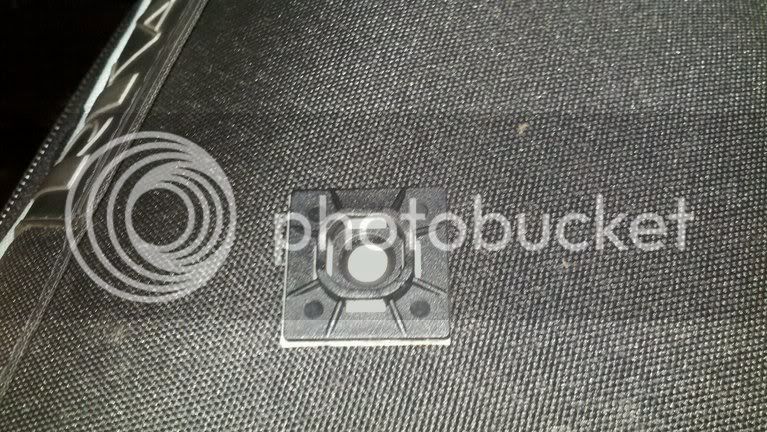
Here's a picture of where the power switch wires went to. These are buttons off from the new Arctic Cat snowmobile gauge (that's one of the products and customers I work with). They have an adhesive on the back and the circuit is in the membrane.
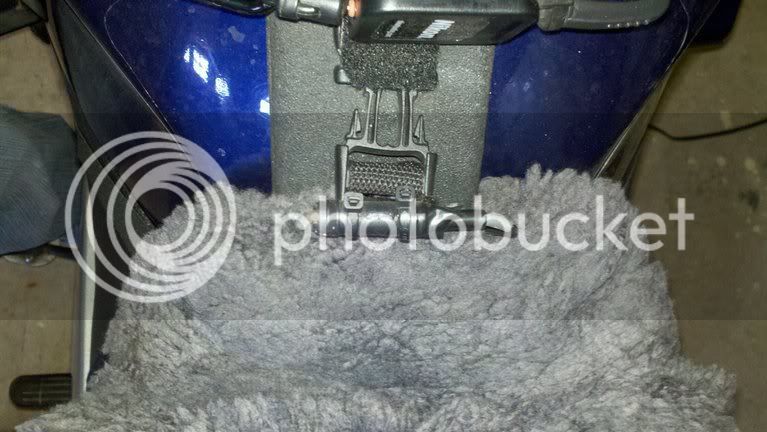
And this is the destination of the new charging adapter. I drilled a 1/4" hole, and cut straight back to the edge. Worked out to be a perfect fit and the charger rested in there. Later I super glued that into the plastic and made it a bit more solid.
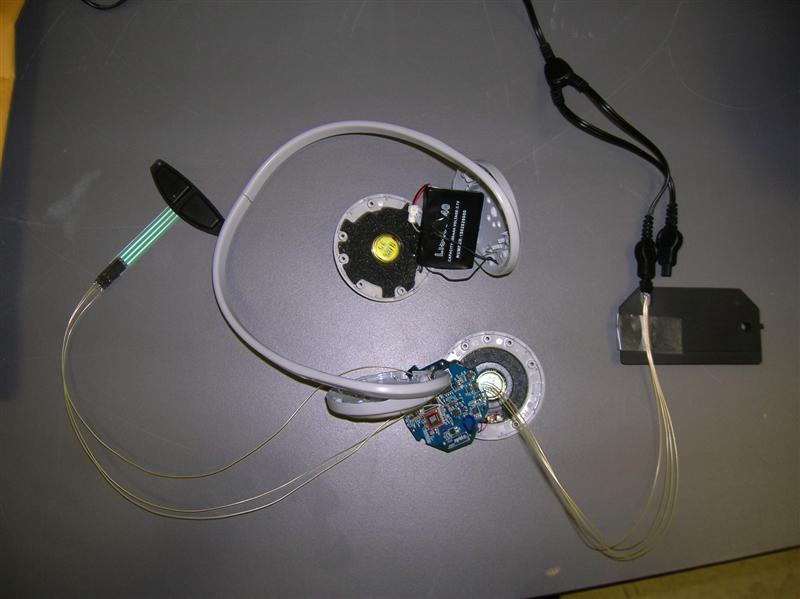
This is a picture of the whole system. The one thing I had to do, which was the most time consuming part was to remove the headband. That was a bit tricky because I kept trying to not cut the wires in the process. It turns out I cut them anyway, one of which was a twisted pair speaker wire. So I ran two new wires to replace them. So if you don't mind cutting the wires and replacing them, just chop off the headband and repair the wires afterwards.
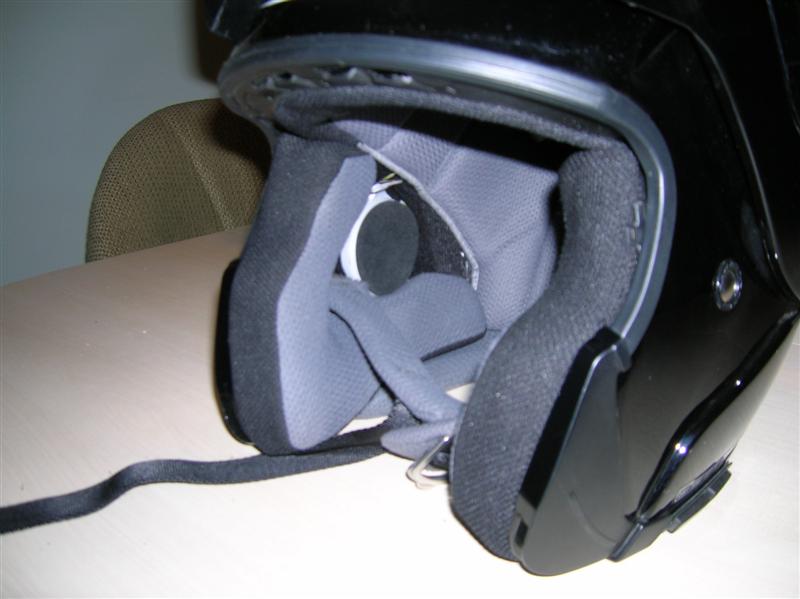
Now that I had the entire system together, I unsnapped the padding, laid the wires across, and taped them down with more electrical tape to keep them in place.
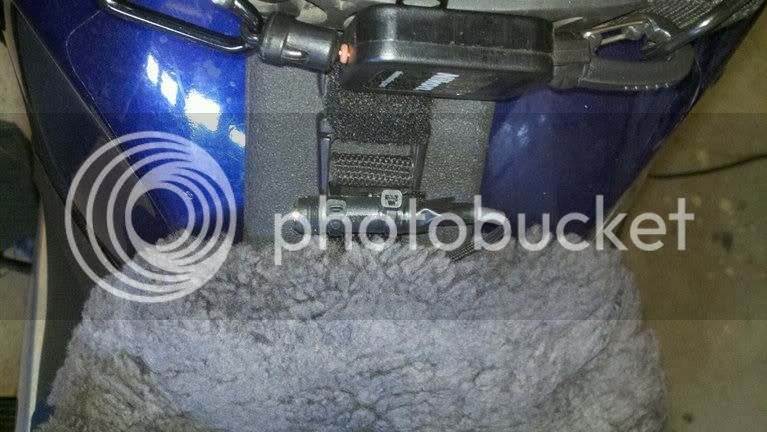
I routed the charging adapter to the side of the helmet, which is velcroed to the side. It sticks out just enough to get the plug into it.
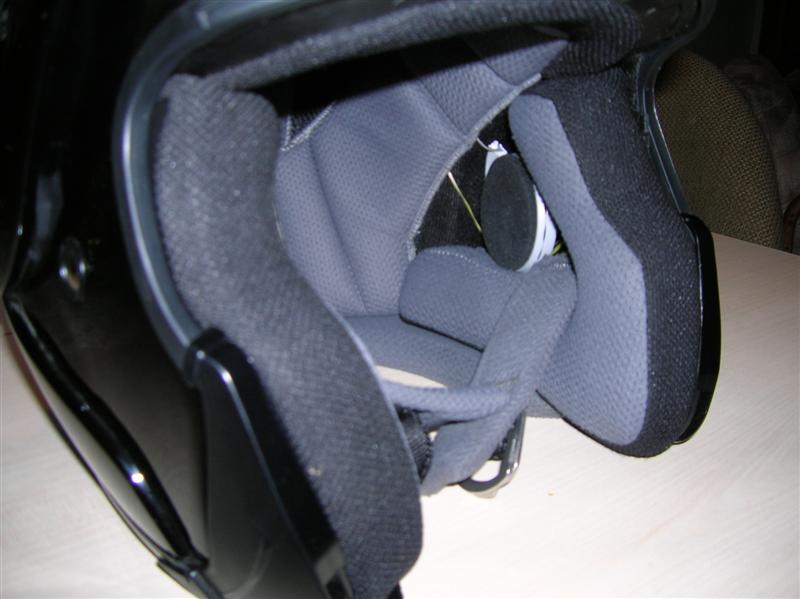
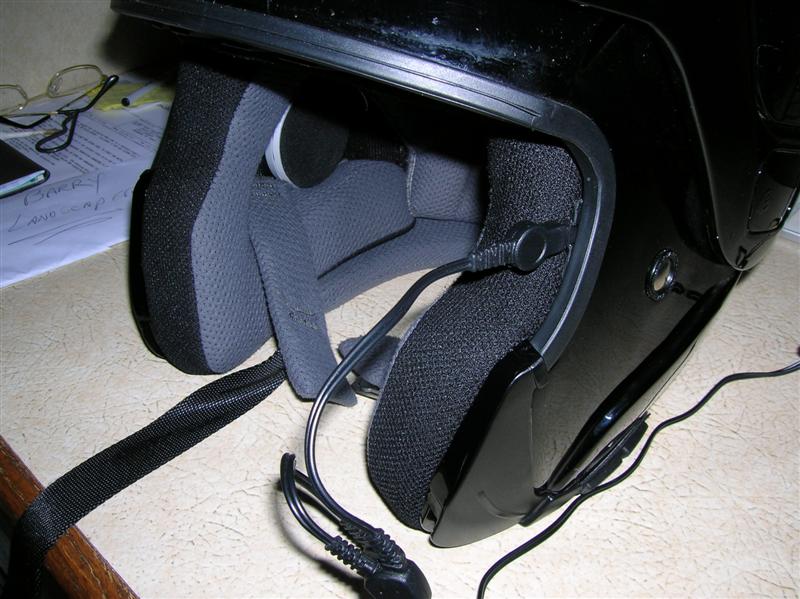
With the padding back in:
And here's one side speaker.
And the other side.
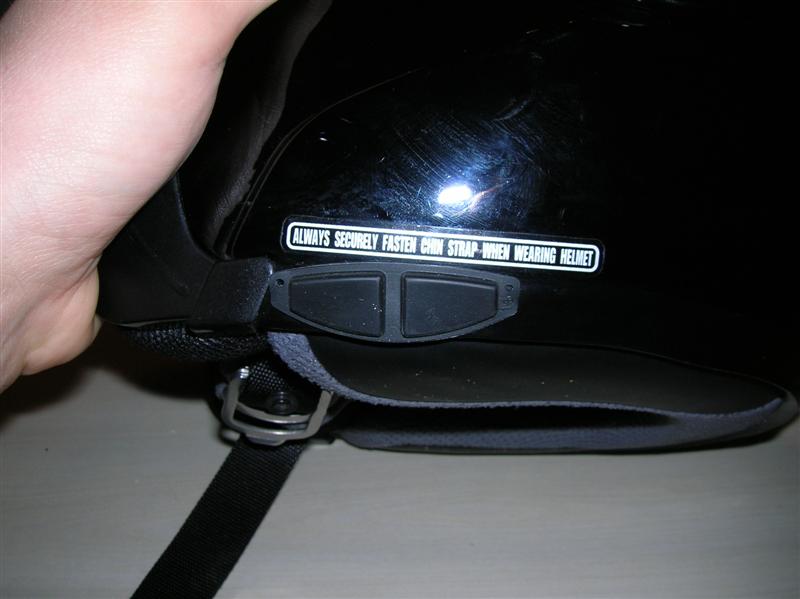
I stuck the buttons on the side of the helmet and wrapped the connection underneath the padding of the helmet back to the headphones.
Finally, this is what it looks like while charging. The charge lasts for 8 hours.
It works out pretty well. The only thing to remember is to shut off the MP3 player and the bluetooth adapter for the MP3 player. But the batteries are rechargeable anyway. The headphones are loud enough to hear at highway speeds.
That's pretty much it. Happy to entertain any questions.
Tim