haha - yup just some good PM to prevent that. I'm sure it'd probably be fine till 100k but you never know - and they're cheap if I remember correctly. I highly doubt my chain needs replacement even with 40k moderately hard miles, so just going to do the CCT at this point.
I highly doubt that anyone really
needs to replace their timing chain over the entire life of the engine. The timing chain lives an easy life, sealed away inside the engine, very low load on it and constantlty bathed in oil. The guides would wear out long before the chain does. People sometimes do replace the chain, just because they are in there, but I doubt it has ever been actually needed.
Dremel slots for a flat blade screwdriver in the mounting bolts & cap bolt, makes the CCT replacement lots easier. Long tweezers are handy too cause the cap bolt (and probly mounting bolts) won't fit in the frame slot and have to be held from above.
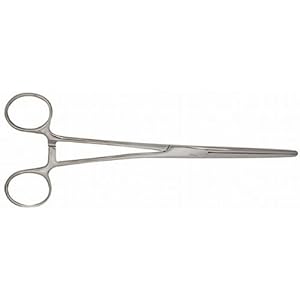
FWIW, I didn't have much of a problem getting the bolts to start and tightened without the ground in slots (this was from before that tip was made). The key, for me, was using a pair of long nosed hemostats to position and hold the bolts. Like these
12" ones on Amazon.
These are an indispensable tool in many occasions. If you don't have any you should try to find some.