Alrighty then... we'll start by comparing the stock headlights to the H4 LED retrofit bulbs bought from eBay seller "ultimatecomponents" pointed at a white garage door 25 feet away. All photos are un-retouched or gamma corrected other than any auto scaling done by my digital camera. Note when looking at these photos that my driveway path centers more towards the left bay of the garage door.
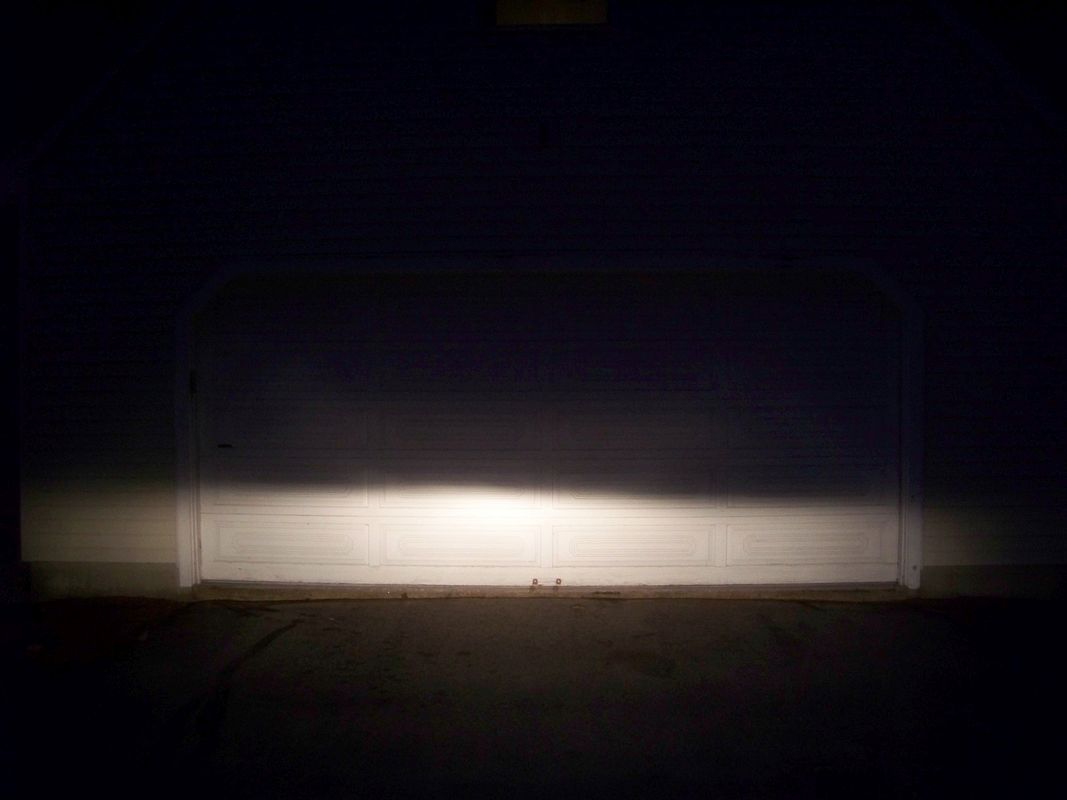
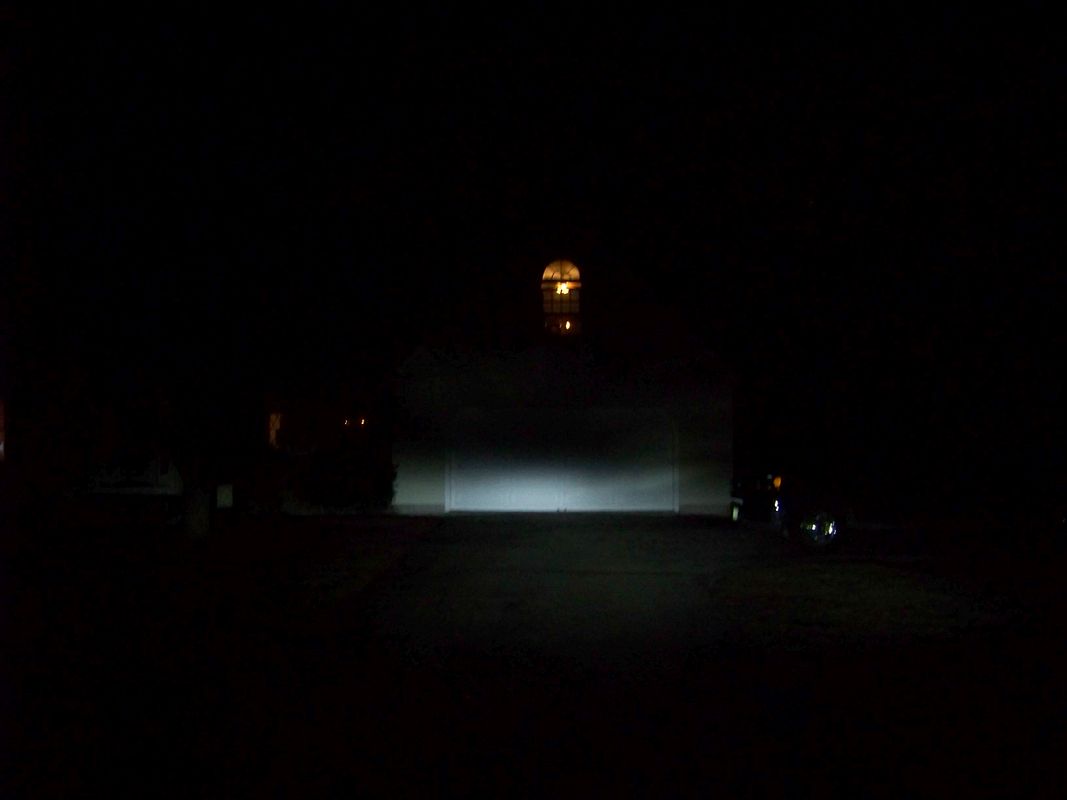
Stock Halogen Low Beam
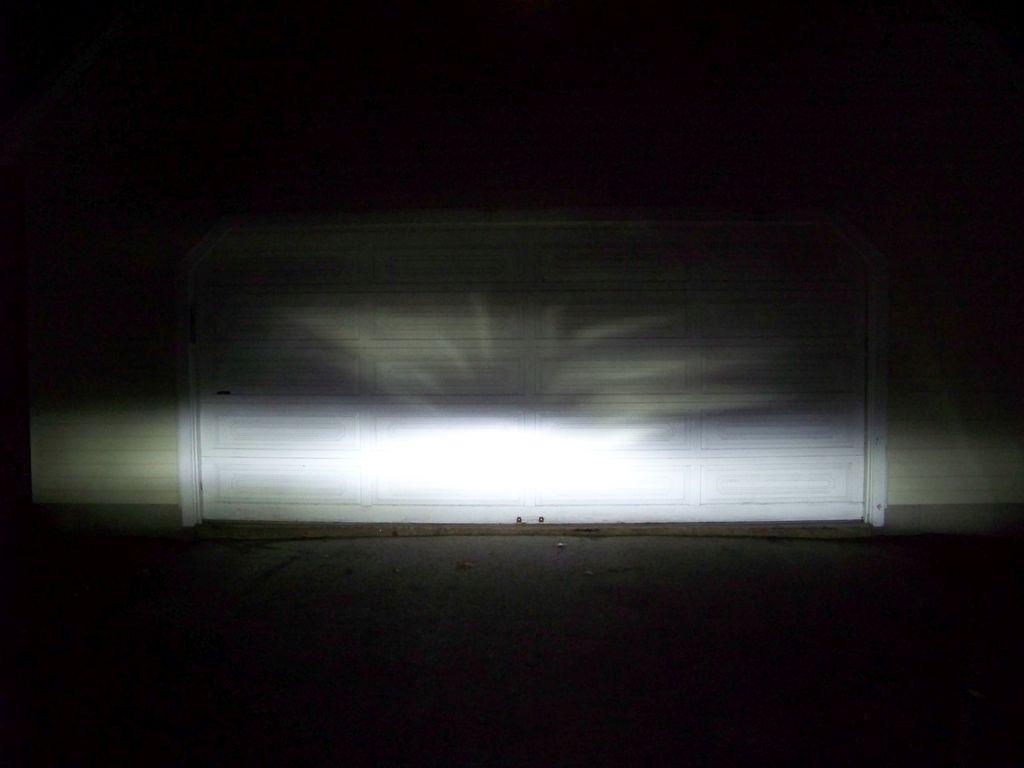
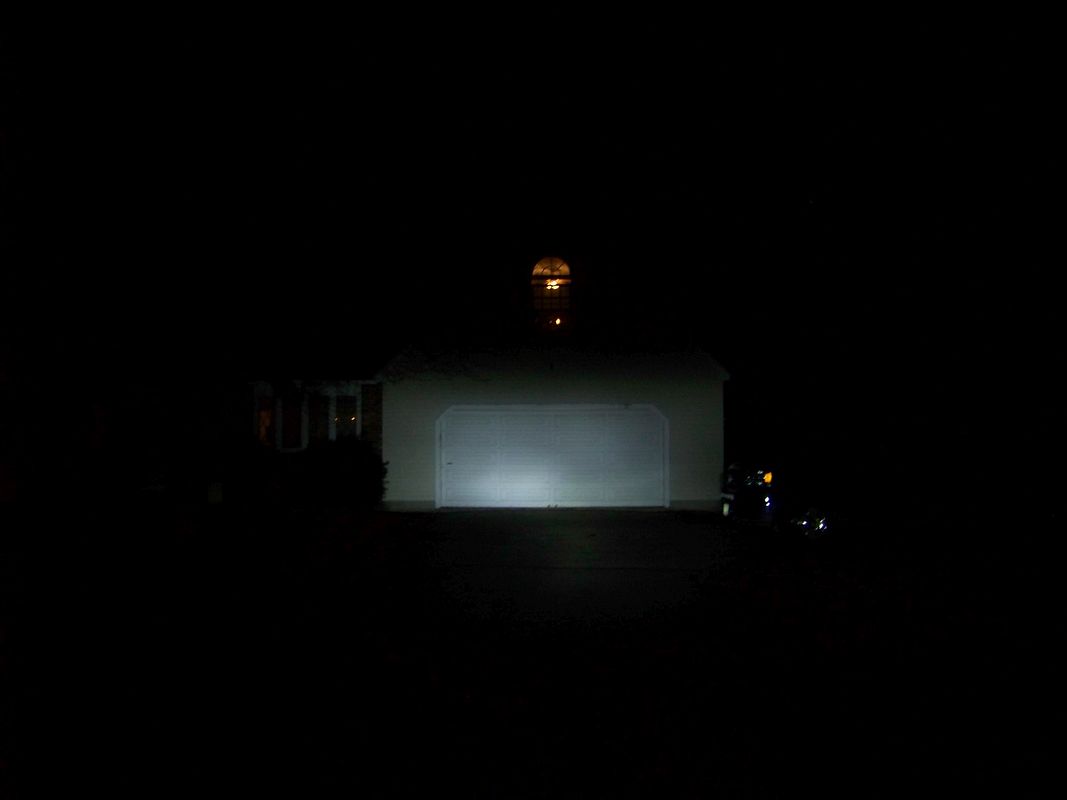
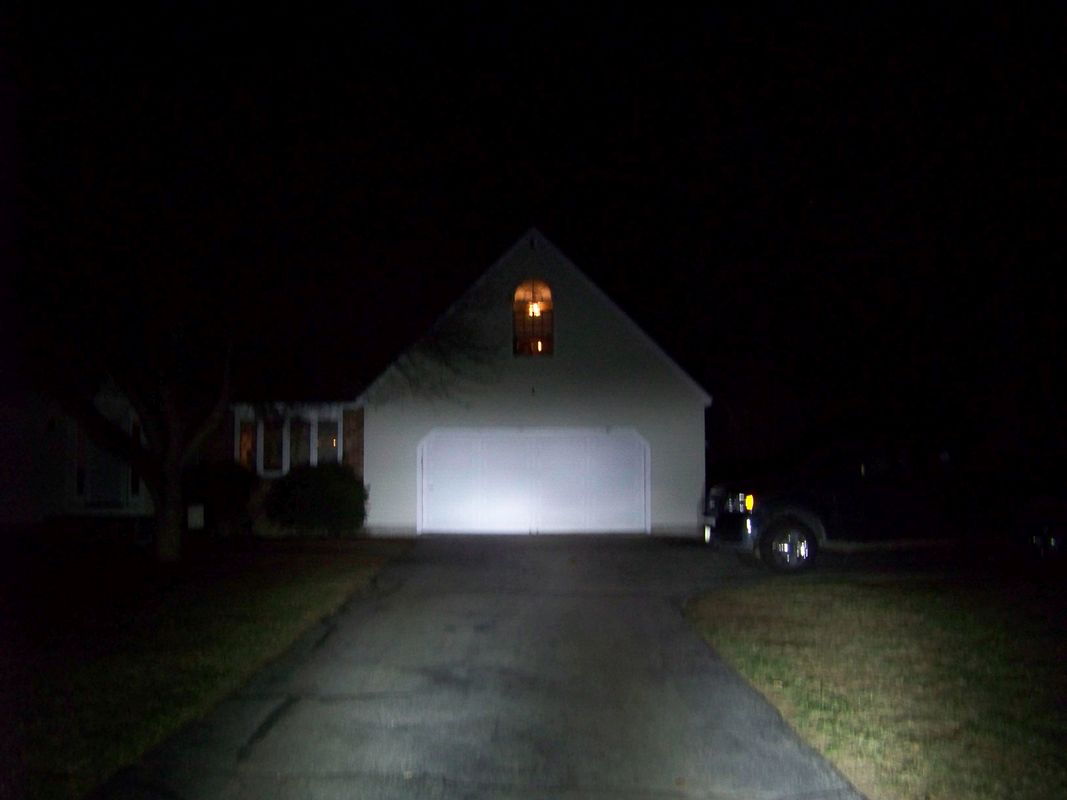
Compare that to the LED Low beam
It is basically the same beam pattern, but the intensity of the LED light is much greater. Without a lux meter I'd make a guess that they are about twice as bright as the halogen.
The leakage above cutoff is there in both shots, but more obvious due to the pattern in that scatter on the LEDs, and also seems a bit brighter. Maybe that is because the lights themselves are brighter. I do not think that this leakage will be a problem for oncoming motorists at night.
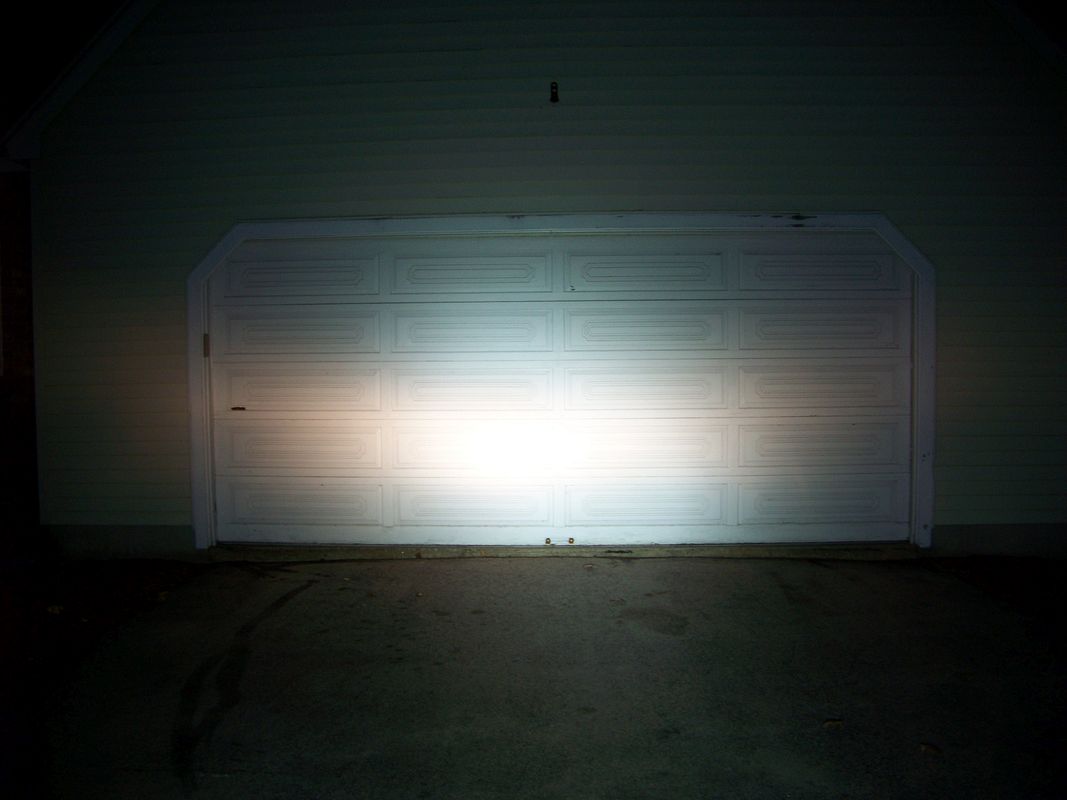
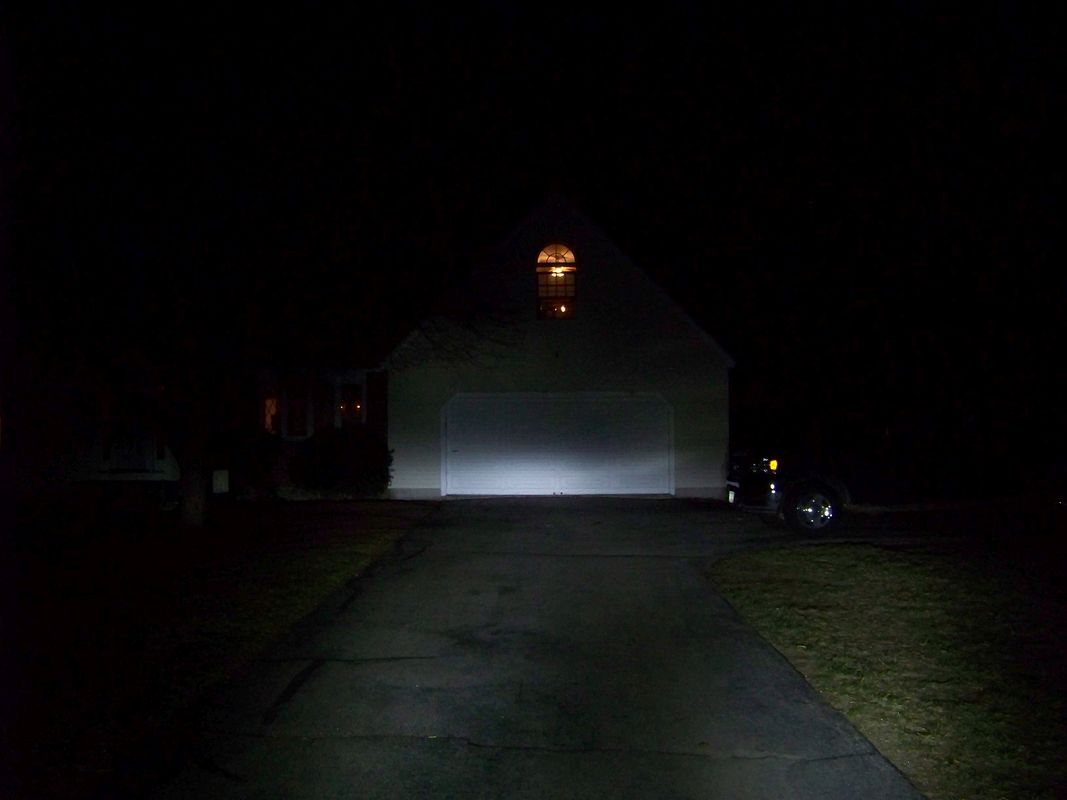
High Beam Halogen
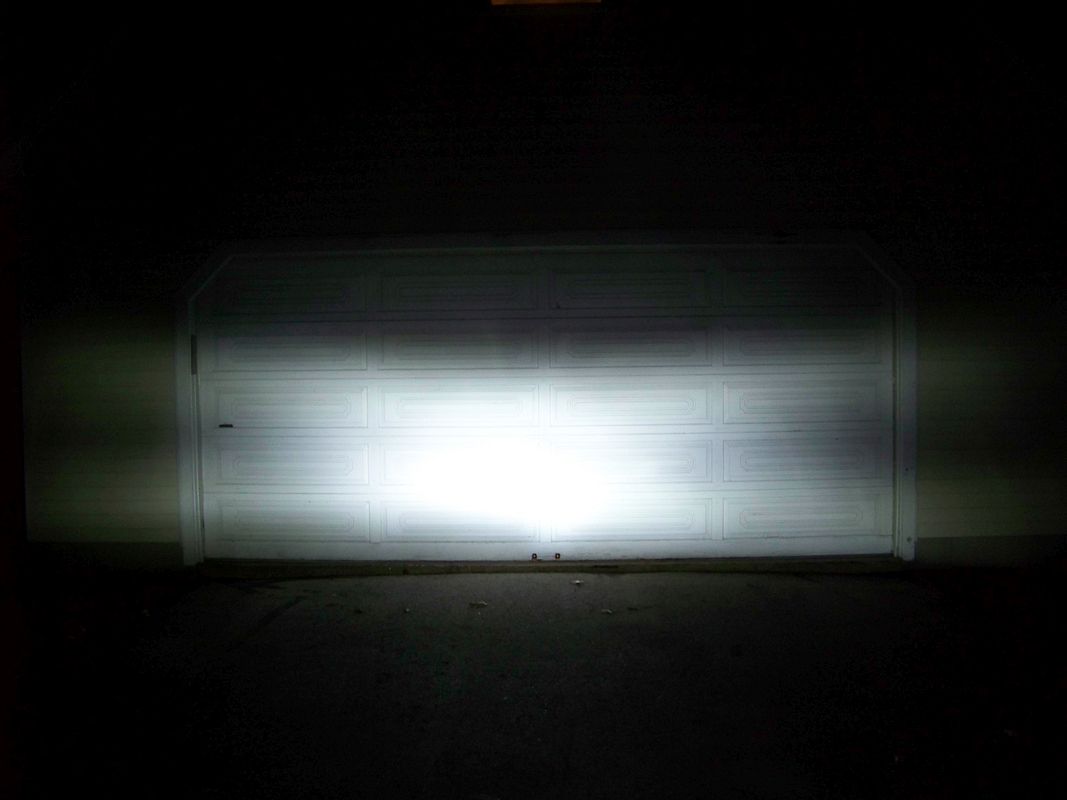
High Beam LED
In the halogen high beam photo you can clearly see the downfall of that headlight as the bright area is high, so as to throw the maximum light down the road, but at the expense of any light down low.
I was surprised to see that the LED high beam has two distinct levels of bright intensity. Flipping between high and low I could see that the low beam spot remained, and when in high it just added a new one higher up.
So I held a piece of exposed Xray film in front of the headlight and could clearly see that all 4 LEDs are lit on each bulb when in high beam. Here's a shot looking thru the film on one side of one of the bulbs
This feature must be provided by the small module that is part of the LED upgrade's cable, and is made possible because the wattage of all 4 of the LEDs is less than the wattage of a single halogen filament. You could rewire the halogen lights to do this, but the wattage of having all 4 filaments on would be excessive (210 watts) and the headlight wiring is not sized properly to carry that much current continuously.
To me, this seems like a big win for LED when in high beam.
In the past I've found that staring at the bright spots on a wall 25' away shows the beam patterns well, but isn't representative of how well a headlight works out on the road. Typically shots taken from ~75 feet are more representative of how they will work in the real world. Unfortunately I did not take these shots with the halogen lights, only with the LEDs.
Here are the LED low beams from 75'
And here are the LED High Beams from 75 feet
And just for fun, here are the LED retrofit bulbs plus LEDrider LR4 lights aimed somewhat downward from 75 ft
Low beam w/ LR4 at ~ 30% bright
And LED retrofit highbeams plus LR4 @100%
The LR4's basically improve my foreground illumination in low beam in addition to being attention getting during daylight hours, and add a bunch of forward light in the high beam 100% on position. That's a whole lot of light being cast down the road in that last photo. :thumbsup: