4/19/13
Today, I split the cases and tore the motor down as far as I need to go. I didn’t pull the shift drum, shift forks, or the starter clutch out, but for the purpose of this thread, I didn’t think it necessary.
I’m not real proud of these pictures, but I think they are good enough.
First, the rotor finally came out with my puller, some heat, and some moderate tapping with my deadblow hammer on the crankshaft.
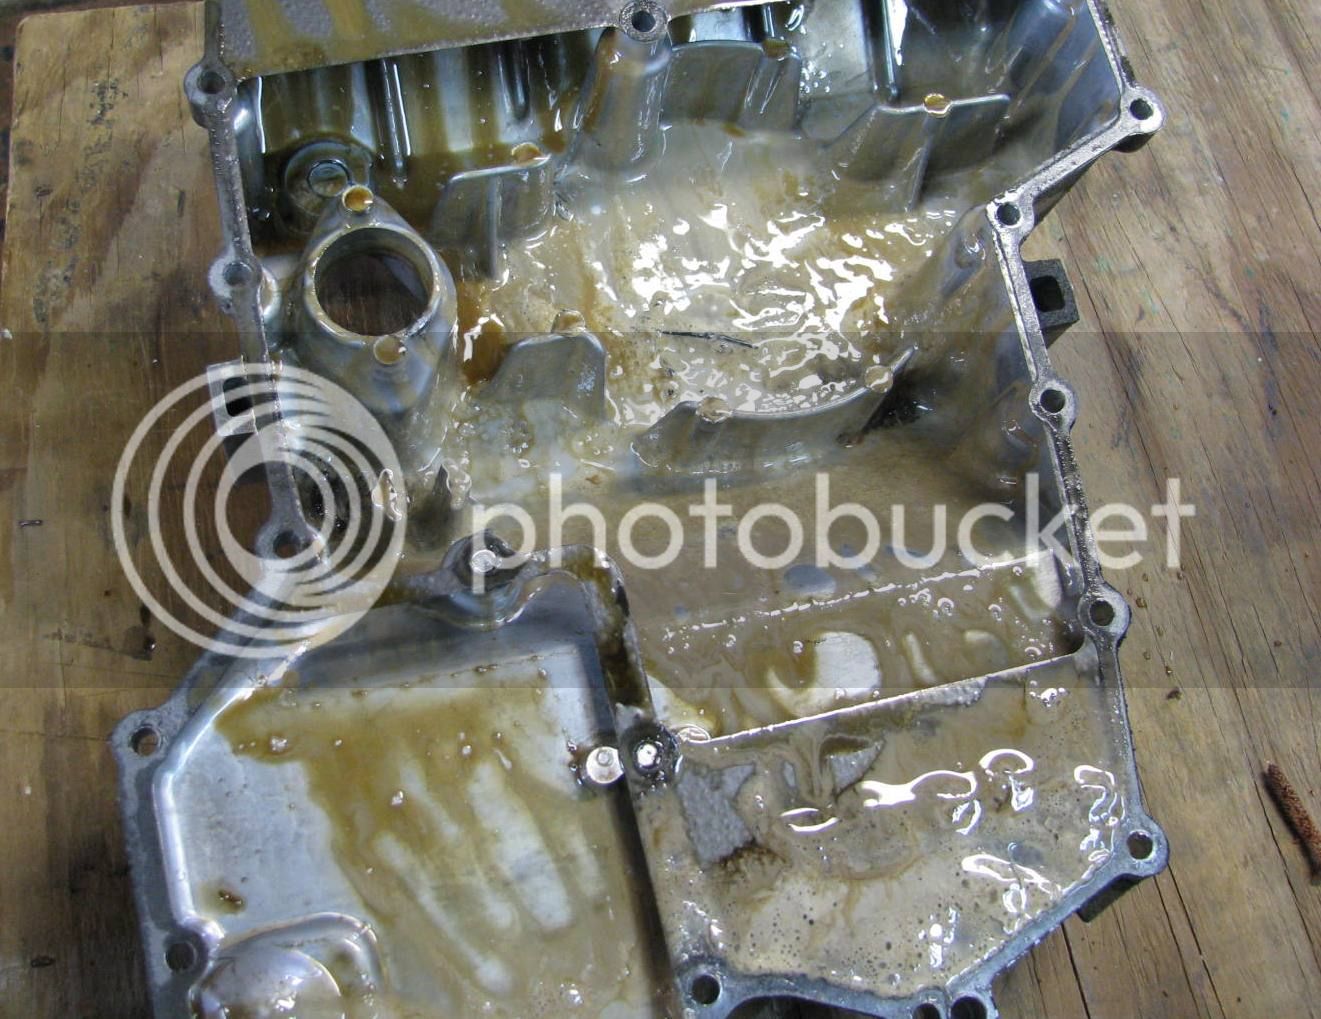
Next, it was time to pull the oil pan. I found some watery oil in the pan, but hardly anything in the bottom. A little bit of clutch material residue and NO shavings. Ross – I don’t think there is anything to analyze here.
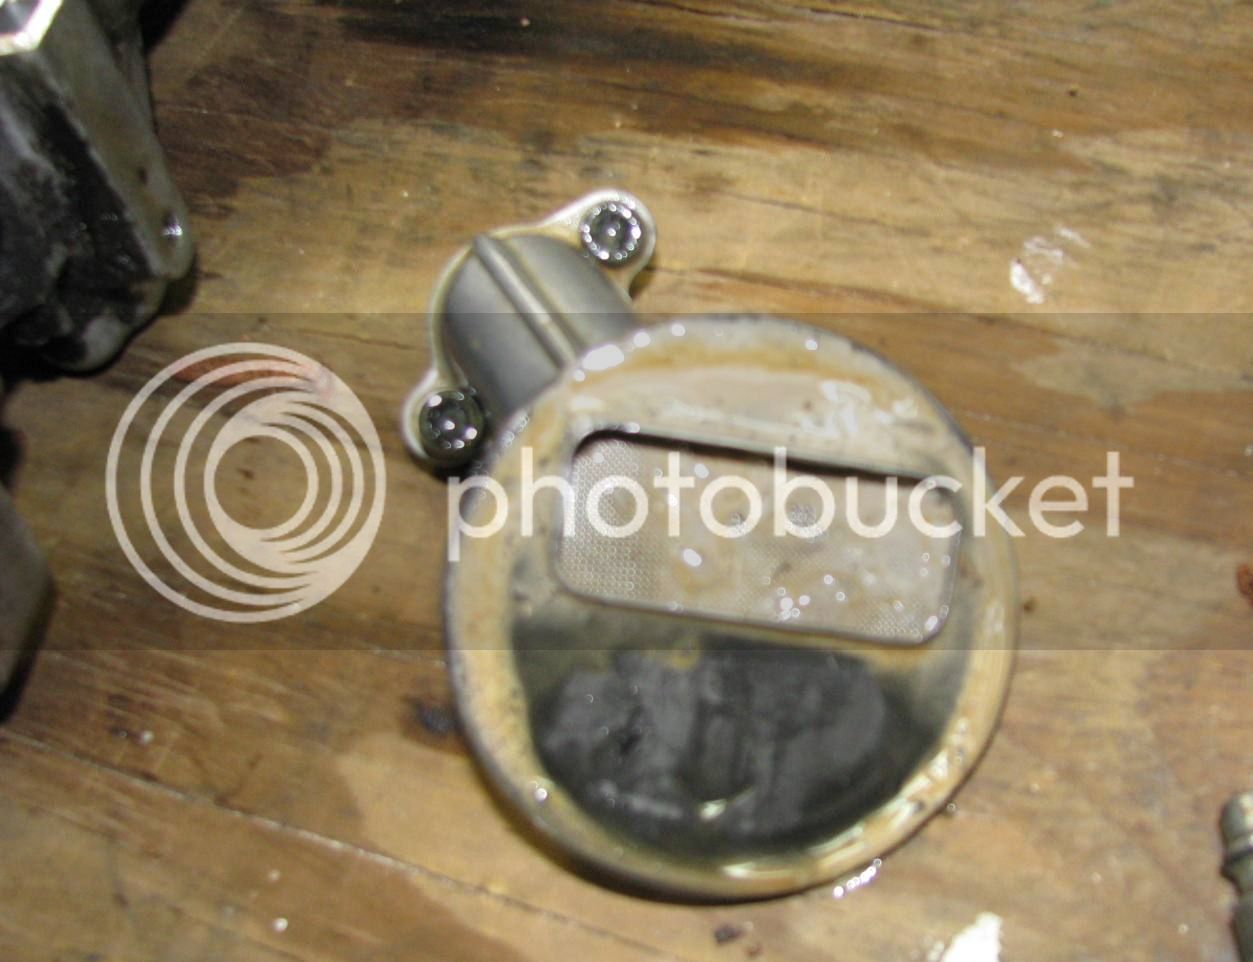
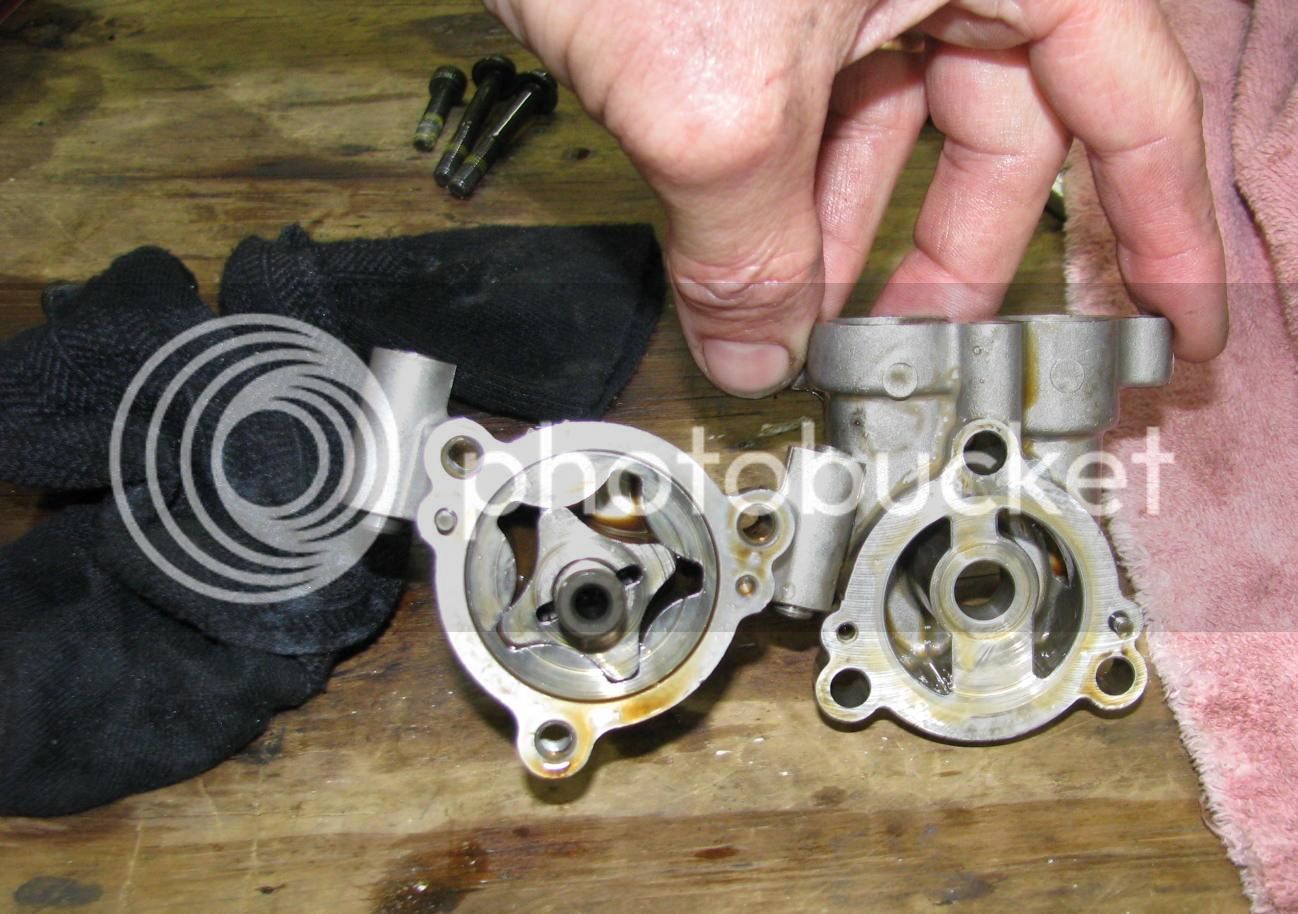
The oil pump screen was very clean.
The oil pump pulled a strong suction on my thumb.
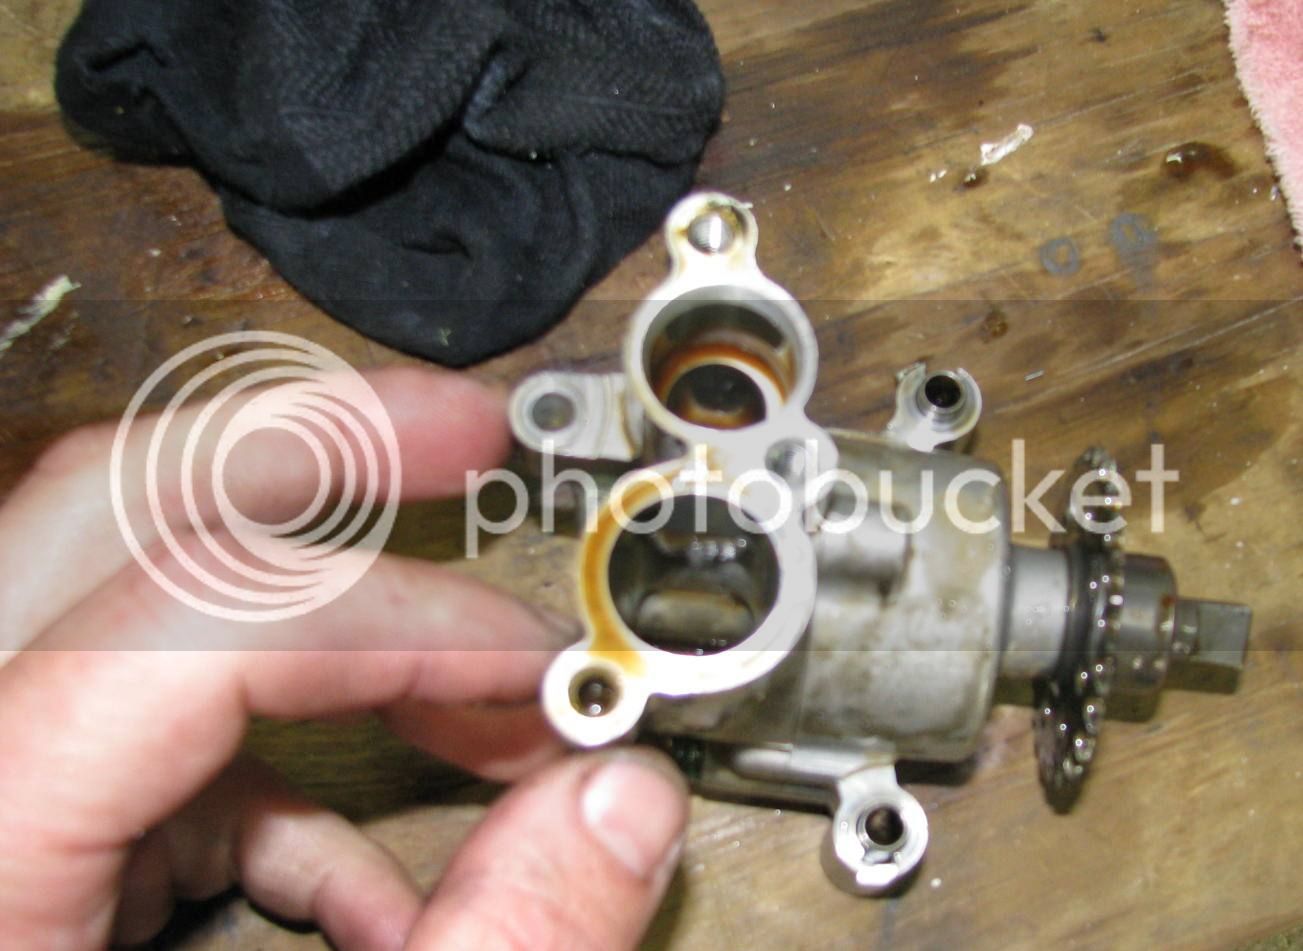
I took it apart – absolutely NO wear on it. I swear, I love this bike even more now.
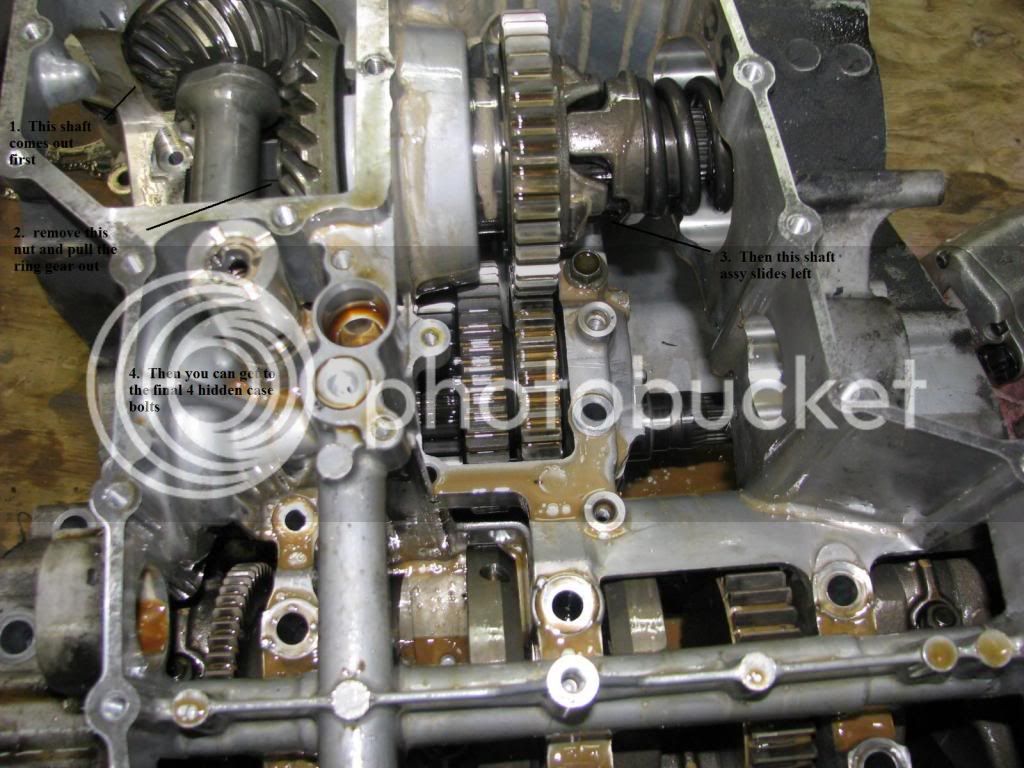
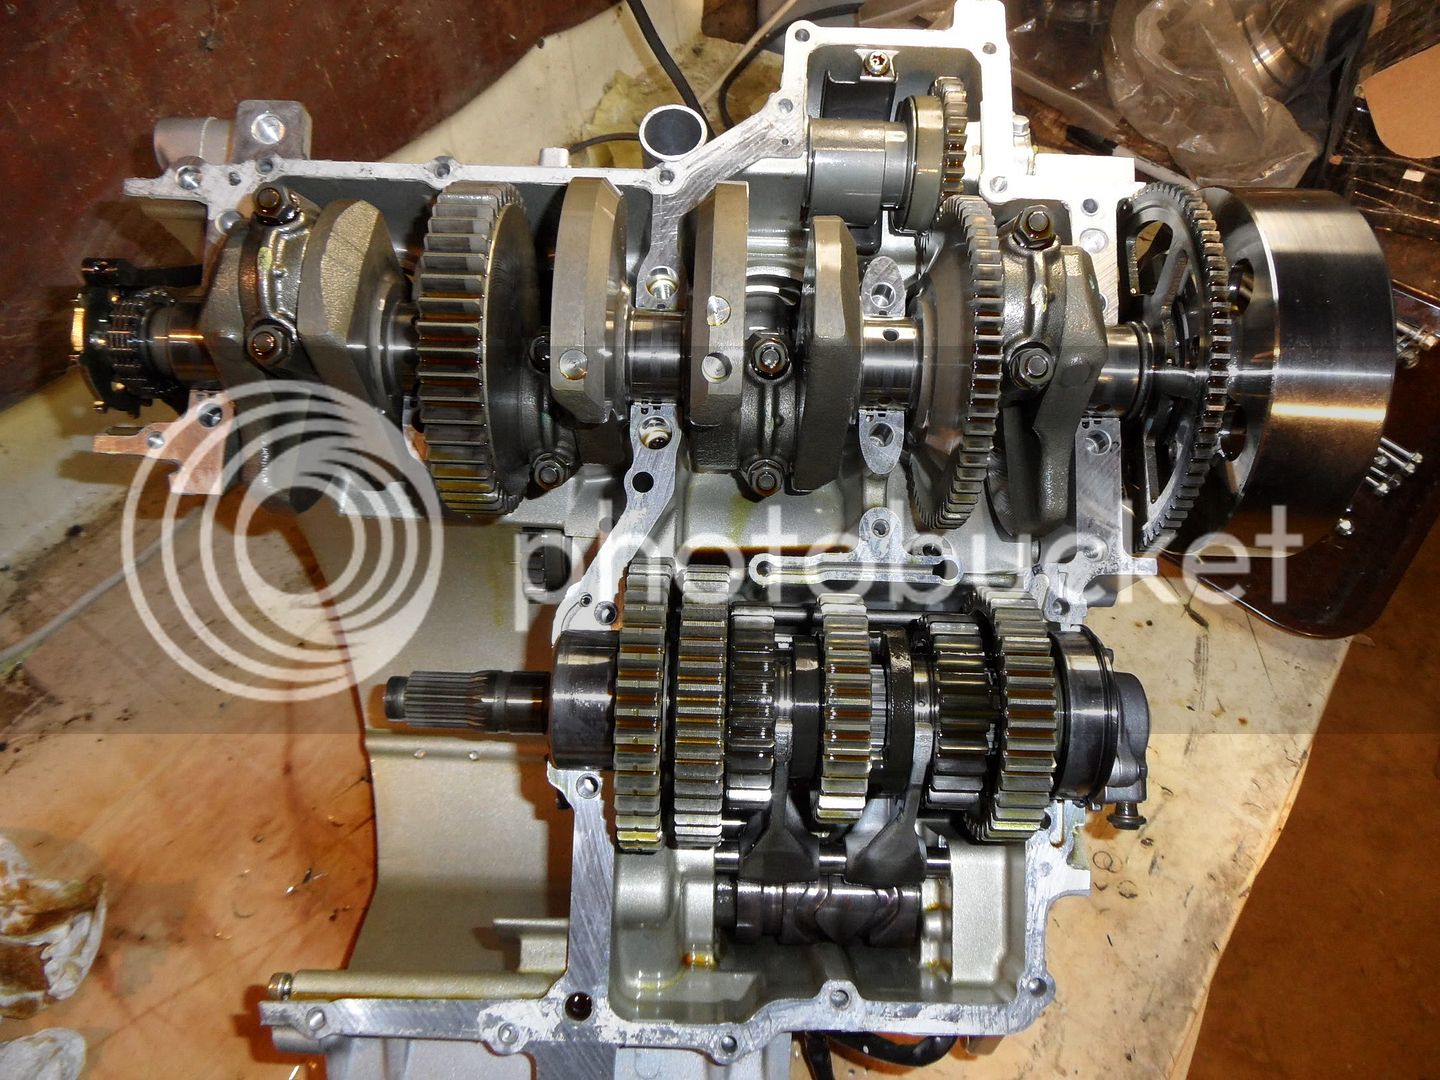
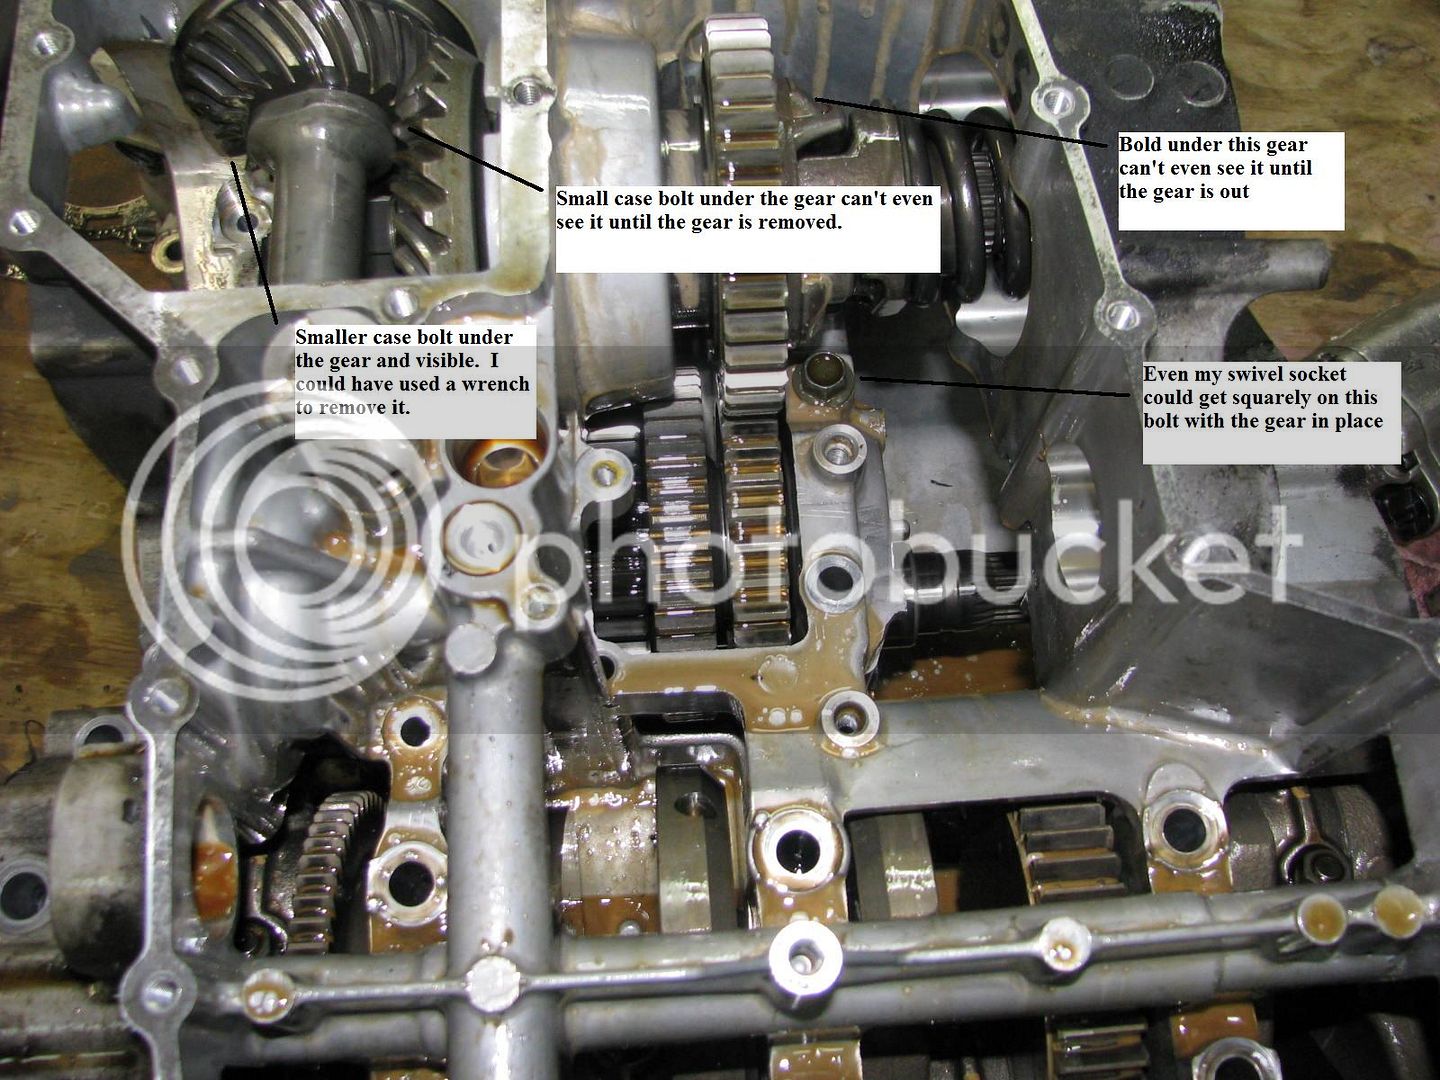
Here’s the heart of the matter. It’s hard to read my captions, but at this point, I’ve got all but 4 of the case bolts removed. I learned that at this point you have to pull the output shaft out, then using a 36mm socket (same size as the steering stem nut!!! Yeah I have one!), remove the output ring gear (if that’s the right term). Then slide the transmission output shaft out (again, making up my own terms), and finally the last 4 bolts are visible (2 under the output shaft, and 2 under the transmission output shaft).
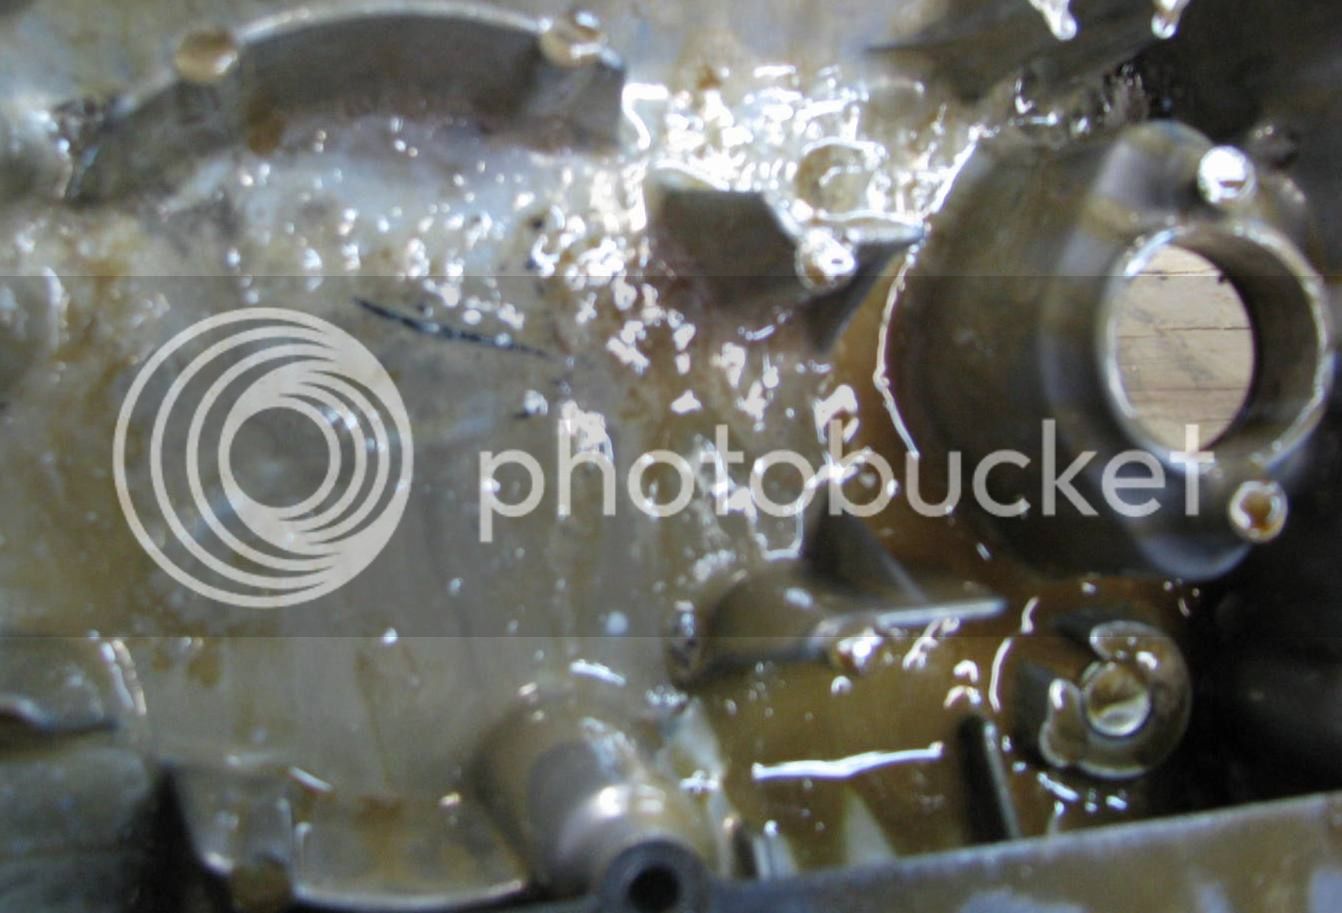
I examined the case bearings and they all looked very normal. No wear marks.
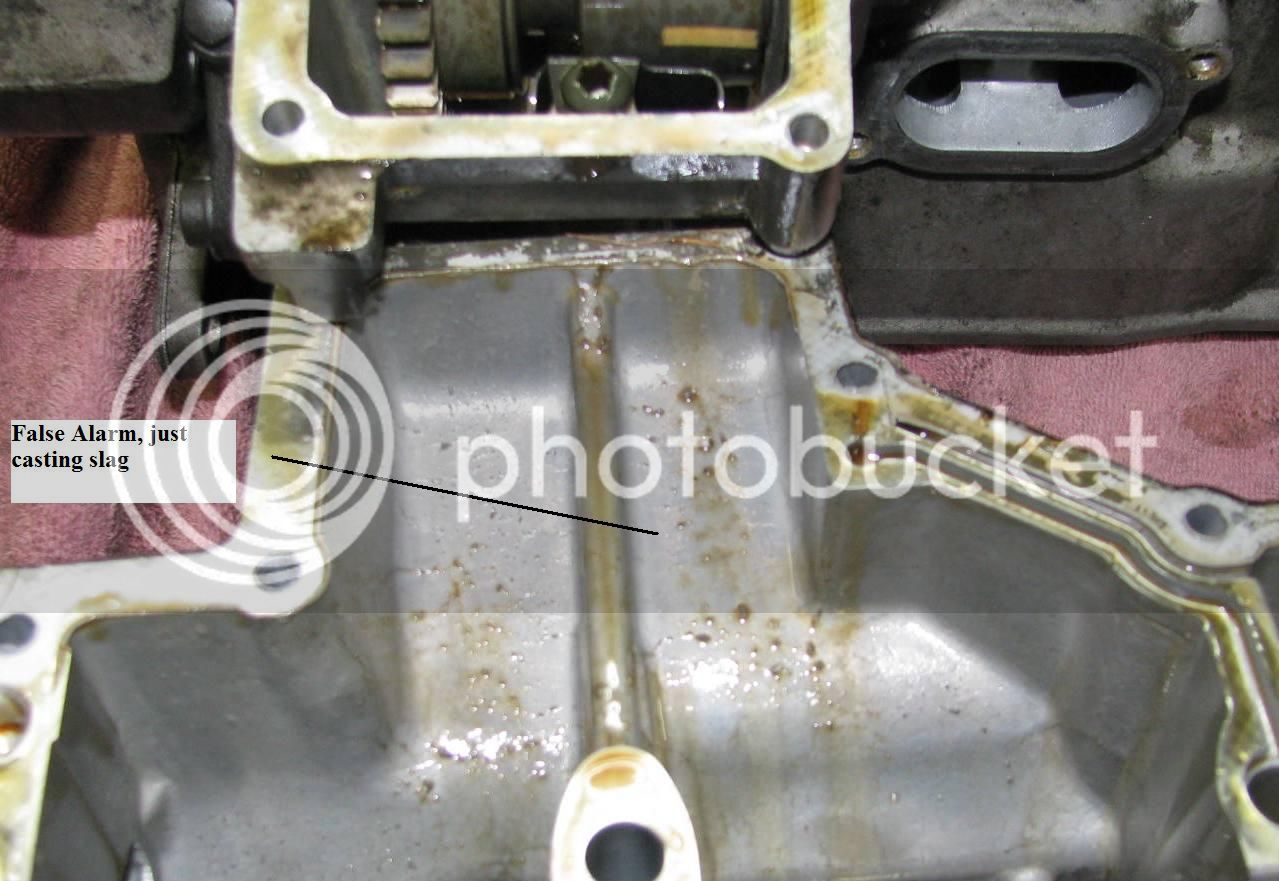
I thought I finally found a failure, but as it turns out, that was a false alarm,
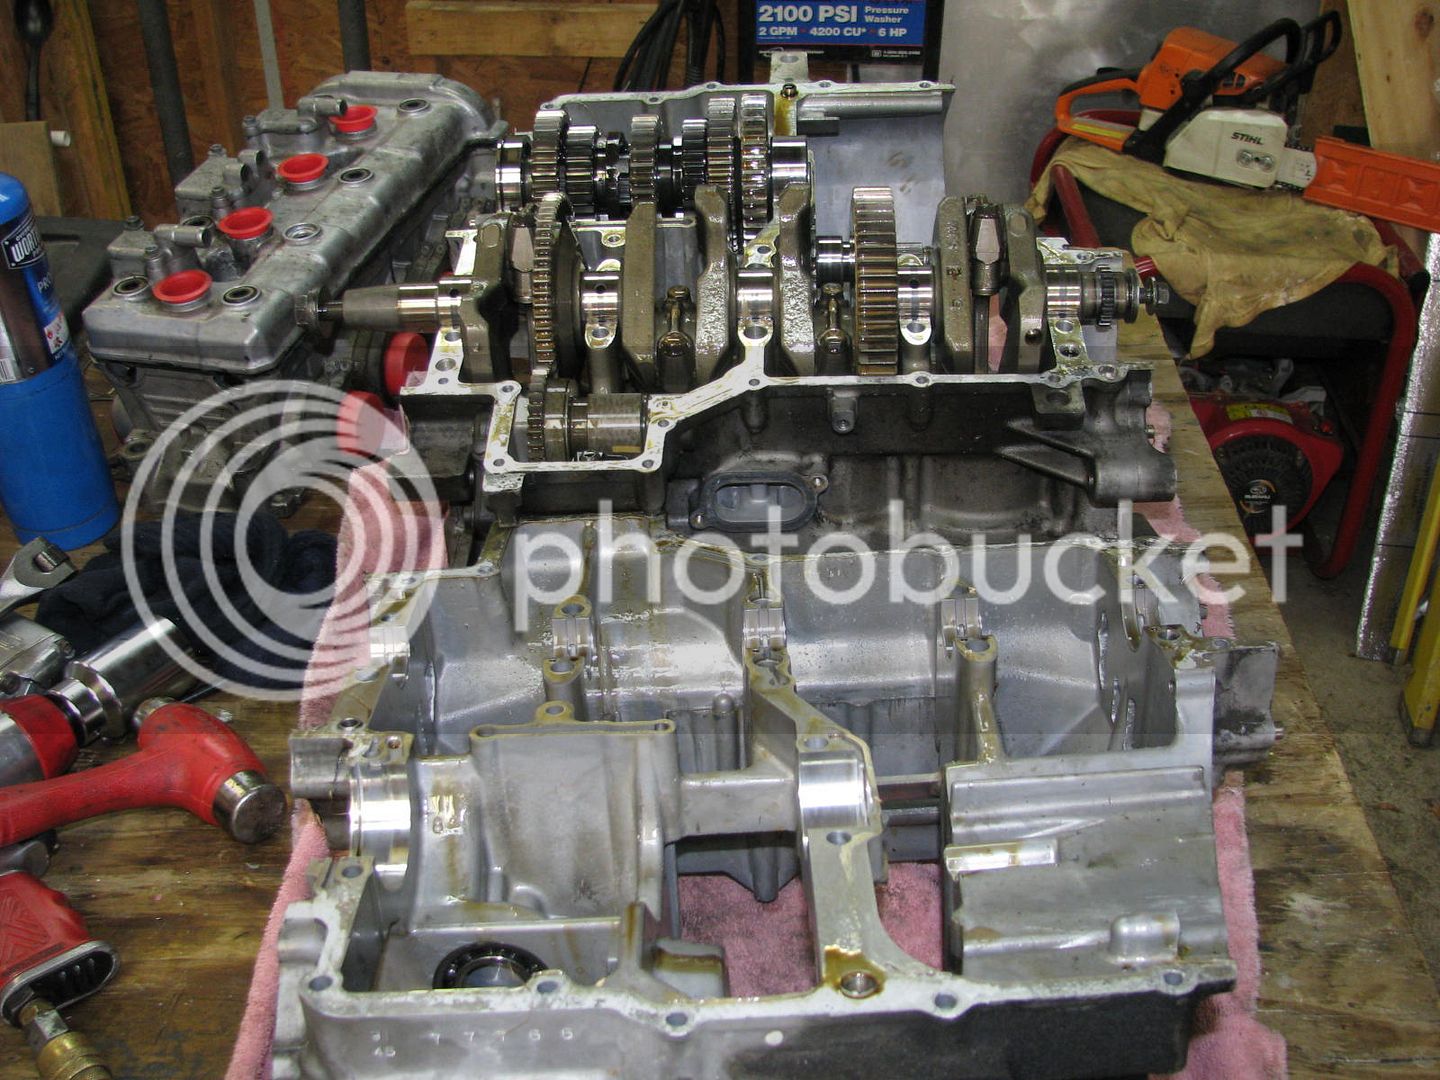
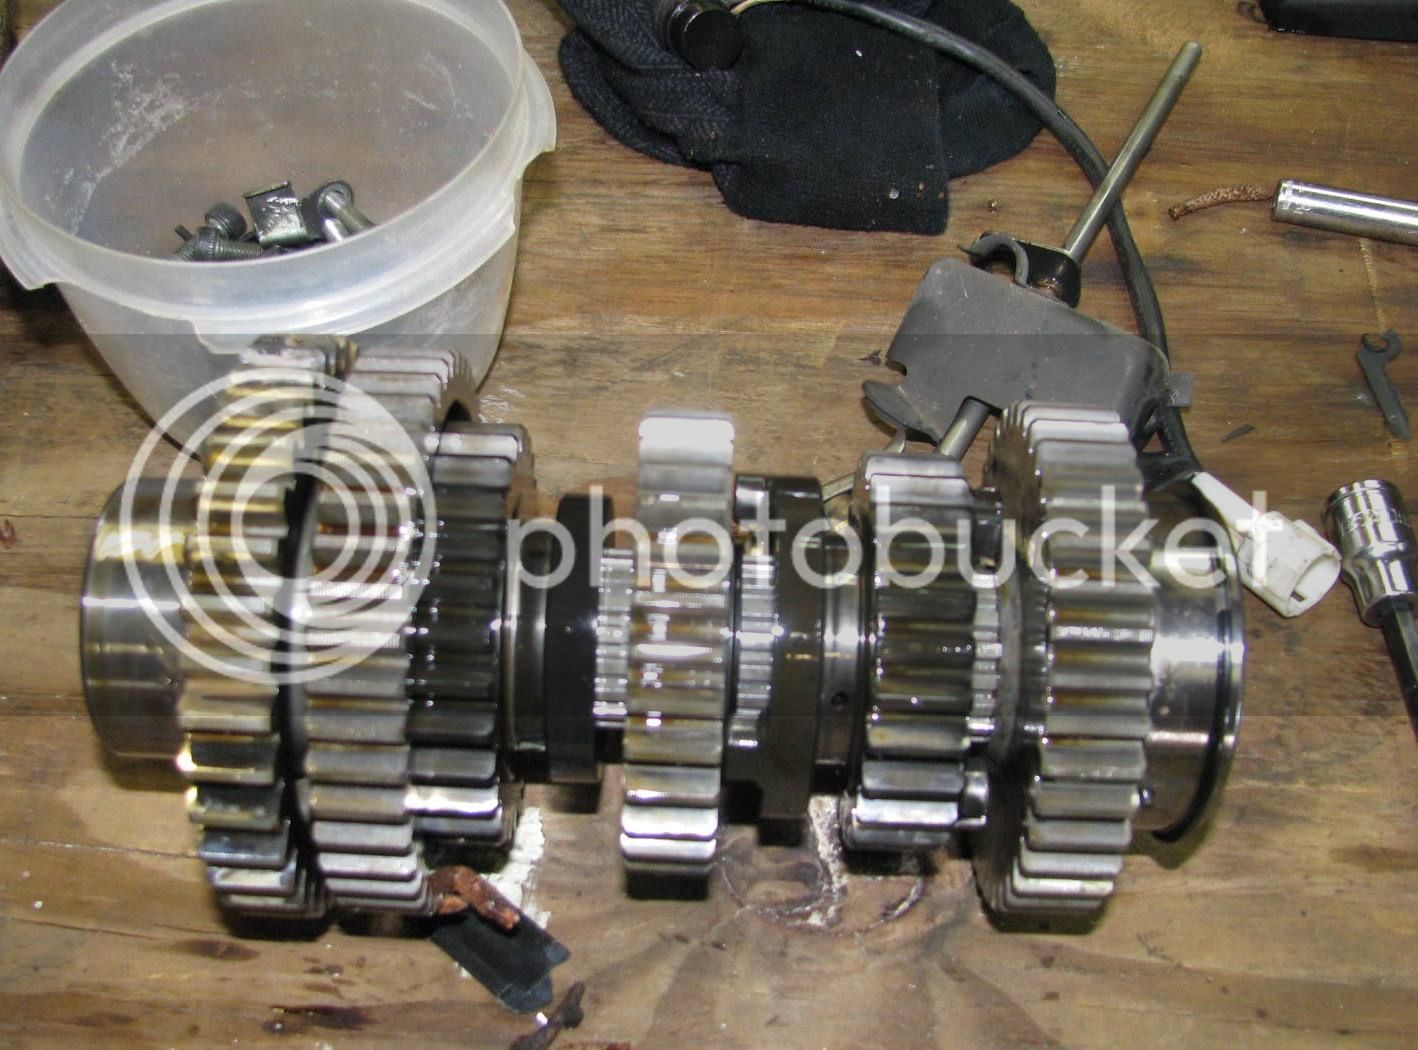
For a tranny with almost 100K on it, it hardly looks broken in. Seriously, the 5th gear was just a tad shiney, but the other gears still had the factory marks on them.
Hard to see in this picture, but both shift forks are absolutely pristine. Patriot, you can ride my bike any time.
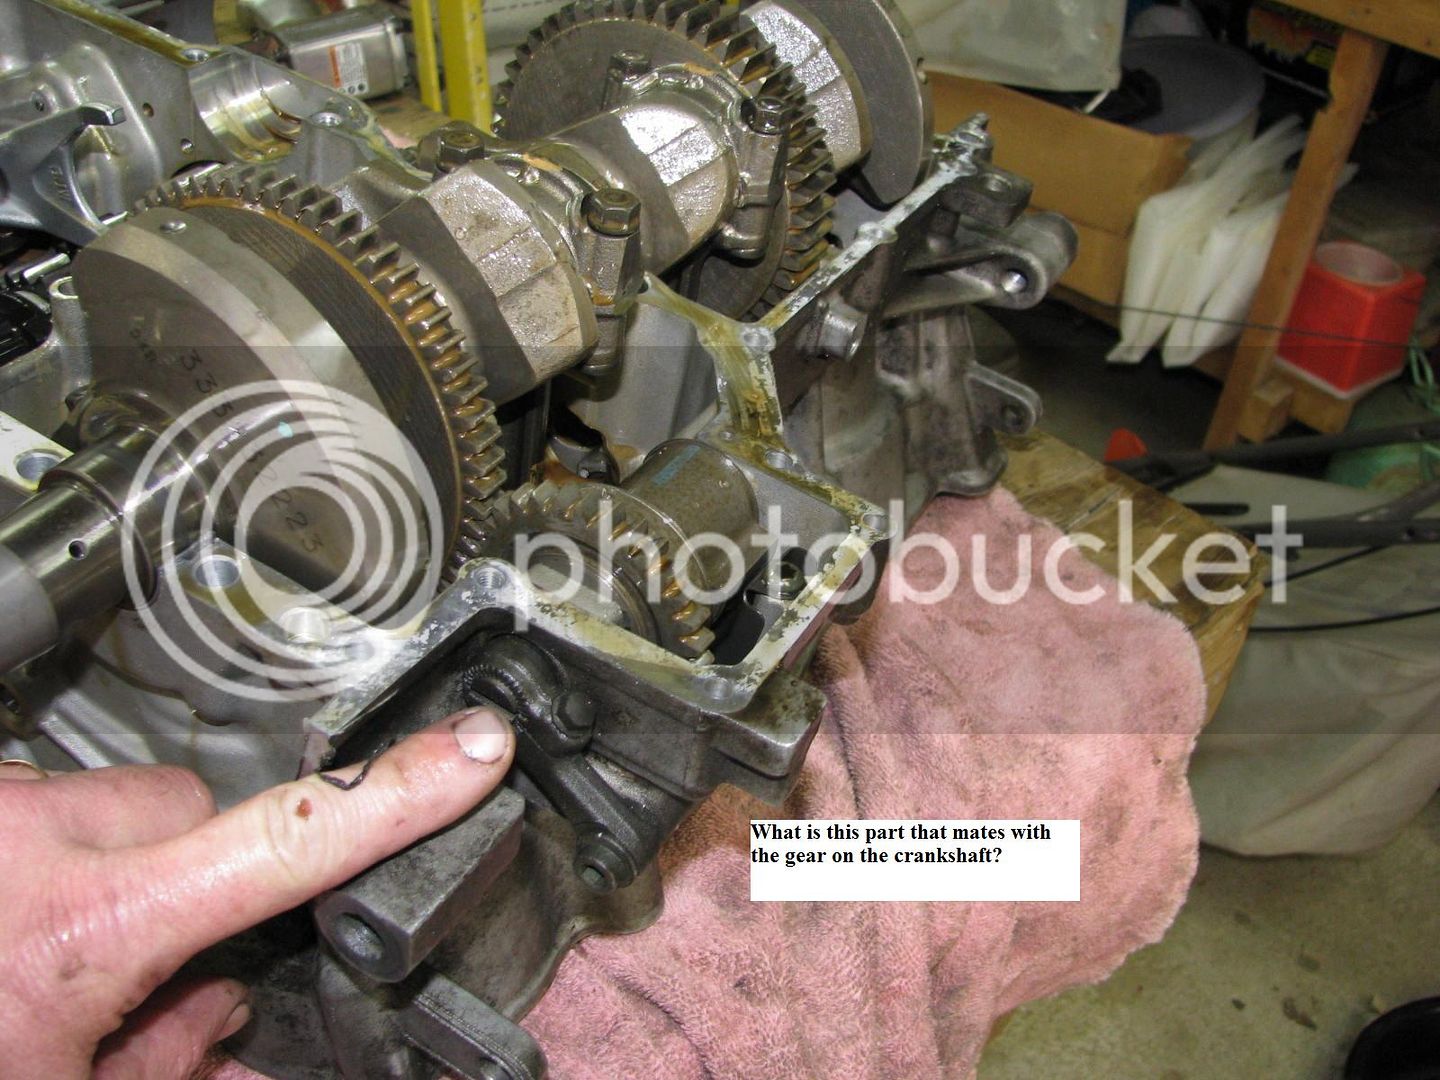
I left this piece in the case. What is this and what does it do?
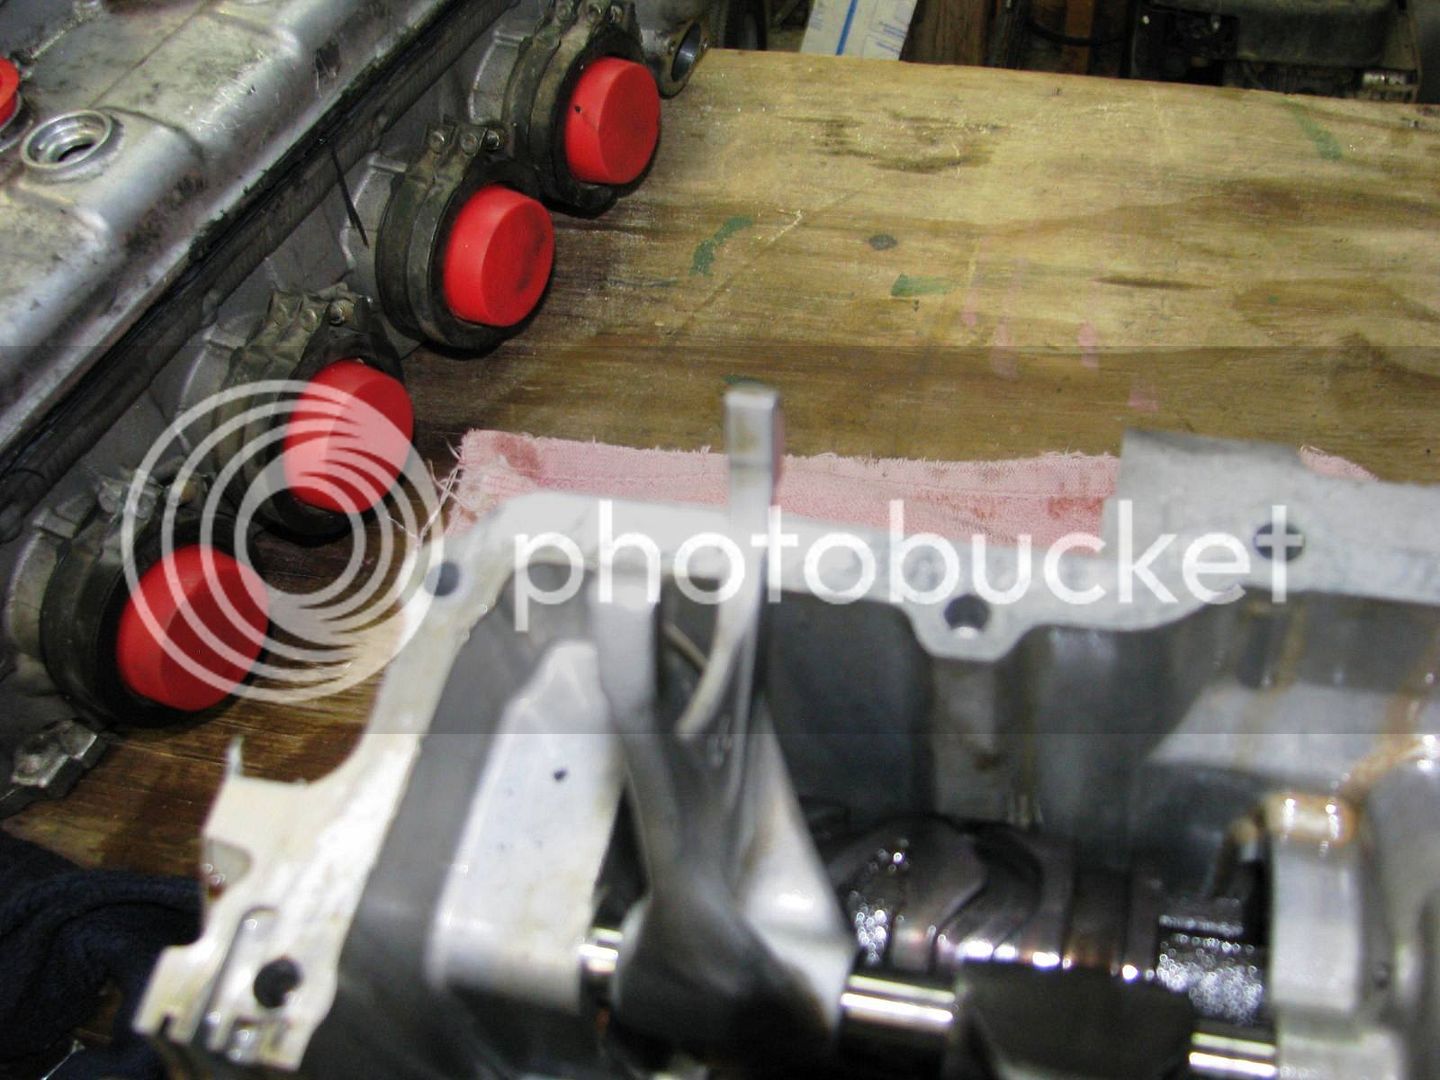
I pulled the pistons out and laid them on the table in order. I didn’t realize how little the skirt was on the pistons for this motor.
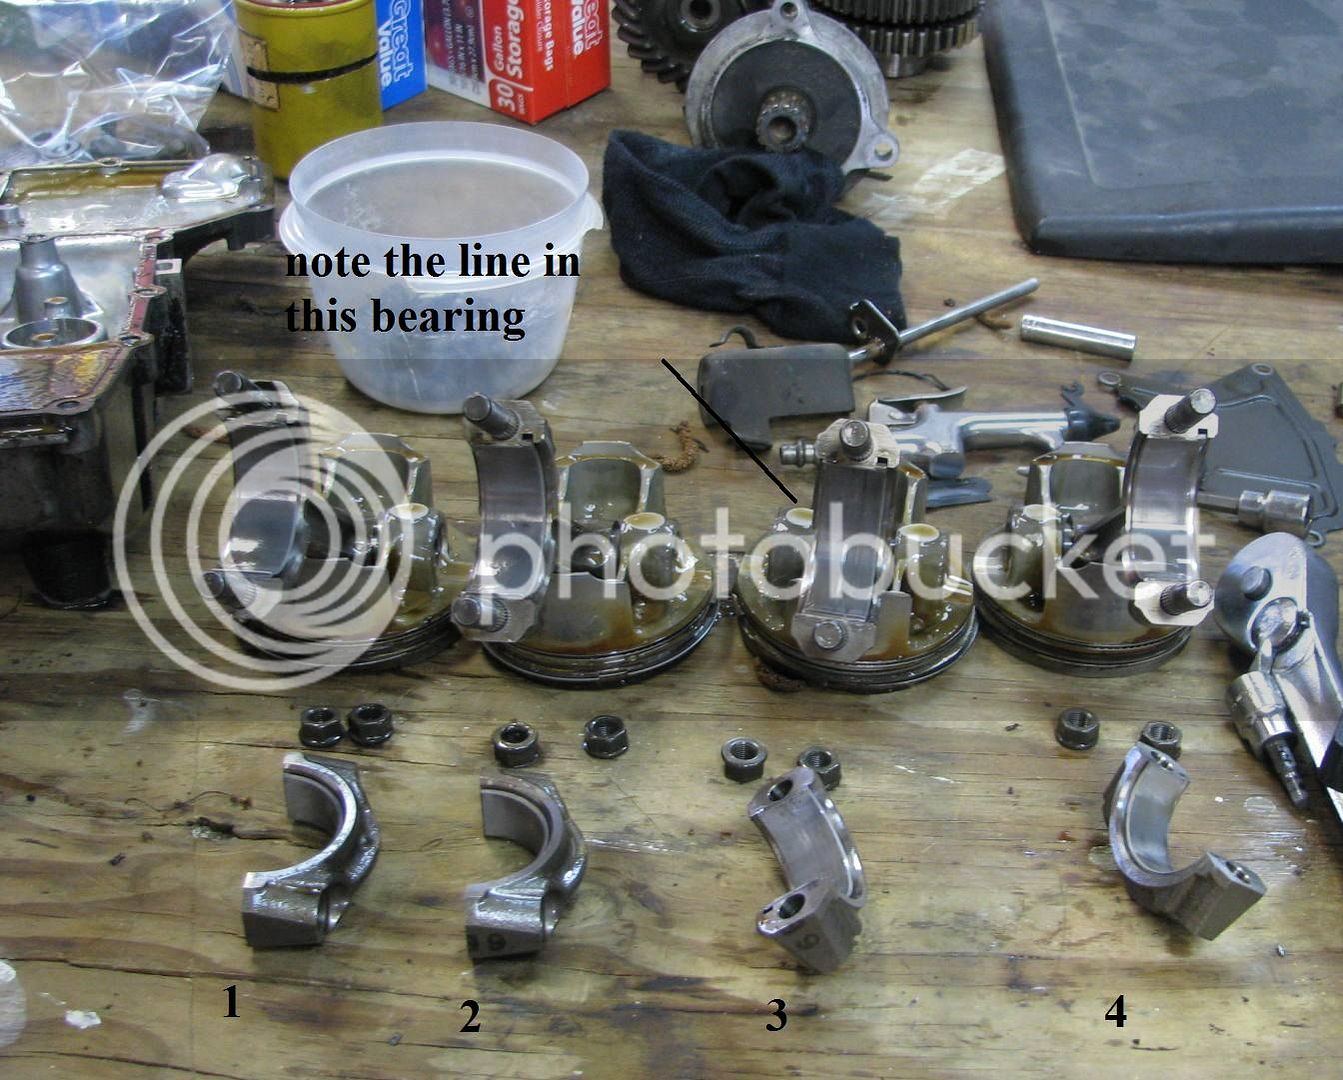
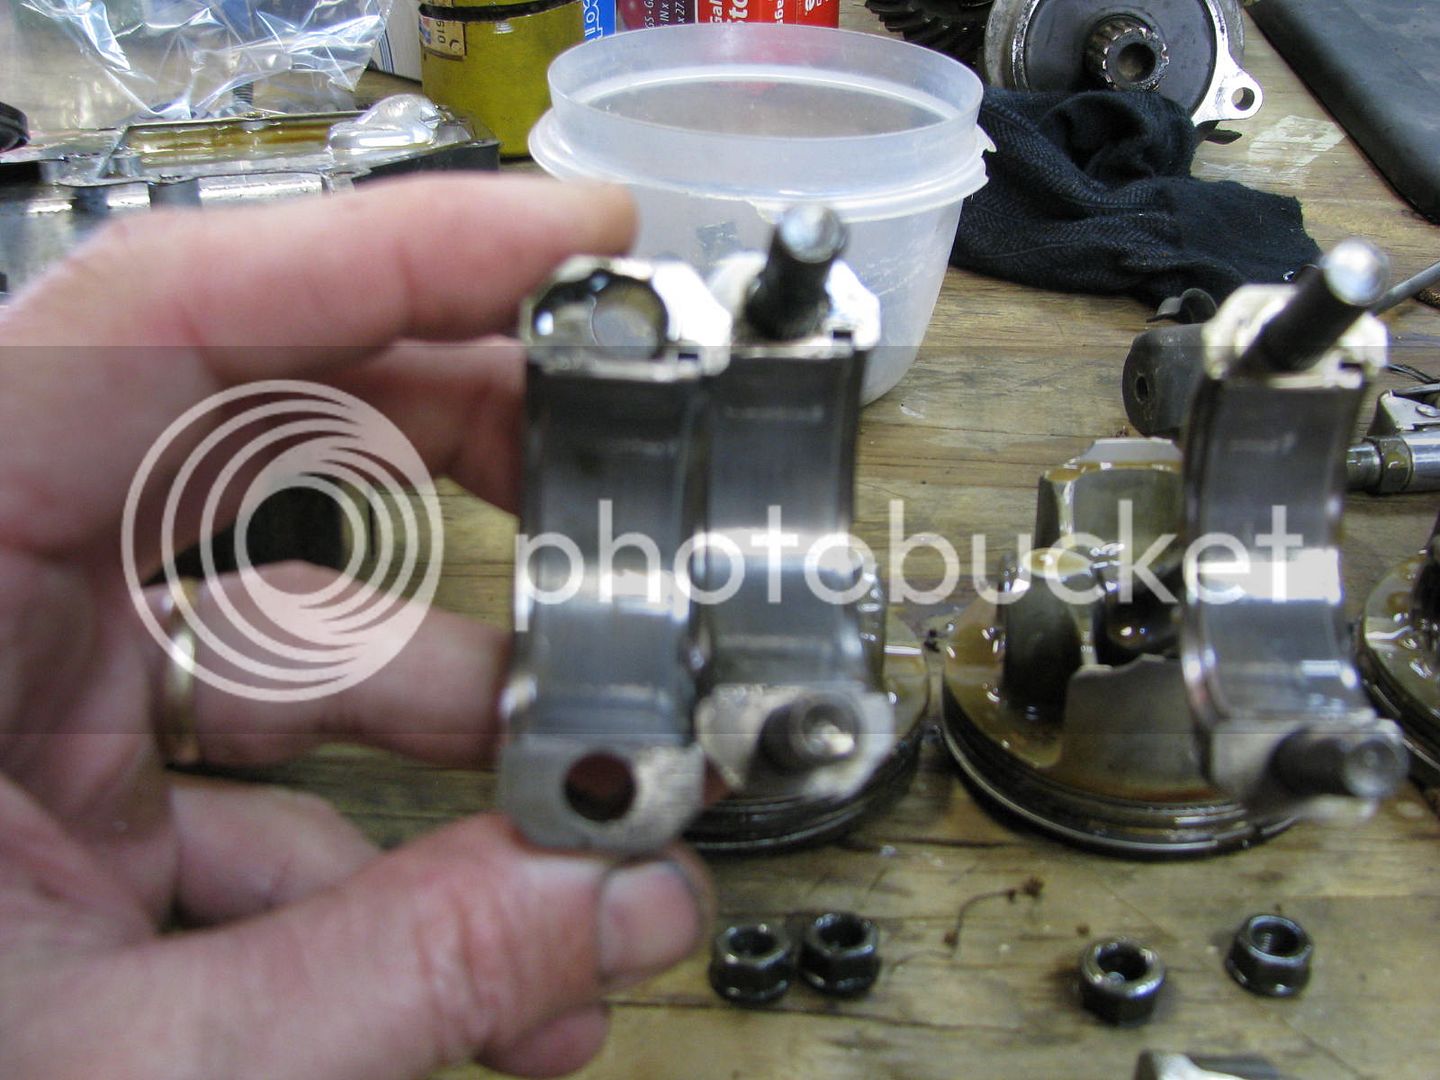
So here’s a shot of each rod bearing. First, #1 looks just fine. My fingernail can’t detect any of the lines shown in the bearing
Same thing for #2.
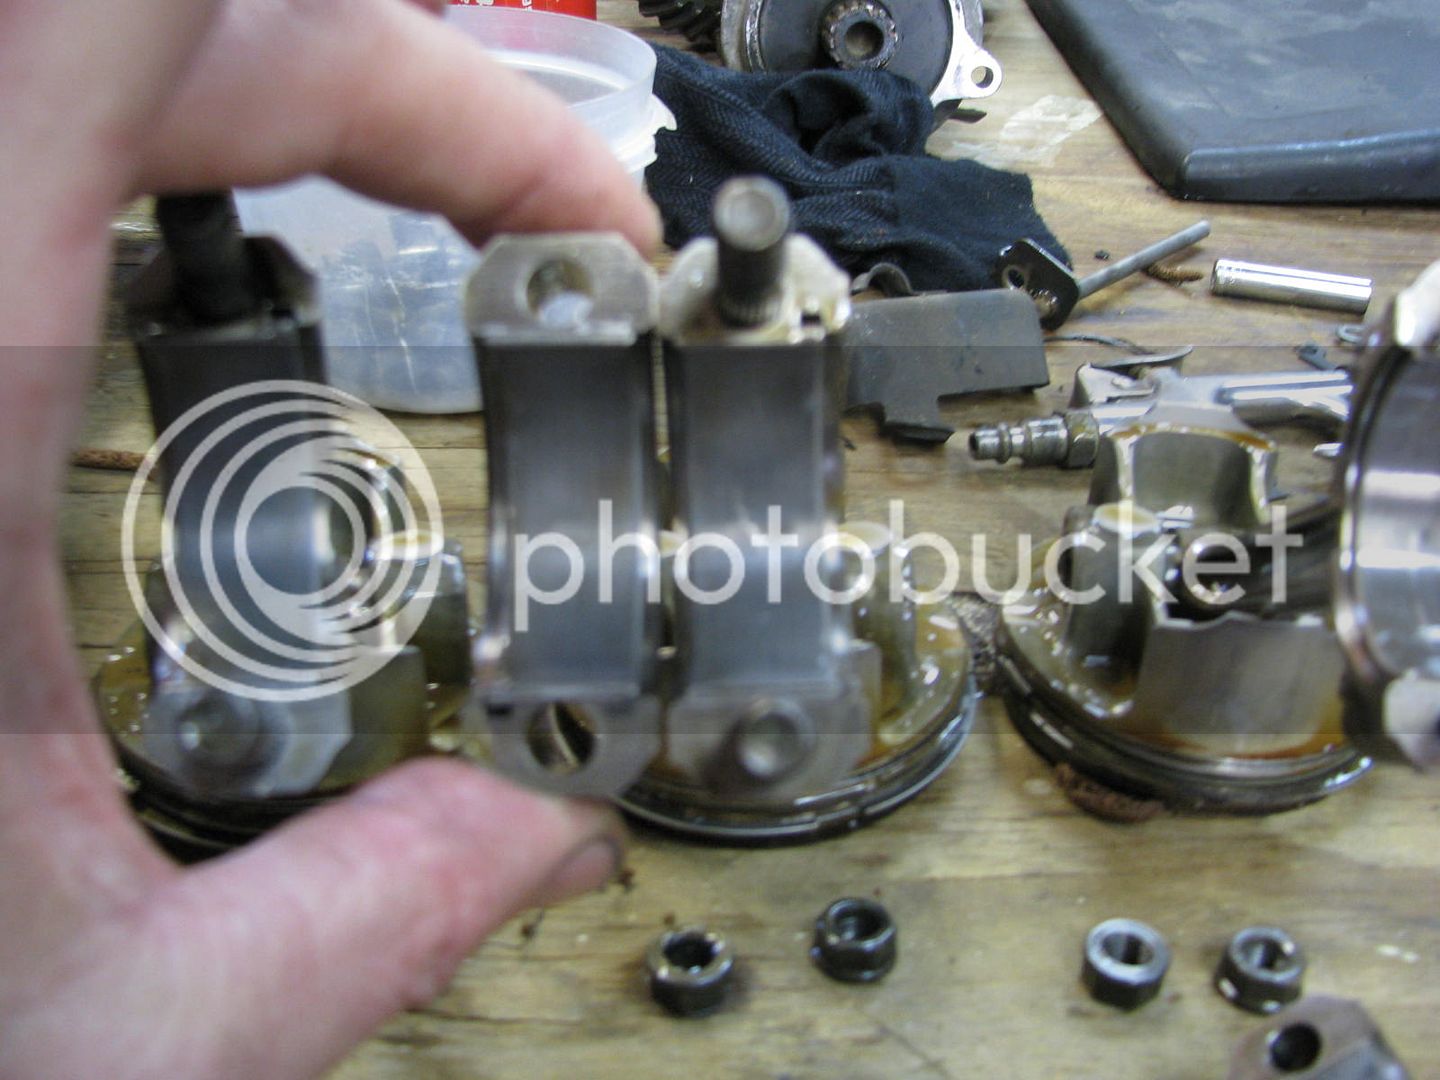
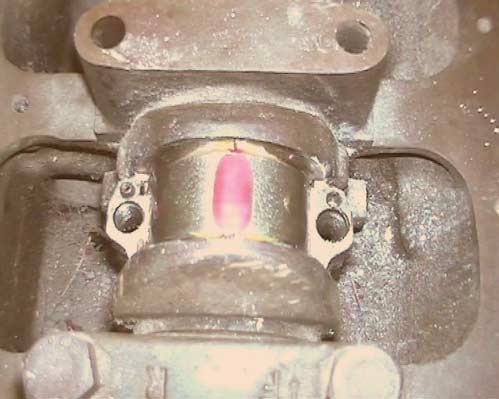
Different story for #3 – my fingernail definitely felt the line on the rod side bearing ½. I sent this picture to a mechanic buddy of mine that races motorcycles and 4 wheelers and he said without a doubt, that bearing is toast and would definitely cause the symptom Mike was having. He further speculated that smashing the exhaust pipe and allowing that hole to heat up for prolonged periods of time would absolutely cause this.
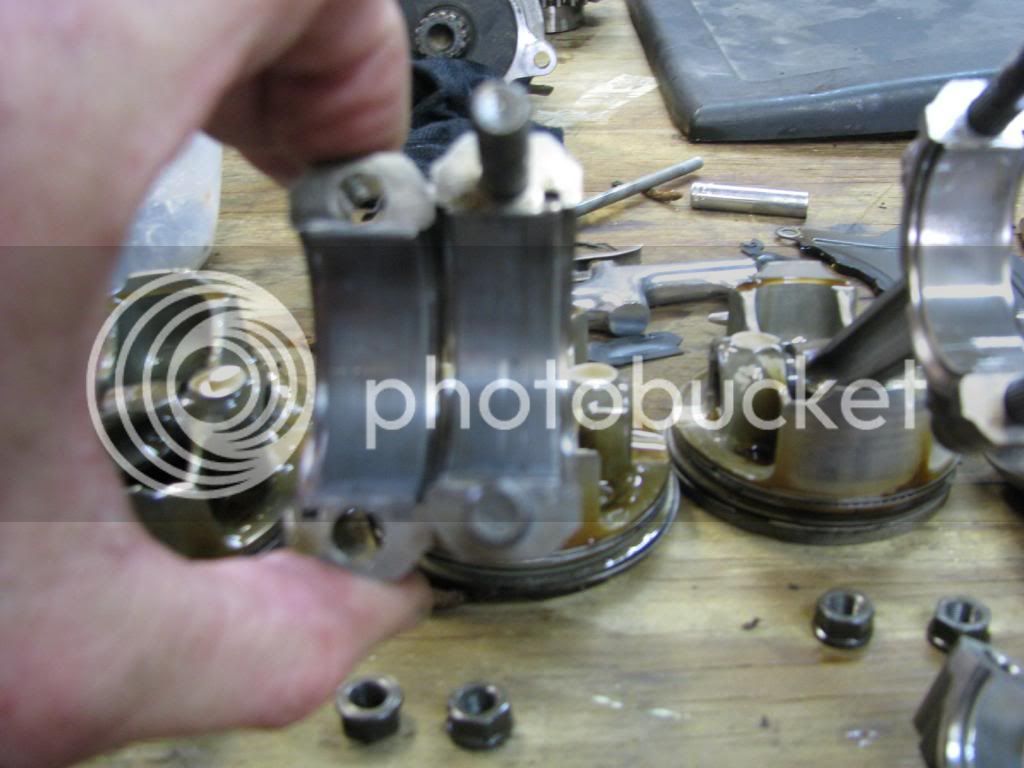
#4 had some heavier lines than 1 and 2, and I could barely feel that with my finger nail. It was not as bad as #3, though.
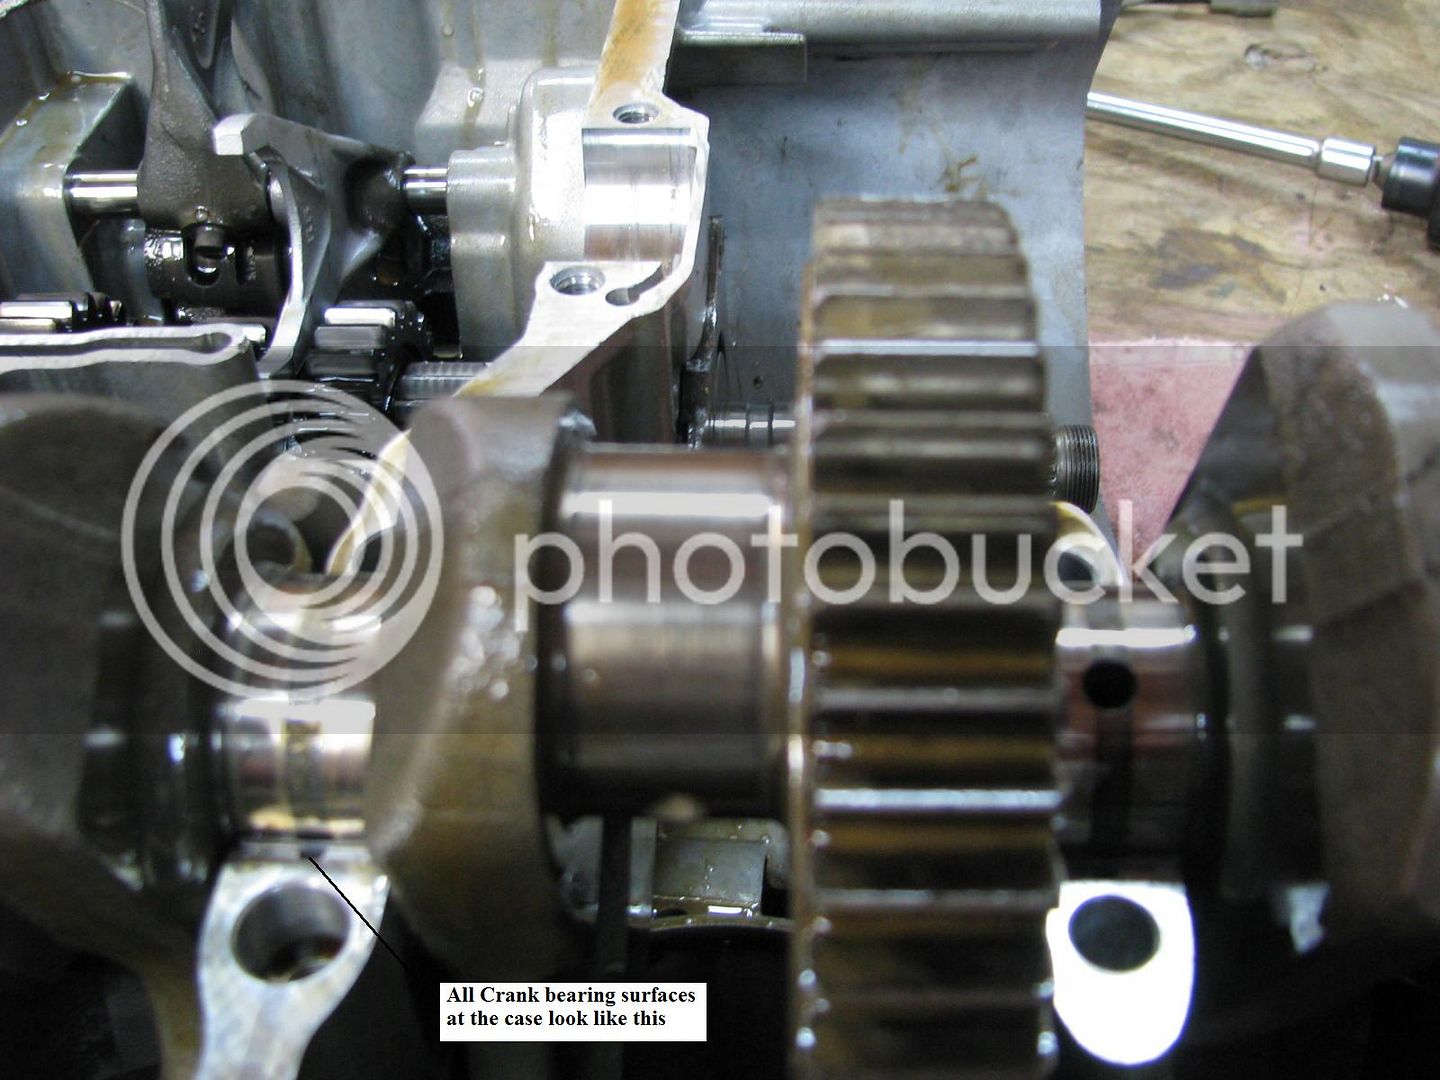
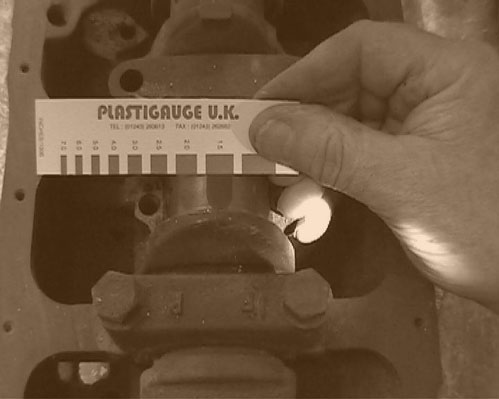
Finally, here’s a shot of what the crank surfaces look like on the case journals. Each one has this dark line in the center. My buddy says that he sees that all of the time and as long as there are no lines, grooves, or marks, its plenty good.
So that’s it for me – unless you disagree (and by all means feel free to), it would appear that Patriot’s mechanic was spot on in his diagnosis. I was disappointed not to see more metal particles and other tell tailed signs, but I guess it doesn’t always work out that way.
I bagged and tagged everything and it’s up in my attic. I’ve already gotten a couple of request for parts from some of you, and rest assured, it will be first come first serve. I’ll try to set up the “free parts” thread some time this weekend (time on Saturday is a bit thin, Sunday is booked all day).
I enjoyed the exercise. It gave me a new found appreciation for our bike. I find it to be a well made piece of machinery with high quality parts that are fit like a german sewing machine and are made to last forever.
Of course, you already knew that….