adyingbreed
Active member
So, first off, I would like to thank this forum for being where I found the info to get my bike running again.
Secondly, I had an ignition switch failure on a 2004 USA Gen I, via the red wire pulling loose from the switch.
Having good Google-fu brought me to this forum where I found the info on how to diagnose, and temp fix the issue so I am mobile.
My switch had initially only temporarily failed. And unfortunately it was while I was on the freeway. Lost all power while I was in slow lane, as I had just got on the freeway. So luckily I was able to get over to the shoulder and was able to get it going, get off the freeway, and take the canyon road back home (it's all downhill so even if it died I could coast in neutral back to my city).
Cycling the key several times after letting it sit in off position is what got it to work again.
When I finally got it home, I couldn't get the power back on after tuning it off unless I played with the loom going into the bottom of the switch.
It was super tightly zip tied, as others have mentioned. And when I pressed up on a single point (wire) of the loom it would get power again.
So I butchered the loom and twisted the hot wires together. Turns on perfectly. Ugh...
Okay... off to Walmart and harbor freight I go... I have lots of spare butt splices now. The toggle switch I got isn't waterproof, but that just forces me to not make my temp fix permanent.
It works.
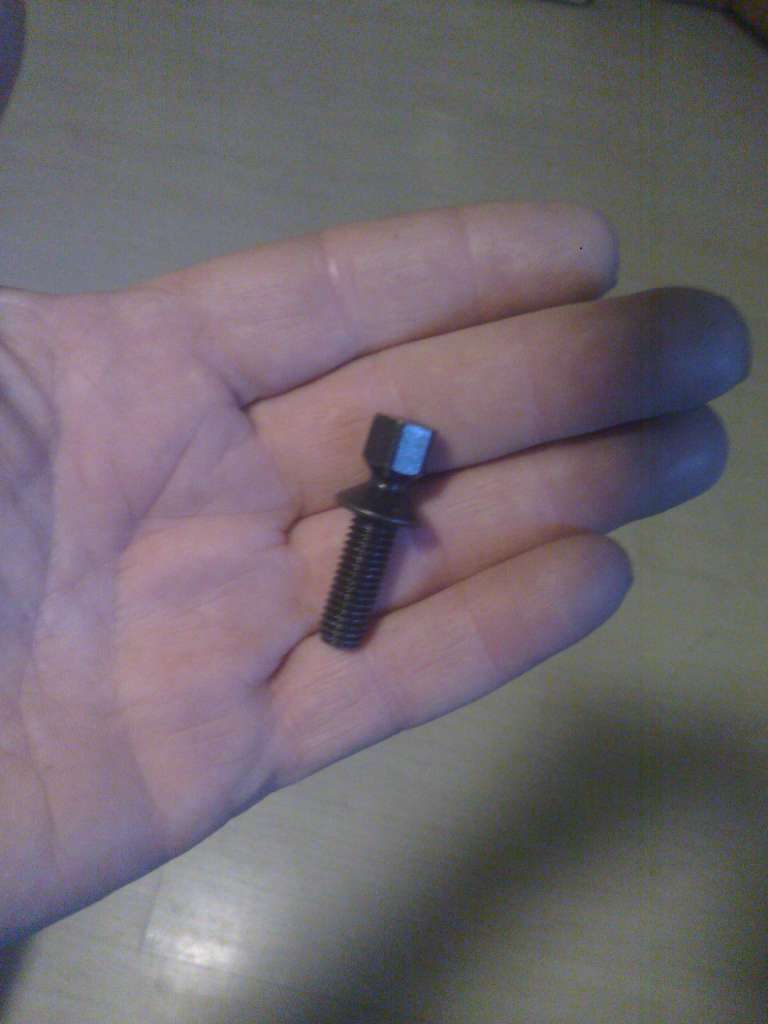
I'm going to buy the recall part (saves me hundreds) and replace the whole switch on my own. Just upset that I have to remove the top triple AND drill out security bolts in order to remove the old switch to install new one.
Secondly, I had an ignition switch failure on a 2004 USA Gen I, via the red wire pulling loose from the switch.
Having good Google-fu brought me to this forum where I found the info on how to diagnose, and temp fix the issue so I am mobile.
My switch had initially only temporarily failed. And unfortunately it was while I was on the freeway. Lost all power while I was in slow lane, as I had just got on the freeway. So luckily I was able to get over to the shoulder and was able to get it going, get off the freeway, and take the canyon road back home (it's all downhill so even if it died I could coast in neutral back to my city).
Cycling the key several times after letting it sit in off position is what got it to work again.
When I finally got it home, I couldn't get the power back on after tuning it off unless I played with the loom going into the bottom of the switch.
It was super tightly zip tied, as others have mentioned. And when I pressed up on a single point (wire) of the loom it would get power again.
So I butchered the loom and twisted the hot wires together. Turns on perfectly. Ugh...
Okay... off to Walmart and harbor freight I go... I have lots of spare butt splices now. The toggle switch I got isn't waterproof, but that just forces me to not make my temp fix permanent.
It works.
I'm going to buy the recall part (saves me hundreds) and replace the whole switch on my own. Just upset that I have to remove the top triple AND drill out security bolts in order to remove the old switch to install new one.