Just completed my install of the 1st Gen brackets on a first gen (doh!) with FZ1 mirrors. I used the brackets to mount a pair of Justin's LED aux lights (available in a different thread in this section).
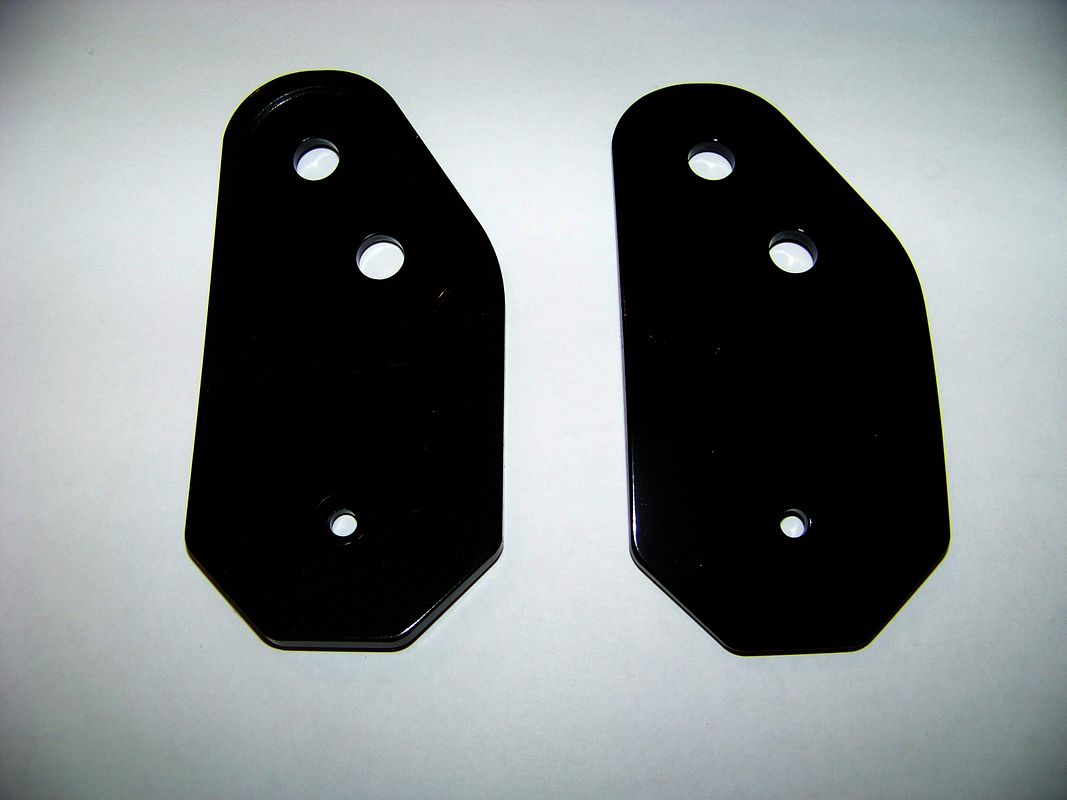
I painted the brackets with 2 coats of Rustoleum Gloss Black. Initially tried shooting them with PlastiDip but the rubbery coating would not have stood up well to the ravages of being on the front end of the bike, and it would be a PITA to take them off for recoating. I'm hoping the Rustoleum paint fares better.
Here are the painted brackets
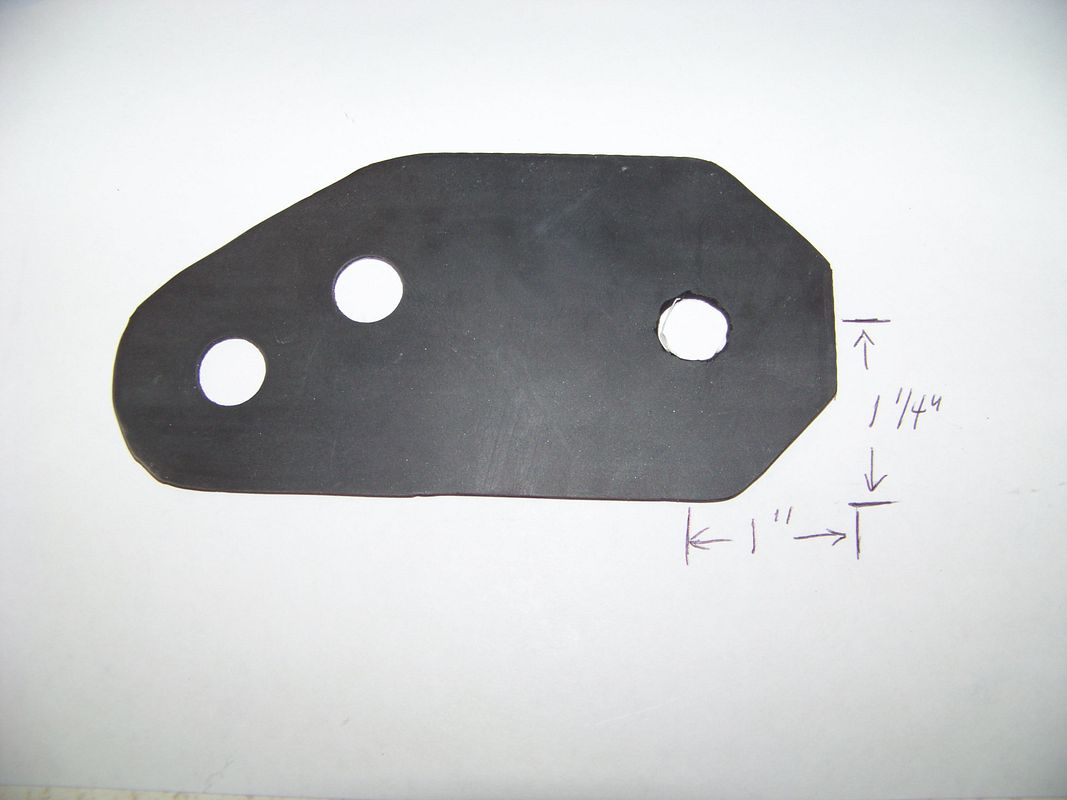
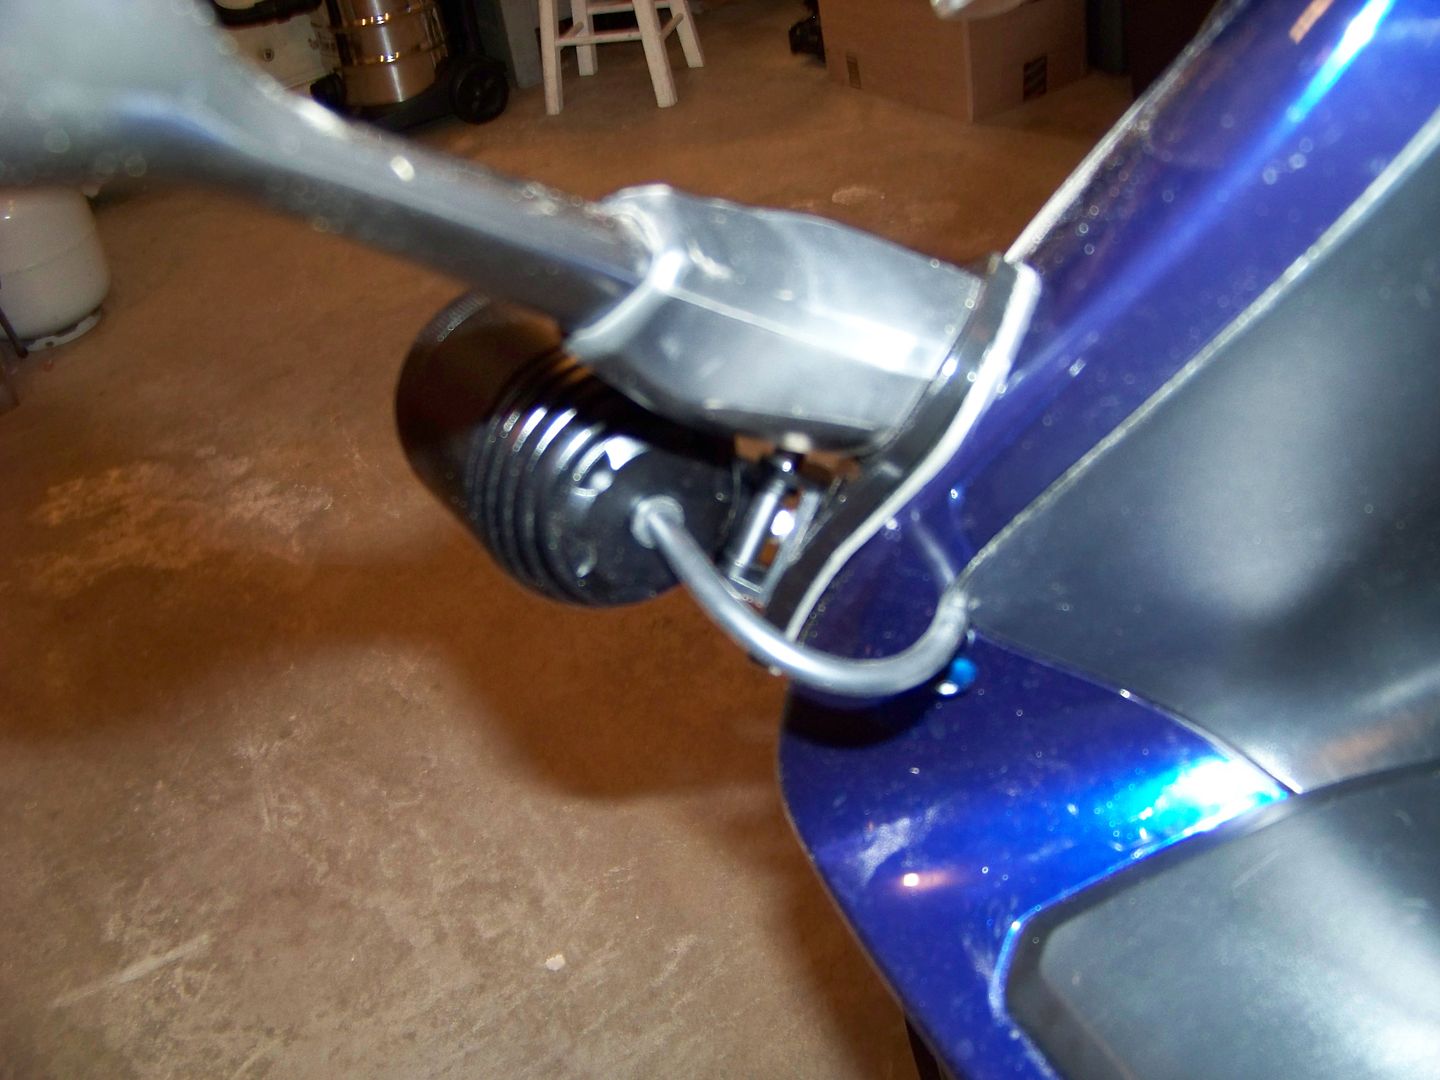
Dave (WynPro) shipped the brackets with a couple of rubber footings to be placed between the bracket and the bike. The first thing I did as to mark and cut a hole where the screw head would be on the back of the bracket so that I would be able to tighten and/or loosen the mounting bolt for adjustment of the lights.
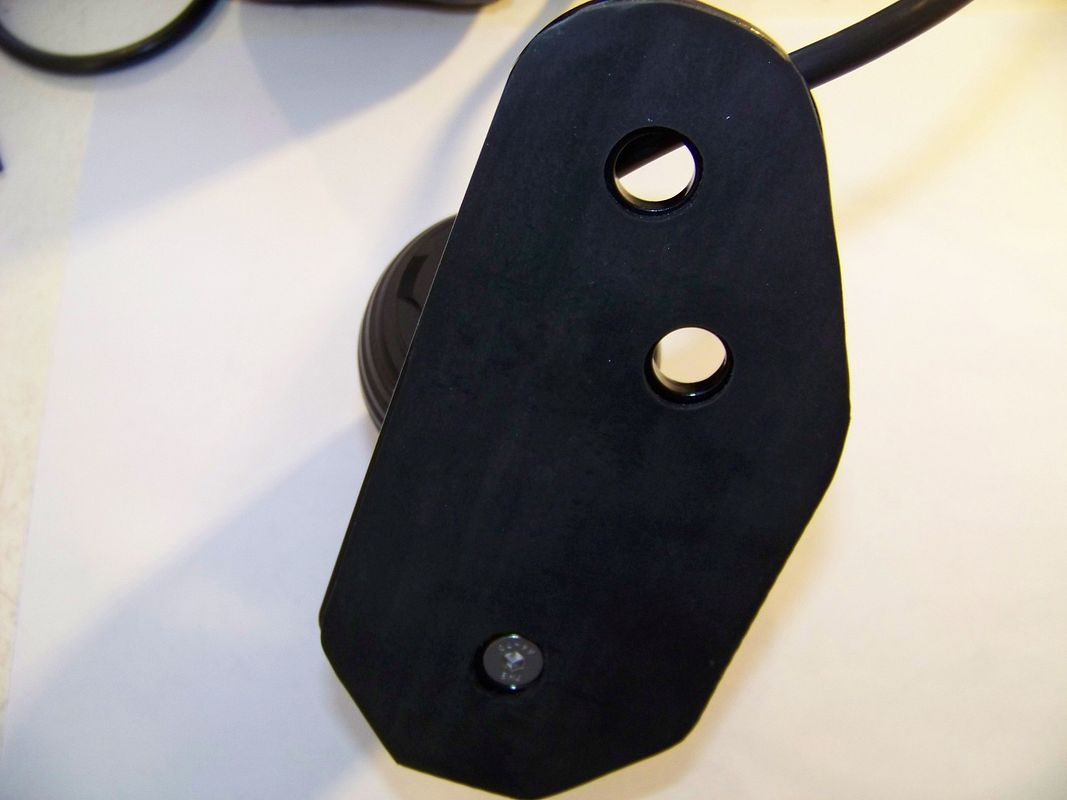
Rubber pad stuck to back of bracket.
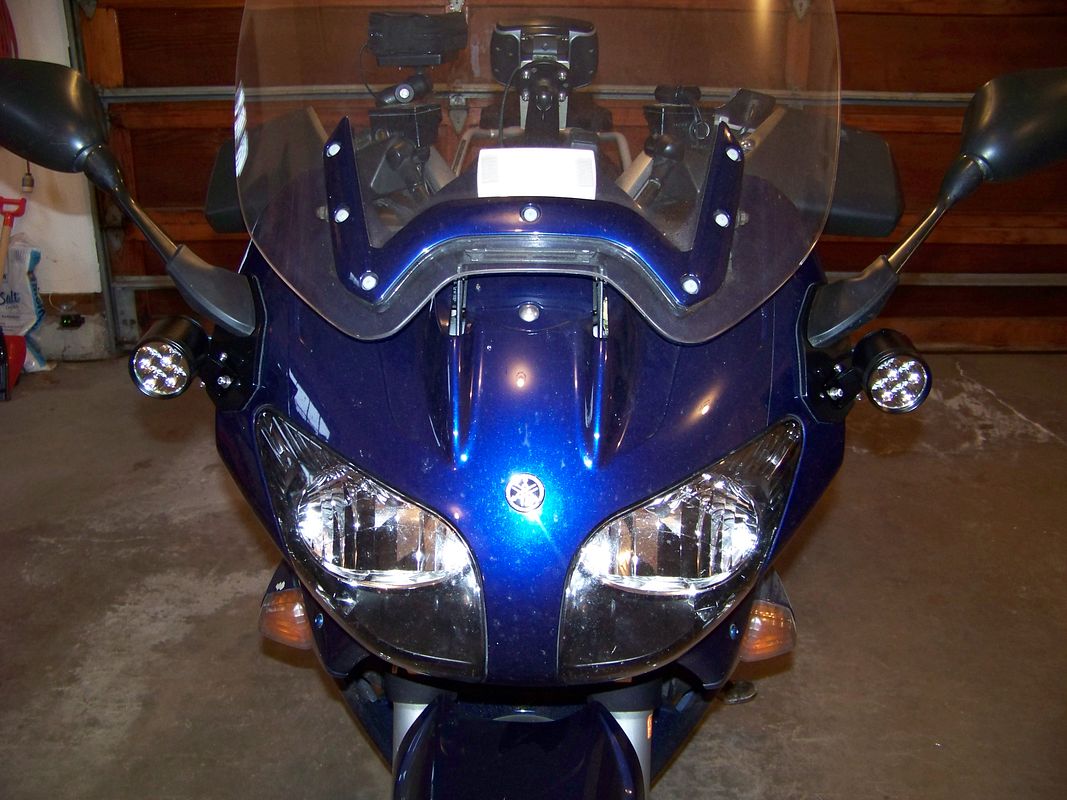
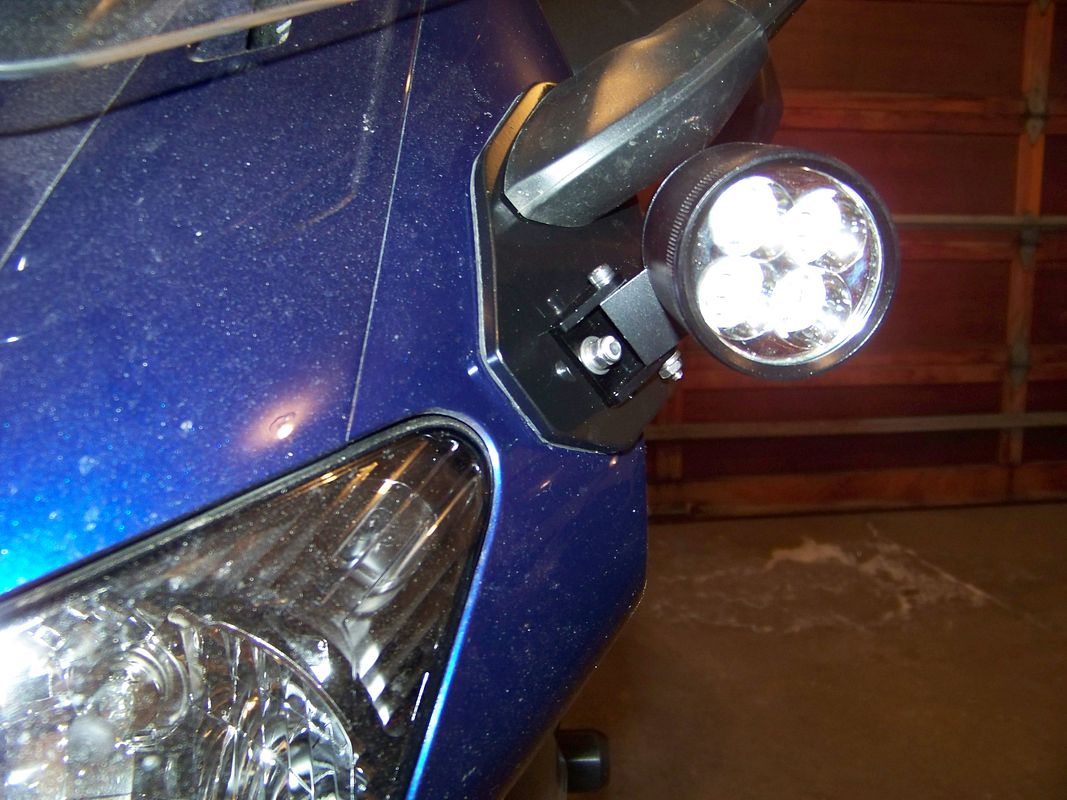
Mounted the two brackets and lights and got them rough aimed. I'll have to tweak the alignment sometime when I can take the bike out in the dark and shine the lights on a wall.
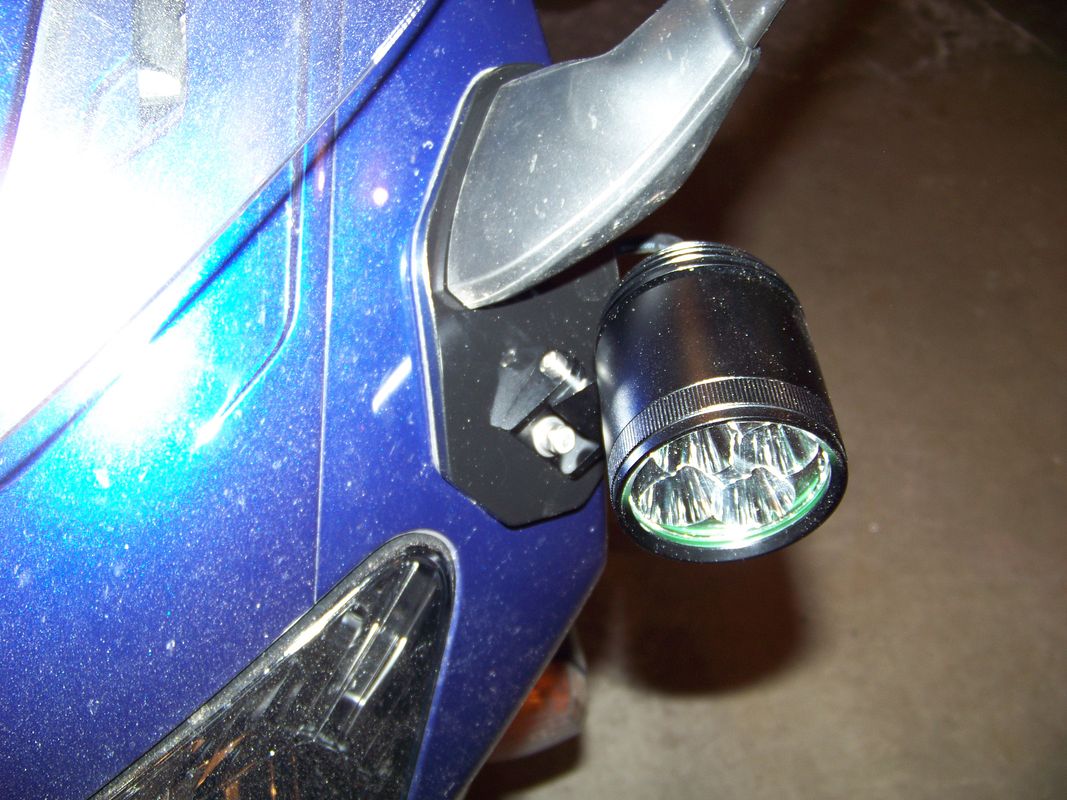
Here are some closer looks at the lights and bracket with the FZ1 mirrors. These brackets should work the same for 2nd genners that also have the FZ1 mirrors.
I flipped the mounting bracket around on the LED light to make it easier to tighten the hardware. And I also had to flip one of the bracket's pivot screws so the nuts would both be on the bottom (just for looks).
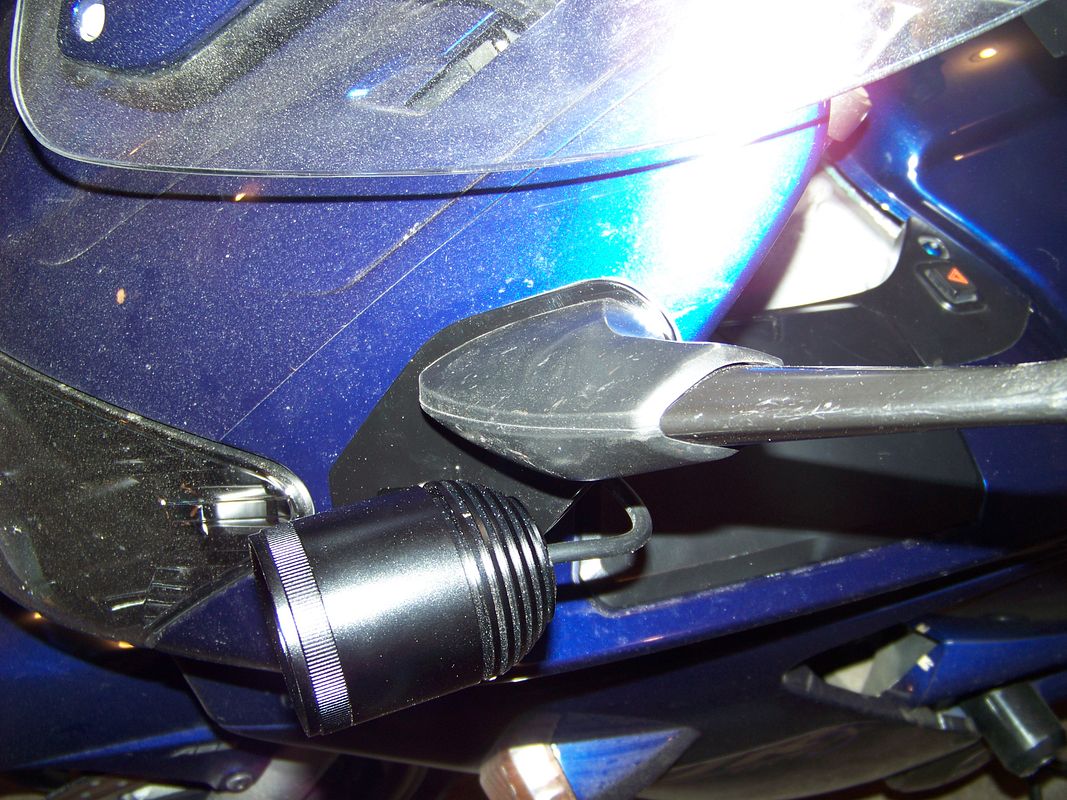
I ran the cords from the two lights into the front faring by cutting some notches in the black B and C panels right at the furthest outboard points. It is snug enough to hold the cord from moving after the covers are reinstalled (sorry about the bad focus on this one).
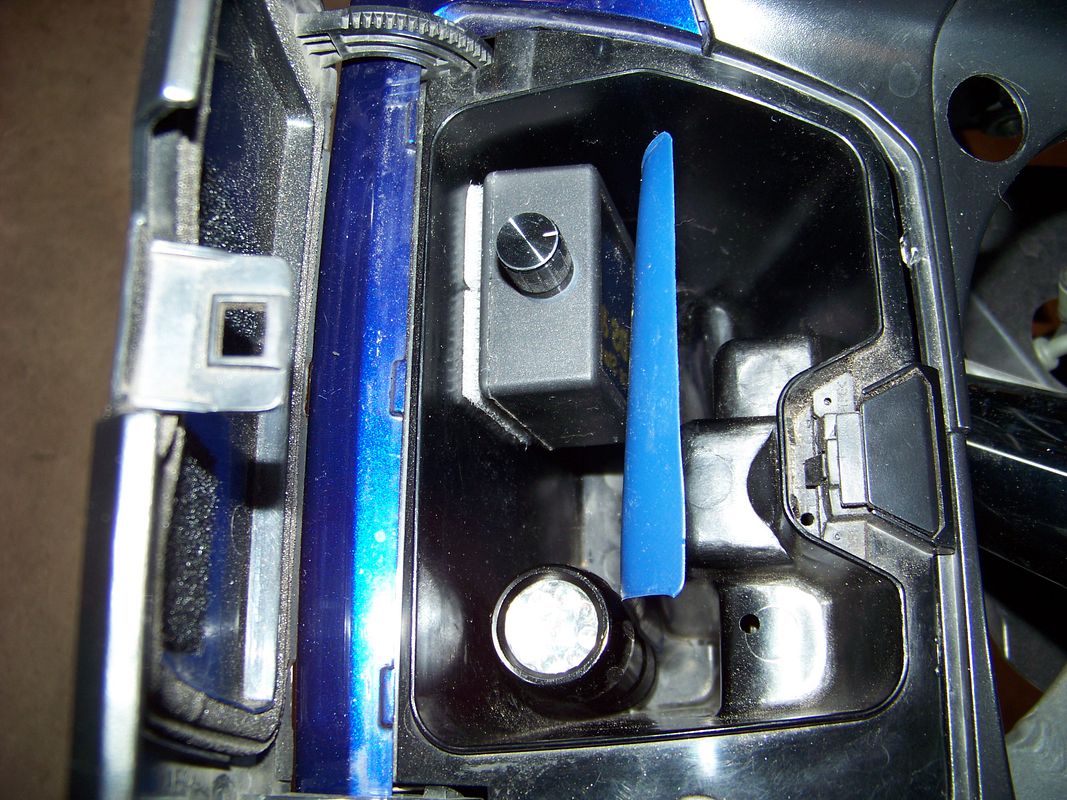
And I installed the LED Dimmer (also bought from Justin) inside the glove box where it is oput oif the way, but still accessible for a quick adjustment (my solenoid has been disabled)
All in all, I am very happy with the whole setup. The lights and dimmer from Justin are great, and these Anti-Vibe mounting brackets make the install look very clean and tidy, IMO.
Thanks Dave!!