


racer157
Well-known member
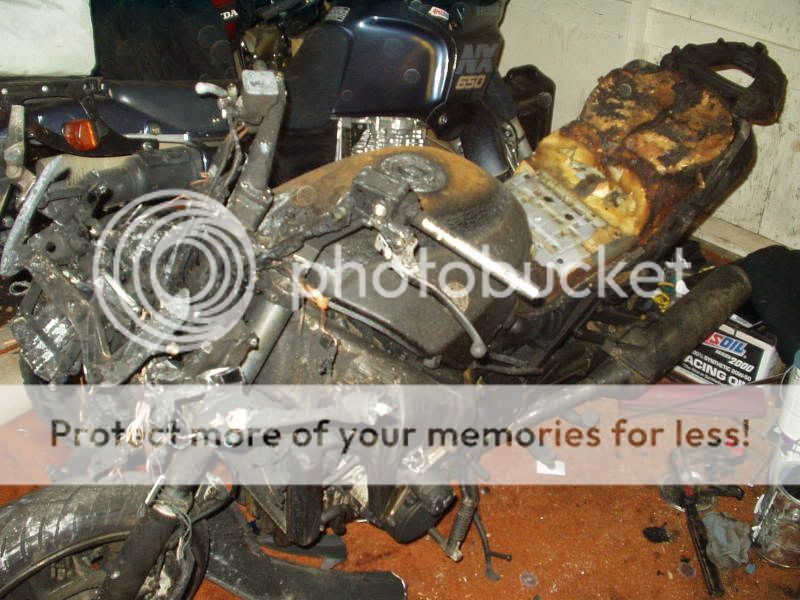
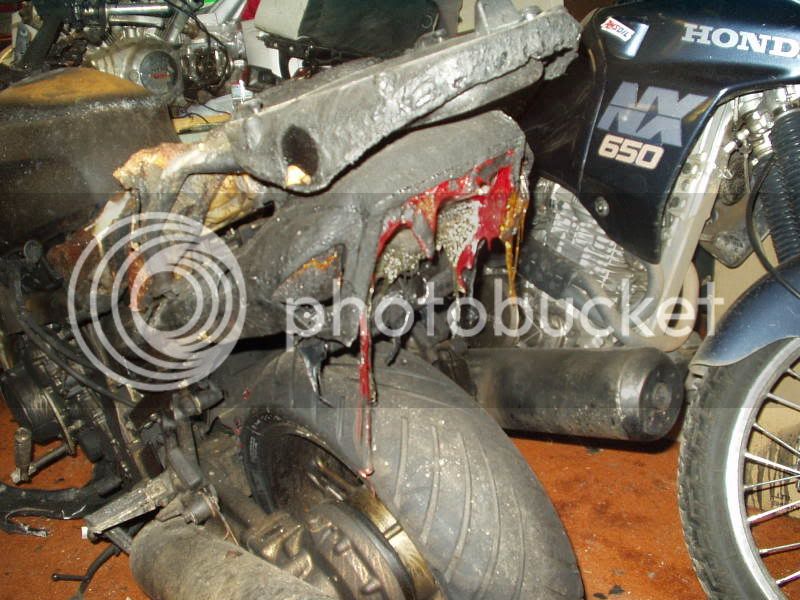
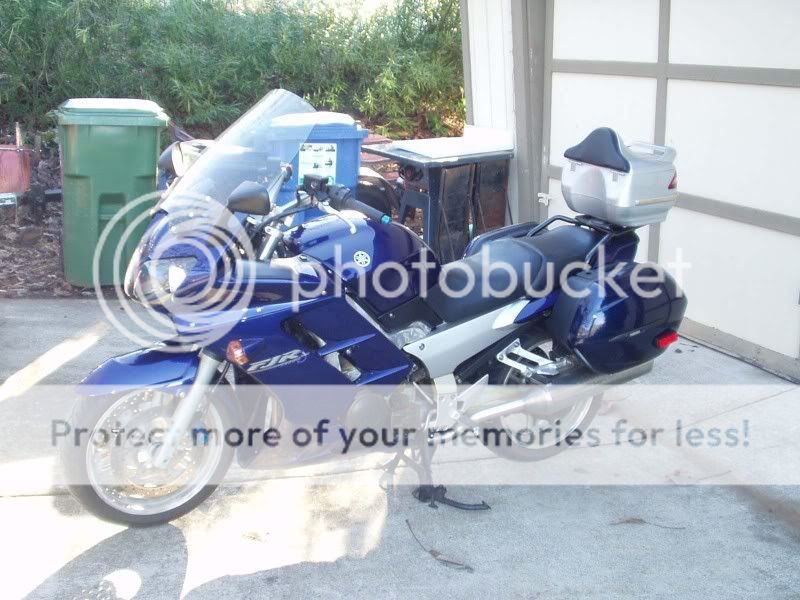
I received this bike from a very good friend. I am now riding this bike. The second pic is as she is today. Thanks Larry!
It took almost a year and lots of parts from ebay, about $3000 worth, to bring her back to life. She is't 100% yet, but will be.
Last edited by a moderator:
")