Gen I – Seat Replacing Rear Rack

Yamaha FJR Motorcycle Forum

Help Support Yamaha FJR Motorcycle Forum:

This site may earn a commission from merchant affiliate links, including eBay, Amazon, and others.

Joe2Lmaker

Well-known member
Joined
Jul 1, 2006
Messages
2,162
Reaction score
50
Location
Fridley, MN
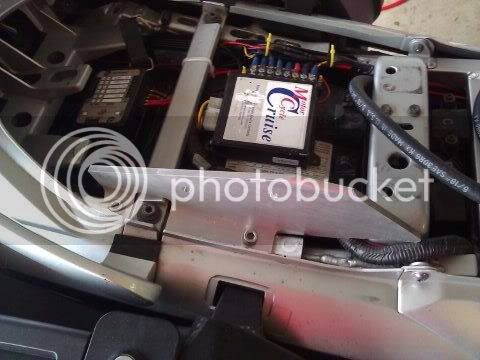
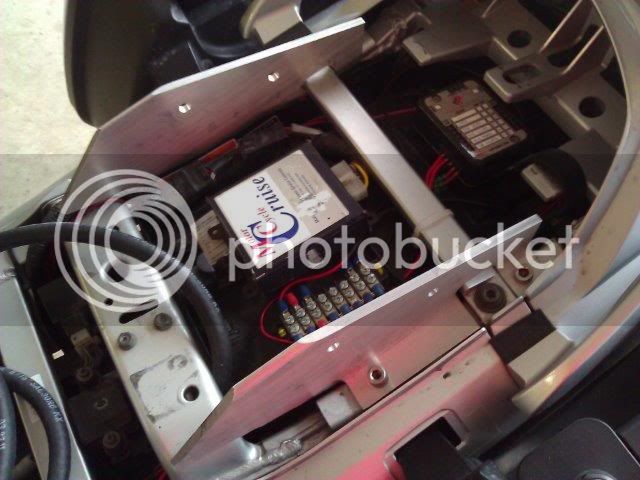
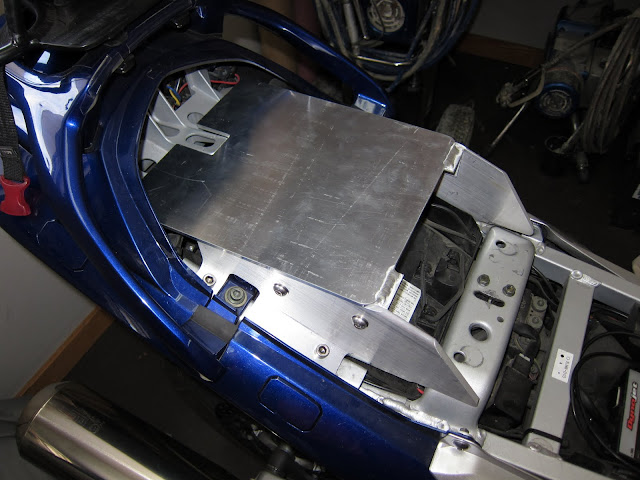
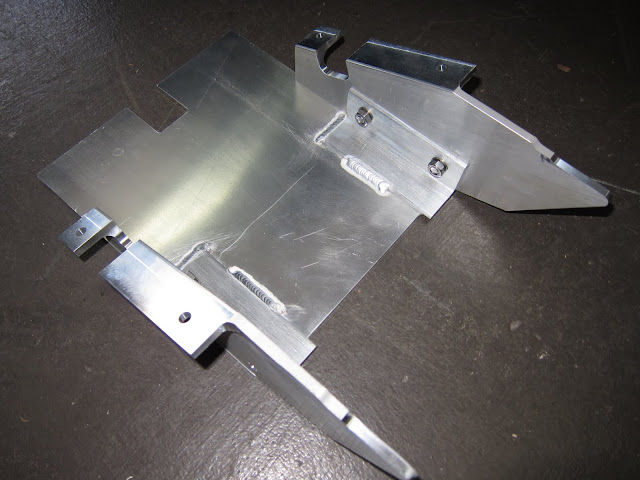
While working on a pillion seat replacing tank for the Gen I, this was one of the resulting tangents. These started out as the second revision side supports for the tank. After deciding on a third revision for the tank supports, I offered these to txvoyager. Thanks to Kevin, these were re-purposed instead of tossed in the recycle bin!

IMG_1433.JPG
• •
IMG_1434.JPG


IMG_1419_Fill-Light.JPG


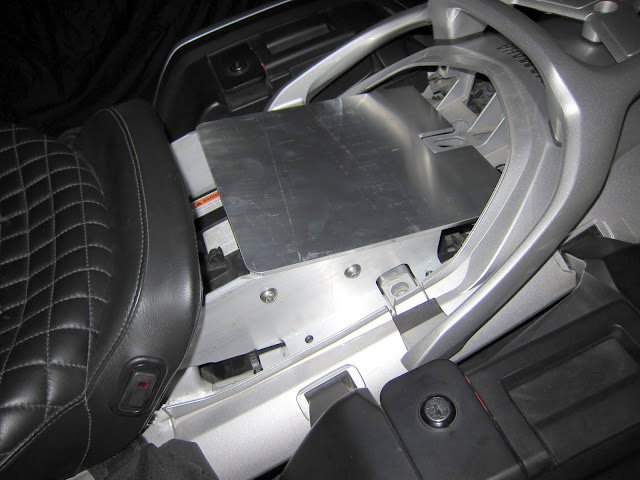
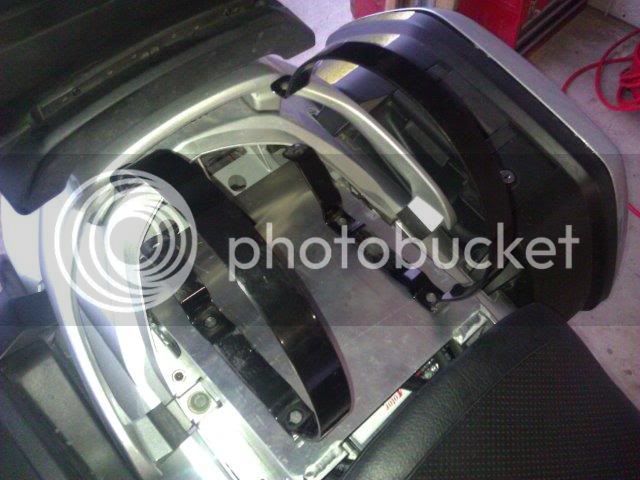
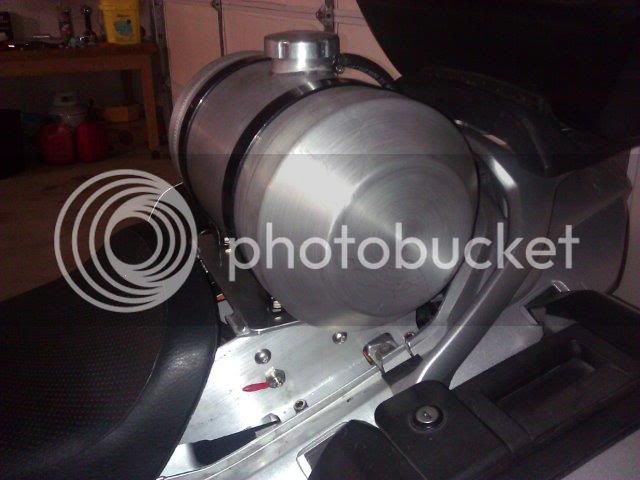
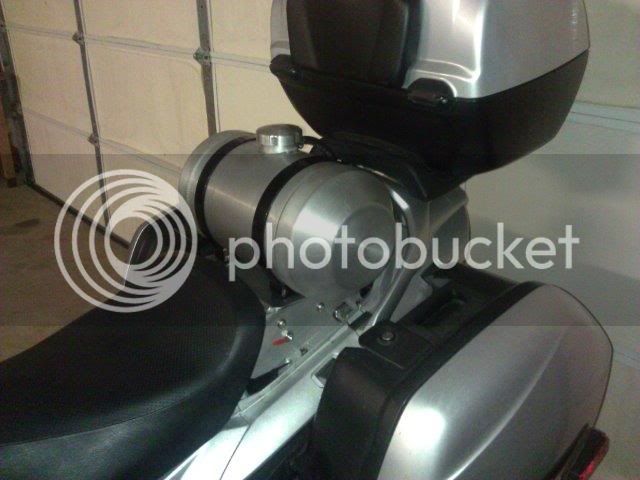
Stay tuned. This seat replacing rack will soon be sporting a Tour Tank.

I've already thought of a few improvements to this prototype:

IMG_1419_marked-up.jpg


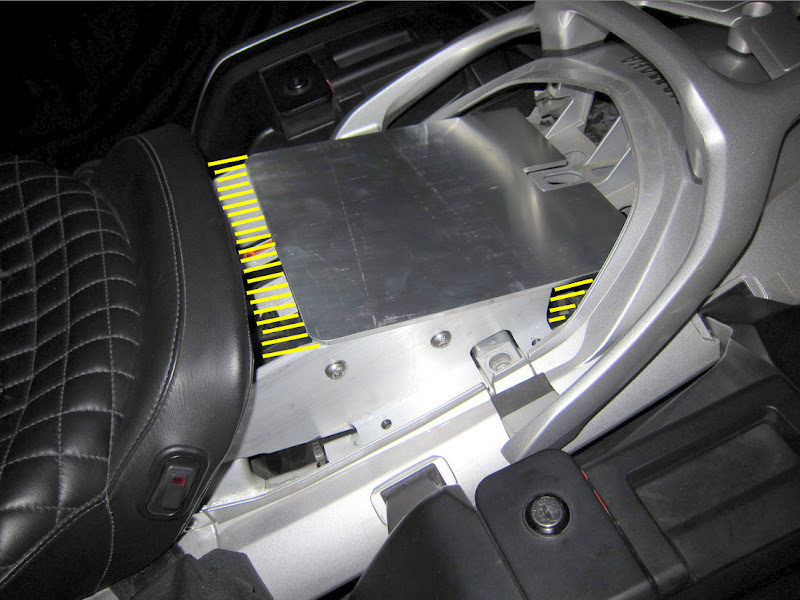
The mounting plate should extend a little more forward, the side supports should extend a little further back, and the aluminum angle pieces should be a little longer, maybe twice as long (if they will clear the grab-rail cross member).

Time flies.

I remember the debacle four years ago when one of the vendors offered a Tour Tank mounting system. I wish I had this figured out four years ago. It could have eased a little pain an suffering back then...

 
Last edited by a moderator:
The rest of the story...

After a ride from DFW to JAX for the IBA Pizza Party and then back home through Houston, I think these 2300 miles has been a successful test of both the mount and the tank. Both work flawlessly.

Step one of the mount install was to bolt the two sides using spring nuts to either side of the rear of the bike. Note: we discovered bikes are not all identical (mostly welding) in this area, but a small amount of grinding allowed the clips to slide right into the channels, where they are very easy to manipulate and position.

Right side:

AuxFuel-LeftSide.jpg


Both sides:

AuxFuel-BothSides.jpg


Next the two bands to attach the tank needed to be installed. I purchased this tank used from Specter on this forum, who sold it because it is smaller than the allowable additional 4.9-gallon fuel cell IBR limit. I will do the same. I was not convinced that the TourTank/Coyote solution was what I wanted to do, so the purchase of the used tank made sense as an experiment. It works extremely well, and I will replace this 8" x 16" tank with a 10" x 15" to maximize fuel volume yet remain under the limit. I oriented the holes for the bolts attaching the bands in such a way that they can be used with the slightly wider tank, and it will also clear the opening trunk lid easily.

AuxFuel-Bands.jpg


I had already plumbed the fuel line to a bulkhead fitting and just needed to install my selected valve. I chose a 90 degree through-bulkhead valve to keep all of the fuel line under the mount. I need to rotate it forward slightly due to the location I picked, which interferes (VERY slightly) with the red handle, but even with the small size, the valve is easy to manipulate, even with heavy gloves.

AuxFuel-Valve.jpg


Overall, I am extremely happy with the system. Joe's mount is unbelievably rock solid (I think I could easily pick up the bike with it) and the TourTank flows fuel easily through the 5/16" lines. I will add some sort of cover to the tank when I order the larger version since I think these look a bit too much like a keg. I will also (using an idea from one of the installs I saw somewhere) cut a piece of car floor mat to size to protect all of the electrics under the tank in case of rain. Other than that, I can't think of anything I'd do to make it work any better...

AuxFuel-Installed.jpg


Thank you to Joe2Lmaker and Specter for all of the help, advice and the two components, and to a bunch of the rest of you for the posts you've taken the time to add to the forum.

 
Last edited by a moderator:
Top