What did you do to your FJR today?

Yamaha FJR Motorcycle Forum

Help Support Yamaha FJR Motorcycle Forum:

This site may earn a commission from merchant affiliate links, including eBay, Amazon, and others.
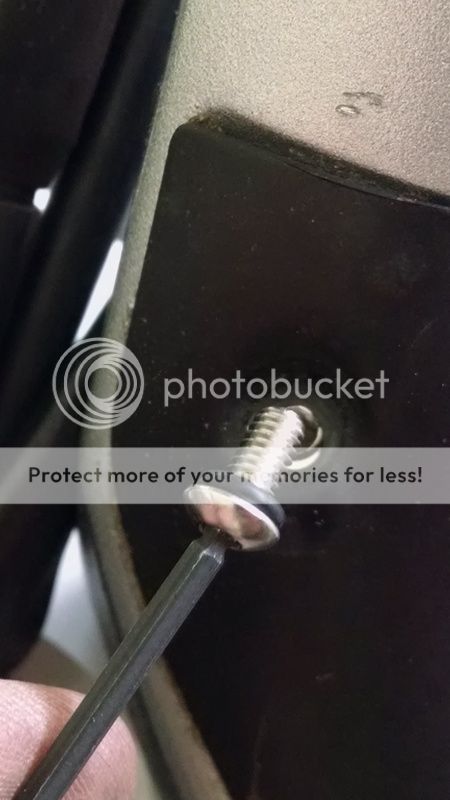
They're also a standard 2-116 N70 buna O-ring available from any hydraulic shop for about .10 each or less.
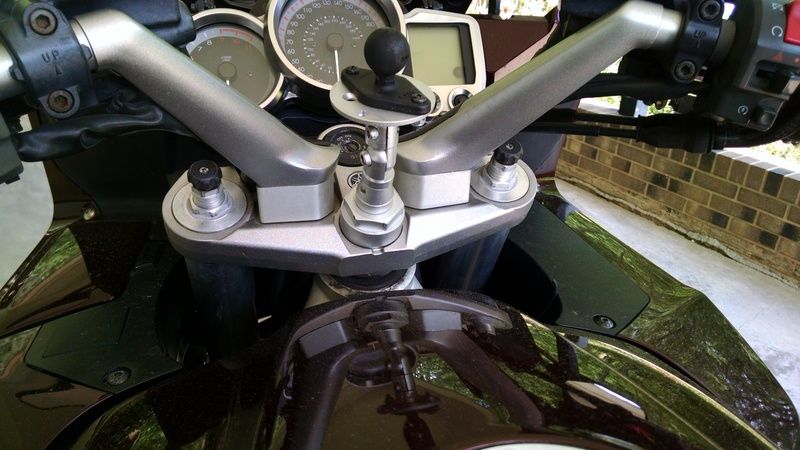
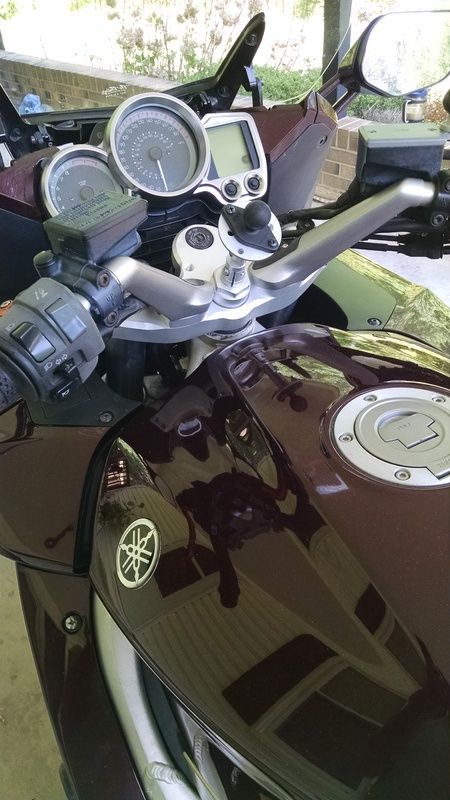
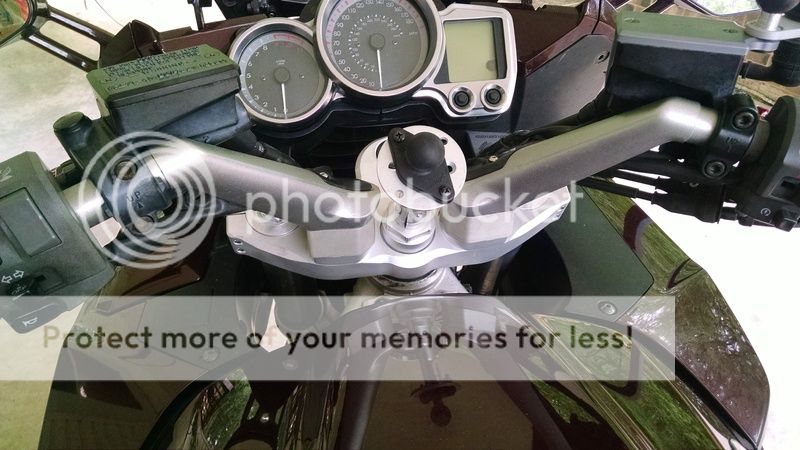
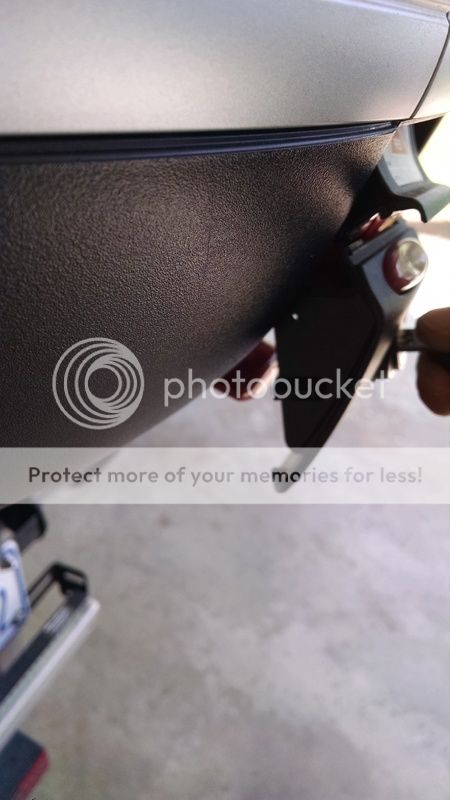
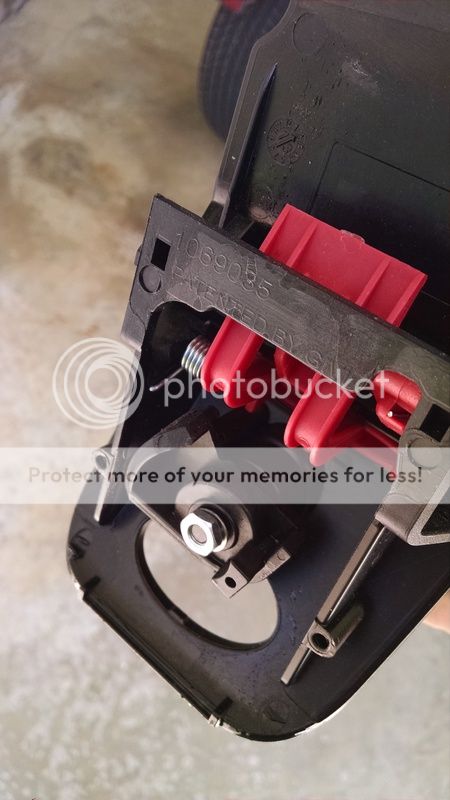
 
Replaced the stock handle crown (triple tree top plate) that I yrs ago installed Genmar risers on with a Heli pullback-only plate, the non -02 model. Couldn't find an -02 to save my ass. Plans are already in the works for the needed modifications to add the Genmars back on. Any and all advice would be greatly appreciated. I've already got in hand the +3" brake hose.
Done and done!

Started with stock plate and Genmars

IMG_20170422_134540833_zps0xlnwntt.jpg


Then progressed to Heli Plate w/ no risers

IMG_20170422_165122376_zpsojlltynh.jpg


A little time on the lathe for drilling and tapping, a little thread addition to 2 bolts and a slight deepening of HeliPlate pinholes and voila! Don't forget to add o-rings to the 4mm cover screws- keeps from overtightening and cracking paint, especially of the softer-paint Gen3 models.

IMG_20170424_092245905_HDR_zpsm24pmis2.jpg


IMG_20170424_112216080_HDR_zpsz6rstnud.jpg


IMG_20170424_113317618_zpsighsivln.jpg


IMG_20170424_113543574_zpscc3n6sx9.jpg


Last night I went to Home Depot and picked up a pack of o-rings, reassembled the coolant manifold, and fired her up. No leaks! I replaced both o-rings since I have a lot of spares now...

Then I buttoned up the fairings and tank, making sure that all of the new wiring that I added was secure and out of the way. I have heated grips and a heated jacket port, all controlled by a W&S dual heat-troller (controls mounted where the factory heated grip knob would go). I also added an SAE connection where I wanted it (I didn't like the previous location), and wired the brake lights and actuator on my Givi top case. Lastly, I added on the MC Canyon Cages.

Tonight I'll get some pics after I put on the bag guards and give her a much needed bath and waxing.

 
I installed the Cee Baileys barn door on the 2015 bike today. I think the wife will like it more than I will. I may have to put my seat back in the high position. Still no test runs for a while. I have to much more work to do on it. So glad I kept the old feejer so I can still ride. It's going to take another month by the time I am done.

Dave

 
Last edited by a moderator:
New fork seals, bushings, and brake pads. Not a bad job but it always makes me nervous to have a bike with no front end standing around.

All done now and it rides great. Best of all, no leaks! :)

33484251043_0c371515fe_c.jpg


I installed the Cee Baileys barn door on the 2015 bike today. I think the wife will like it more than I will. I may have to put my seat back in the high position. Still no test runs for a while. I have to much more work to do on it. So glad I kept the old feejer so I can still ride. It's going to take another month by the time I am done.
Dave
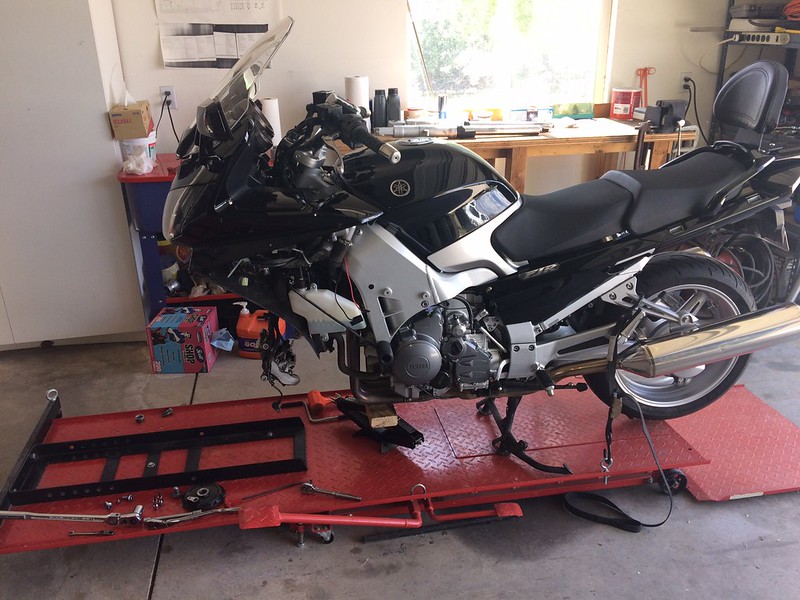
Try that barn door with some windshield spacers, Dave. Makes all the difference. :thumbsup:

 
Got a ride in this morning and plan to let the after work autopilot take over. Let's see what kind of damage I can do to the just topped off full tank of fuel.
That ride ended up being 183.4 miles for what should have been a direct trip home of 24.1 miles. Awhhhhhhhh what a feeling.

Looked at it this morning, went to the cage for the commute, as it was snowing when leaving the house.

 
Last edited by a moderator:
Rode into work this morning, and nothing caught fire or exploded
bike.gif


Temp was around 42*, so I testing the new heat-troller and heated grips. I keep both down to about 25% power as they got HOT. The MC cages look great, and I can't wait to get some pegs on them to stretch out on longer rides. I also installed a set of LED headlight bulbs, and they produce a nice clean cutoff without any scatter (at least against the garage door vs. the stock lights).

The only issue this morning was a little steam coming off of the radiator. I spilled a little coolant when filling up after fixing the o-ring issue. I was carefully watching engine temp and I checked for any leaks after getting to work. All is well!

 
Investigated why my Givi V47 trunk lock is becoming a PITA to turn. It had gotten to the point that I always have to jiggle the key up & down, in & out in order to get it to work and I was getting tired of it. Looking around with stronger-than-normal reading glasses I found 2 Phillips head screws on the inside.
IMG_20170426_131646399_zpsoaqkhkdk.jpg


So I took them out. The entire latching and releasing mechanism then just wiggles out the back. Watch out for the trunk release button- it just sits in there and will fall out if you turn the assembly over.
IMG_20170426_131657605_zps8ukojdpk.jpg


Then I saw a nut, loose, right where the lock tumbler is. So I tightened it. Normally I would put some blue LockTite on it but I didn't have any handy. Voila!! problem solved.
IMG_20170426_131716532_zpskm4ymzb1.jpg


Installed MCL Peg Lower-ers. Have to work a little on the shifter height- it's too high- and decide if I'm going to add an extension to the brake pedal or just heat-n-bend it out some.

 
Last edited by a moderator:
Changed the oil & filter.

Shortest oil change interval in history 3 weeks, well my history anyway.

Tucson to Moonshine and back to Tucson, with a few side trips. Over 4100 mile.

 
Modified the VIZON-X sunshade I use on my Garmin 660. The sunshade comes with some Velcro to hold it in place but I was always annoyed by the way it moved around and the hassle it was to remove it when I need to access the USB port under the back panel. Tried to think of a good solution to this dilemma while riding around last summer. :) 
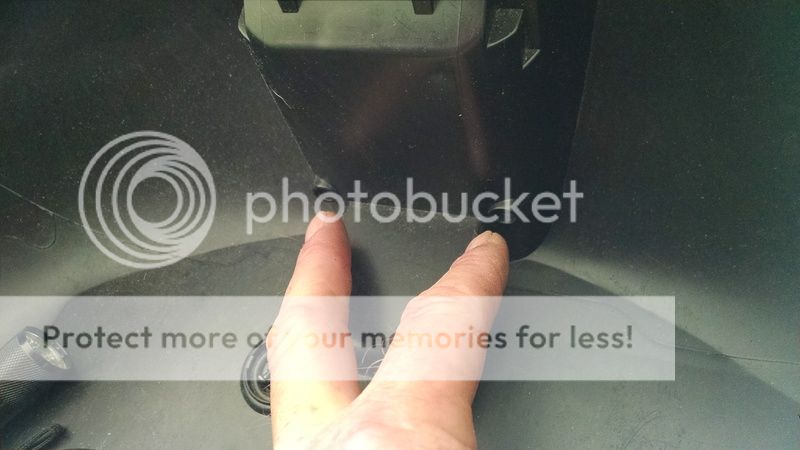
I had a friend at work print up a couple of L brackets on our 3D printer. Glued them in place and now the shade slides into place nicely without any need for Velcro. Doesn't move around either. :)

My first farkle of the 2017 riding season!

IMG_20170426_171028.jpg


IMG_20170426_170954.jpg


rbentnail,

I don't recommend using blue Loctite (242) on anything that potentially comes into contact with plastic. Loctite 242 (blue) and 271 (red) will breakdown some plastics, polycarbonate (Lexan) in particular. I learned this lesson the hard way.

Loctite makes another product #495 that is recommended for use with plastics.

 
Last edited by a moderator:
Top