


FJRBluesman
Some call me... The STIG!
I'm getting ready for a trip this summer to the Sierras and my front tire (Dunlop Roadsmart) is history, the rear is in good shape and I'll save it for future use but, for now a new set of PR2's is going on thanks to 2006FJR group buy at Cycle City in South OC. My front rotors are also shot!
At Johnny80's tech day I noticed my rotors had different colors to them and looked closely and they were heavily grooved, bummer. I had just put on some new pads a few thousand miles earlier the Galfer HH (1375) sintered pads, huge mistake. I thought the OEM pads were soft, the Galfer rep assured me they would not wear out my rotors. Well my rotors are now junk, grooved so bad they chatter with light pressure nearing a stop. No the bearings in the steering are fine etc.
Well on my 9/80- day off today, I decided it's time to change all this stuff.
Let me help those that want to or need to do this in the future.
Note: I bought all my parts online from mrcycles.com.
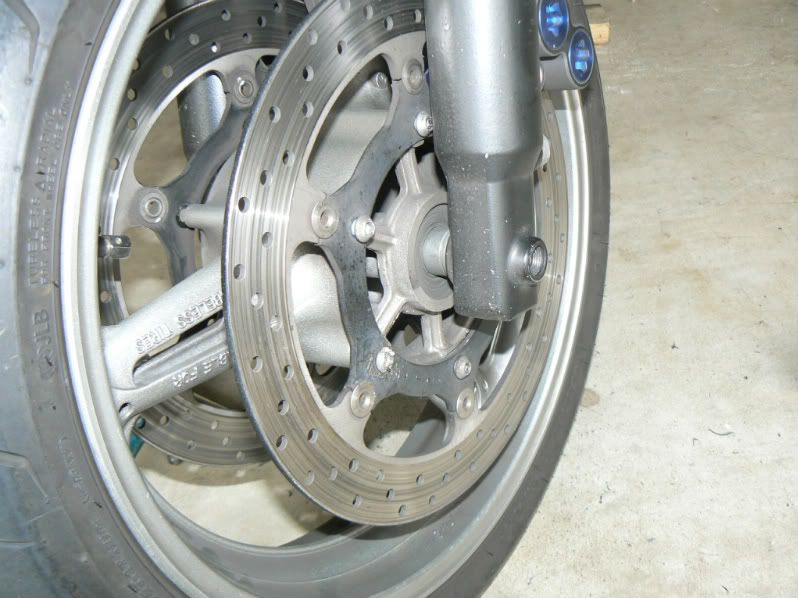
1. Leaving the front wheel on the bike and loosen the rotor bolts is best. I had no problem with leverage etc, better then wheel off and on the ground squirming all over the garage floor in circles, picture the 3-stooges on this one.
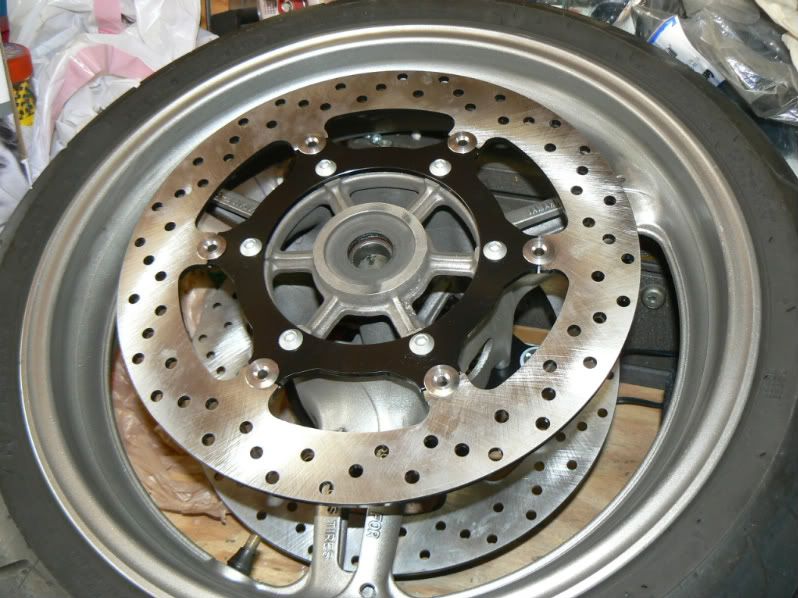
Grooved rotor and some loosened bolts.
VERY IMPORTANT
The bolts are Stainless Steel and the rim is Aluminum and Yamaha used LOTS of blue Loctite!!! Be careful here.
2. Use an AIR-IMPACT wrench to remove the rotor bolts!
2 a - Make sure you have a high quality 6mm hex bit (maybe even two, one for back up) to do the job, so it fits snuggly and securely. You may even want to hammer in the hex bit lightly to make sure it's real snug and fully engaged.
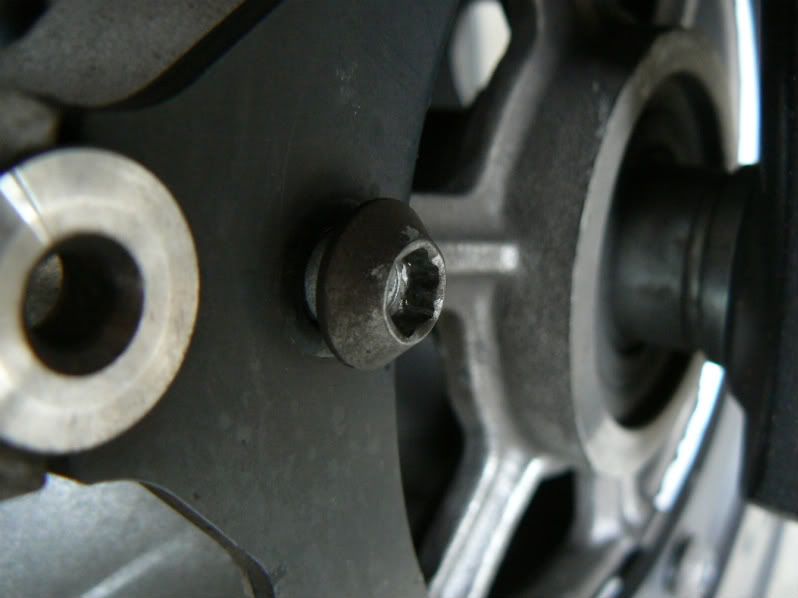
I started off using a standard 3/8s wrench, no way. I got my 1/2 inch out and proceeded to break loose the first and second bolts and they were tight! The third one my bit was not seated well and it slipped out and gouged up the inner hex of the bolt, now I'm screwed.
Cooperative Bolt.
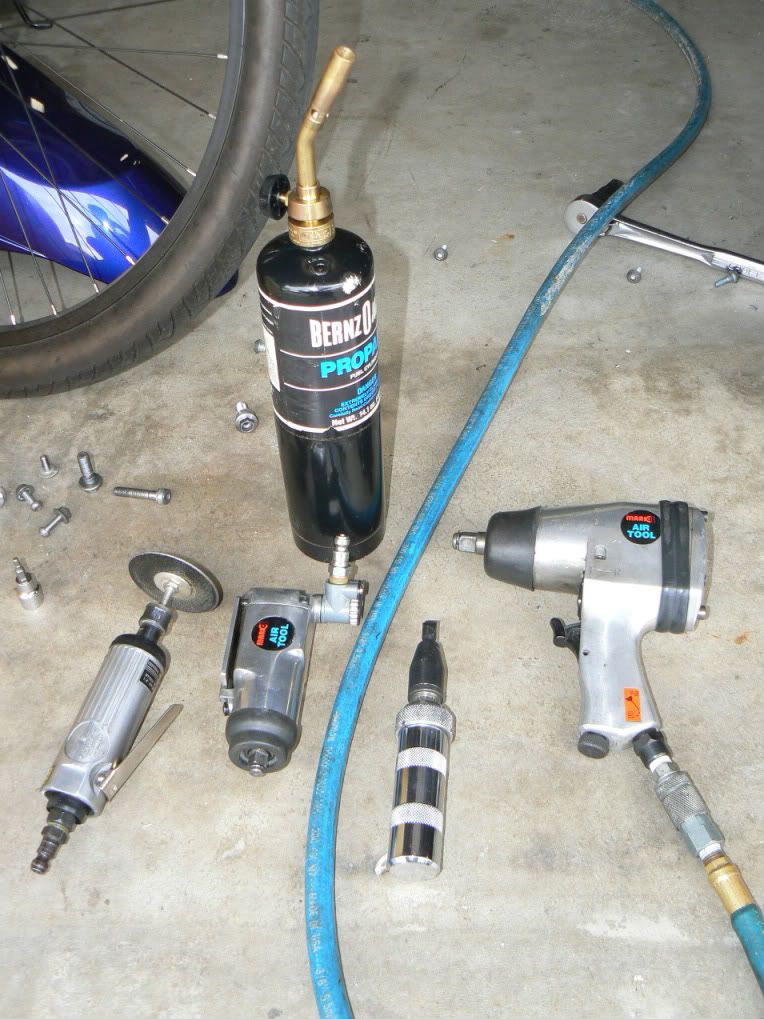
I proceeded to get my 3/8 butterfly air-impact, it did the job quickly and easily on most of the bolts except 3 of the 12. I then got out my 1/2 in air-impact it did the trick on the other ones except the stripped one. I tried best I could but totally rounded the hole. I even tried my manual hammer impact wrench, no luck. I then got my die grinder out and ground a slot on it and used the bit from the manual impact and a large (3lb) sledge, no dice. I finally resorted to light torch heat for only a minute max to both the rim where the screw goes but mainly the screw head itself.
Tools of the trade.
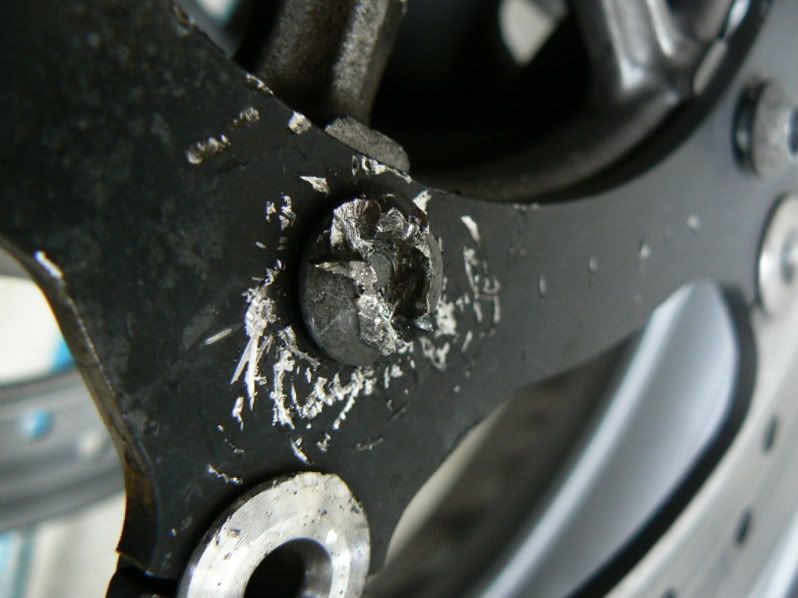
I then used the manual impact with the slot bit and after about 6 whacks with the sledge it popped! Thank God, my next resort was to grind it flush and remove it. I also broke the large slot bit on the manual impact wrench.
Not so cooperative bolt, but now it's loose.
Now mind you, the manual calls out for 13ft.lbs. of torque. These things maybe thru lots of heat cycles and Loctite were on there like no ones business.
Now I was smart enough (which isn't saying much) to also order all brand new rotor bolts at about $1.30 each (12 total needed for both rotors), I learned that lesson years ago replacing a clutch on my old Honda Accord and the fly wheel bolts broke like butter when I re-torqued the old bolts. I would highly recommend new bolts and never reuse the old rotor bolts, all had slight deformation from removal.
New bolts.
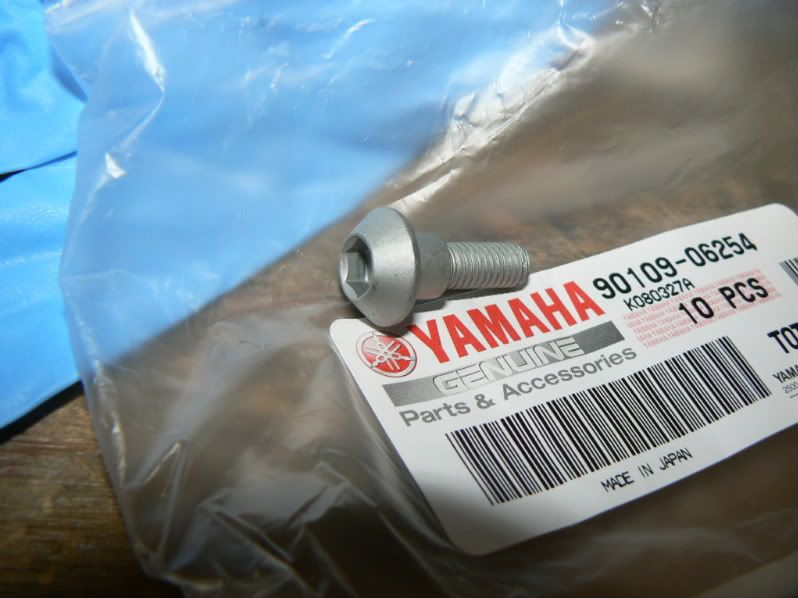
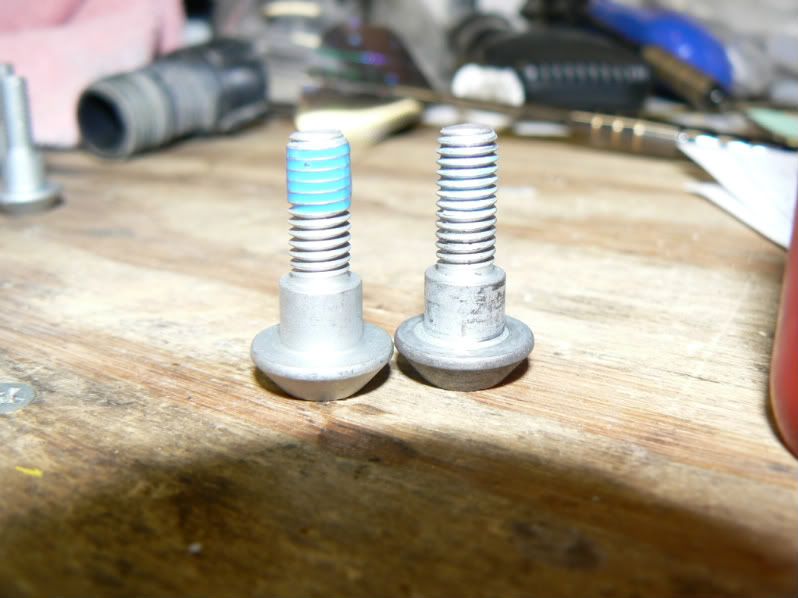
New bolt & Loctite next to old bolt.
Note: If you're doing rotors and tires make sure the rotors are replaced before new tires are installed so the wheel can be balanced with the new rotors. Even if only rotors replaced it's possible your balanced wheel has changed.
Installation was real quick and easy. Make sure your hands are clean and free of any grease or oil. Don't put any pressure or weight on the new rotors, they can bend, make sure weight is on the rim. For the rotors I used some blue Loctite sparingly and installed the bolts loosely until just before seating, that way the shoulder is in and you don't tighten it anywhere to soon. Once all bolts are in, snug them down lightly with little to no pressure. Then I used my trusty torque wrench and set it at 10ft.lbs. (Yamaha torque spec 13ft.lbs.) I always do this and step it up. I set the torque (depending on the amount of torque, more gap for more torque etc) a few pounds below the recommended and then start torquing in a cross pattern until all are at the same torque and none move. I then step it up to the proper torque and do the same again. If I can feel any bolt tighten, I go around again in a cross pattern until all are at the torque and none have moved. Once none of the 6 bolts move in that sequence of torquing, then I do it one more time. That's just me though YMMV.
Now I also have bought new OEM brakes. Before I ever install new brakes I remove all caked on brake dust from the caliper and pistons. I remove the caliper and actuate the brake lever to push the pistons out slightly. This takes a few pumps and it's easy to regulate with your fingers if one piston comes out more then the others. Make sure the other caliper has something in it, I use the old pads and a small piece of wood to fill the gap, otherwise you'll have pistons and fluid on the ground. I get the piston to a height where there is no more dirt visible then I clean them off with a tooth brush and WD40 (NOTE: make sure your rotors and brake pads are no where near the WD40). I then scrub, use a rag, and some compressed air to get it all done. Never blow compressed air directly into the piston cavity where the seals are, you may inject air and or foreign matter. Make sure calipers etc are thoroughly dried before installation.
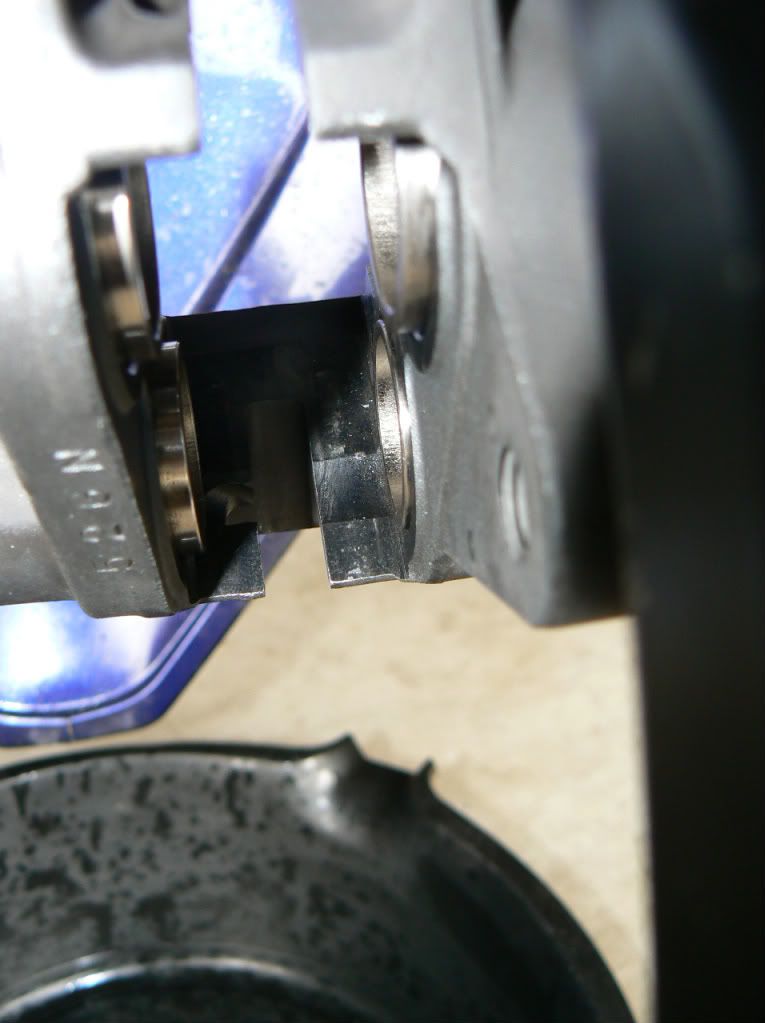
Clean pistons.
I then compress the pistons in for accepting of the new pads. After new pads, rotors, and wheel is installed, then bleed the brakes.
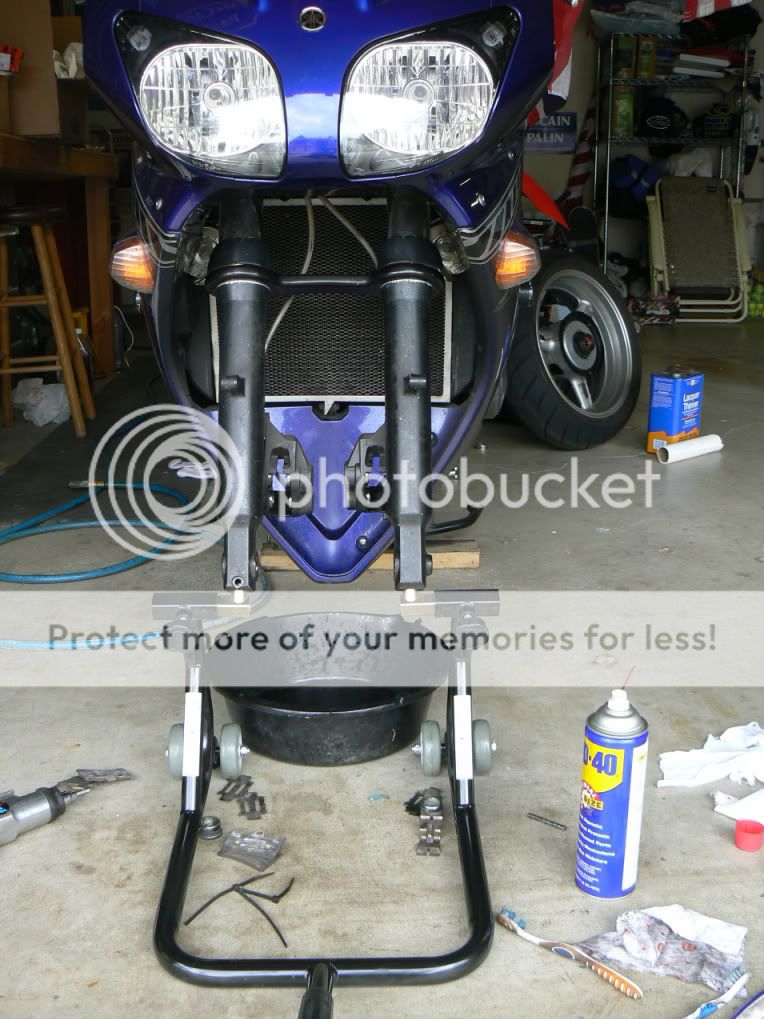
Bike on center stand and front stand.
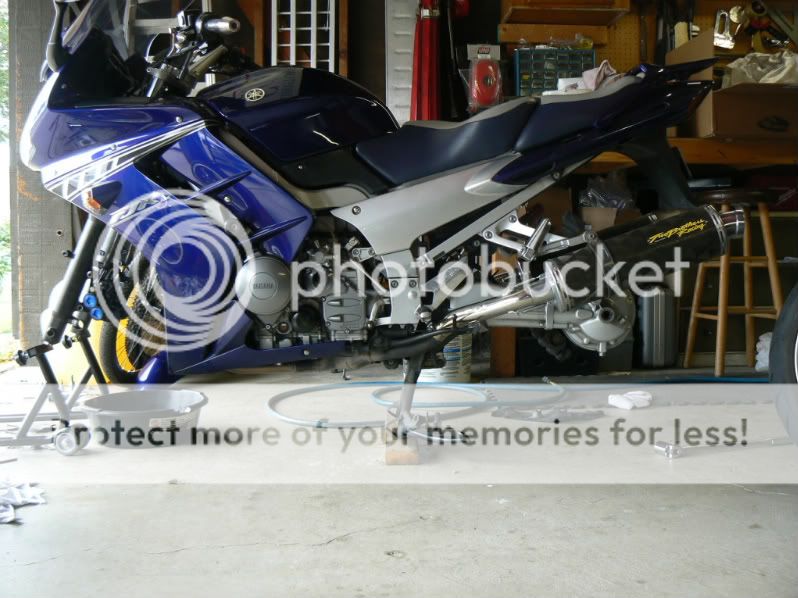
I bought a Black Widow front stand on evilbay, returned item from a supplier for like $37 included shipping. I used the shorter studs and it worked perfect! Easy access to the giant 19mm hex bit and axle. Great tool highly recommend this or similar unit.
At Johnny80's tech day I noticed my rotors had different colors to them and looked closely and they were heavily grooved, bummer. I had just put on some new pads a few thousand miles earlier the Galfer HH (1375) sintered pads, huge mistake. I thought the OEM pads were soft, the Galfer rep assured me they would not wear out my rotors. Well my rotors are now junk, grooved so bad they chatter with light pressure nearing a stop. No the bearings in the steering are fine etc.
Well on my 9/80- day off today, I decided it's time to change all this stuff.
Let me help those that want to or need to do this in the future.
Note: I bought all my parts online from mrcycles.com.
1. Leaving the front wheel on the bike and loosen the rotor bolts is best. I had no problem with leverage etc, better then wheel off and on the ground squirming all over the garage floor in circles, picture the 3-stooges on this one.
Grooved rotor and some loosened bolts.
VERY IMPORTANT
The bolts are Stainless Steel and the rim is Aluminum and Yamaha used LOTS of blue Loctite!!! Be careful here.
2. Use an AIR-IMPACT wrench to remove the rotor bolts!
2 a - Make sure you have a high quality 6mm hex bit (maybe even two, one for back up) to do the job, so it fits snuggly and securely. You may even want to hammer in the hex bit lightly to make sure it's real snug and fully engaged.
I started off using a standard 3/8s wrench, no way. I got my 1/2 inch out and proceeded to break loose the first and second bolts and they were tight! The third one my bit was not seated well and it slipped out and gouged up the inner hex of the bolt, now I'm screwed.
Cooperative Bolt.
I proceeded to get my 3/8 butterfly air-impact, it did the job quickly and easily on most of the bolts except 3 of the 12. I then got out my 1/2 in air-impact it did the trick on the other ones except the stripped one. I tried best I could but totally rounded the hole. I even tried my manual hammer impact wrench, no luck. I then got my die grinder out and ground a slot on it and used the bit from the manual impact and a large (3lb) sledge, no dice. I finally resorted to light torch heat for only a minute max to both the rim where the screw goes but mainly the screw head itself.
Tools of the trade.
I then used the manual impact with the slot bit and after about 6 whacks with the sledge it popped! Thank God, my next resort was to grind it flush and remove it. I also broke the large slot bit on the manual impact wrench.
Not so cooperative bolt, but now it's loose.
Now mind you, the manual calls out for 13ft.lbs. of torque. These things maybe thru lots of heat cycles and Loctite were on there like no ones business.
Now I was smart enough (which isn't saying much) to also order all brand new rotor bolts at about $1.30 each (12 total needed for both rotors), I learned that lesson years ago replacing a clutch on my old Honda Accord and the fly wheel bolts broke like butter when I re-torqued the old bolts. I would highly recommend new bolts and never reuse the old rotor bolts, all had slight deformation from removal.
New bolts.
New bolt & Loctite next to old bolt.
Note: If you're doing rotors and tires make sure the rotors are replaced before new tires are installed so the wheel can be balanced with the new rotors. Even if only rotors replaced it's possible your balanced wheel has changed.
Installation was real quick and easy. Make sure your hands are clean and free of any grease or oil. Don't put any pressure or weight on the new rotors, they can bend, make sure weight is on the rim. For the rotors I used some blue Loctite sparingly and installed the bolts loosely until just before seating, that way the shoulder is in and you don't tighten it anywhere to soon. Once all bolts are in, snug them down lightly with little to no pressure. Then I used my trusty torque wrench and set it at 10ft.lbs. (Yamaha torque spec 13ft.lbs.) I always do this and step it up. I set the torque (depending on the amount of torque, more gap for more torque etc) a few pounds below the recommended and then start torquing in a cross pattern until all are at the same torque and none move. I then step it up to the proper torque and do the same again. If I can feel any bolt tighten, I go around again in a cross pattern until all are at the torque and none have moved. Once none of the 6 bolts move in that sequence of torquing, then I do it one more time. That's just me though YMMV.
Now I also have bought new OEM brakes. Before I ever install new brakes I remove all caked on brake dust from the caliper and pistons. I remove the caliper and actuate the brake lever to push the pistons out slightly. This takes a few pumps and it's easy to regulate with your fingers if one piston comes out more then the others. Make sure the other caliper has something in it, I use the old pads and a small piece of wood to fill the gap, otherwise you'll have pistons and fluid on the ground. I get the piston to a height where there is no more dirt visible then I clean them off with a tooth brush and WD40 (NOTE: make sure your rotors and brake pads are no where near the WD40). I then scrub, use a rag, and some compressed air to get it all done. Never blow compressed air directly into the piston cavity where the seals are, you may inject air and or foreign matter. Make sure calipers etc are thoroughly dried before installation.
Clean pistons.
I then compress the pistons in for accepting of the new pads. After new pads, rotors, and wheel is installed, then bleed the brakes.
Bike on center stand and front stand.
I bought a Black Widow front stand on evilbay, returned item from a supplier for like $37 included shipping. I used the shorter studs and it worked perfect! Easy access to the giant 19mm hex bit and axle. Great tool highly recommend this or similar unit.
Last edited by a moderator:
")