[SIZE=18pt]DAY TWO......the ugliness commences[/SIZE]
I know most of you bastards are out riding right now, so here's a great, big :fuck: you to each and every one of you!
")
Those not out riding are trying to knock off some items off their "Honey-do" lists, so for all you pussies, a great big :fuck: you to you too!
It's about 110 degrees out in the garage, and it's got a western exposure, so it's gonna be a hot bitch all day. Oh, humidity is about 963%, too. So I'm taking my time and taking cool-down breaks between tasks.
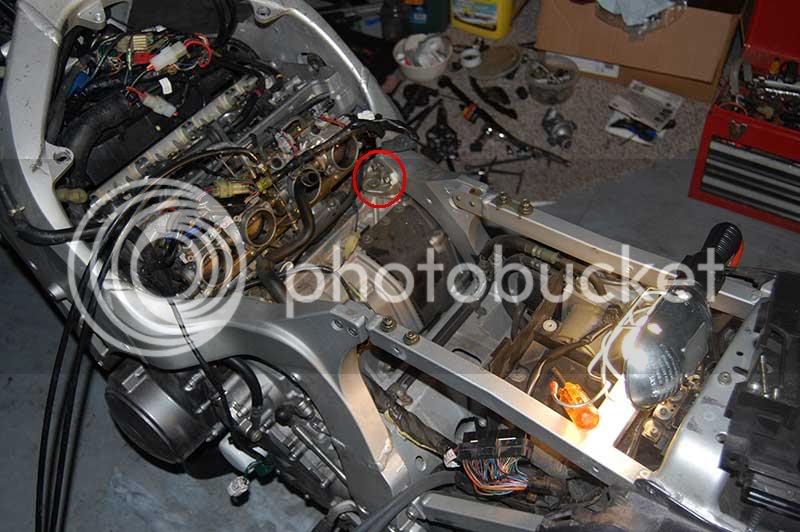
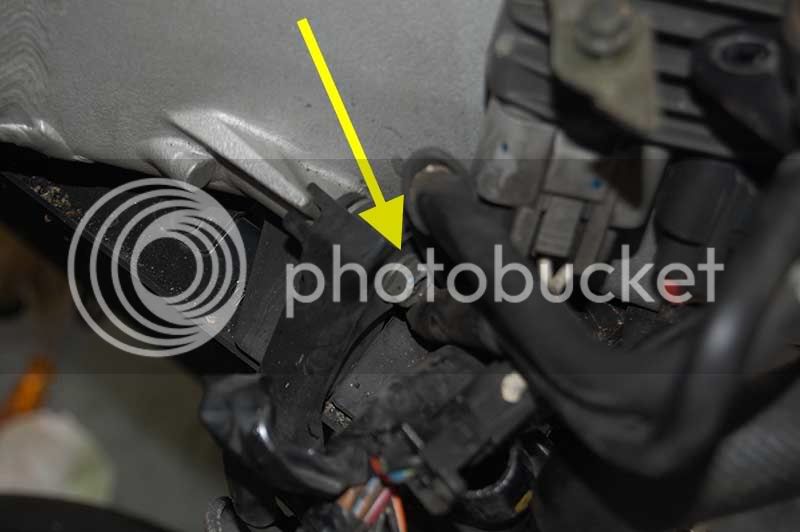
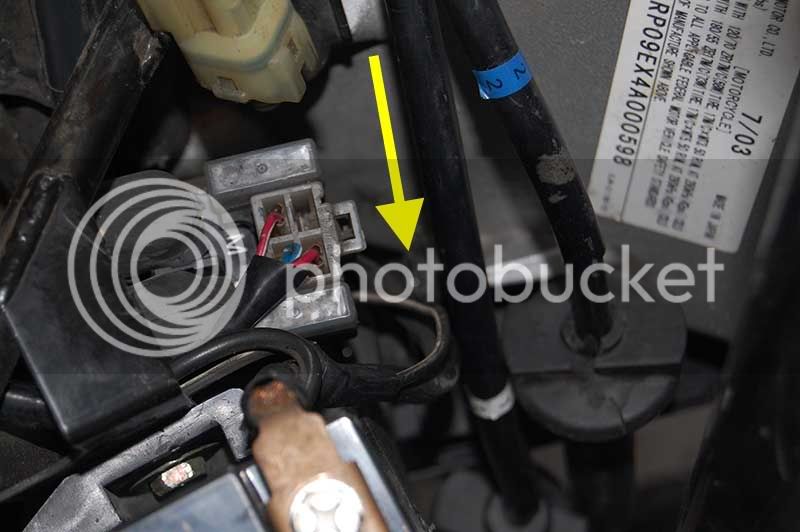
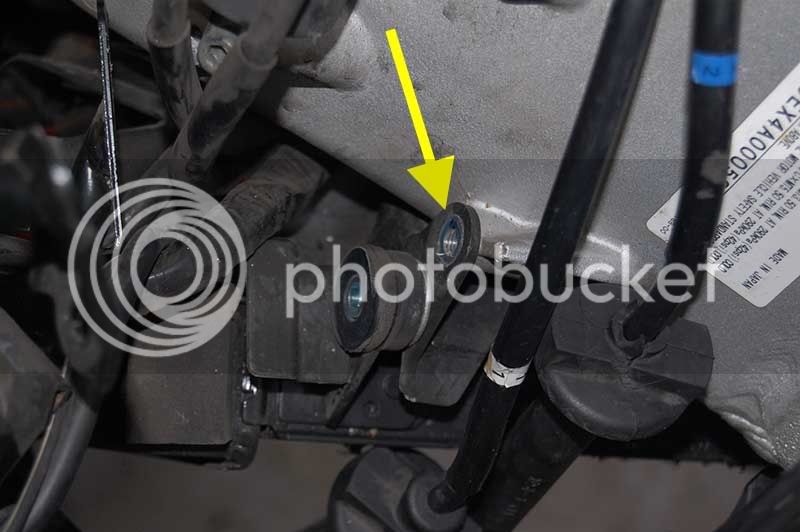
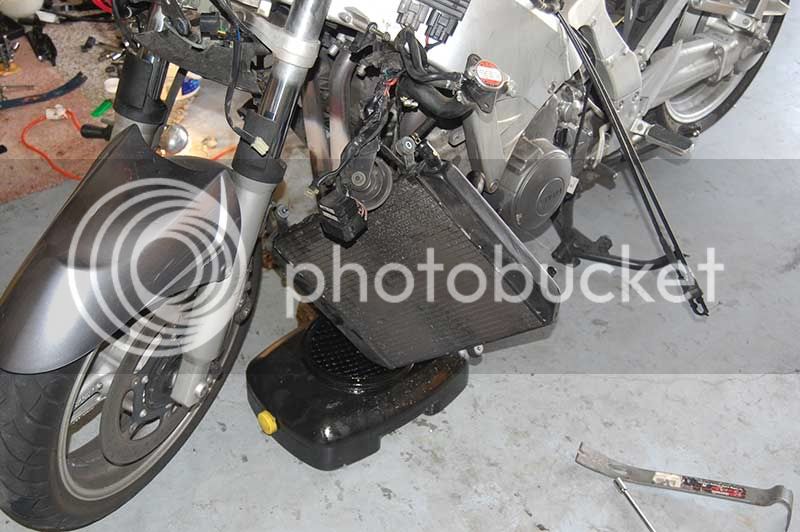
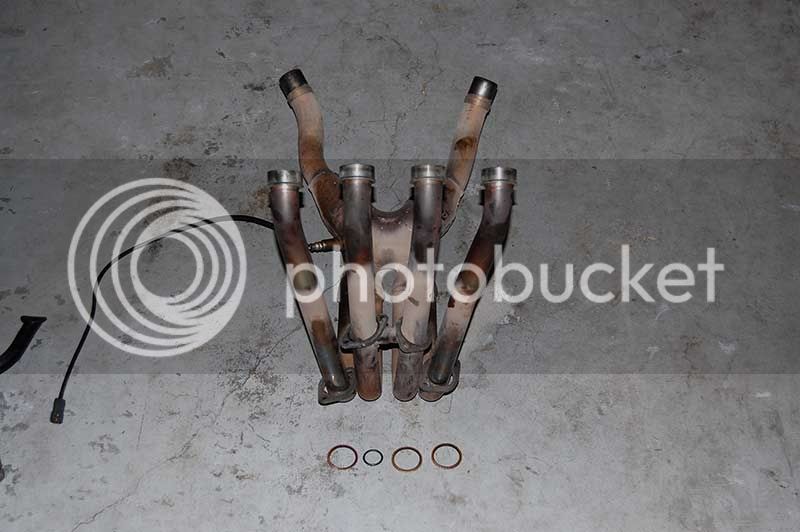
My goal for today was to get the radiator and exhaust system removed. They've got to go to get the motor out. How little did I realize at first that the nose was gonna have to come off to be able to get to everything. But thanks to wfooshee's great write up
HERE, getting the nose off was pretty much a snap. BTW, the 7 screws that hold the "W" bracket and the windshield ARE made out of Cheez Whiz. Didn't strip a single one, but two of 'em DID pop their heads right off. It is to note that Walt's great "How To" leaves off one important item for '04 and '05 owners....unplugging the glovebox connector. No biggie, just don't yank too hard when removing the nose before getting the glovebox unplugged. Actually, with Walt's write-up and pics, nose cowl removal is really a snap.
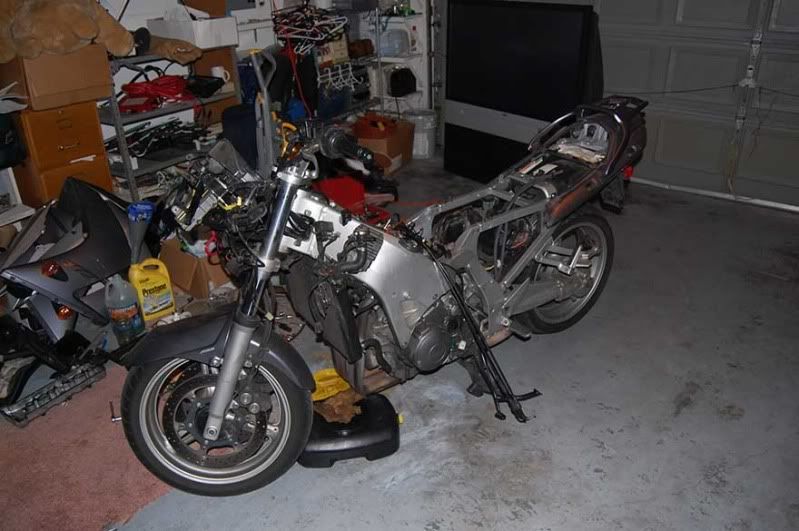
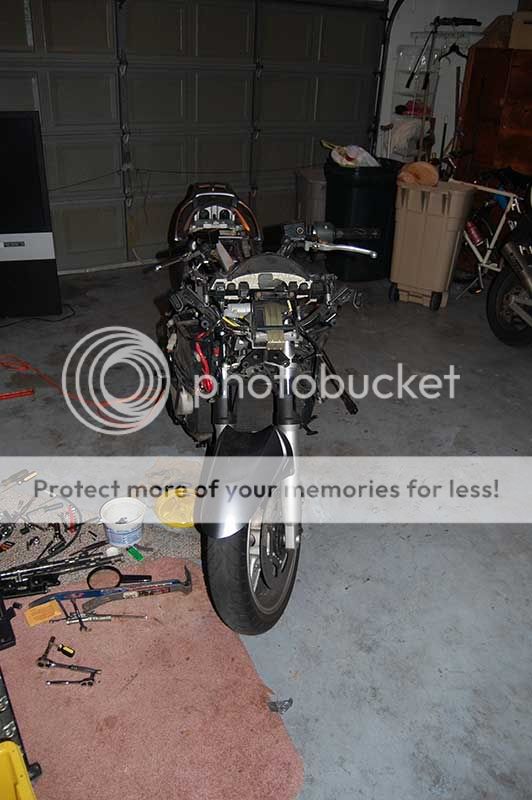
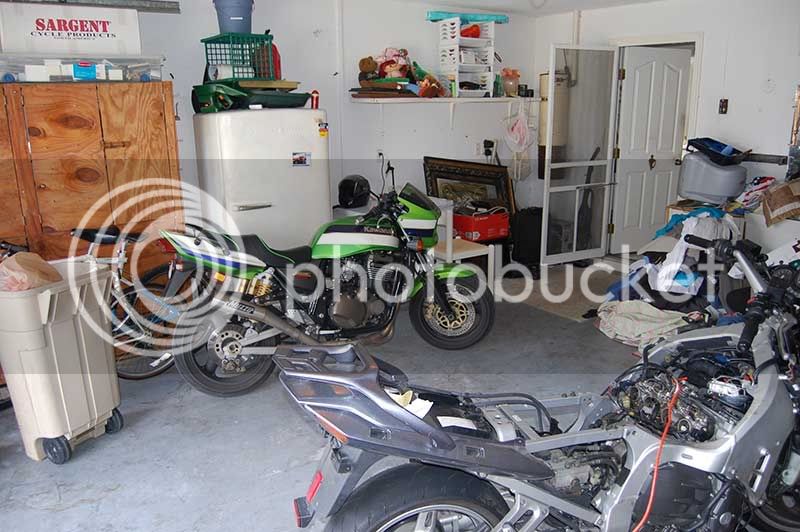
Just one thing, though....your Feej is ONE UGLY BEAST without its plastic. I know, many of you have seen it before, but it's worth repeating:
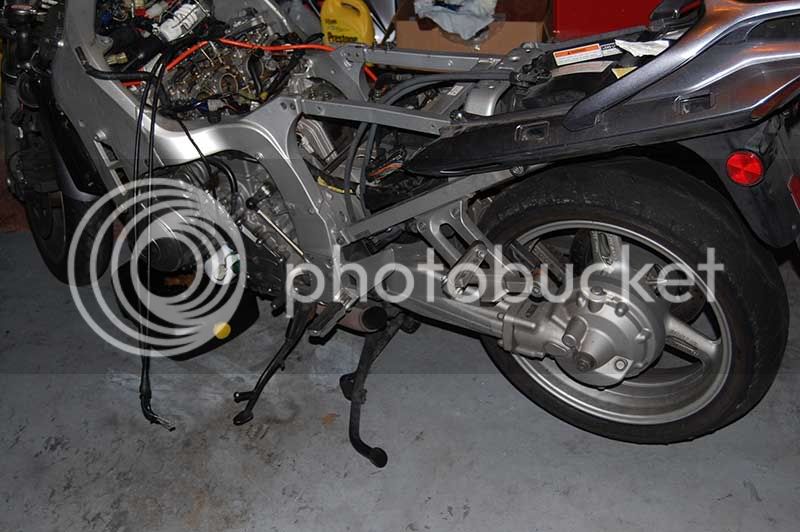
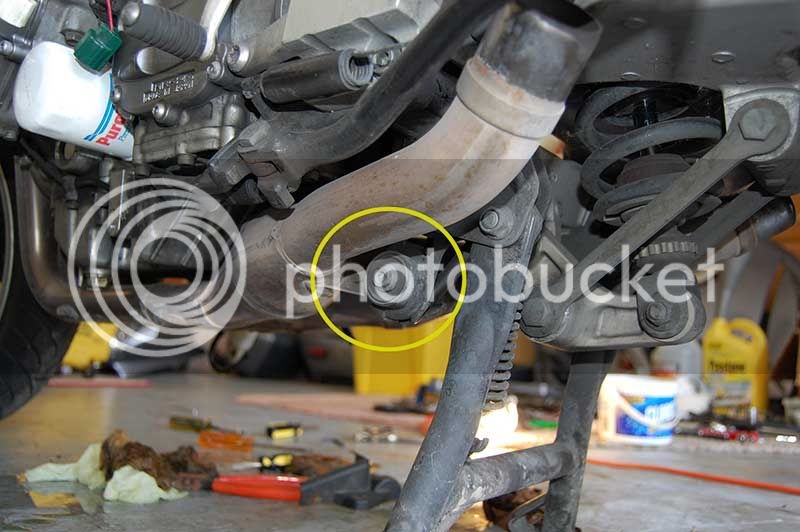
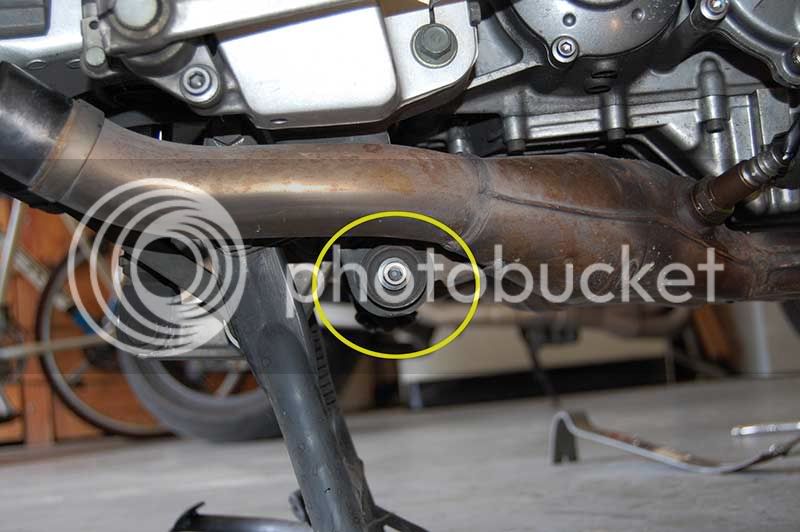
Getting the mufflers off in preparation of pulling the exhaust? Cake! Two bolts per side and it's "Off with their heads!":
Cool-down period is almost over...drinking LOTS of cold fluids to keep up spirits (nothing adult, mind you) and the radiator is next.
BTW, here's a tip to keep track of hardware. (It's so simple, you might not think about it until you're trying to figure out where those 10 pounds of screws, nuts and bolts go when you put it all back together) -- When you remove a screw, nut or bolt to pull an item off the bike, put it right back where it goes, back in its assigned place.
Beats trying to figure it all out 2 weeks/months/years later.
Speaking of later.........more to come.......later.
'Howie
Oh...one last thing...
REX is over on the other side of the garage laughing his ass off at his baby brother. :rofl:
...and yes, my garage IS a shit hole. That comes with the territory when four kids who should be out on their own come back to the nest. <_<