Pivot Maintenance - FJR Stand?

Yamaha FJR Motorcycle Forum

Help Support Yamaha FJR Motorcycle Forum:

This site may earn a commission from merchant affiliate links, including eBay, Amazon, and others.
I played around with the idea of prying the exhaust out of the way to get the center stand bolts out, but I didn't feel comfortable flexing the pipes the distance required to clear the bolts. I cut both of the bolts off and got shorter ones and inserted them from the inside of the center stand. They are now removable for future servicing. I didn't have a saws all and had to use a small hack saw that I found at Harbor Freight. I went through 5 or 6 blades before I finally got both of them cut off.

 
It's been a while since I did it on my '05, but I will soon have the opportunity to do it again on the '14. I also do not know for sure that the dimensions are all the same on all generations. There may be some slight differences. But I do recall that you do not just flex the pipes outwards to get the offending bolts out. It was more of a downwards and outwards flex.

 
I played around with the idea of prying the exhaust out of the way to get the center stand bolts out, but I didn't feel comfortable flexing the pipes the distance required to clear the bolts. I cut both of the bolts off and got shorter ones and inserted them from the inside of the center stand. They are now removable for future servicing. I didn't have a saws all and had to use a small hack saw that I found at Harbor Freight. I went through 5 or 6 blades before I finally got both of them cut off.
I didn't feel comfortable with the amount of flexing required either, so opted for the bolt cut option. I can tell you that having a die grinder with a large cutoff wheel attached makes it pretty easy to cut the bolt off. ;)

 
I played around with the idea of prying the exhaust out of the way to get the center stand bolts out, but I didn't feel comfortable flexing the pipes the distance required to clear the bolts. I cut both of the bolts off and got shorter ones and inserted them from the inside of the center stand. They are now removable for future servicing. I didn't have a saws all and had to use a small hack saw that I found at Harbor Freight. I went through 5 or 6 blades before I finally got both of them cut off.
I didn't feel comfortable with the amount of flexing required either, so opted for the bolt cut option. I can tell you that having a die grinder with a large cutoff wheel attached makes it pretty easy to cut the bolt off.
wink.png
I almost bought a cut off tool at harbor freight just for this, but saved the money for the next maintenance tasks: spark plug change, TB sync, fork oil change.

 
I used a recipro saw and a metal blade, doesn't take long although if the saw is large, you'll have to hoist the bike off the floor higher....... loosen the nuts a bit to allow you to get the blade behind the head and saw away...

I just bought the OEM bolts and installed them the other way, no need for shorter bolts but that is another way of doing it.

 
Last edited by a moderator:
First time I did my '05 FJR I used a hacksaw blade and just cut the head off the two offending bolts after loosening them up. Put them in the other way when I reassembled and now no problems when do the job again. Nothing special about those bolts so any good bolt of the same length will work.

 
I am going to be taking my '13 apart later this winter for service. I may try an old trick my father and I did on our Ventures. The Gen 1 & 2 Venture Royale had a similar issue with lubing the pivot on the rear suspension. My father and I took a new factory bolt and then drilled into the center from both ends with his lathe. We then cross drilled the bolt and had two small holes that he then filet the edges so there was a smooth transition right at the center of each bearing. We put 90 degree zerk fittings in each end and we were then able to grease the bearings at our leisure without taking anything apart. We had over 90K on the '84 and the suspension was still smooth as the day we put it back together at 20K. We would just hit them with the grease gun a couple times a year. Get a little grease showing around the seals and wipe off the excess.

 
I am going to be taking my '13 apart later this winter for service. I may try an old trick my father and I did on our Ventures. The Gen 1 & 2 Venture Royale had a similar issue with lubing the pivot on the rear suspension. My father and I took a new factory bolt and then drilled into the center from both ends with his lathe. We then cross drilled the bolt and had two small holes that he then filet the edges so there was a smooth transition right at the center of each bearing. We put 90 degree zerk fittings in each end and we were then able to grease the bearings at our leisure without taking anything apart. We had over 90K on the '84 and the suspension was still smooth as the day we put it back together at 20K. We would just hit them with the grease gun a couple times a year. Get a little grease showing around the seals and wipe off the excess.
One of our machinests on here should be able to figure this out. A bunch of us would buy those! If my dad was still alive, he would figure out a way to make those.

Anyone??

 
HotRod,

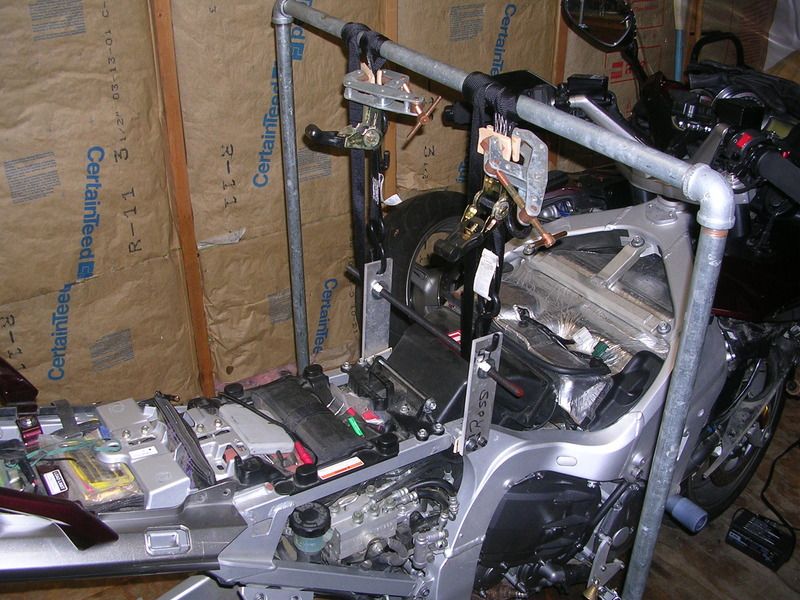
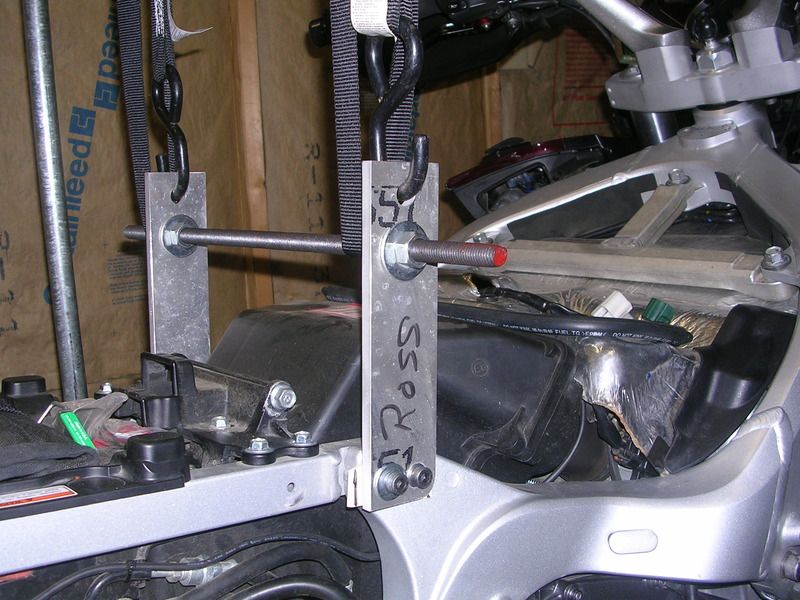
I am going to do a deep dive into this...I promise it won't take as long as the CC ECU swap did...I am hoping the bolt is easily available and I will have the old man fire up the lathe and prep a new version. I need to crawl under mine and see if there is enough room past the end of the bolt on each end to fit a 90 degree zerk. I can then measure to the center of each bearing so we know the depth to drill to and cross drill at. I will get a new bolt ordered and get over to my bike and do a little recon/measuring. I will get pics of the prepped bolt if it looks like it will work up here as soon as I can...as for installation...its January in MN...my bike is being hosted in my neighbors garage and its not scheduled for it's winter tear down and maintenance until February/March.

I have promised my son we will get working on the new FJ-09 I purchased this fall. We have a pile of farkles...I mean like a weekend of farkles to install. Auto chain oiler, cruise control, new additional LED turn signals/running lights, replace factory turn signals with LED units, fuze block, fender eliminator, fender extender, radiator guard, wheels stripes, GPS, TPMS, rear hugger, crash bars, Pazzo levers, new windscreen, factory luggage rack, etc. Actually looking forward to it...so is he...and at 17 he will be gone soon, so these days are special. Can't wait for next summer. He gets in his first SS1000 and first NAFO all in the same week!

 
I am going to be taking my '13 apart later this winter for service. I may try an old trick my father and I did on our Ventures. The Gen 1 & 2 Venture Royale had a similar issue with lubing the pivot on the rear suspension. My father and I took a new factory bolt and then drilled into the center from both ends with his lathe. We then cross drilled the bolt and had two small holes that he then filet the edges so there was a smooth transition right at the center of each bearing. We put 90 degree zerk fittings in each end and we were then able to grease the bearings at our leisure without taking anything apart. We had over 90K on the '84 and the suspension was still smooth as the day we put it back together at 20K. We would just hit them with the grease gun a couple times a year. Get a little grease showing around the seals and wipe off the excess.
I don't believe this will work. You will just end up pumping grease into the annulus between the bolt and the bearing collar (sleeve). To get grease where you need it you will also have to modify the collar.

 
Just looked at a parts manual...your are correct Donal...I would have to chuck up the collar in the lathe and cut a shallow groove on the inside in-line with the grease holes in the bolt. Then a couple of holes 180 degrees apart to let the grease flow into the bearing side...hmmmm. Parts can be had for a reasonable amount...I'll order up a new bolt and nut and two collars...that will give the old man something to do in the dead of winter here.

 
Another thing to consider is that by drilling the (solid) bolt through the center you'll have essentially made it a hollow tube. How much will that weaken the bolt to the lateral loads of the bearing?

Also, which of the pivots do you plan to try this on? Most of the bearings are not all that hard to get at with the bike up on the center stand. I seem to recall that it is only the rear most one that requires the center stand to come off, which is what makes the job such a PITA, so imaybe f you could figure out a way to grease that one in place it would be 90% of the battle.

 
I am going to be taking my '13 apart later this winter for service. I may try an old trick my father and I did on our Ventures. The Gen 1 & 2 Venture Royale had a similar issue with lubing the pivot on the rear suspension. My father and I took a new factory bolt and then drilled into the center from both ends with his lathe. We then cross drilled the bolt and had two small holes that he then filet the edges so there was a smooth transition right at the center of each bearing. We put 90 degree zerk fittings in each end and we were then able to grease the bearings at our leisure without taking anything apart. We had over 90K on the '84 and the suspension was still smooth as the day we put it back together at 20K. We would just hit them with the grease gun a couple times a year. Get a little grease showing around the seals and wipe off the excess.
One of our machinests on here should be able to figure this out. A bunch of us would buy those! If my dad was still alive, he would figure out a way to make those.

Anyone??
When I retire it will be something I play with, I remember thinking about it and thinking it may be a pain because of the race that is there.

 
Last edited by a moderator:
Fred,, you mean 'forward most' not 'rear most' pivot I think. (not easy catching you, bud)

I've rolled this idea around my head many times too and I am a little concerned about weakening that forward bolt by drilling the grease access hole and the dispersion groove. The shear capacity won't be affected too much by a small dilled hole but the annular groove will reduce the tensile capacity of the bolt. Be careful when tightening! Fortunately in service the bolt only sees the shear load,

The other concern I have with this approach is dealing with the old grease when the new grease is installed. I'm worried that the pressurized grease will push out the two shaft seals. (at least one) I think there is sufficient clearance between the right side of the pivot arm and the frame mounting tang to allow the seal to pop out should the be enough internal pressure in the bearing cavity. I would want to be sure before installing this modified setup that regular greasing would not pop out a grease seal. Easy to bench test I think.

One last thing is drilling the radial holes(s) though the inner bearing race. That isn't impossible but it will take some good tooling and technique to do correctly.

I agree that only the front one would need this kind of mod. The shock mount pivot bearing and the two at each end of the dog bones are easily serviceable with the center stand in place.

 
It's winter in Minny so we have lots of time to fool around with things like this. My dad is a retired machinist with a Bridgeport mill in the garage and Clausen lathe in the basement...he is always looking for little projects. This will keep him busy for a little bit. I even like to go down to his house sometimes and fool around with his machines. I have even made a few farkles on my own. Built the first set of air mounts for an FJR on the mill, kickstand enlarger for the FJ-09, etc. He might be 80 but he still has a few tricks up his sleeve.

 
I just took a look at the bolts on my 2013. They are installed with the nuts facing outboard.

 
Top