UselessPickles
Making Grand Canyon replicas from air boxes...
Not a naysayer here...nope, nosirree. Running pods on my ZRX has been more than enough proof to me that late model bikes can surely benefit from intake mods when combined with increased fueling and exhaust mods. Without the fuel and exhaust mods, it's more than a waste of time...it can be detrimental due to excessive lean running.
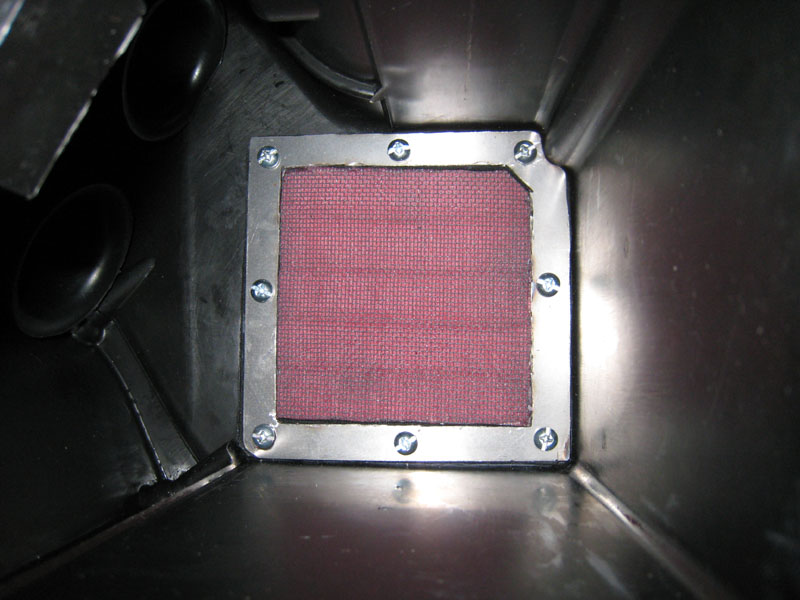
What bothers me the most is your stretching the filter media "flat" for your air cleaner.
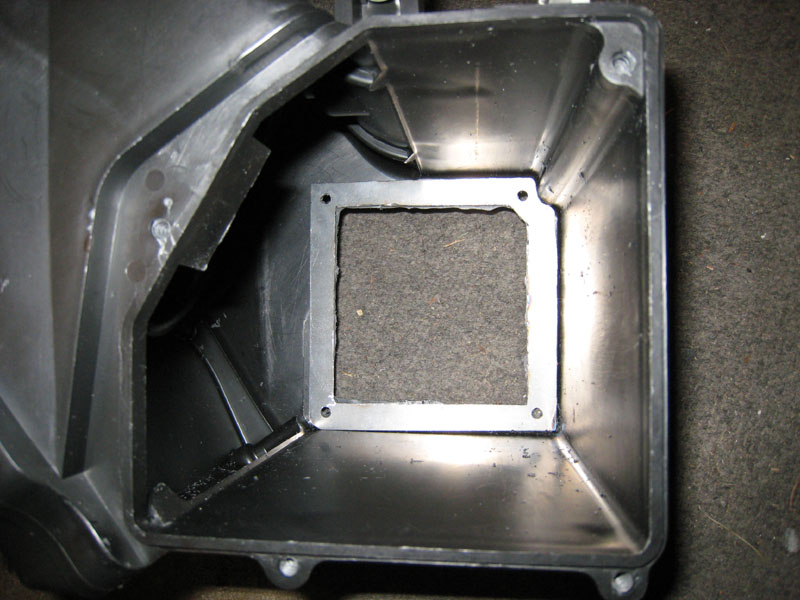
Looking at picture #11 above, I count 19 pleats. That's 38 segments for filtering.
Two pictures later, you've stretched out the pleats to fit your template, 6 segments wide.
So you've effectively reduced your filtration media by 85%.
Nope...not nearly often enough!I plan to check mine at every oil change.
Yamaha calls for cleaning the filter every 10,000km, or 6200 miles. You have just increased your filter maintenance schedule to every 930 miles. Have fun wid dat!
Remember that half of the stock air filter is blocked by that funnel thing. I bet the side of the stock filter that faces away from the intake tubes doesn't get much use either. If the parts of the filter in the most direct airflow get clogged, then those other parts would start to come into play, but my stock air filter has never been very dirty at the recommended service interval. Mostly a couple bugs and pieces of grass stuck in the pleats that are a pain to get out (which would probably just fall off my flat filters when I turn the bike off and the suction stops).
Based on all that has been discussed, I still believe that it's reasonable to expect that these filters could be just fine with 4,000 mile cleanings. However, all this speculation is really worthless. I'm aware of the possible issues and I'll keep a close eye on things over the next 4,000 miles. If they get questionably dirty before then, I need to look for a better solution. If they look good at 4,000 miles, I'll clean them anyway and be happy.