Chuck35
Well-known member
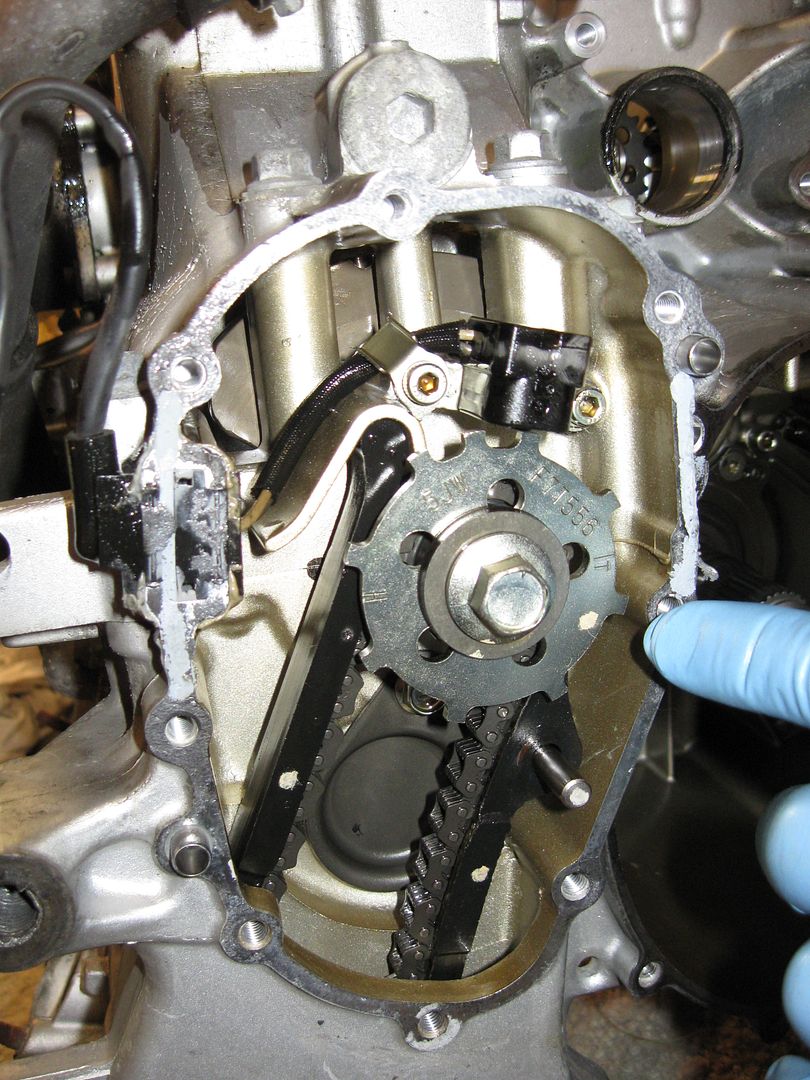
I think there is now a newer CCT version (green dot?) You may also want to consider the "APE" manual tensioner.


Myself ... I almost feel like I'm there, helping Doug ..... almostHaving lots of fun watching and my hands are clean. Good read!

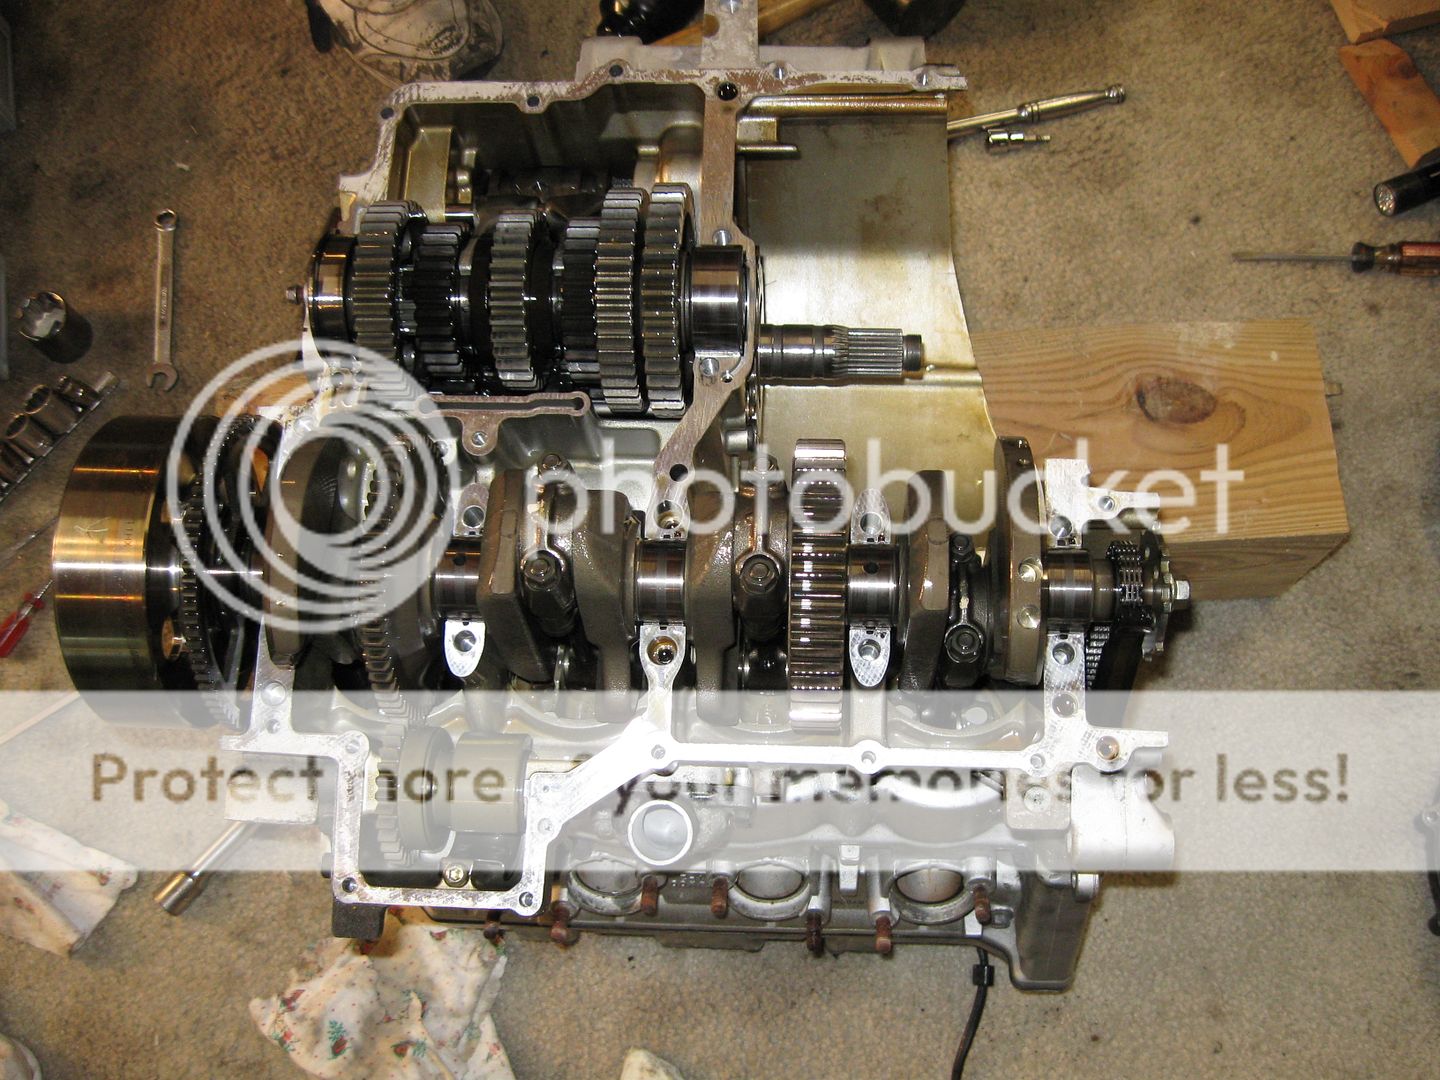
Well, it WAS a boat anchor functionally.... aside from a nice parts bin. The replacement engine needs to be sent back. So we thought "Why not at least take it apart!"So, are you planning to fix the old motor or is this just some sort of post-mortem? Finishing up with that one before getting around to installing the "new" one?
Great read and great pictures.
I just replaced mine and got a green dot. I've been wondering about this.I think there is now a newer CCT version (green dot?) You may also want to consider the "APE" manual tensioner.
It looks good from here so far.Well, it WAS a boat anchor functionally.... aside from a nice parts bin. The replacement engine needs to be sent back. So we thought "Why not at least take it apart!"So, are you planning to fix the old motor or is this just some sort of post-mortem? Finishing up with that one before getting around to installing the "new" one?
Great read and great pictures.
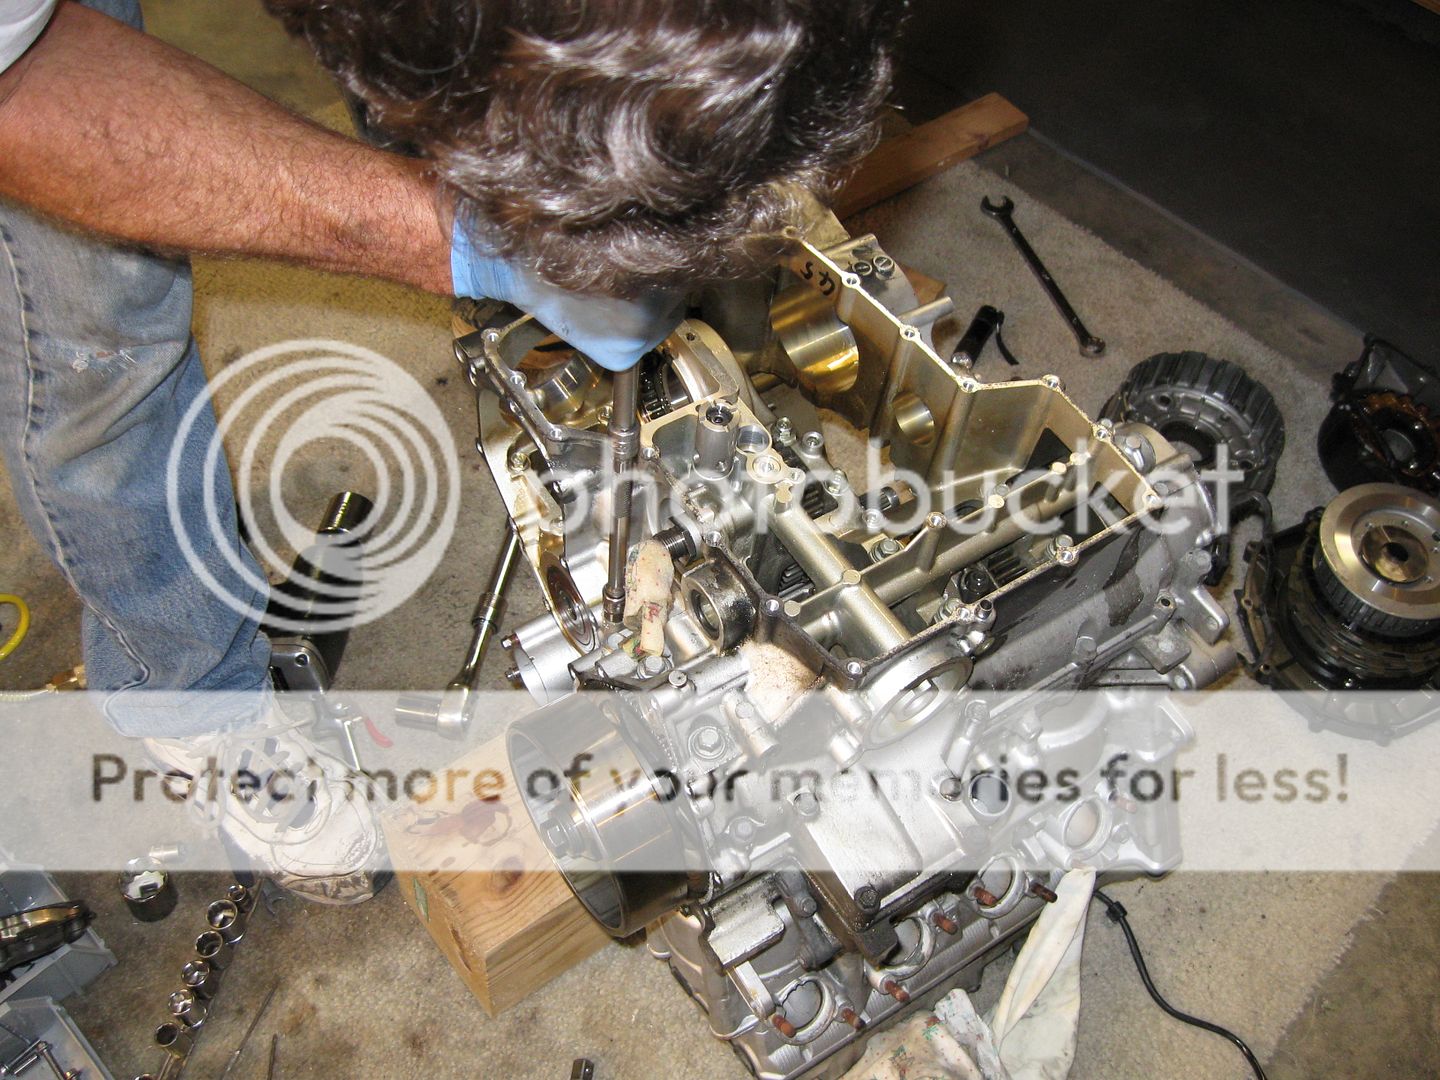
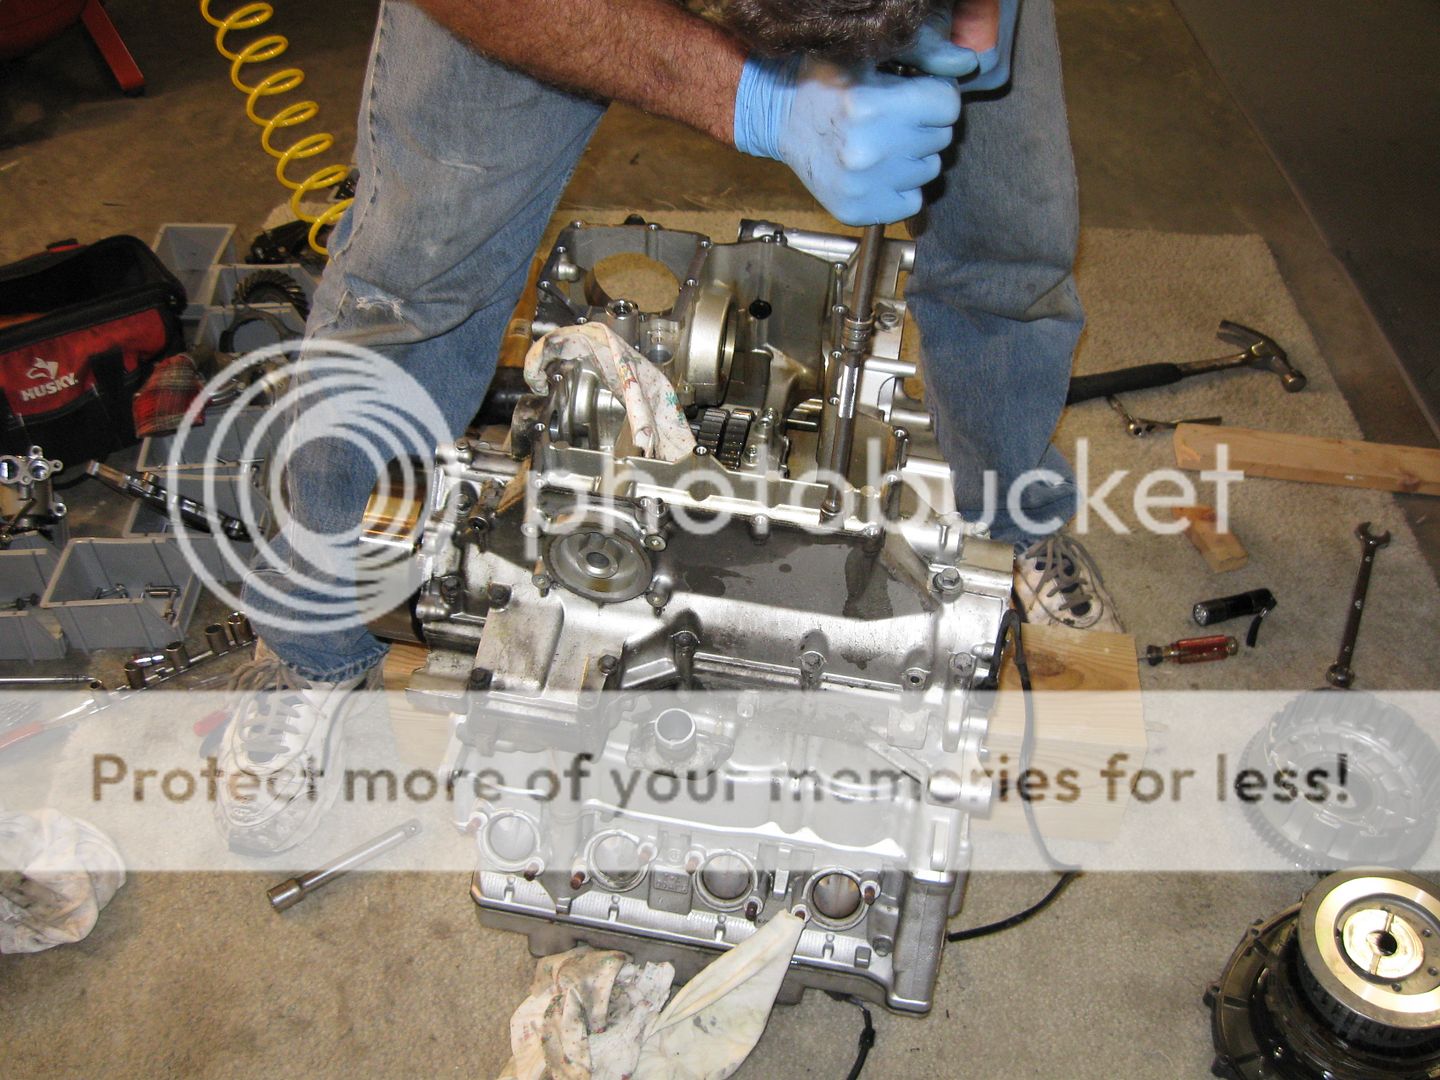
According to Doug, the tear down was quite easy (a lot easier than he thought it would be) and parts have been ordered to go ahead and see about the repair. He said I did the hard part stripping the bike down. I'll call it a Team Effort. ; )
For the amount of riding I do, I'm not real concerned about the mileage (60K).
")
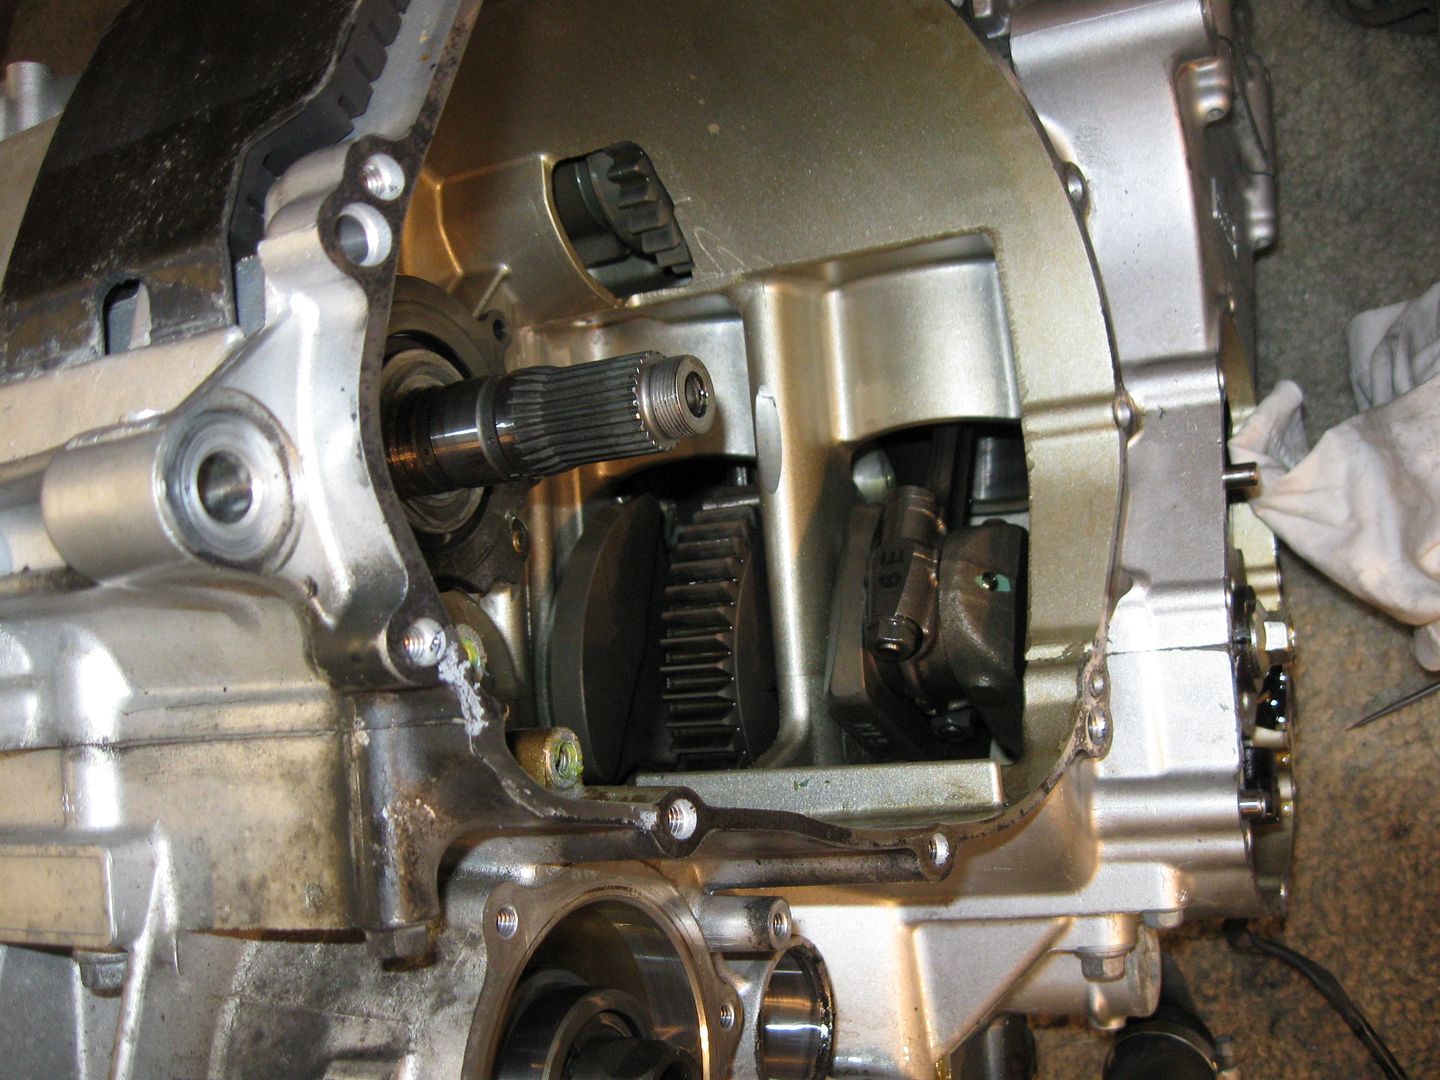

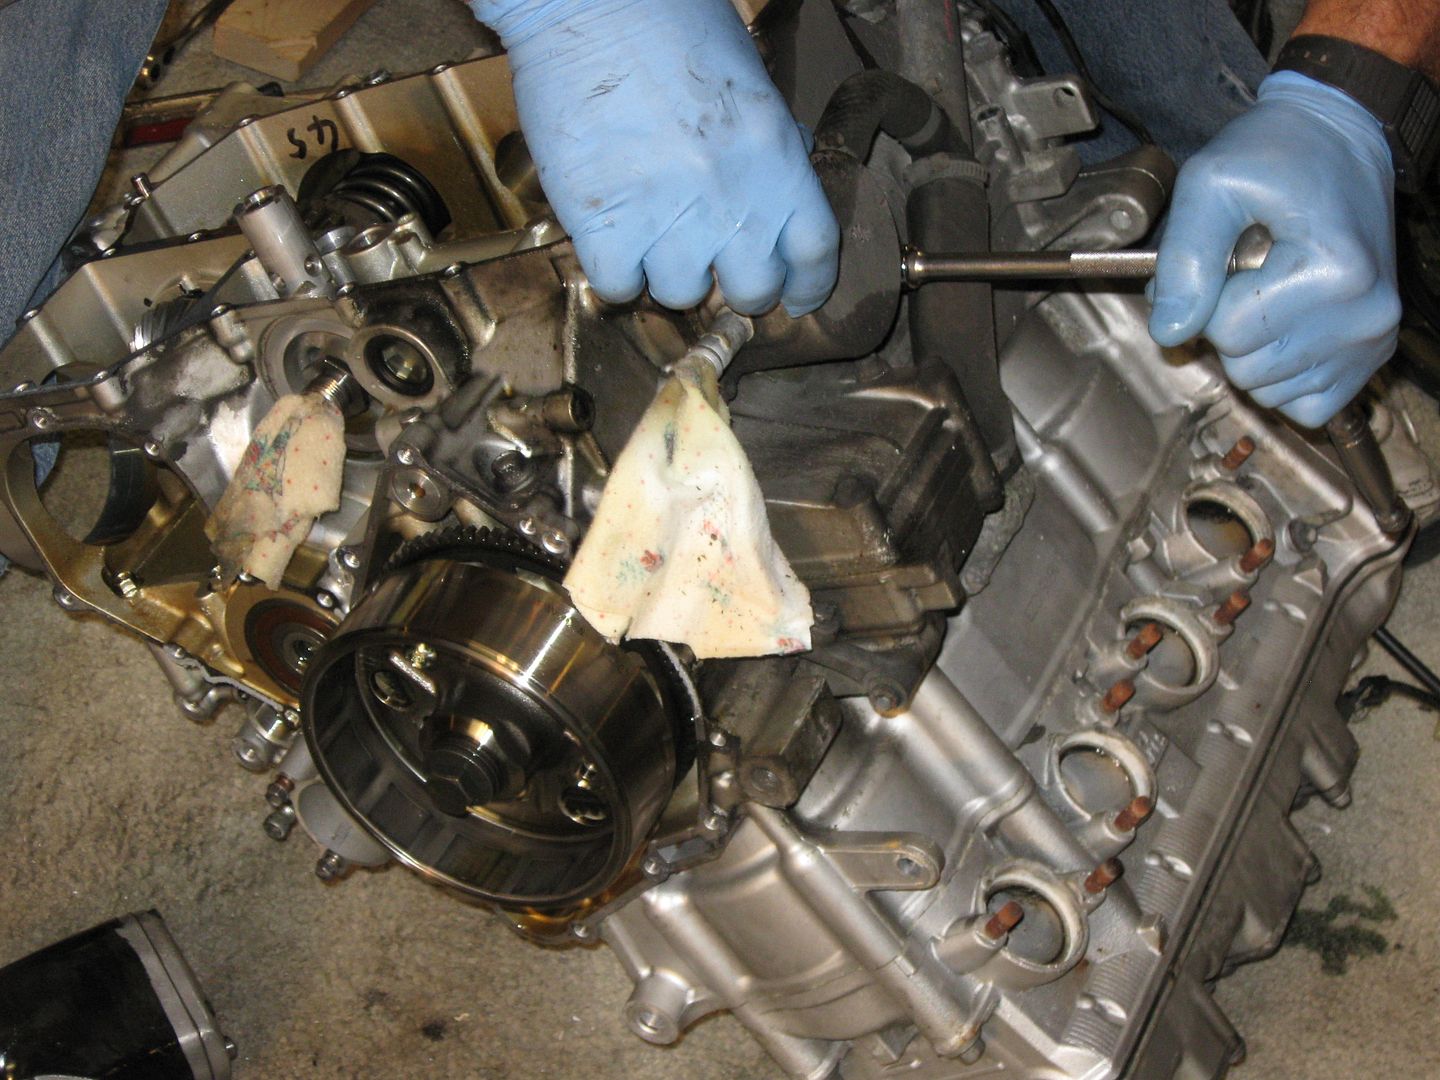


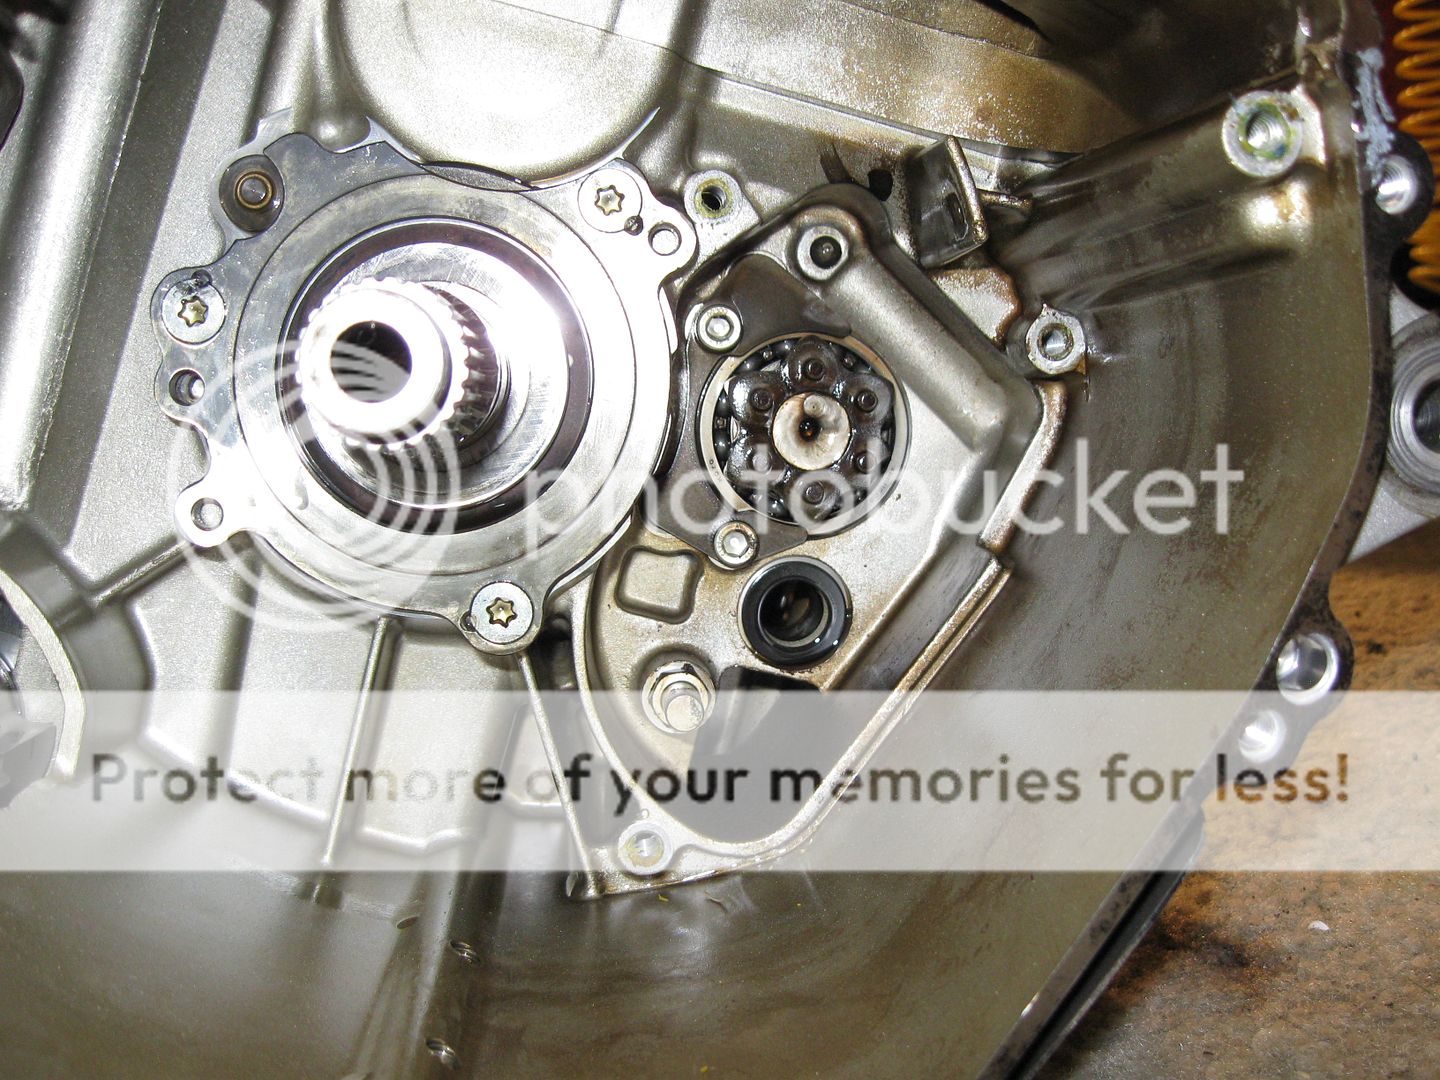


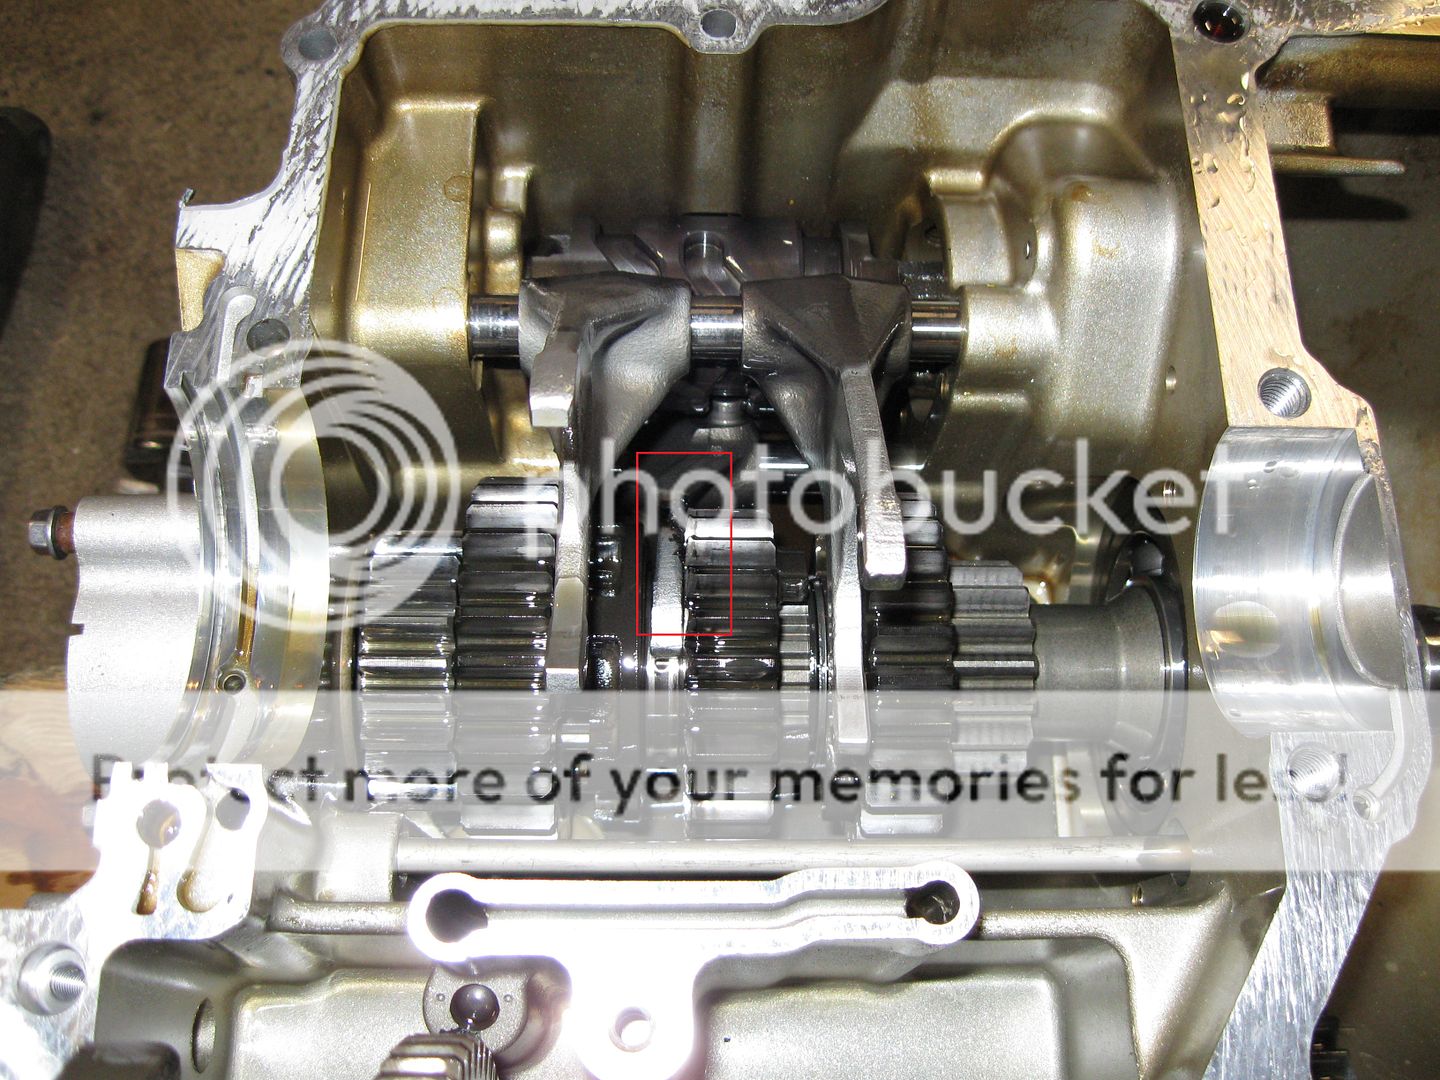
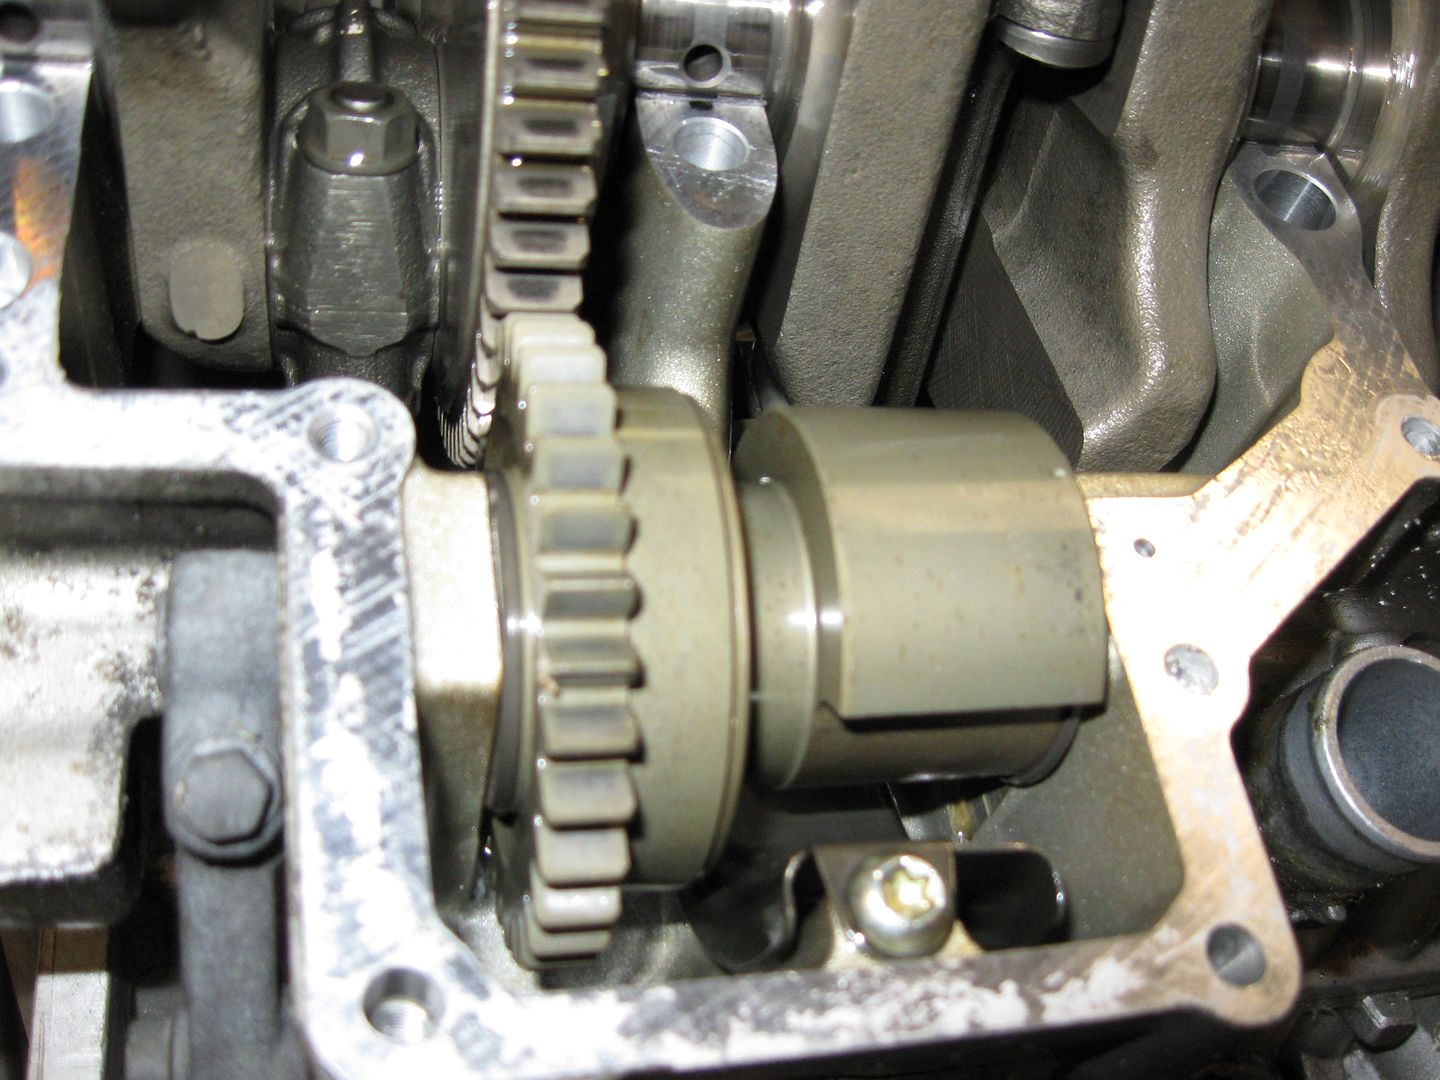
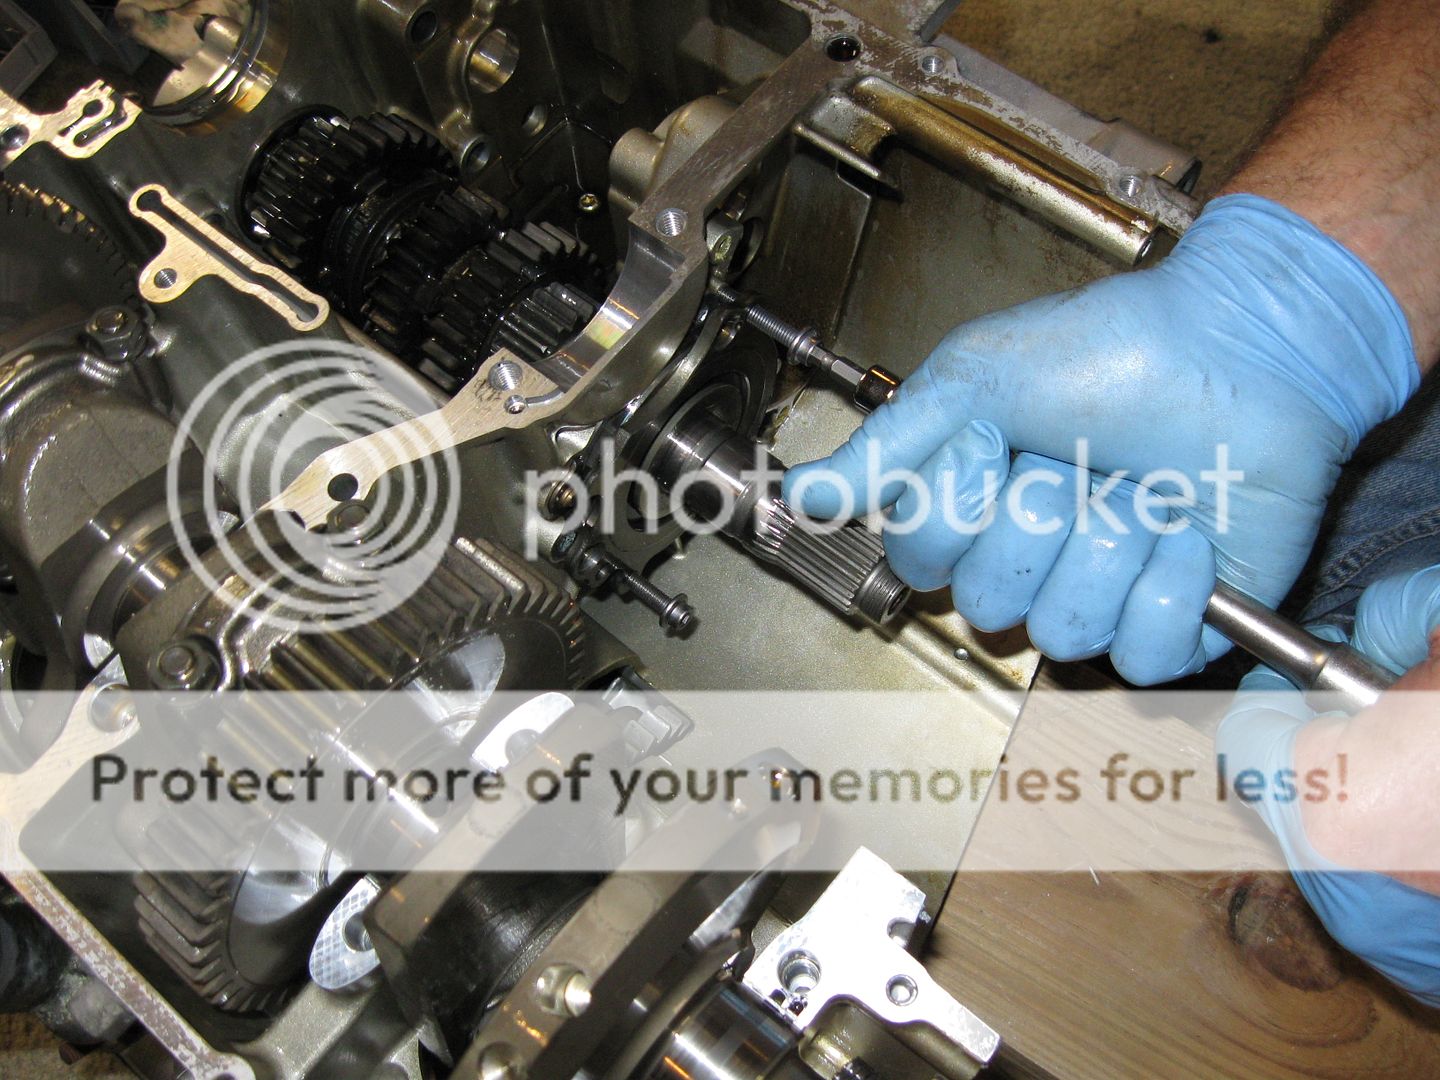
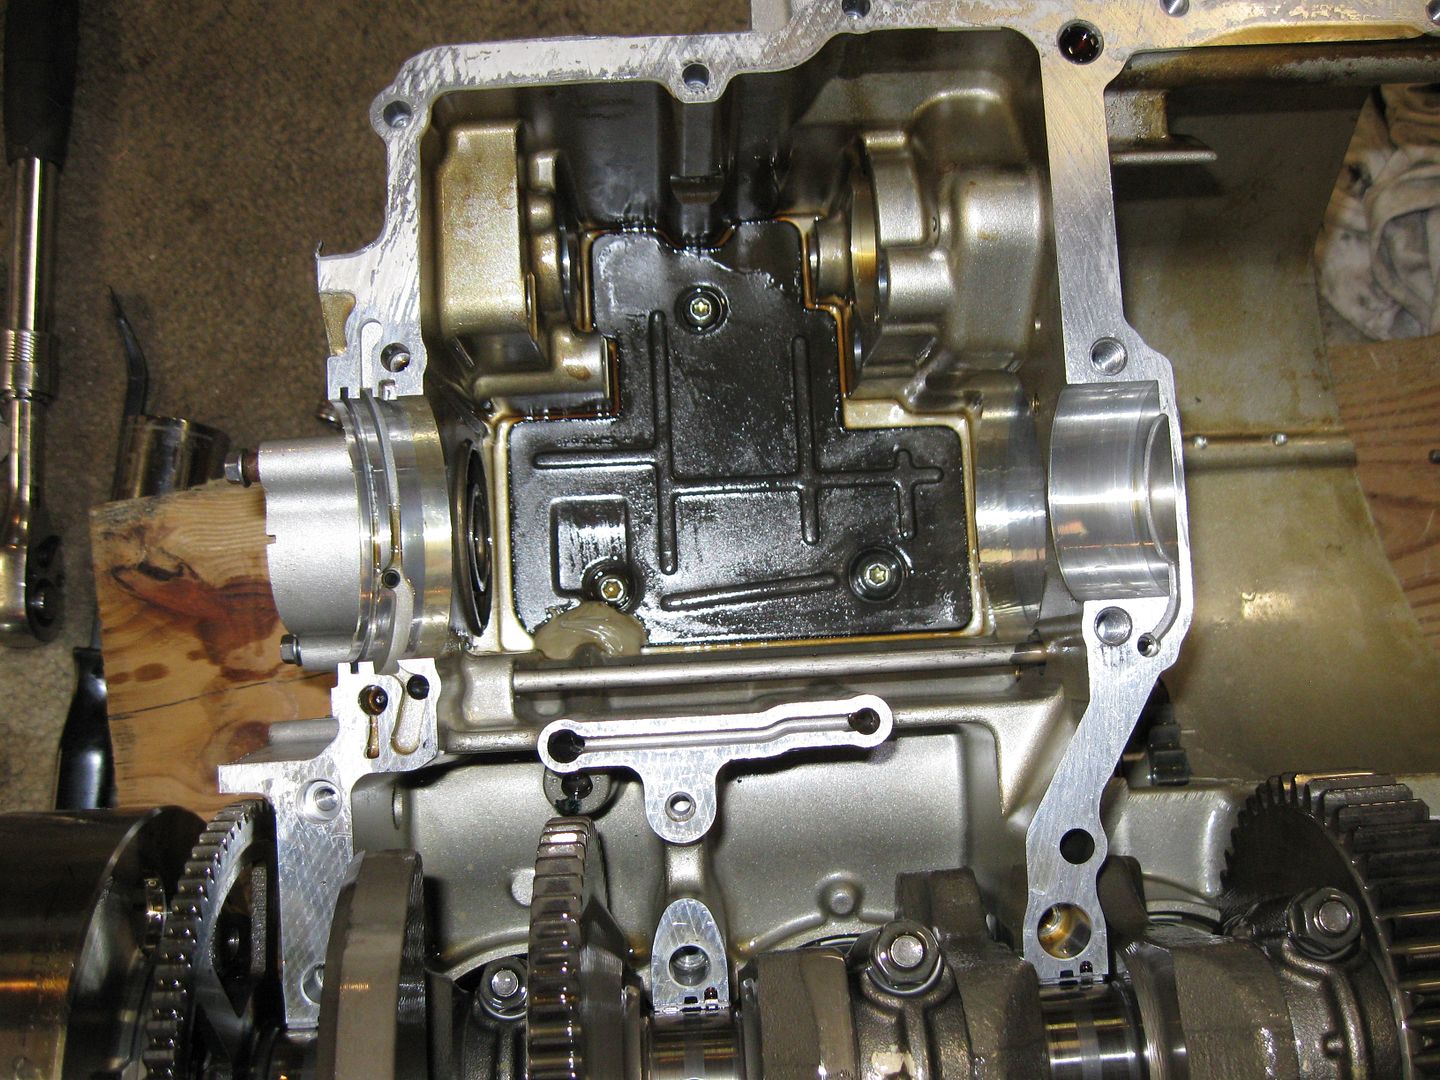
If you fellers do anything that will cause either the front or rear balancer to move, note the orientation before letting the the balancer move. To align the balancer the FSM says to align the dot on the balancer with a seam in the engine case. The problem is, there are two dots but the manual only mentions one. DAMHIK. You DO NOT want to use the wrong dot.Hey Paul, I think I read somewhere here that gunk on the butterflies MIGHT be from the crankcase breather.
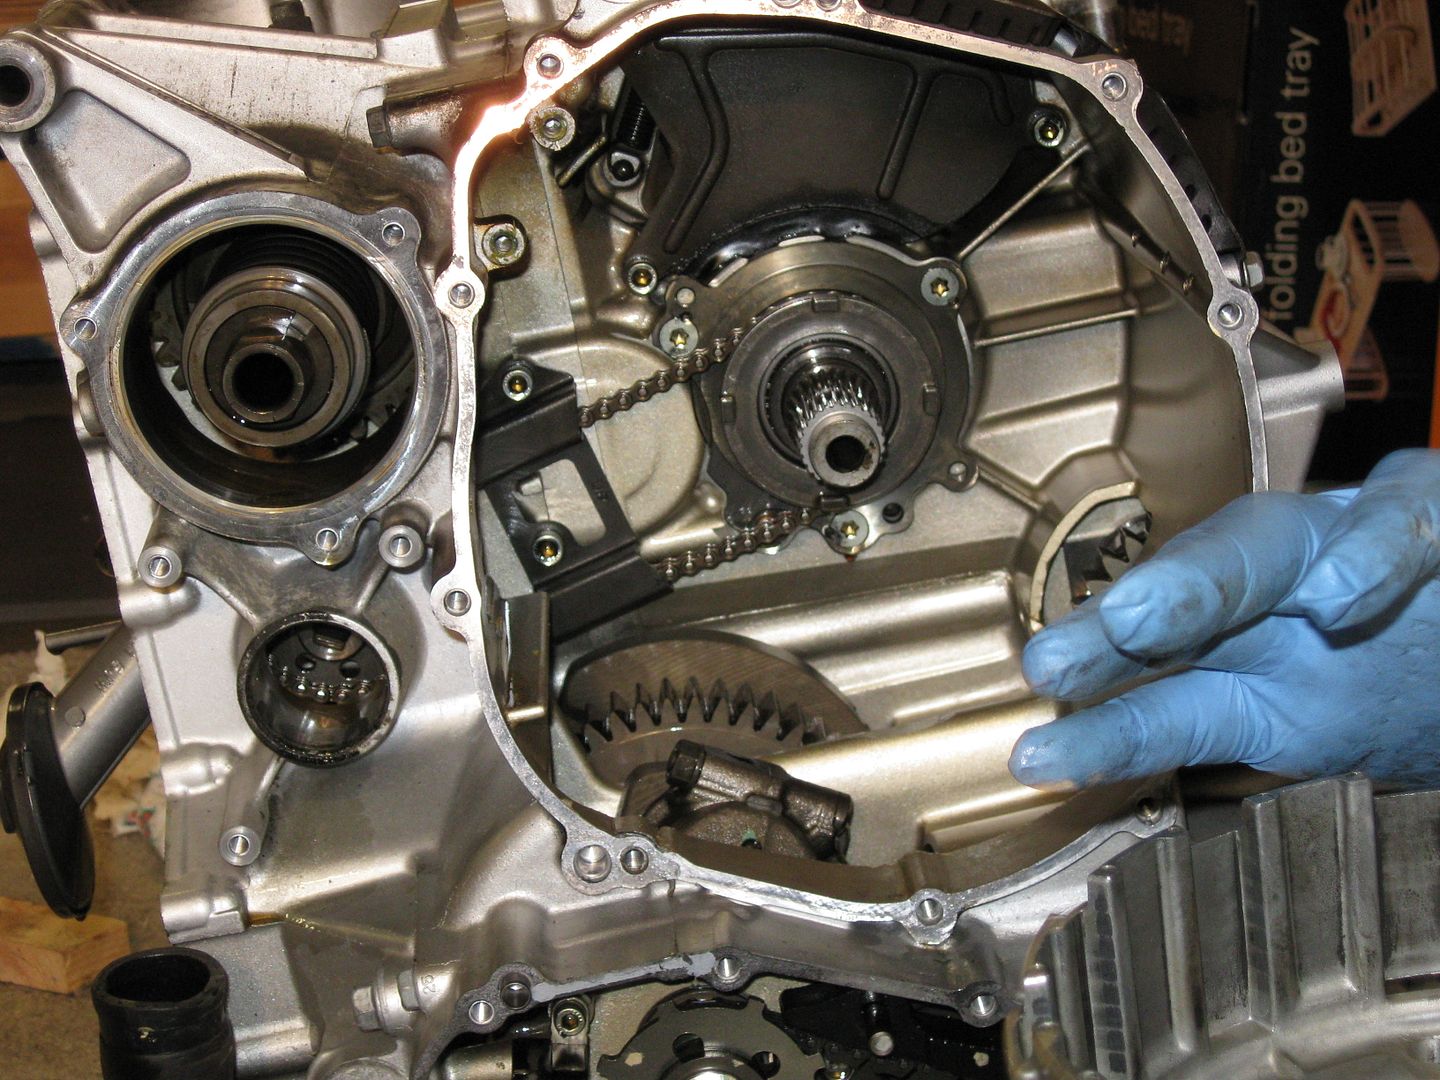
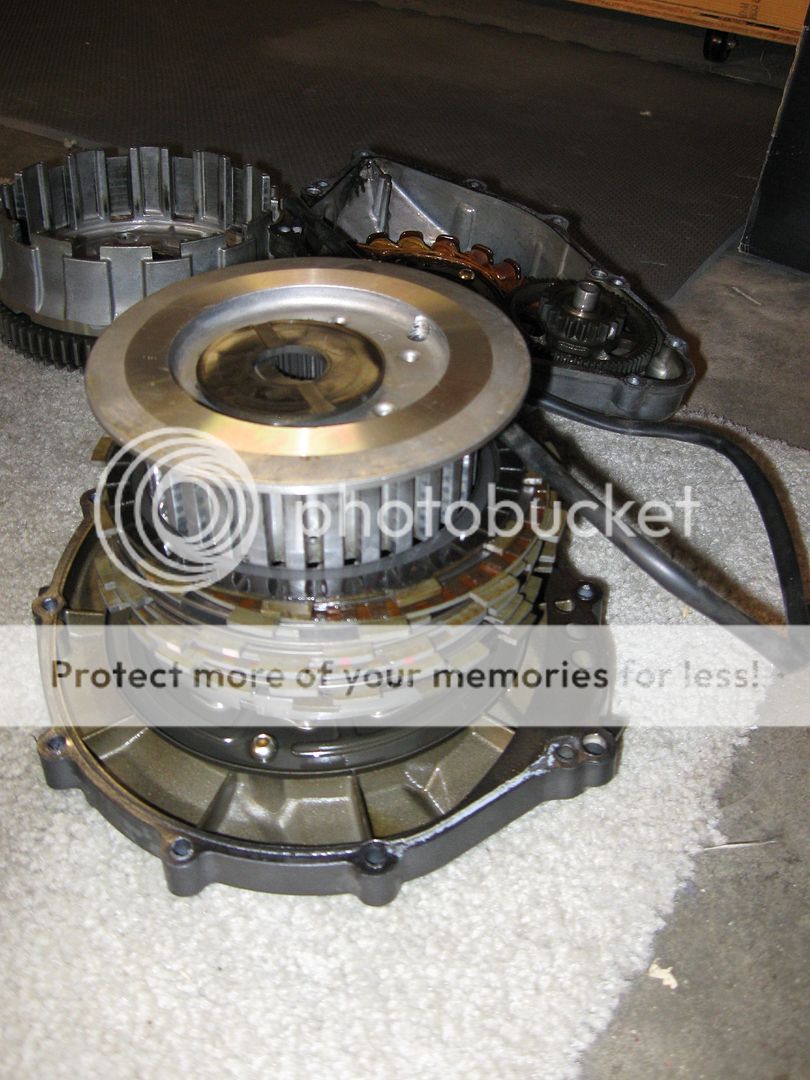
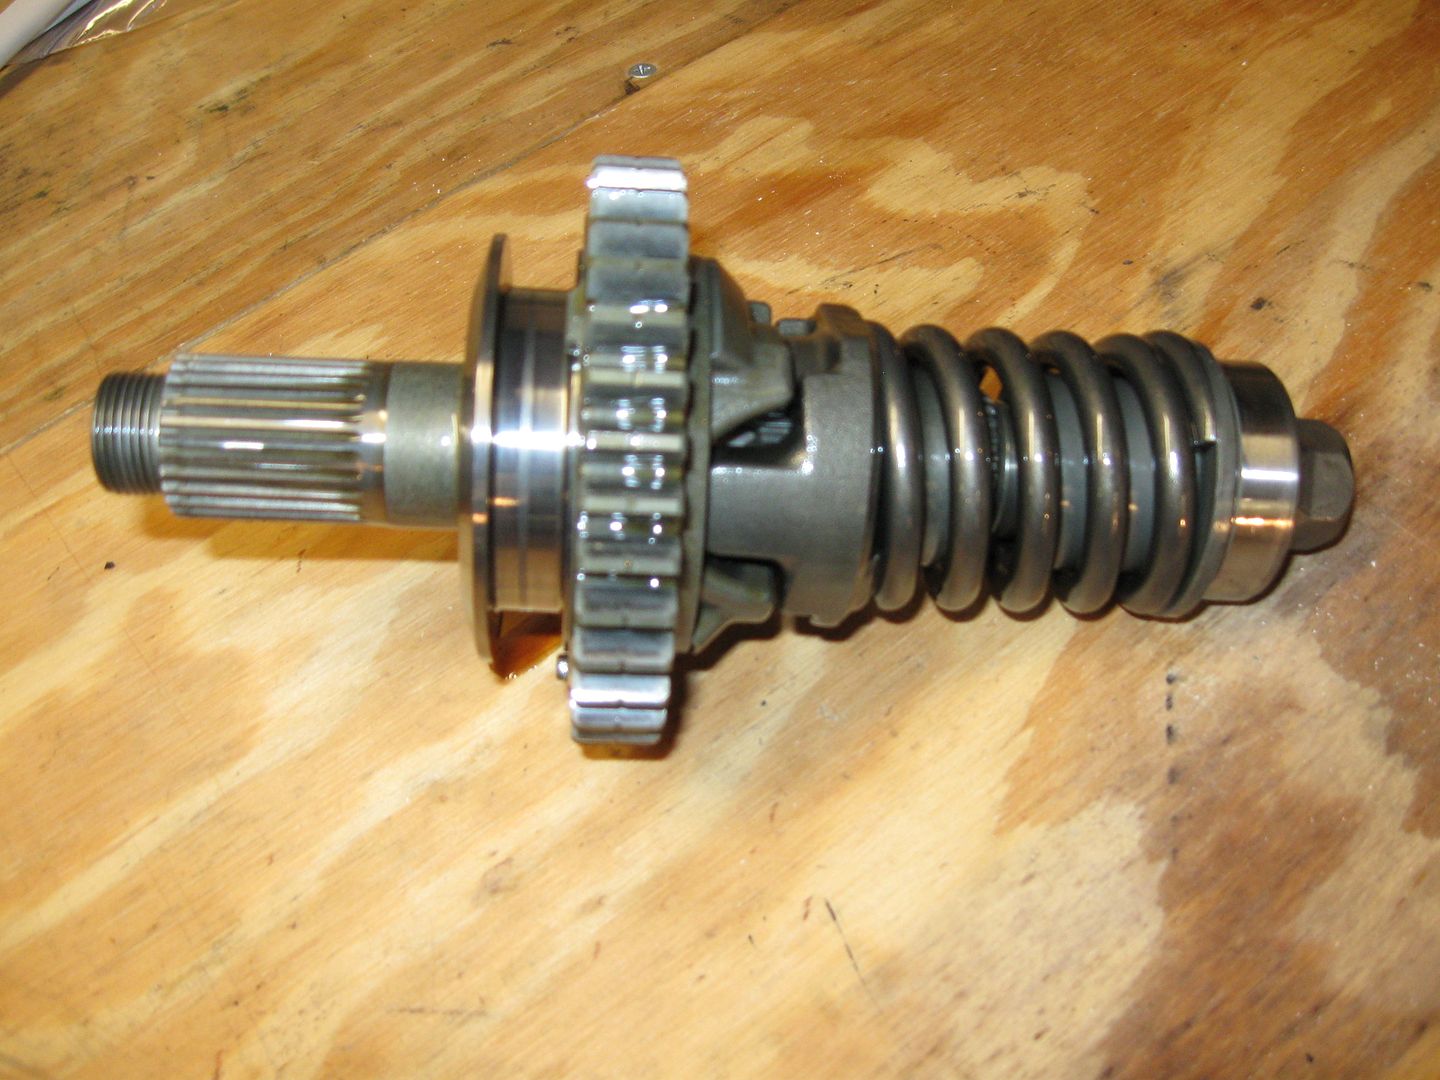
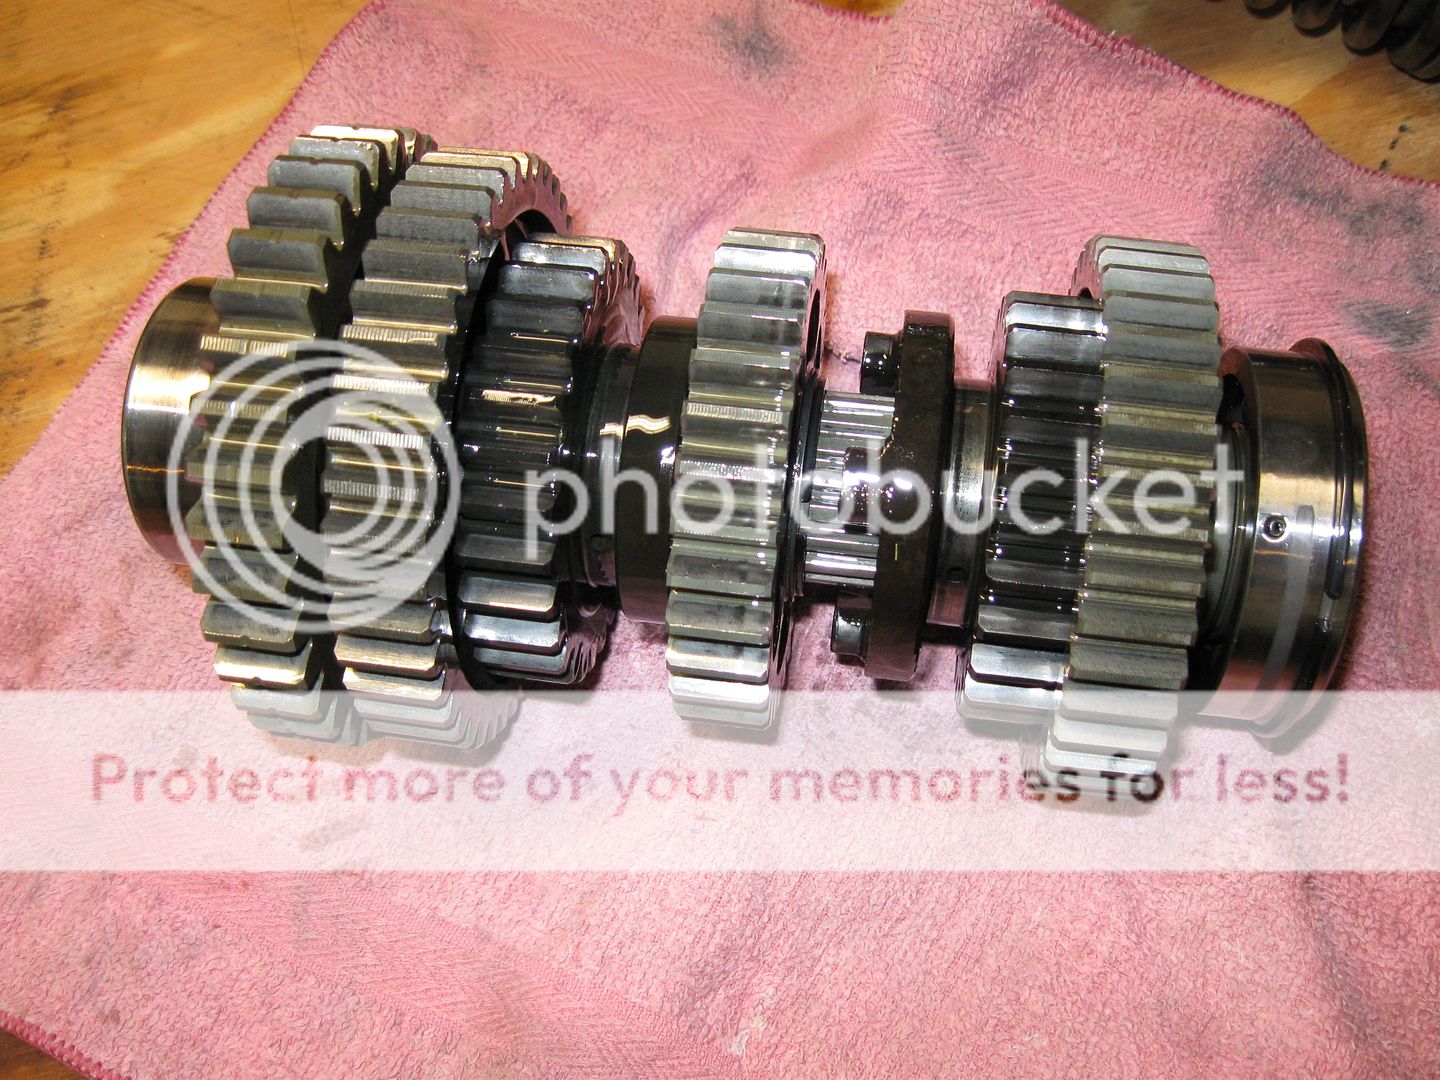
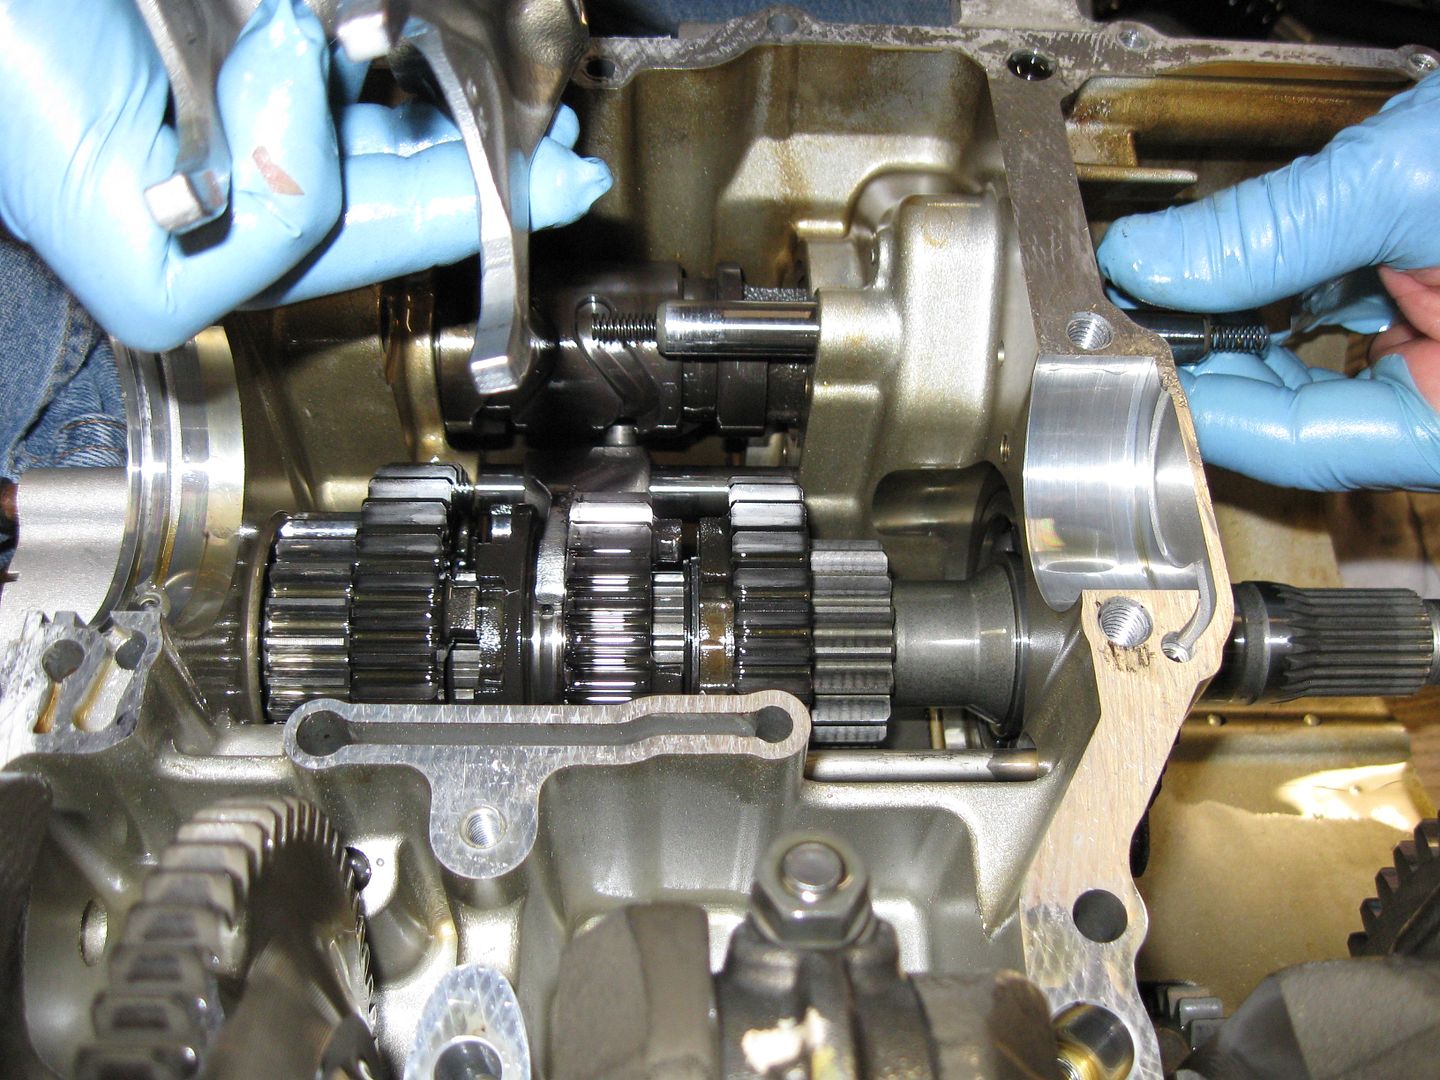
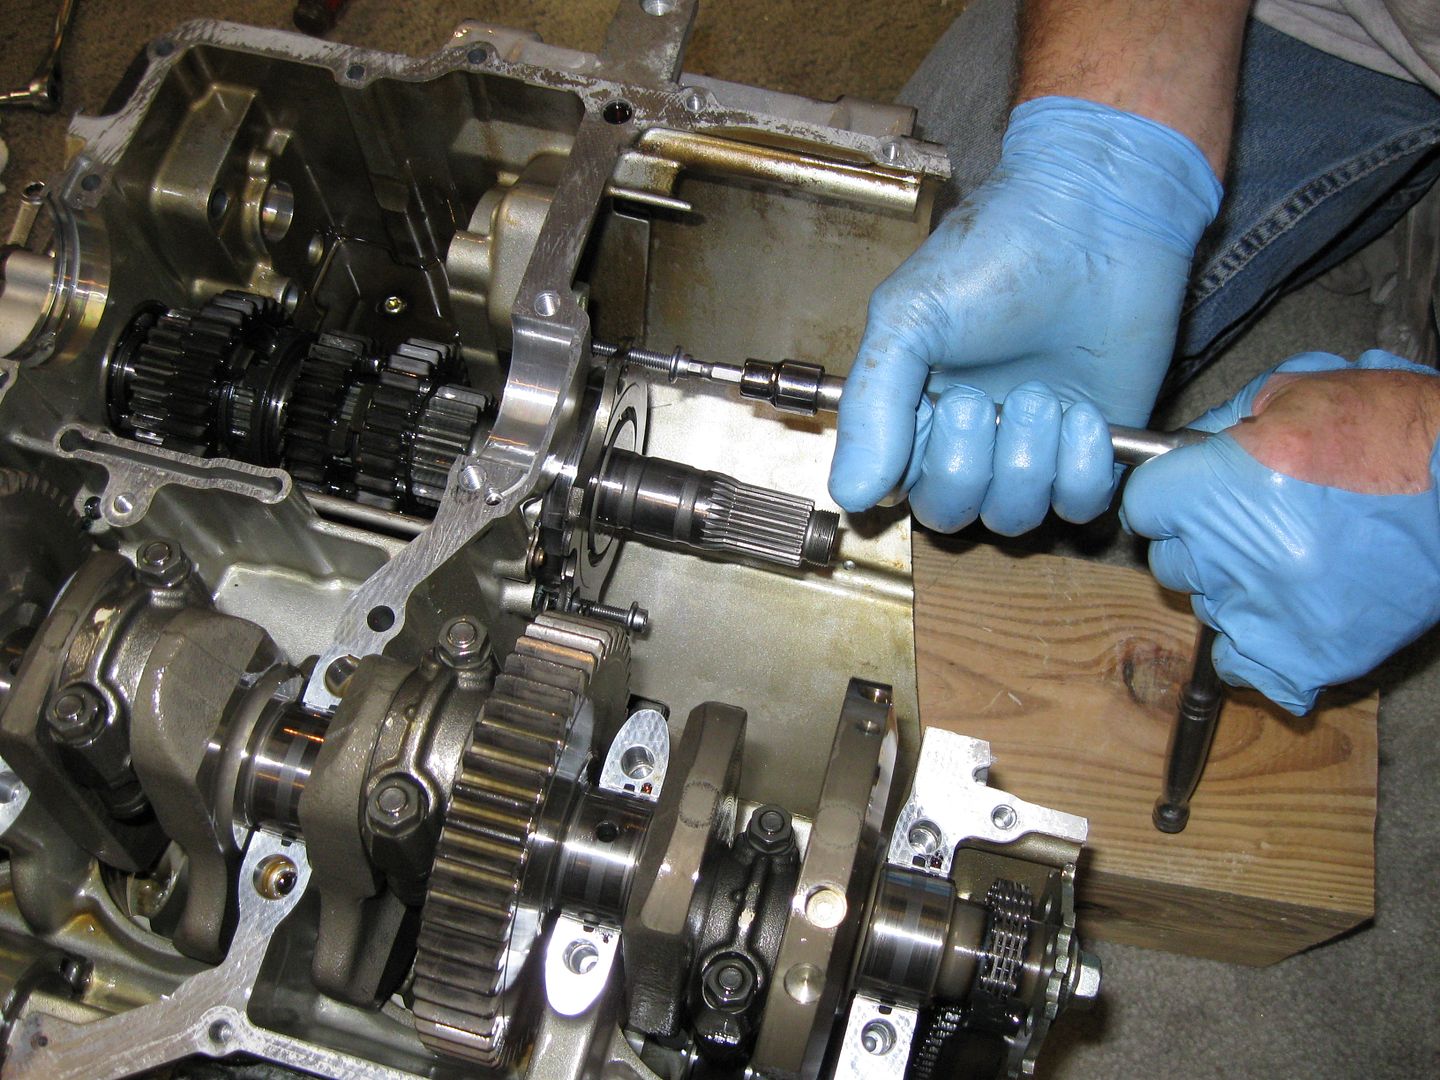
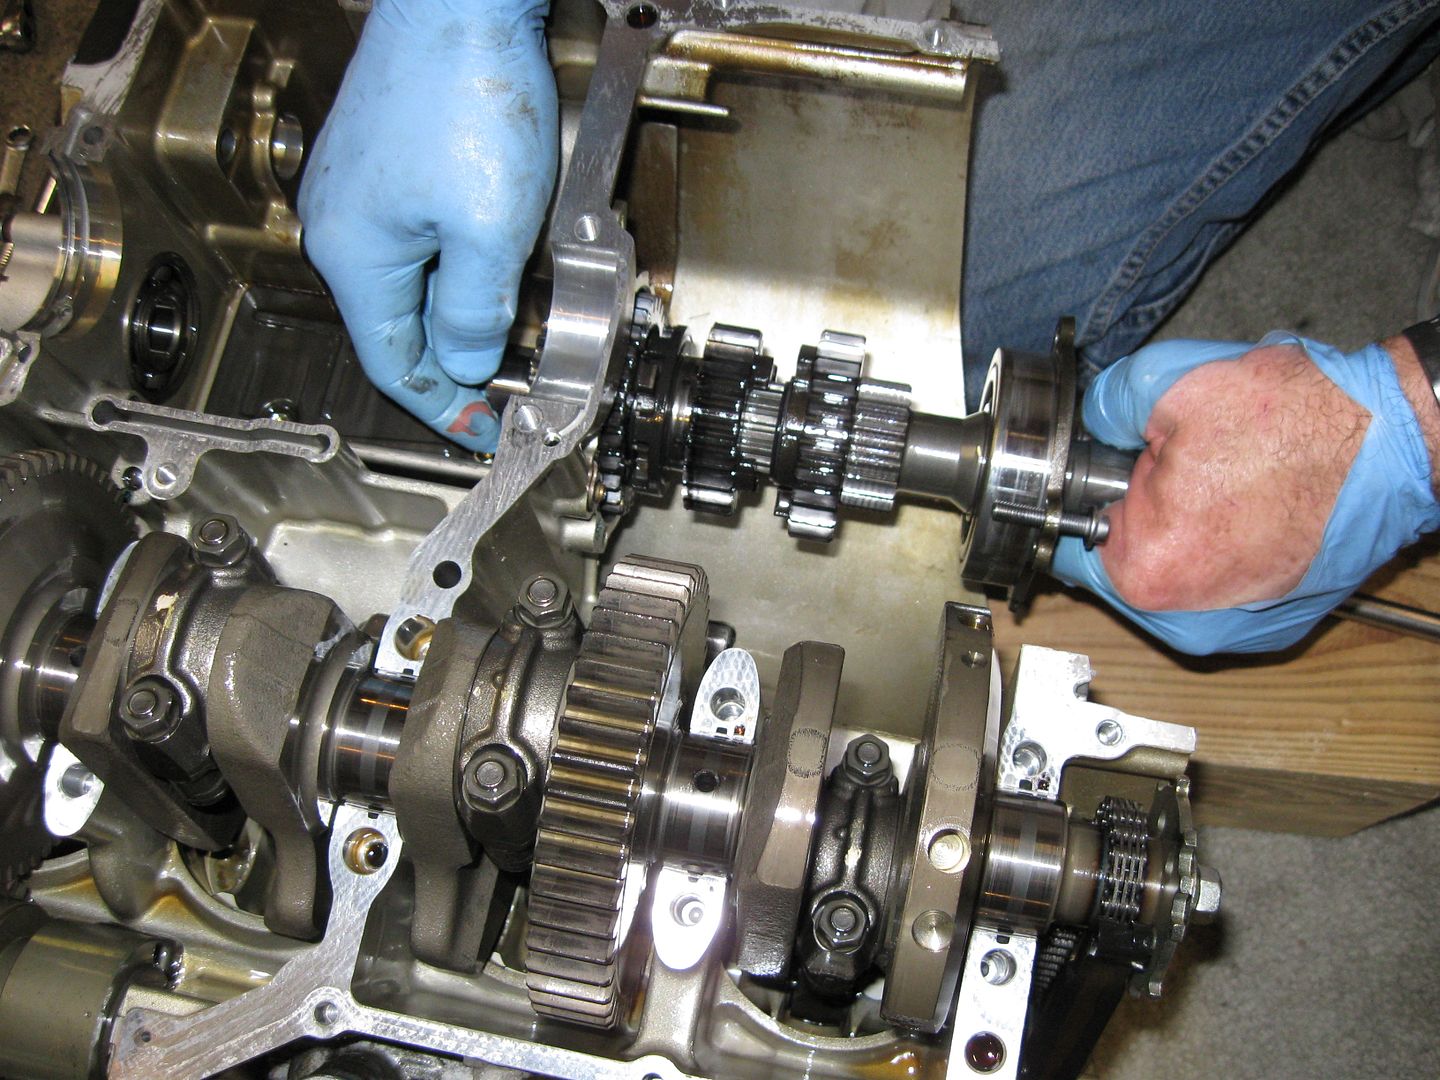
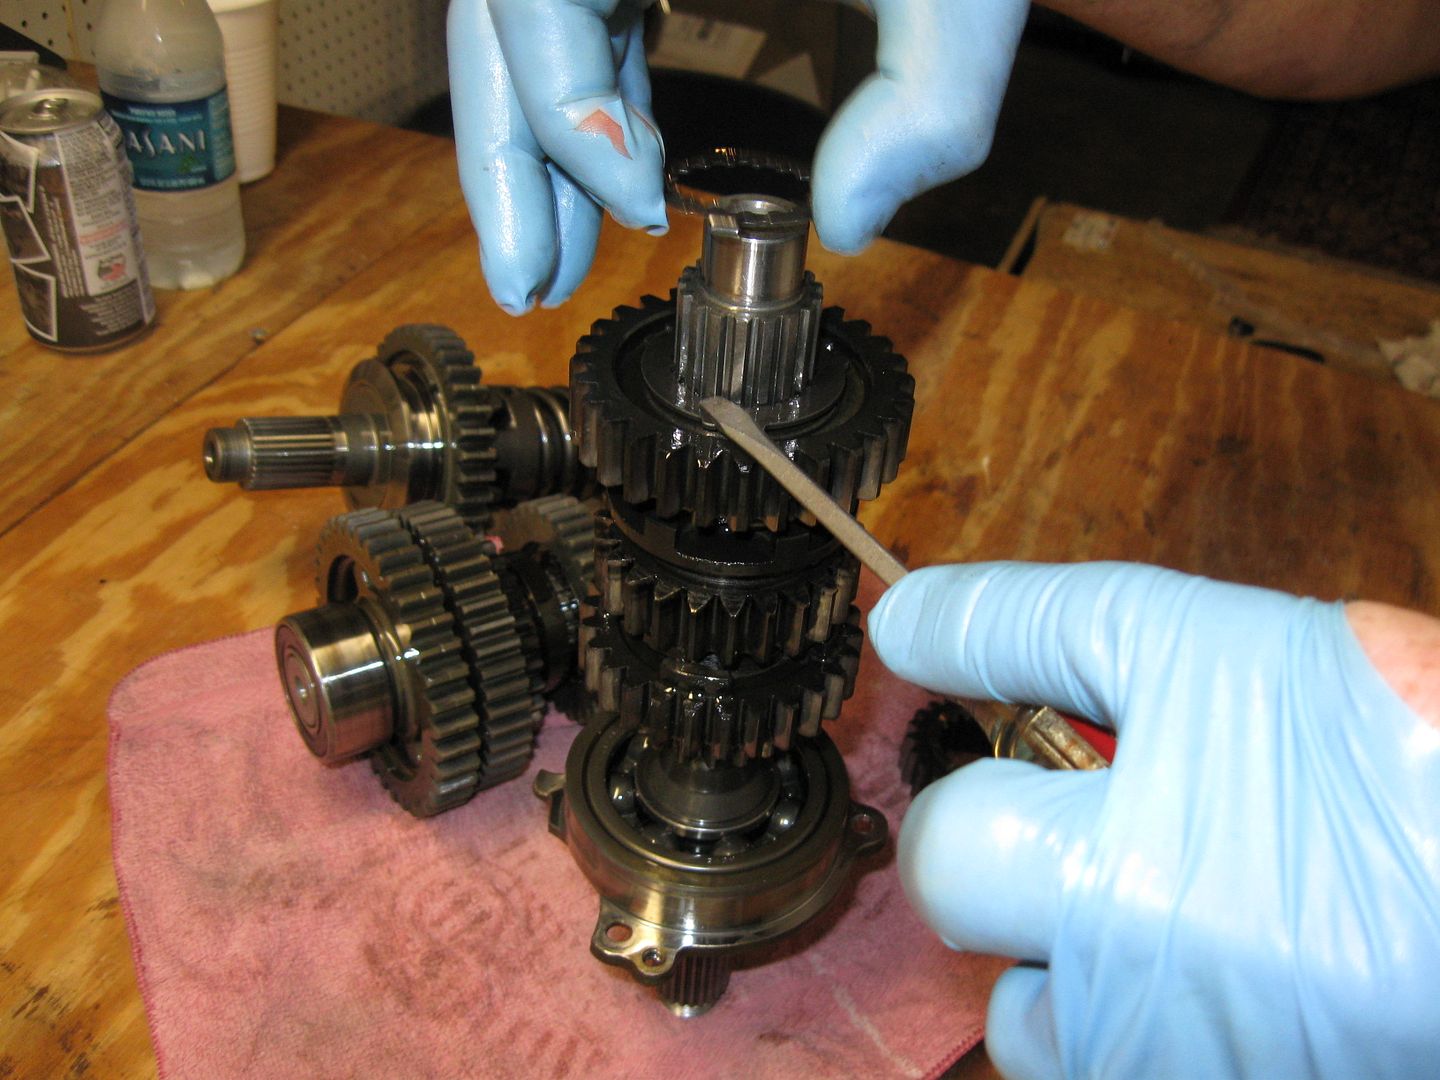
More gears! Where would we be without Gears? Like Velcro. I think of that everything I gear up/down from riding. Boots, jacket, gloves... .all have Velcro. Here we see (top of the pic) one of the counter balancers.


Enter your email address to join: