


Did a search. Couldn't find any discussion about making or buying a rear fender extender. Lots'a talk about Fender Eliminators, or under-tails for the hot-damn, sporty guys. But nothing for those of us old, curmudgeonly, fuddy duddies that (have to) ride through some cruddy-assed road conditions early in the season and want to keep their rear ends clean (obligatory perverse joke set-up for BJ and Odot).
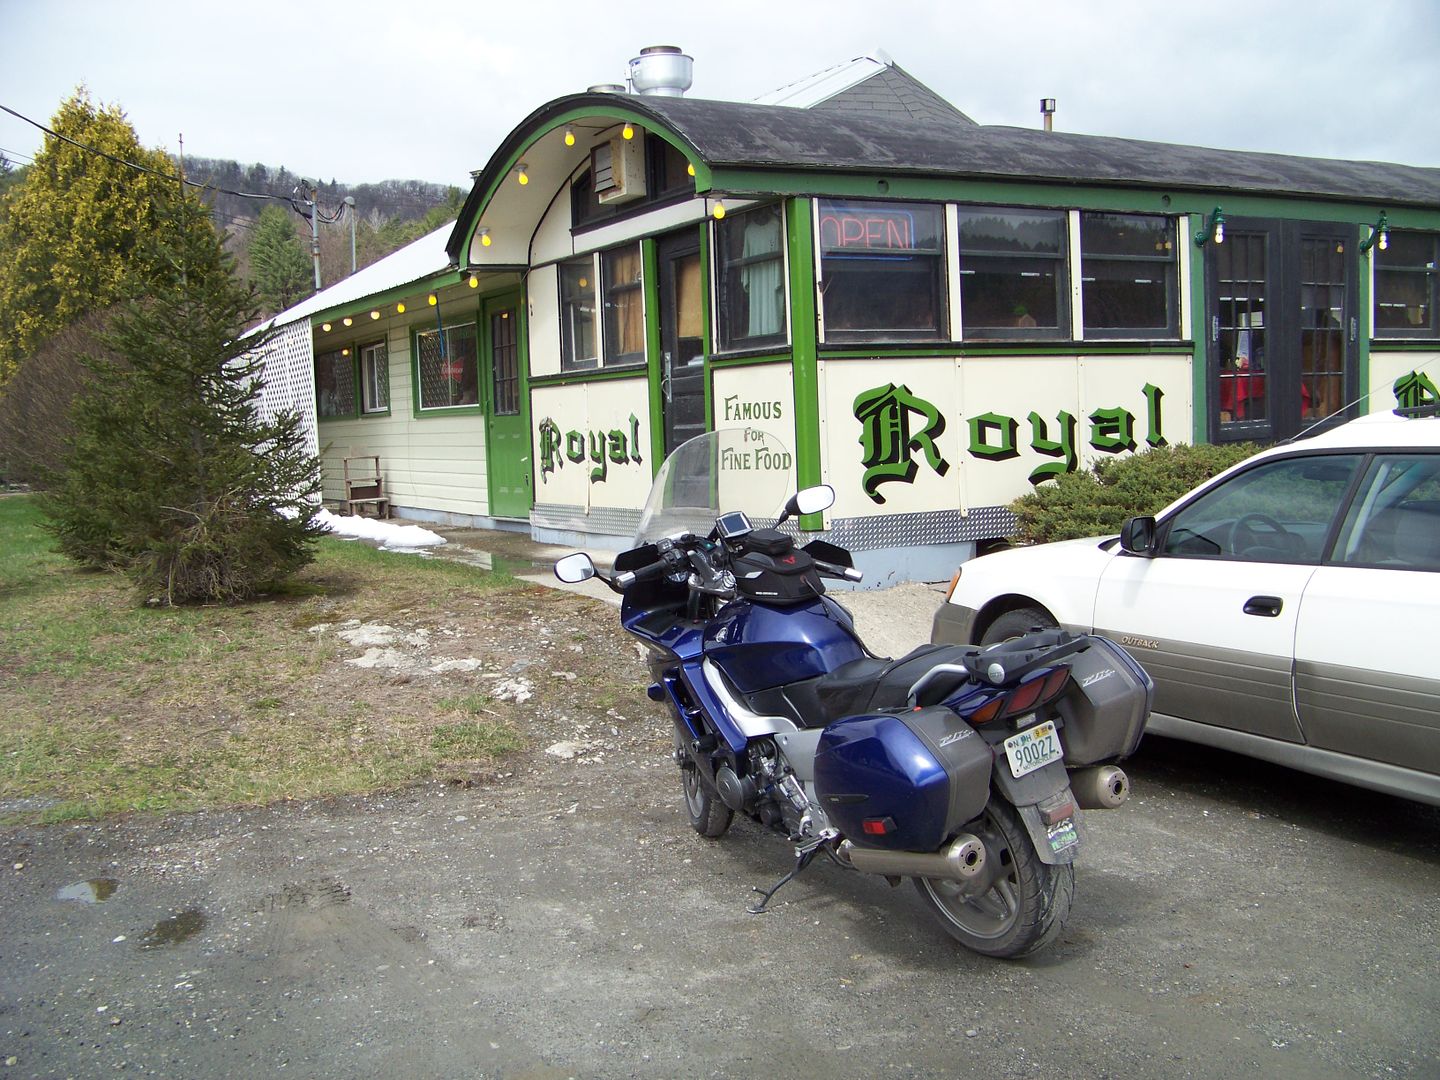
2 weeks ago I rode my FJR around the southern New Hampshire area, sticking to the bigger secondary roadways that get more sun and have less less snow melt and frost heaveage. But at the end of the day my poor Feej was a salt spray splattered mess requiring immediate corrective action to keep the saline spray from eroding its tender parts!!
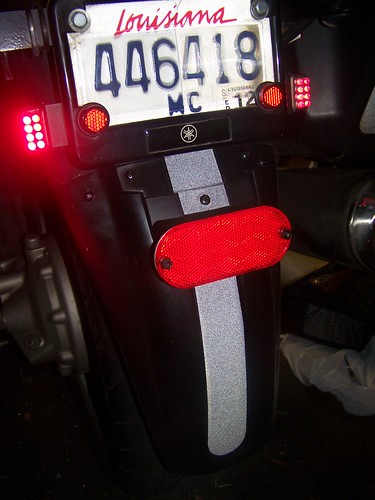
I had seen the adjustable fender from SpeedZoneAhead on eBay and thought to my self, "Hey self, that doesn't look like it would be all that tricky to make something cheap inexpensive to use on the back of my Bass Boat Blue Baby, especially for the mud season. Well, without further ado, here it is:
When you ride in all seasons, rain or shine (or snow) you need a little extra "protection"
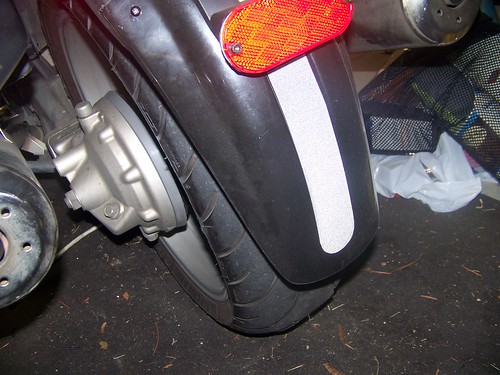
My version of the Feejah Fendah Extendah is different from Speedzoneaheads in a couple of ways. First, I think theirs is made of a thicker, stiffer, harder plastic material. Mine is made from the cut-out side of a black plastic trash barrel (purchased from Home Despot). I opted to keep mine the full width of the bottom of the stock fender all the way down. The SZA unit tapers, reducing coverage a little for the sake of appearances. Also, note the ultra chic FJR Forum sticker!! Thanks Axeman!
After cobbing this thing together, I took the bike out for a few hours in the relatively hot weather today (50's) and lo and behold, it works!!
Not sure I'll keep it on there all year round, but it's pretty quick to remove or install.
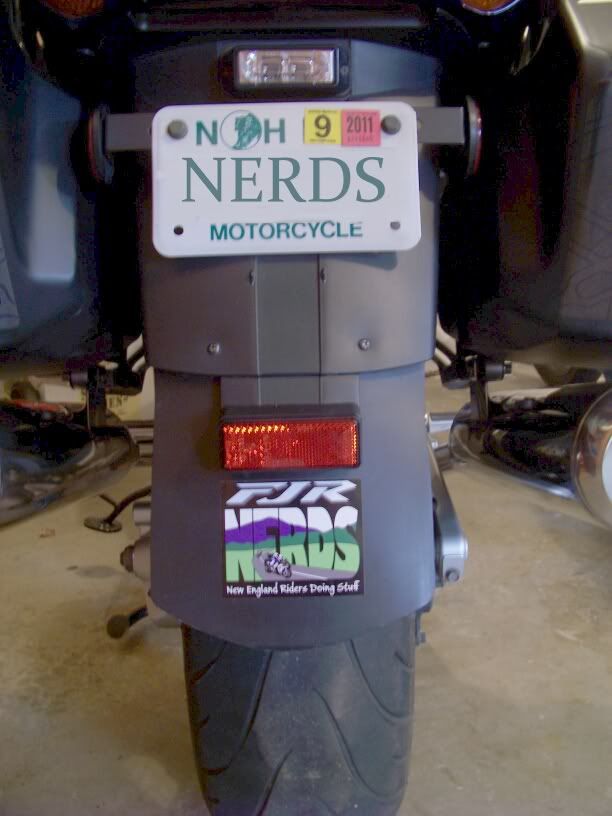
note - follow-up from 3 years later. The same fendah extenda is still on, (though I have replaced the sticker with a 2011 NERDS decal, and reinstalled the stock reflector I was missing back there) and I do leave it there all year round. Function trumps form once again!
2 weeks ago I rode my FJR around the southern New Hampshire area, sticking to the bigger secondary roadways that get more sun and have less less snow melt and frost heaveage. But at the end of the day my poor Feej was a salt spray splattered mess requiring immediate corrective action to keep the saline spray from eroding its tender parts!!
I had seen the adjustable fender from SpeedZoneAhead on eBay and thought to my self, "Hey self, that doesn't look like it would be all that tricky to make something cheap inexpensive to use on the back of my Bass Boat Blue Baby, especially for the mud season. Well, without further ado, here it is:
When you ride in all seasons, rain or shine (or snow) you need a little extra "protection"
My version of the Feejah Fendah Extendah is different from Speedzoneaheads in a couple of ways. First, I think theirs is made of a thicker, stiffer, harder plastic material. Mine is made from the cut-out side of a black plastic trash barrel (purchased from Home Despot). I opted to keep mine the full width of the bottom of the stock fender all the way down. The SZA unit tapers, reducing coverage a little for the sake of appearances. Also, note the ultra chic FJR Forum sticker!! Thanks Axeman!
After cobbing this thing together, I took the bike out for a few hours in the relatively hot weather today (50's) and lo and behold, it works!!
Not sure I'll keep it on there all year round, but it's pretty quick to remove or install.
note - follow-up from 3 years later. The same fendah extenda is still on, (though I have replaced the sticker with a 2011 NERDS decal, and reinstalled the stock reflector I was missing back there) and I do leave it there all year round. Function trumps form once again!
Last edited by a moderator:
")

