Joe2Lmaker
Well-known member
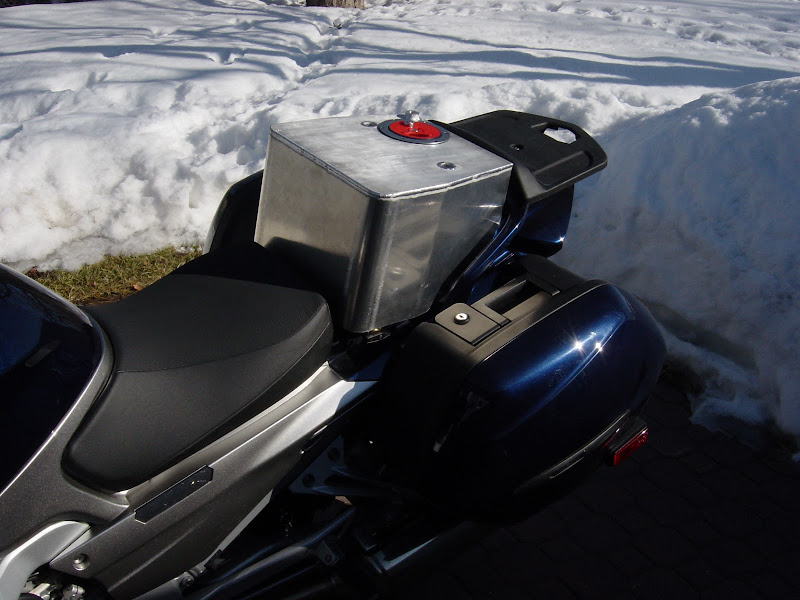
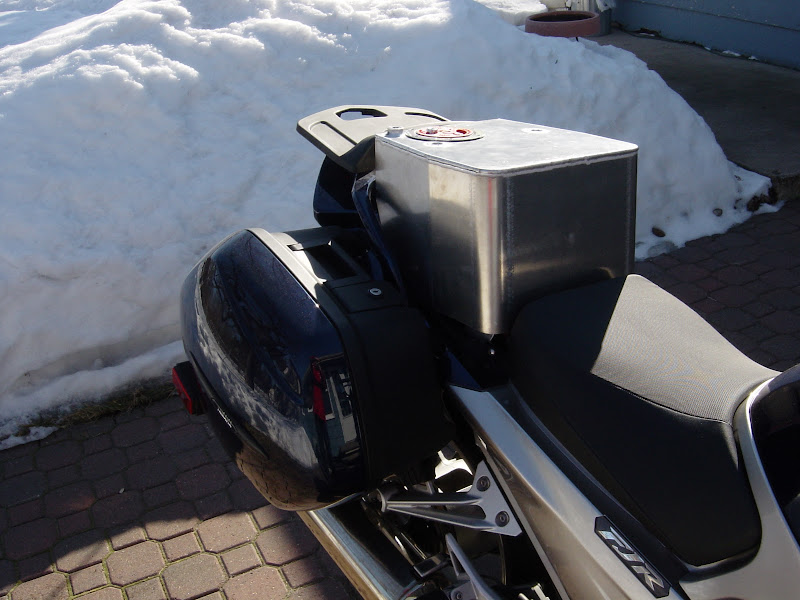
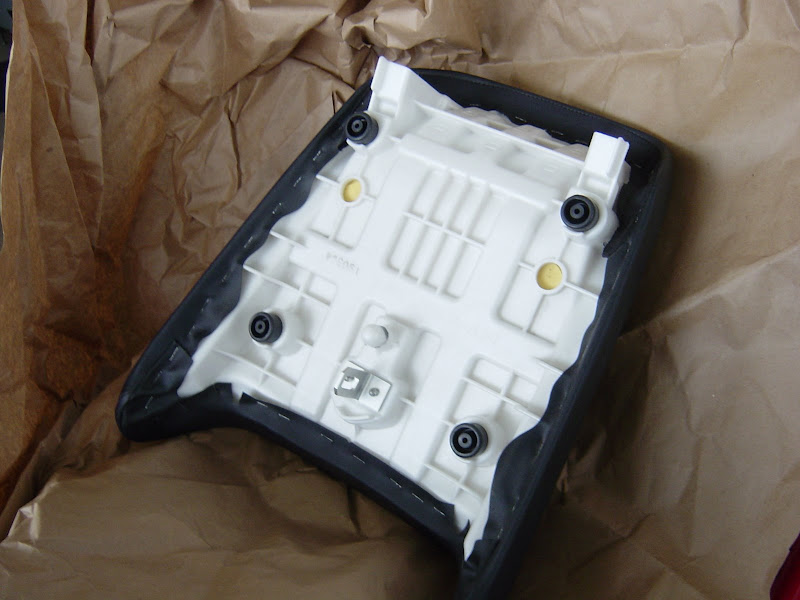
Note the height of the rubber bushings:At this point you have a unit ready to test fit on your bike. Have you tried it yet? The pieces are not welded together yet, but I did try it with the pieces taped together, and I got so excited about the fit that I had to go in the house and get my wife to show her. Her comment was; "Wow, you're really excited. Should I be jealous?" I'd be interested in how well it fits. Does it take away any space that was under the passenger seat? Sort of. The rear seat sits on rubber bushings and the tank doesn't. Will it accommodate the stock seat in both the upper and lower position? Good question. I don't see why it would have any effect on the front seat position, but I always ride in the taller position. I'll need to verify that one for you. Will it fit as planned with the modifications you made for the Givi rack? That is the plan, but I need to verify that once everything is welded together. The tank should clear the Givi rack, but mounting the tank might be slightly different due to the fact that the Givi rack eliminates the grab rail bushings. A lot of us have trunks on our bikes. They need to be able to fully open with your tank in place. That's important to me too. In fact, that's the reason for this whole re-design. Some of us have custom seats that were modified from stock to give us more leg room. My Bill Mayer seat has me sitting 3/4 inch further back, the rear seat was trimmed to fit. There is a slight gap between the front seat and the tank. I haven't measured it, but it looks like about a half inch. Go for a ride with dcarver after he gets S/N 1 and check it out.
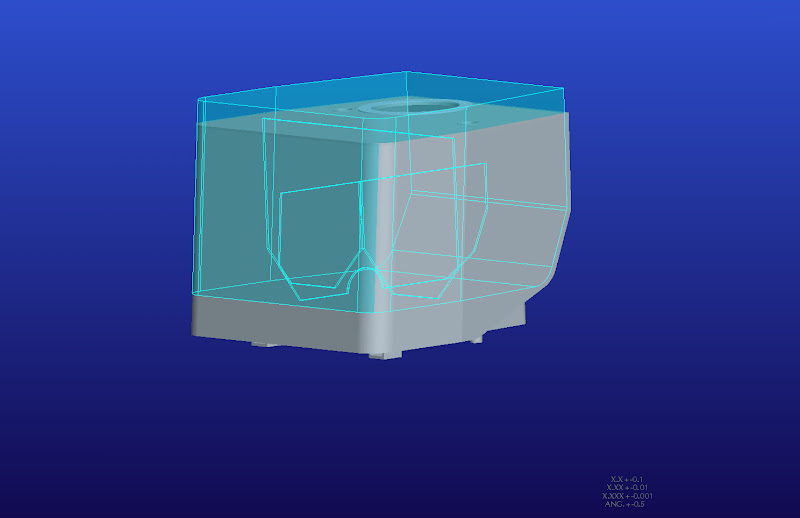
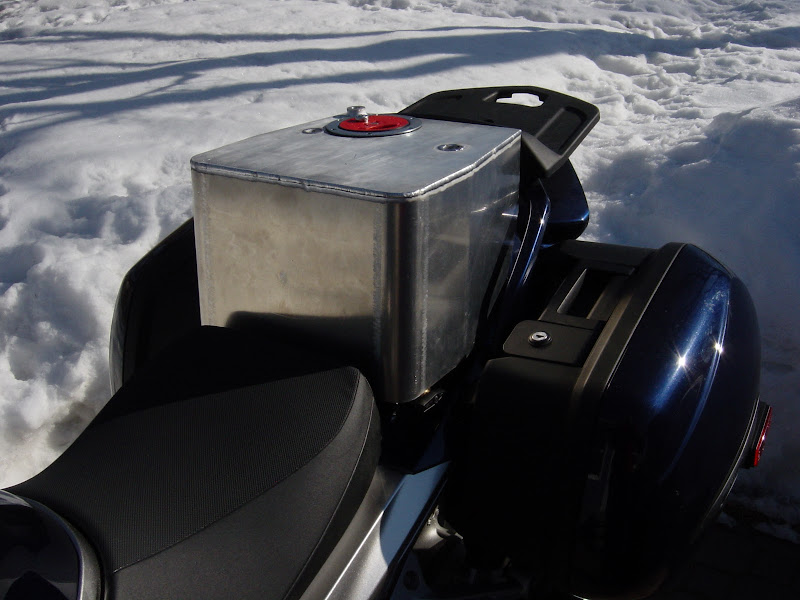
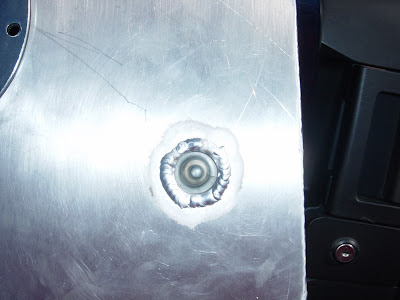
When mounted to the bike, you are using the OEM grab rail mount bolt locations. These use a sleeve under the bolt to keep from damaging the ABS plastic the grab rail is made from. Will your tank sit properly on this sleeve and not touch the cross bar? Excellent question! The answer is Yes and No. The tops of the OEM bushings are slightly below the plane of the two rear seat pads. I am replacing the OEM bushings with my own. These have a slightly taller head (approx. .030" added) The result is that the weight of the rear of the tank is supported over four points. A washer over the grabrail bushings would accomplish the same thing, but I can just imagine losing one of those washers and not having a spare. Since only 2 bolts are used, are you resting the tank bottom on any other frame locations? Yes. There are two additional legs/pads in the front. The weight of the tank is transfered to the bike over six locations. Have you considered reinforcing the metal at the bolt holes to keep from having metal fatigue? The holes are supported by the sleeves that are welded to the top and bottom plates. I have considered using some thin washers to minimize any damage the flange screws might cause, but I doubt the screws will cause that much damage. I've had the bottom plate on and off the bike several times and the screws have not caused any damage. When mounted how stable is the tank when grabbed and pushed around - the design lends itself to be a low back rest for the driver. How well does it feel when sitting in the saddle? I'll let you know. But I will tell you that this tank was designed to stay put. If it is subjected to enough force for it to move around, you have more serious problems to worry about.
When designing the filler opening, if flush mount will there be an internal neck to fill up to? The neck need not be a solid ring. This may be the way to keep from over filling and creating a mess. Have you given thought to where the puke bottle and pluming will go? At this point, the flush fill cap does not have an internal sleeve. The puke bottle is something we're still looking into. I'm not sure if vent lines count against volume or not. My preference is a welded on puke tank on the right side near the rear. I haven't added that until the volume question is answered. Right now, no puke tank is attached. The vent line is plumbed from the right rear corner.
My inclination would be to have a gravity feed, will there be room for a large enough line to the main tank. Placement of the ball valve within easy reach? Yes to both questions and it's my understanding that Don is going to run his as a gravity feed at first and let us all know how that works for grueling Candy Butt use.
Last edited by a moderator: