gixxerjasen
Well-known member
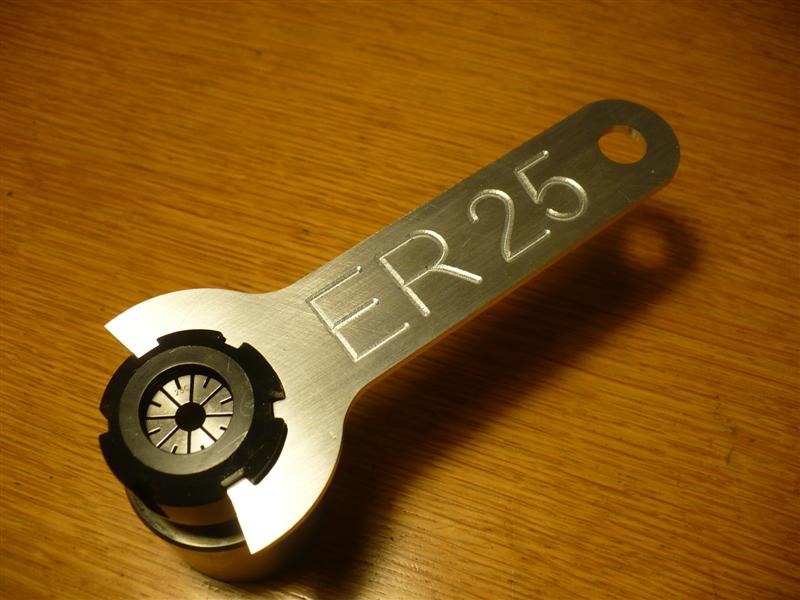
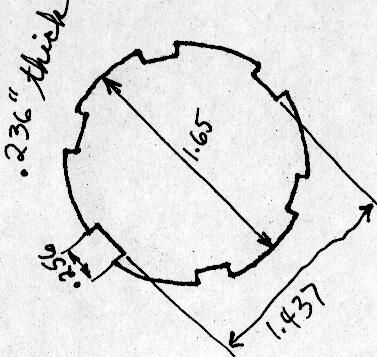
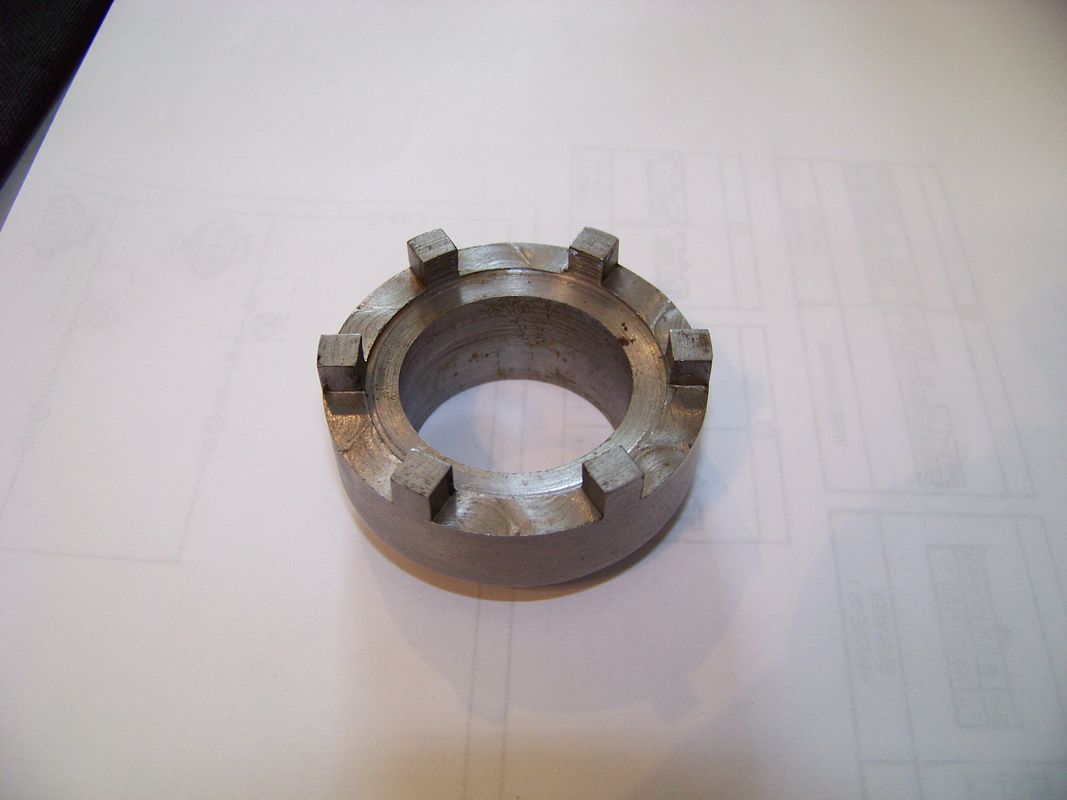
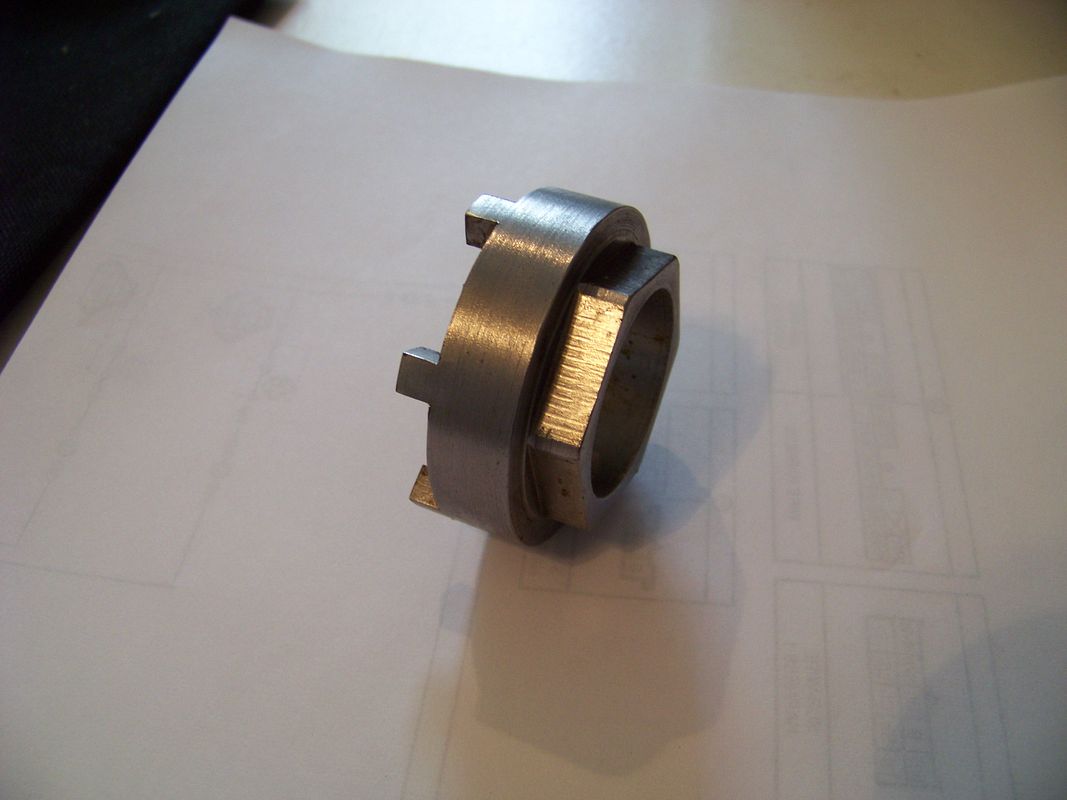
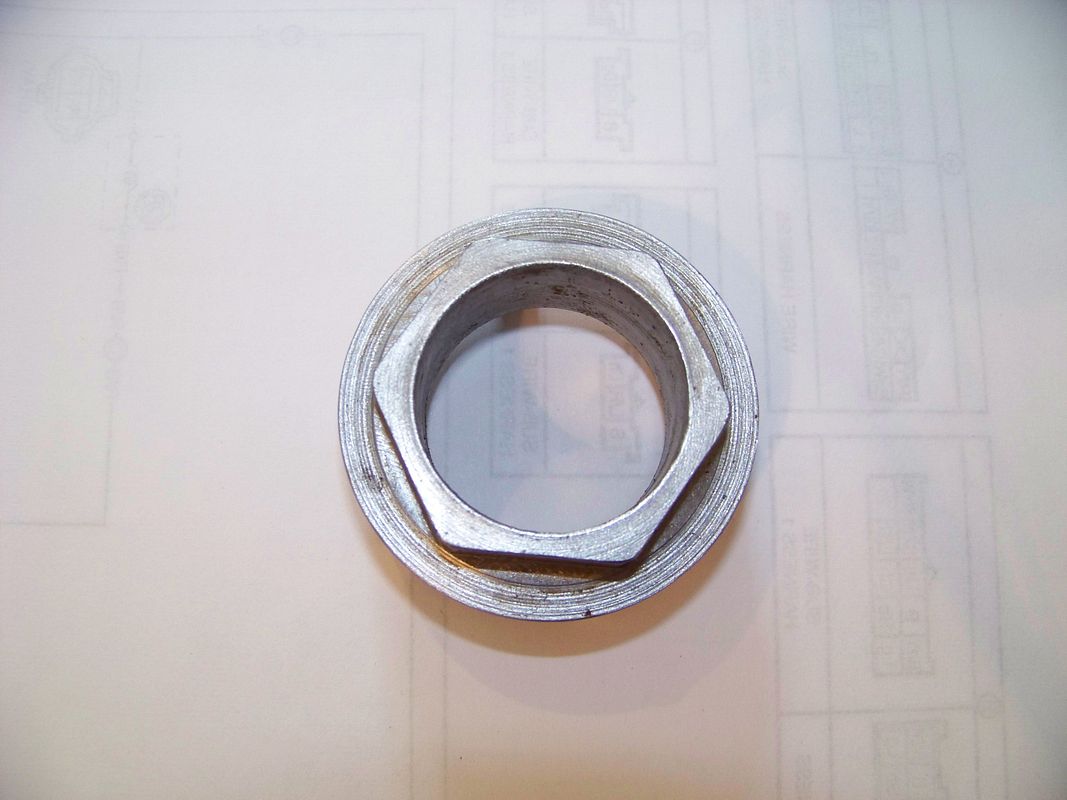
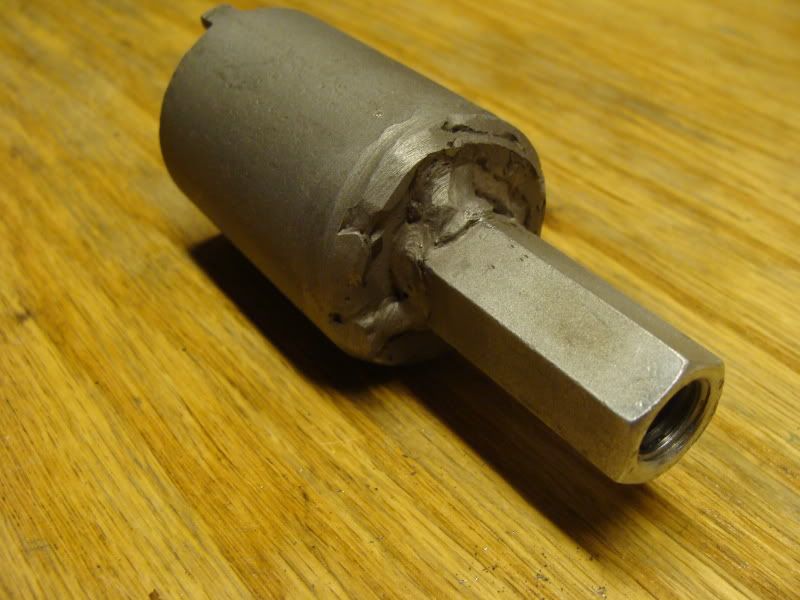
You still have the socket, right?You know....it wouldn't be too hard to fab up a pdf template that could be printed....I have a spare castle nut that I used to mark the socket for cutting/fitting that I'm just going to pass around to those that are interested in trying this. Dale gets it first, but I'm sure after he's done he could be convinced to mail it to the next one in line.
That's a great idea! Unfortunately, I just sent the nut out in the mail.