BikerGeek99
Yeah, it's a concrete corn cob. So?
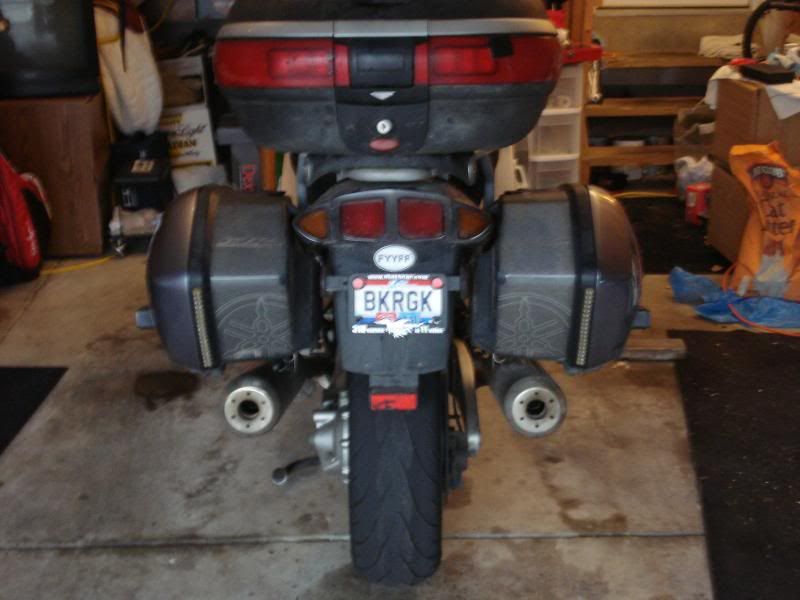
Well, gang, after sitting in a box for 1 ½ years or so, it was finally time to install my Admore side-bag lights. At last fall’s FJR Tech Day at Casa de BustanutJoker, it was determined that the harness that came with the kit was defective. So, after bouncing emails with Admore, last December I packed up the defective harness and sent it off to Admore. They sent me a new replacement, but not just any replacement. While Admore has had a plug-directly-into-the-bike wiring harness available for GenII FJR’s for a while, they are just rolling out the harness to plug directly into a much-superior GenI FJR. I got one of their first such harnesses. Unfortunately, when I sent my defective harness back, I included the portion of the kit which goes in the side bags. They didn’t include this. So, after more emails with them, they shipped me the bag portion of the kit.
Before I continue, I want to take a moment to give huge kudos to Admore’s customer service. These are well deserved kudos because they have yet to receive my defective harness. Yes, you’re reading that right – Admore replaced the entire harness without having received my defective harness. I think we all know that not every company out there would go the extra mile that they did. So, the David and the Admore crew – a HUGE thanks from the Geek!
So, yes, there are other threads out here around using this harness for a GenII install, I’m posting this up for my GenI brethren.
Here we go…
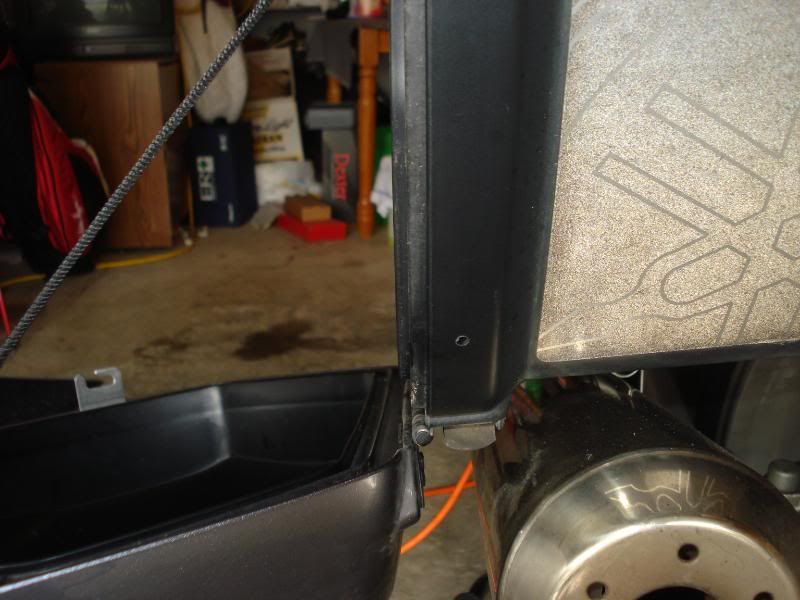
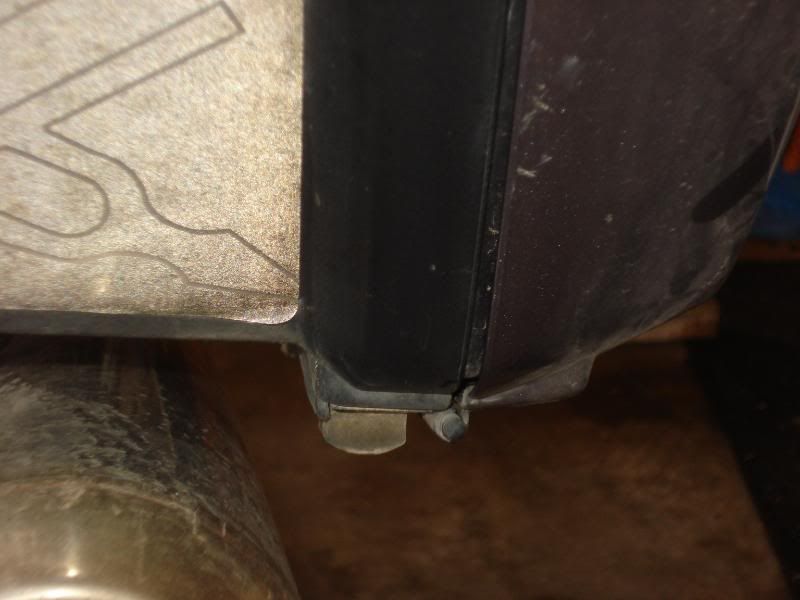
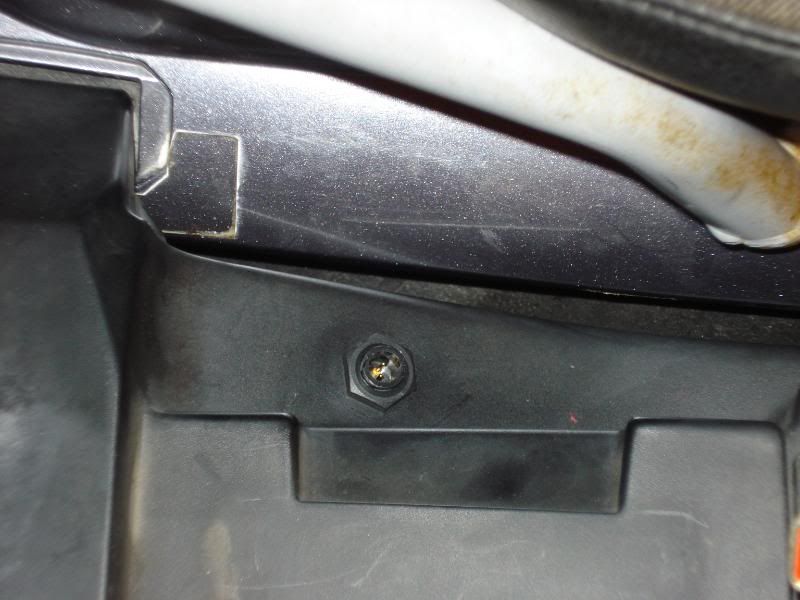
In another thread, I asked where the heck the connector that I’ll need to get to resides on a GenI. I know the GenII connector is behind the left side-panel around the air box. Well, on a GenI, it ain’t that easy. Our own BustanutJoker found in tucked away in the extreme left corner in the tail of the bike.
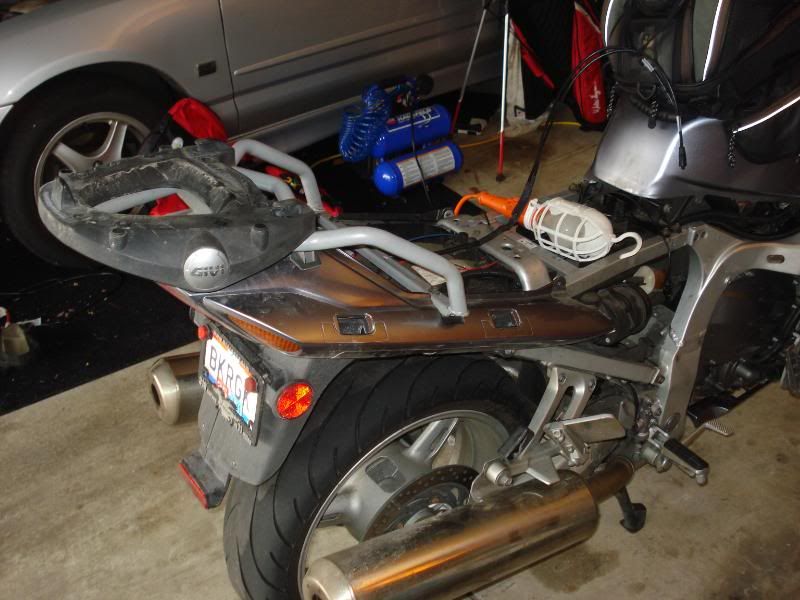
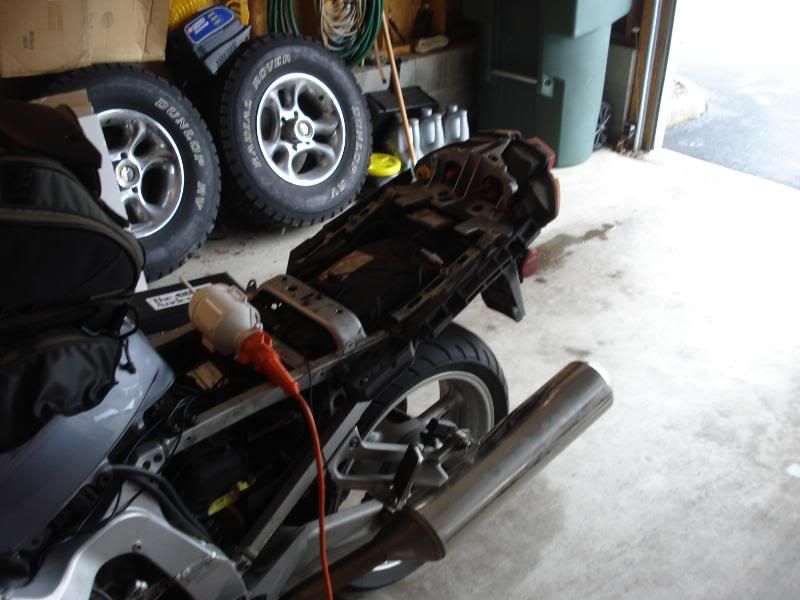
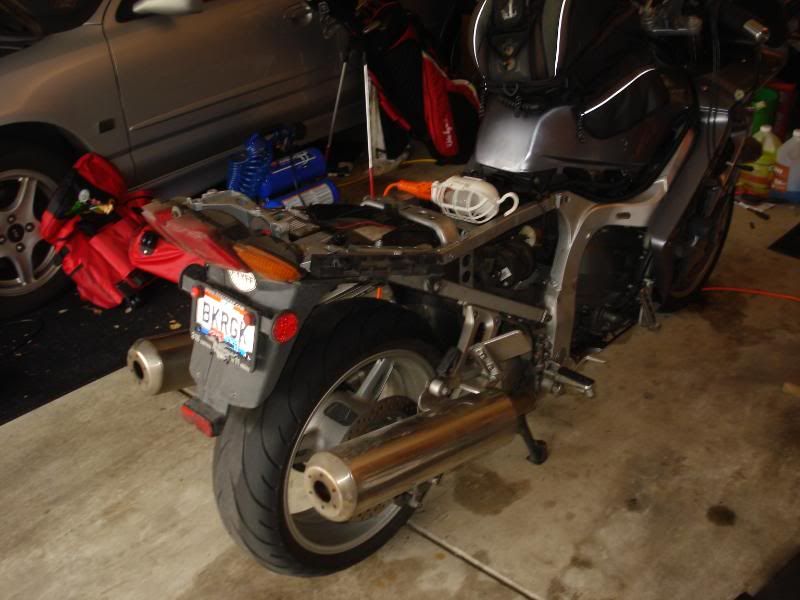
I probably could have messed around and gotten to it without taking any plastic off, but I wasn’t feeling that patient, so it was time for a tailendectomy, a first for me! So it was off with the side panels on both sides, the Givi rack, and, eventually, the tail section.
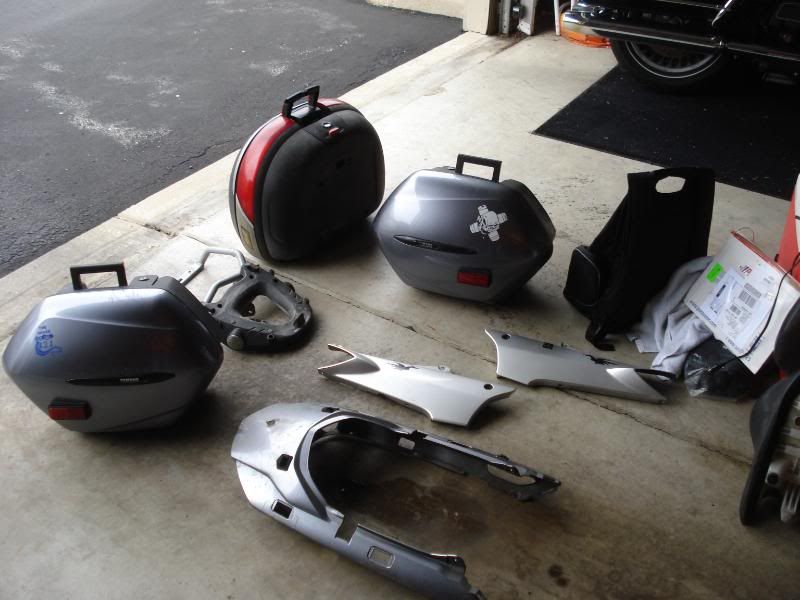
Here’s all the crap that had to get outta the way.
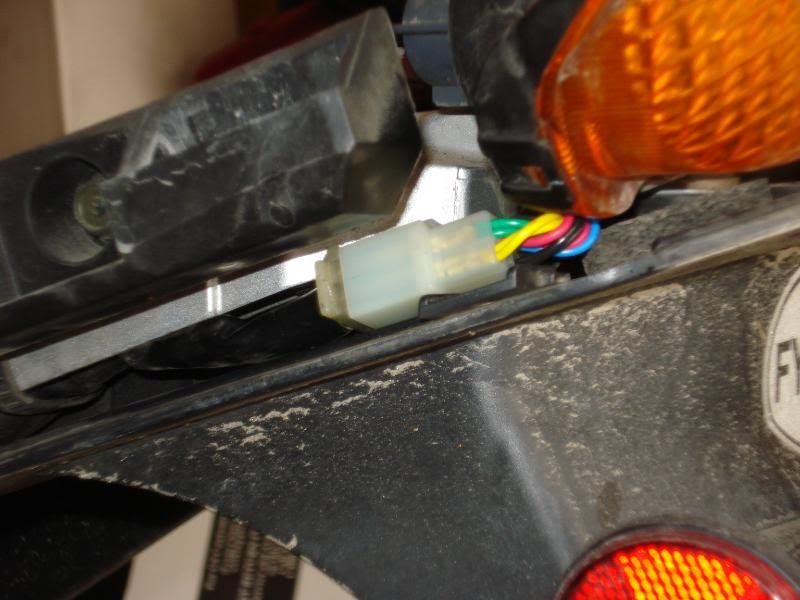
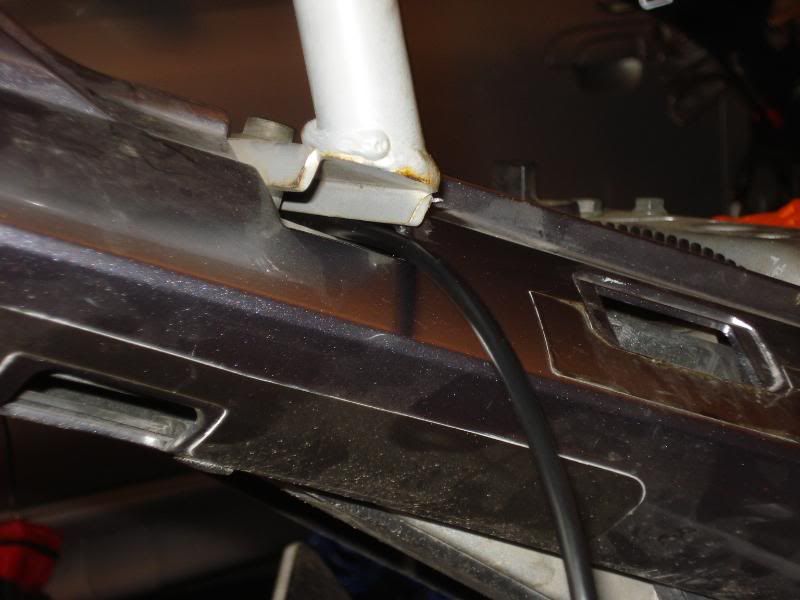
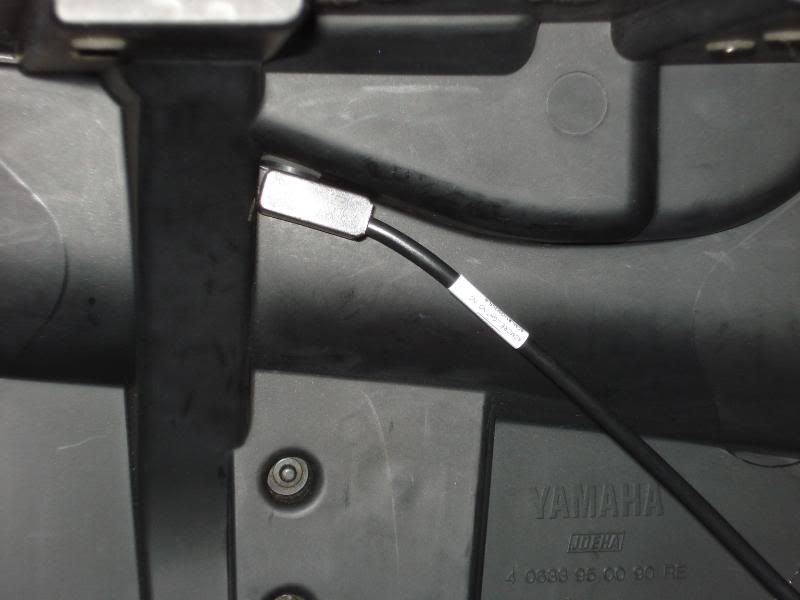
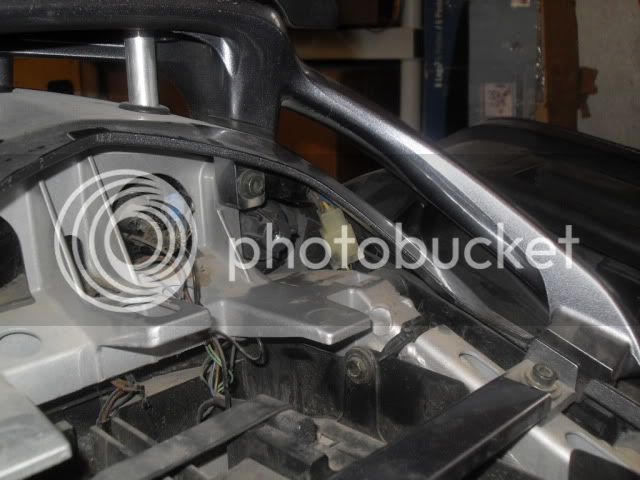
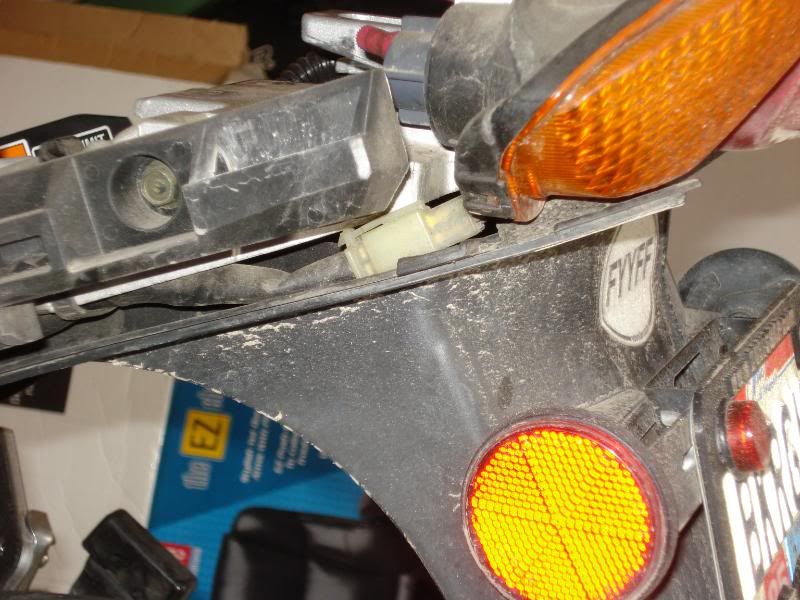
Once the tail section was out of the way, it was pretty easy to get to the connector for the lights. The one we’re after is the white connector in the middle of the picture.
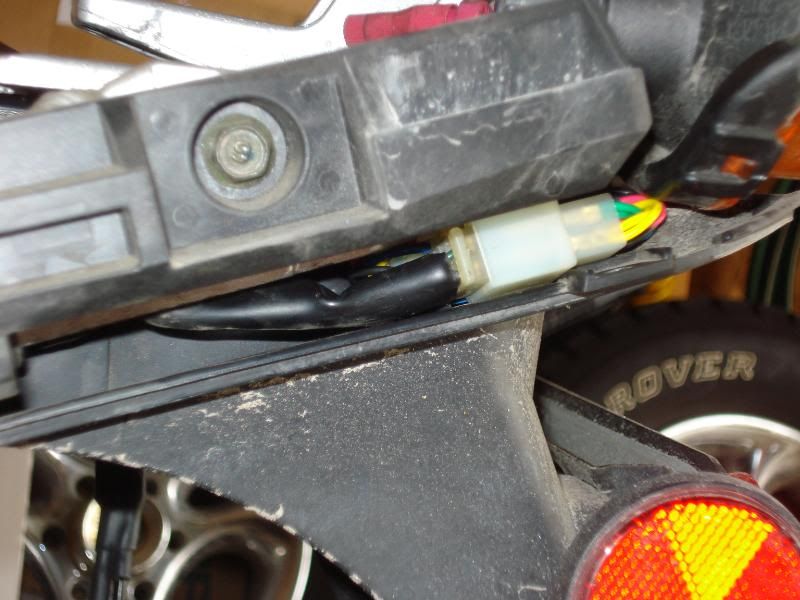
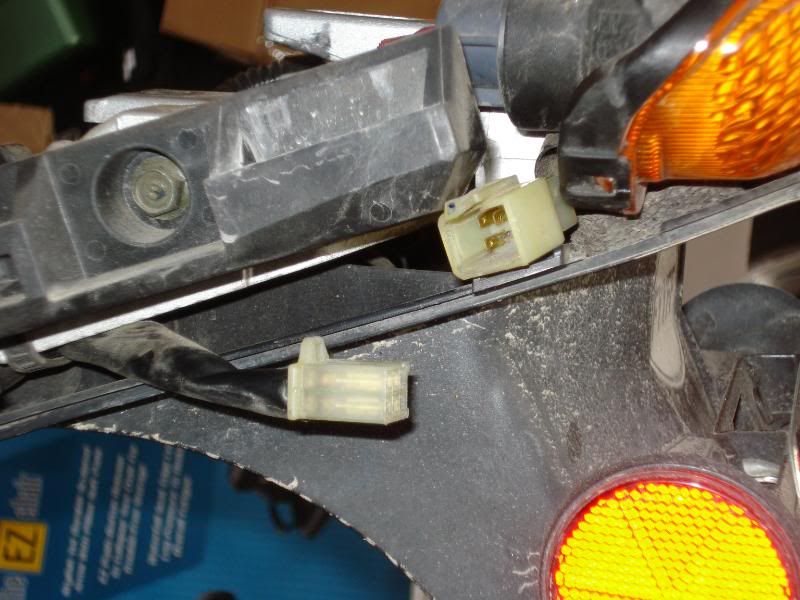
Next step, I uncoupled the connector.
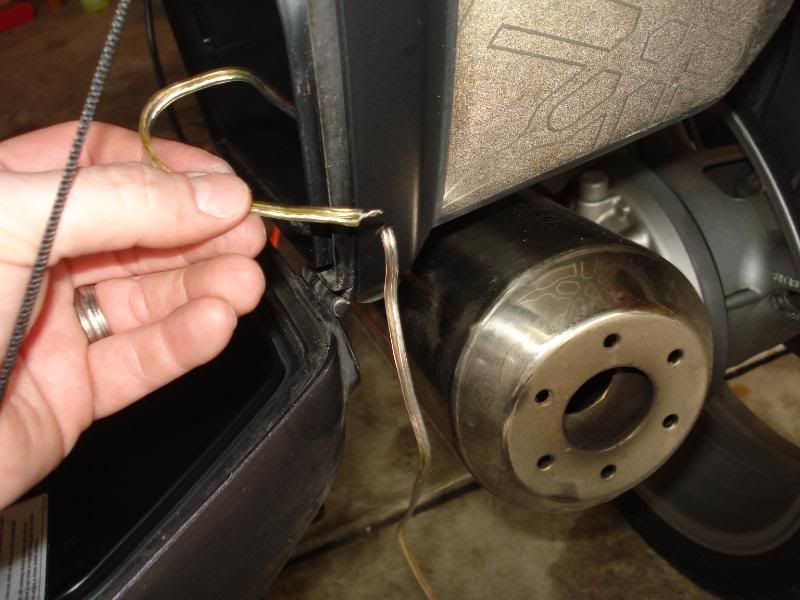
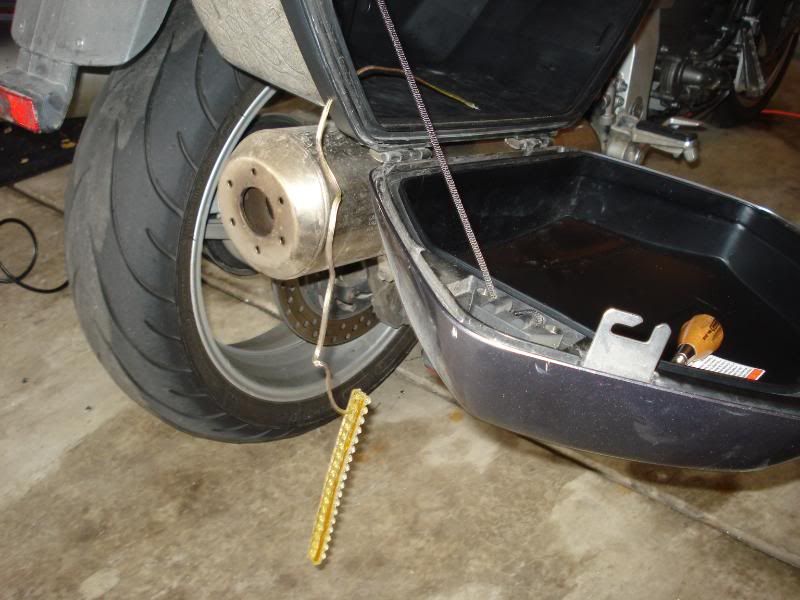
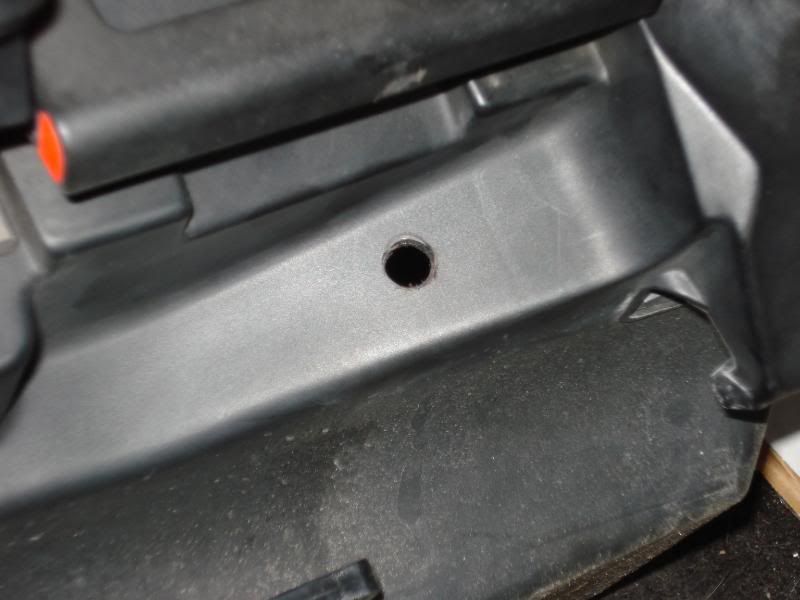
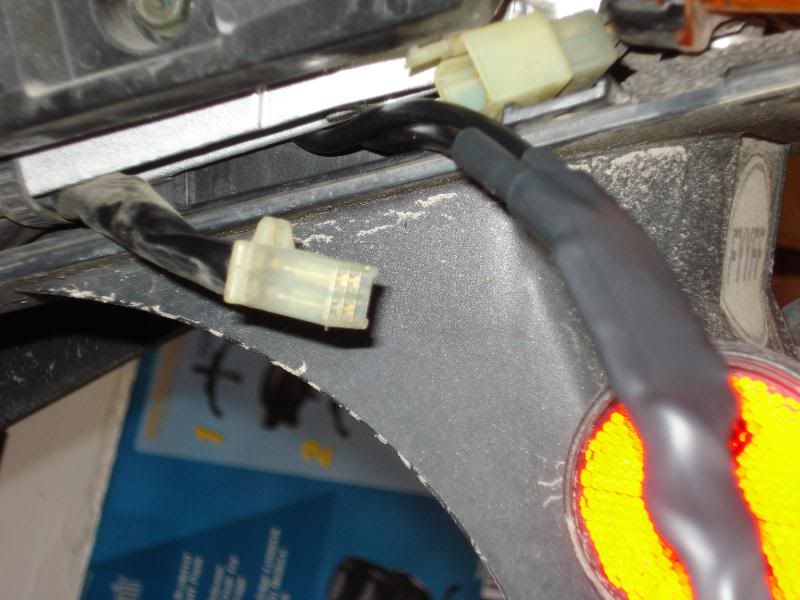
Then I fed the harness through from the outside-in.
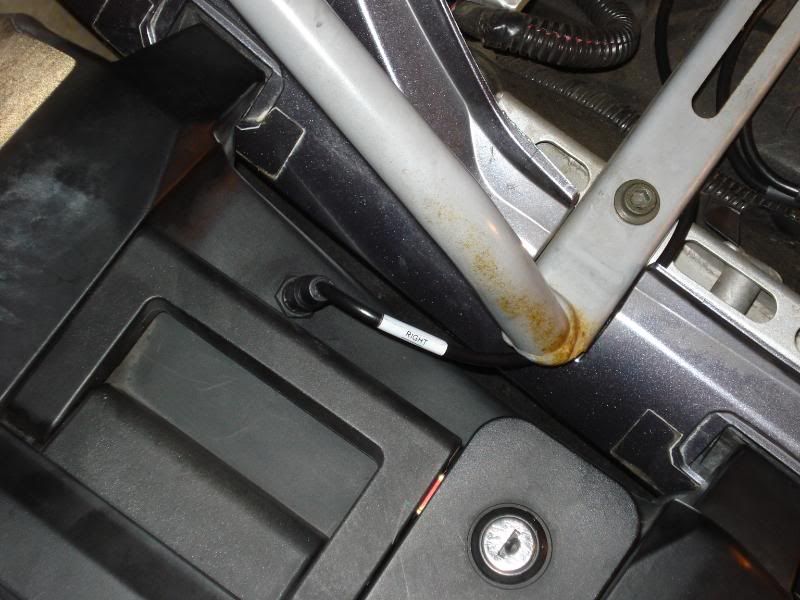
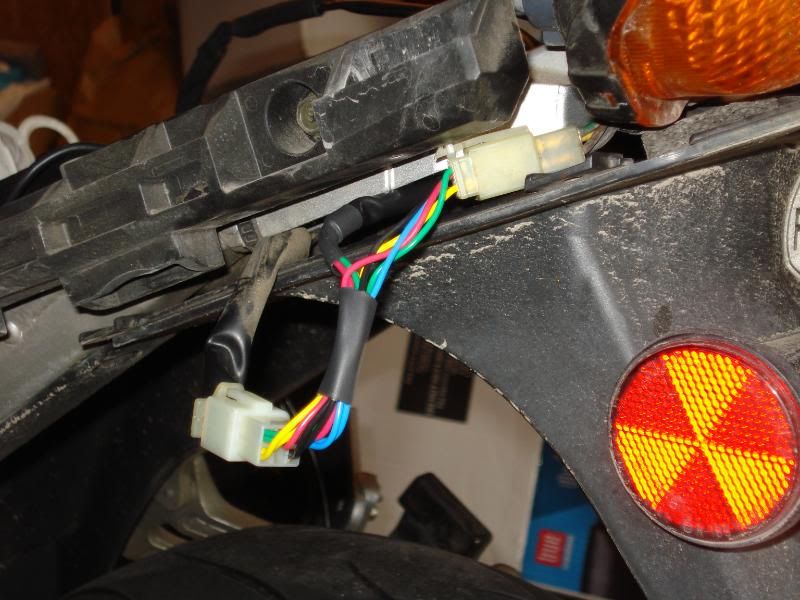
And plugged ‘er in.
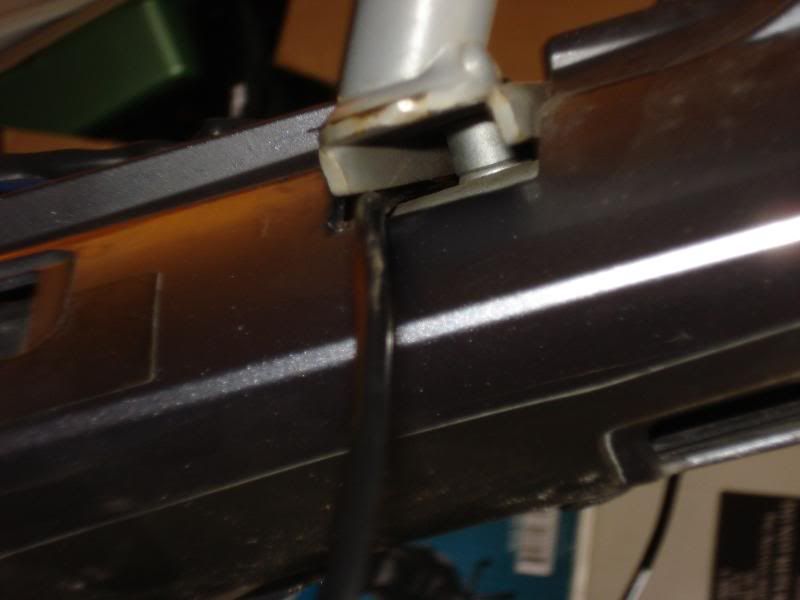
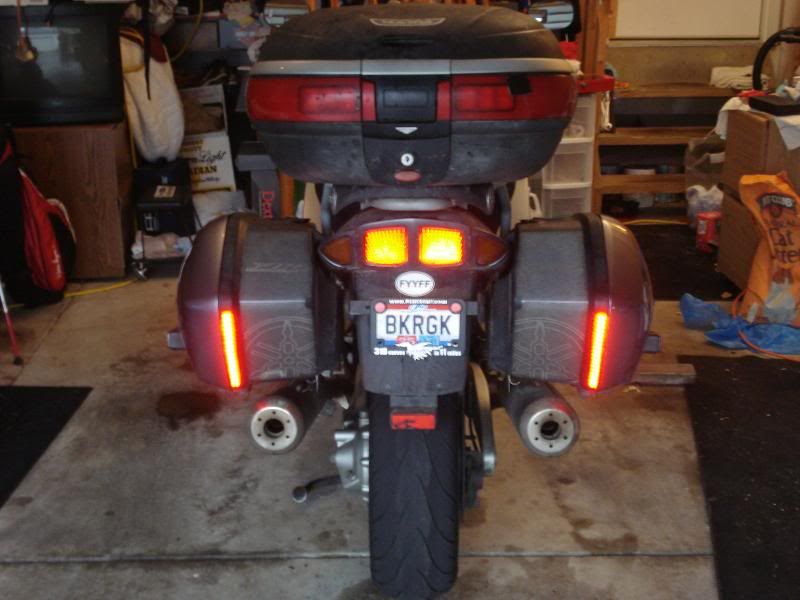
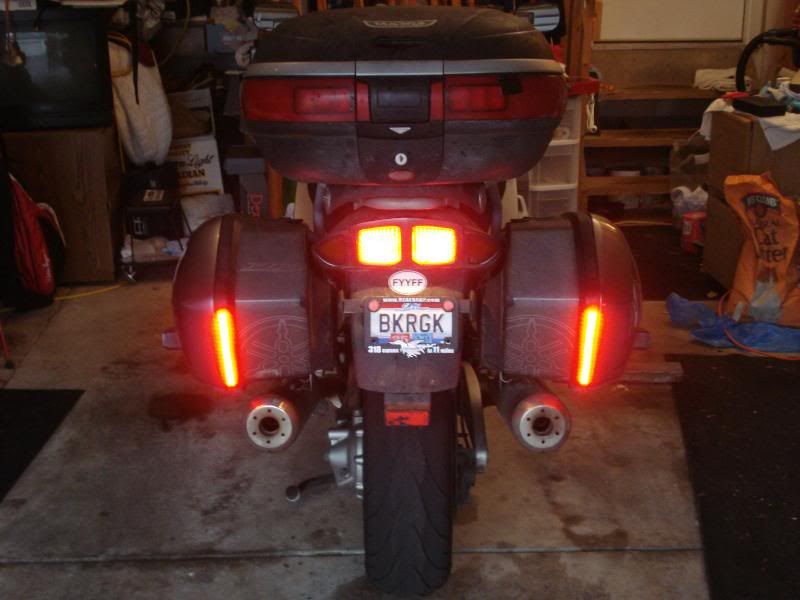
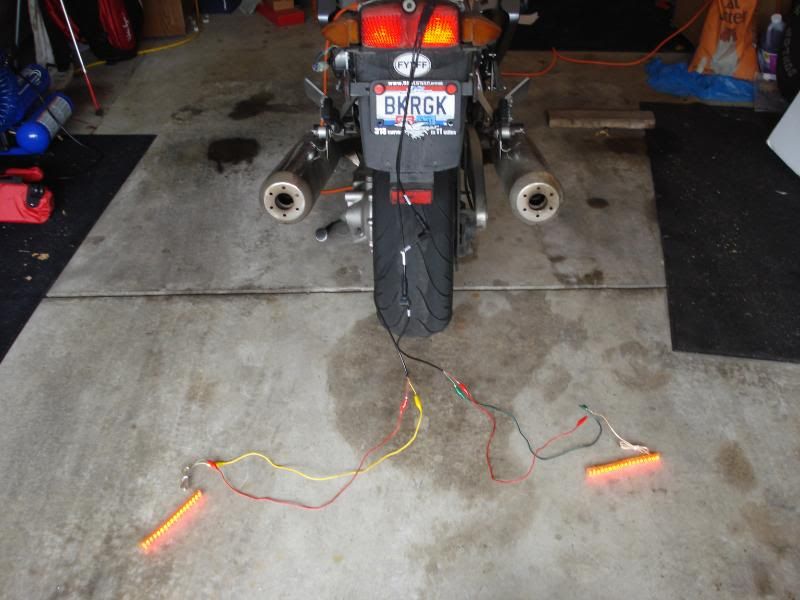
Next step – sanity check. With the harness attached to the bike, I hooked up the bag-side harnesses, and used some alligator jumper clip thingies to make sure the lights worked.
Success!
Before I continue, I want to take a moment to give huge kudos to Admore’s customer service. These are well deserved kudos because they have yet to receive my defective harness. Yes, you’re reading that right – Admore replaced the entire harness without having received my defective harness. I think we all know that not every company out there would go the extra mile that they did. So, the David and the Admore crew – a HUGE thanks from the Geek!
So, yes, there are other threads out here around using this harness for a GenII install, I’m posting this up for my GenI brethren.
Here we go…
In another thread, I asked where the heck the connector that I’ll need to get to resides on a GenI. I know the GenII connector is behind the left side-panel around the air box. Well, on a GenI, it ain’t that easy. Our own BustanutJoker found in tucked away in the extreme left corner in the tail of the bike.
I probably could have messed around and gotten to it without taking any plastic off, but I wasn’t feeling that patient, so it was time for a tailendectomy, a first for me! So it was off with the side panels on both sides, the Givi rack, and, eventually, the tail section.
Here’s all the crap that had to get outta the way.
Once the tail section was out of the way, it was pretty easy to get to the connector for the lights. The one we’re after is the white connector in the middle of the picture.
Next step, I uncoupled the connector.
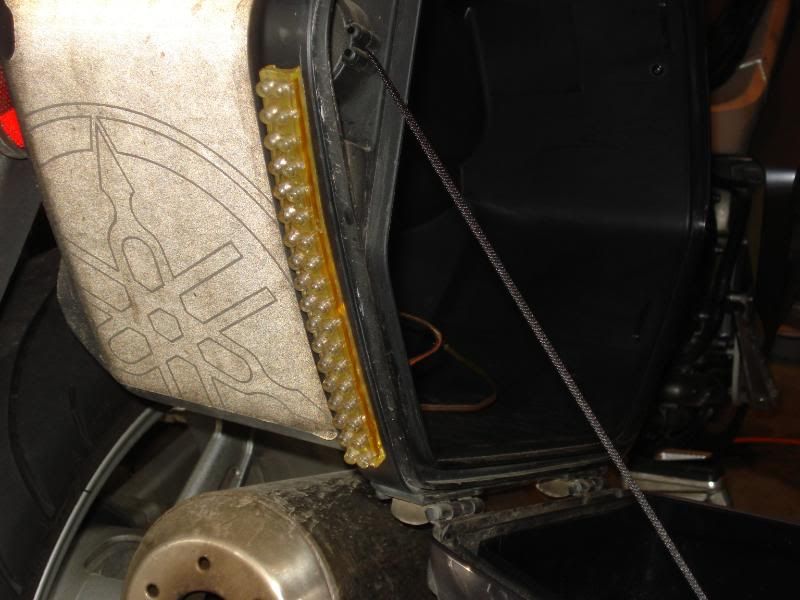
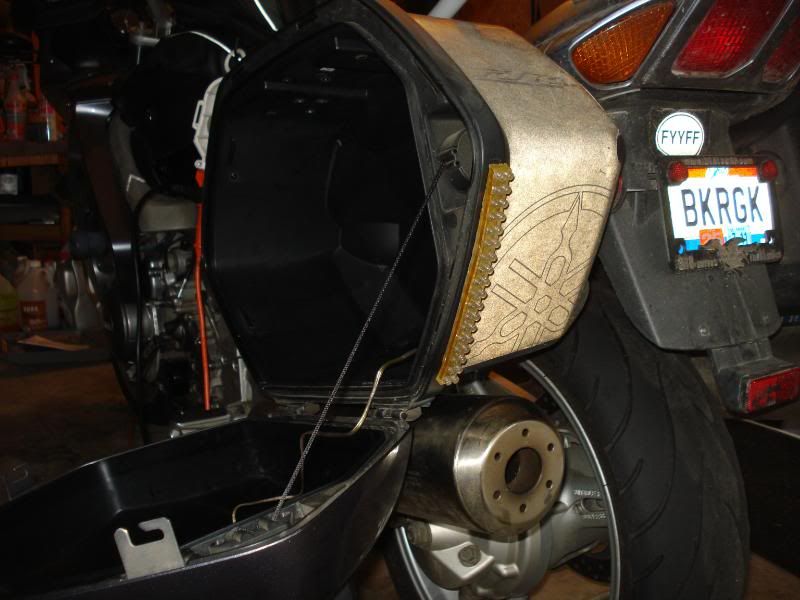
Then I fed the harness through from the outside-in.
And plugged ‘er in.
Next step – sanity check. With the harness attached to the bike, I hooked up the bag-side harnesses, and used some alligator jumper clip thingies to make sure the lights worked.
Success!