Like Sands Through the Hourglass...
I haven't been around much. My sister bought a boat.
My big sister with her heart of gold bought a boat. She is one of those 'what's mine is yours' characters. One of the reasons she bought the boat is so that my son and I could use it when we're up at the lake.
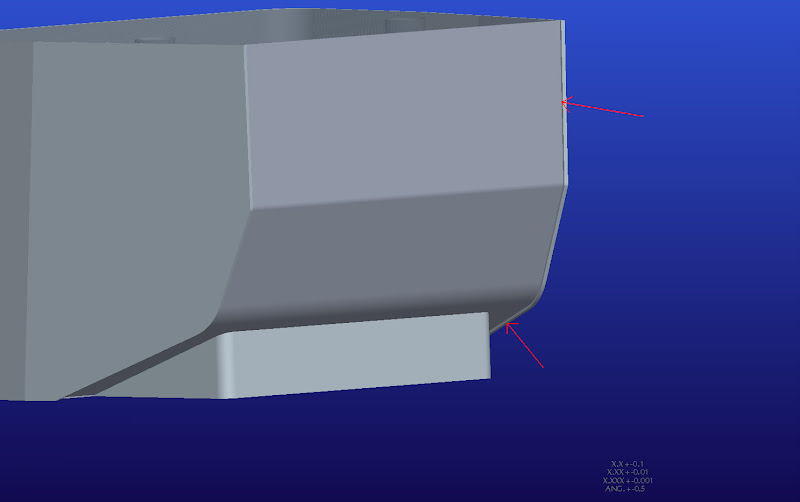
Last time we were up at the lake, I noticed that one of the boat's aluminum castings was cracked. I volunteered to take it off and bring it to the guy who welded my tank for me. That was my first mistake. So, a few weeks ago she brings the boat and trailer over to my garage. I remove the cast aluminum piece, and bring it to be welded. Before removing the part, I first have to remove the navigation lights. "Hhhmm. This doesn't look right." The wiring is a mess. "I should fix that for her
as long as I have the light off anyway." Looking into it a little more, I find that the stern light has the same problem. "I should fix that too
as long as I have to rewire the bow anyway." The next thing I found was an AC plug that the previous owner used as a quick disconnect for the depth finder. "I should replace that..."
When I picked up the aluminum casting from the welder, he had filled in the holes for the navigation light. There was no way I was going to be able to use the existing light. I had to buy a new one. Yesterday she dropped off the new depth finder my dad bought her. I wonder if there will be any surprises when I'm installing that for her. <_<
Oh and I forgot to mention that she wanted to learn how to winterize a boat, so we had to work that into our schedules. "At least it has Bearing Buddies. I don't have to repack the trailer bearings..." Wrong. There wasn't any grease getting past the inner seals. If the Bearing Buddies were working, there should have been some grease being slung around back there. I gave the wheel a shake. Shit! They aren't supposed to shake like that. The previous owner didn't have the hub nut tightened properly and there wasn't enough grease in the Bearing Buddies. The emulsified grease/water/rust was going to have to be cleaned off before knowing if
we she needed new bearings or not.
I remember now why I sold my boat.
I see from re-reading the previous posts that I never explained what problem I ran into or how I solved the problem.
There is a minimum amount of material needed before and after the bend.
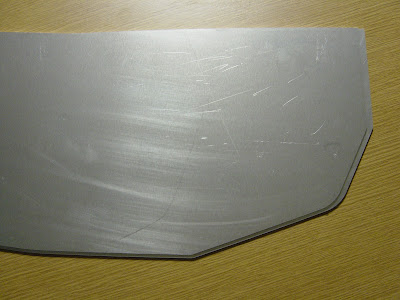
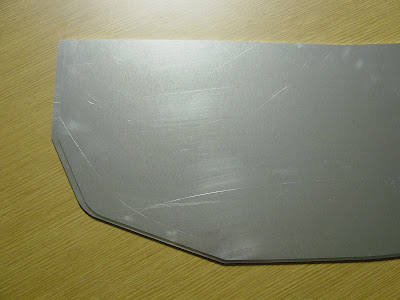
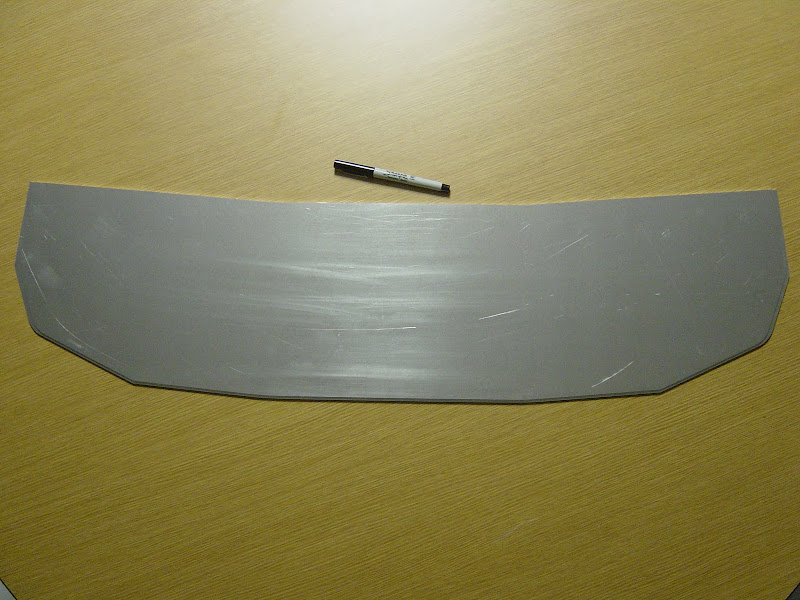
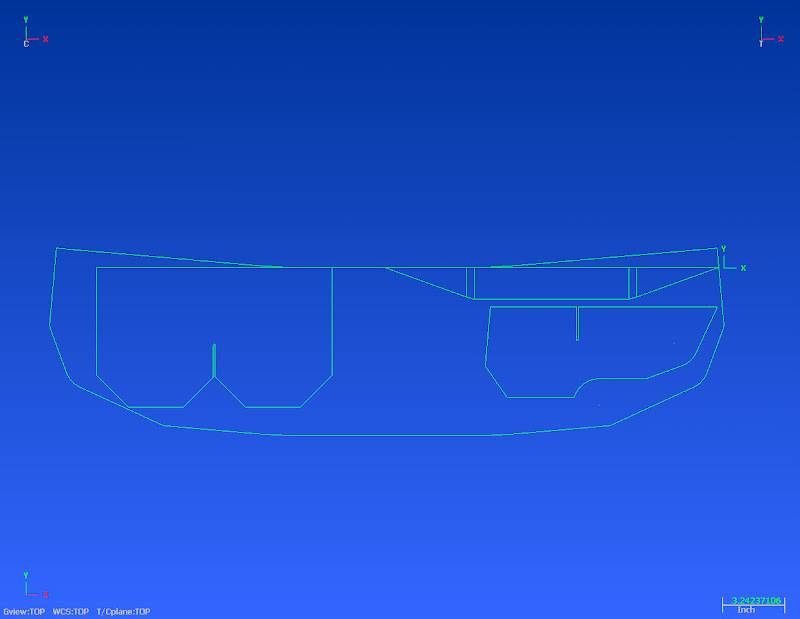
The above drawing shows a press brake. I couldn't find a decent drawing of a piece of material in the bending brake I'm using, but you get the idea. The yellow lines in the next picture show where I don't have enough material.
The the red lines show the material I would need before and after the bend and the yellow lines show the problem. The solution was to use two pieces welded together instead of cutting and bending just one piece. Not a big deal, just another reminder that I need to KISS.
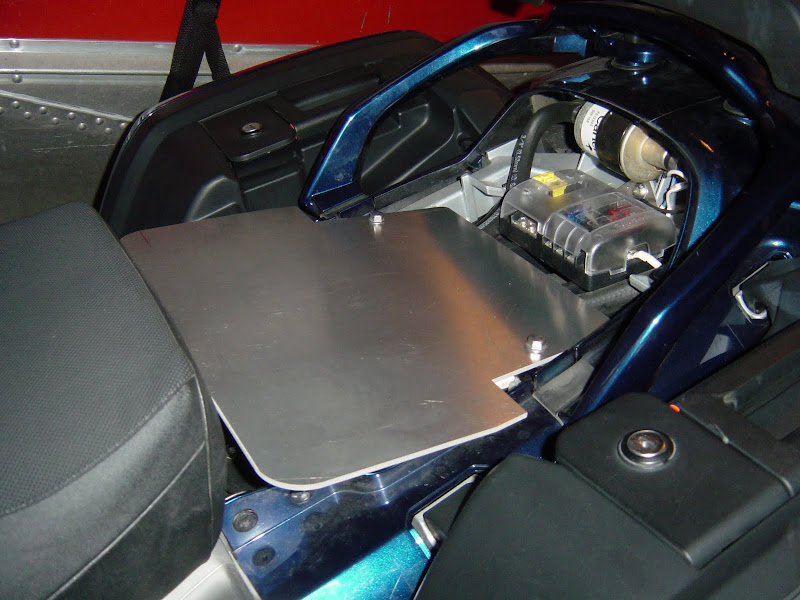
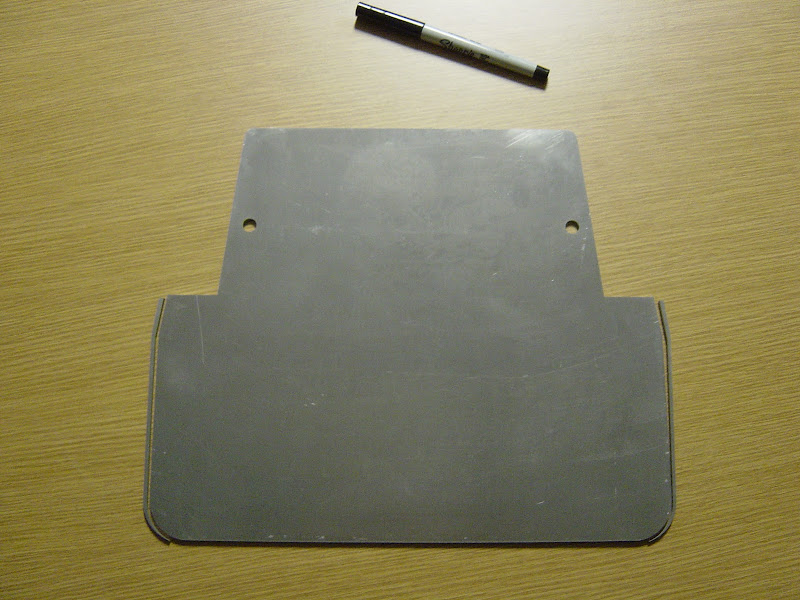
Here's a shot of the new tank's bottom plate attached to the bike:
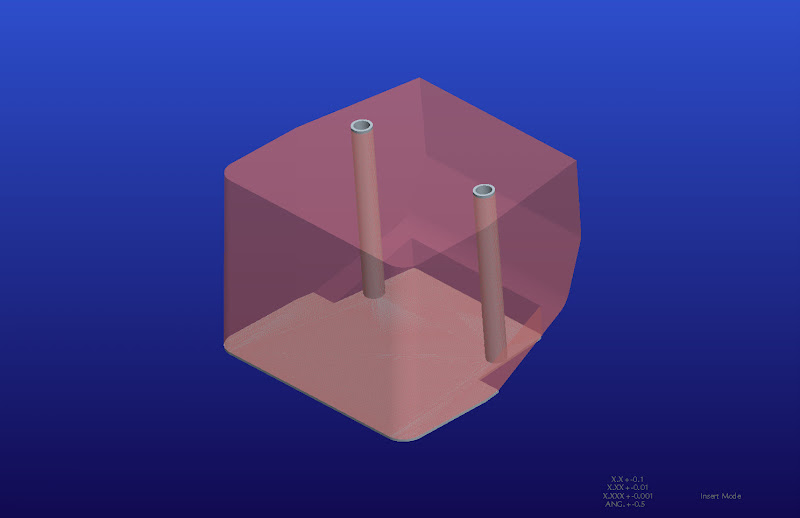
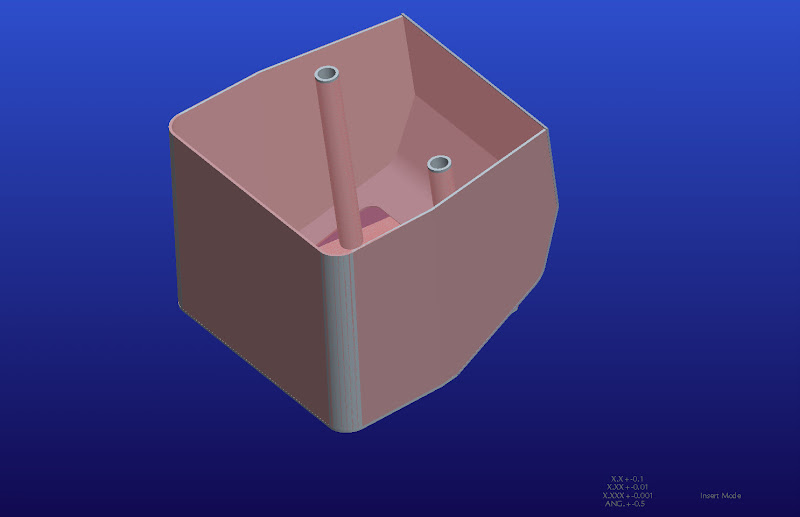
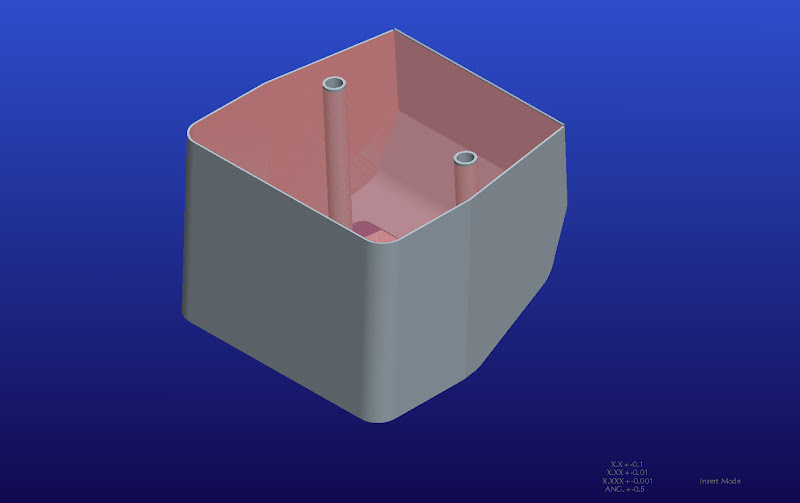
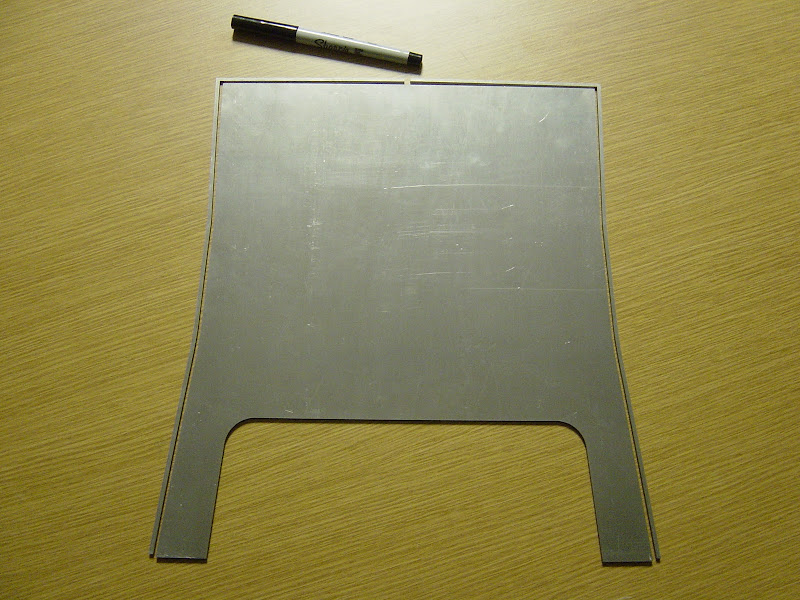
Next I need to make a couple of sleeves that will be welded to the bottom plate:
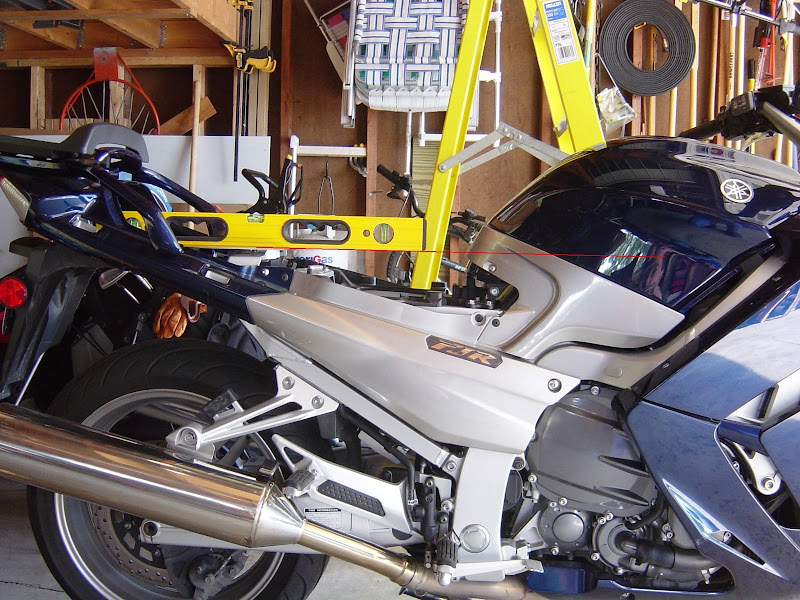
When this is finished, changing over from a passenger seat to an auxiliary tank should be as easy as:
1. Remove the rear seat
2. Remove the two screws from the grab rail
3. Set the tank on the bike
4. Fasten the tank using the screws removed in step 2.


")