Help me with my L/D winter FJR project

Yamaha FJR Motorcycle Forum

Help Support Yamaha FJR Motorcycle Forum:

This site may earn a commission from merchant affiliate links, including eBay, Amazon, and others.
Nice going so far. I got one set of Krista's from the group buy but haven't hooked them up yet. Where are you mounting the power switch? If you can post a photo of that I'd appreciate it. If you're hitting bike week in Daytona maybe we can hook up.

 
Sorry, but my only trip to FL will be in March, and will entail a great amount of time at Disney with my 3 and 5 year old kids. I used a different switch than the one that came with the Krista lights, but regardless, the switch is going in the knock out that is used for OEM heated grips. I mounted the dials for the dimmers further back in the painted area of the left of the faring. I will post pics next week if i get a chance.

I have a MAJOR oops when installing the cruise control that cost me several hours, but I have it all worked out now.

 
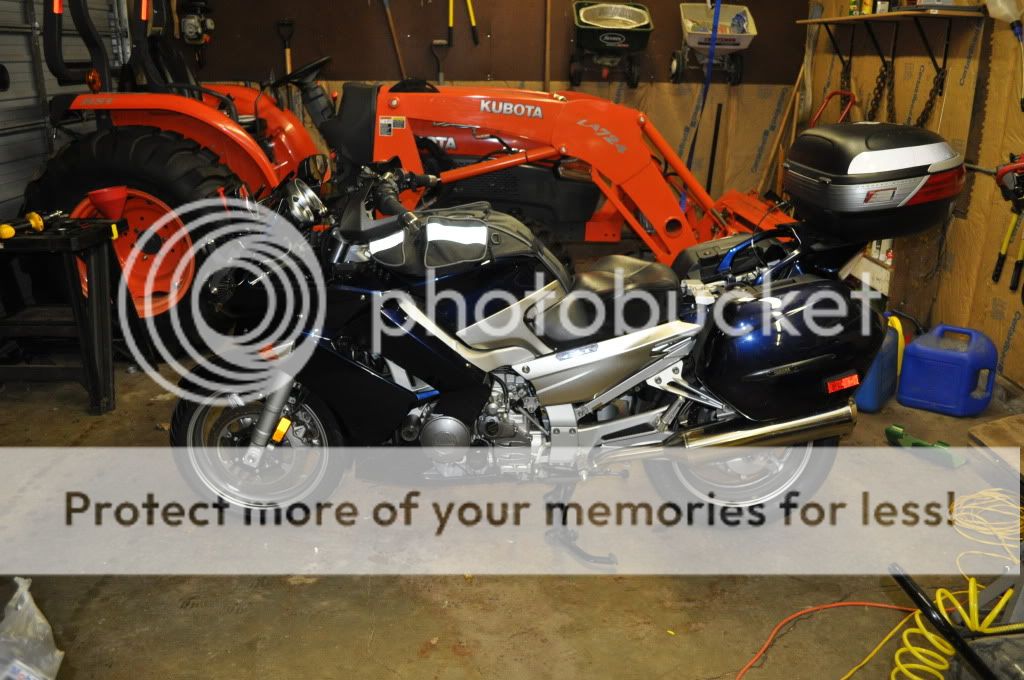
I had a few hours to work on the FJR this morning, so here is an update on what I have gotten done.

First thing this morning I got the Fender Extender glued on to the fender and clamped. I will leave it clamped for at least 2 or 3 days, and then it will be ready to be installed.

DSC_0011.jpg


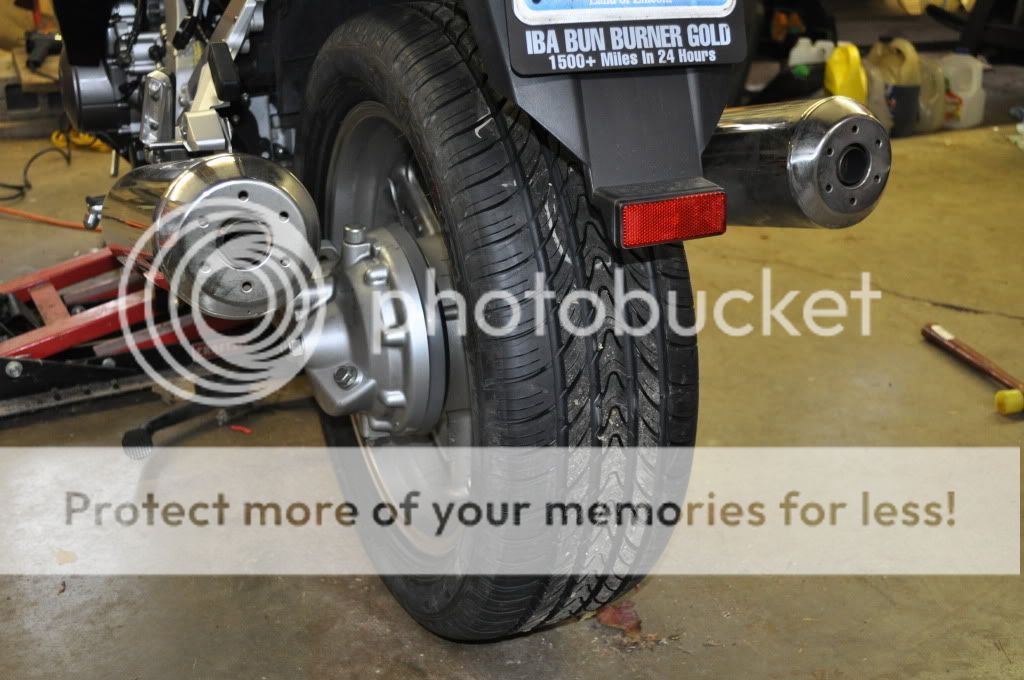
Next up was installing the car tire on the rear. This took a little longer than I had planed, but it all went together just fine. I was surprised when I went to pick the tire up on Saturday after having it mounted and the owner of the shop talked to me about how he ran a car tire on his Valkyrie for several years before he got rid of the bike. I guess I now be dark siding.

DSC_0007.jpg


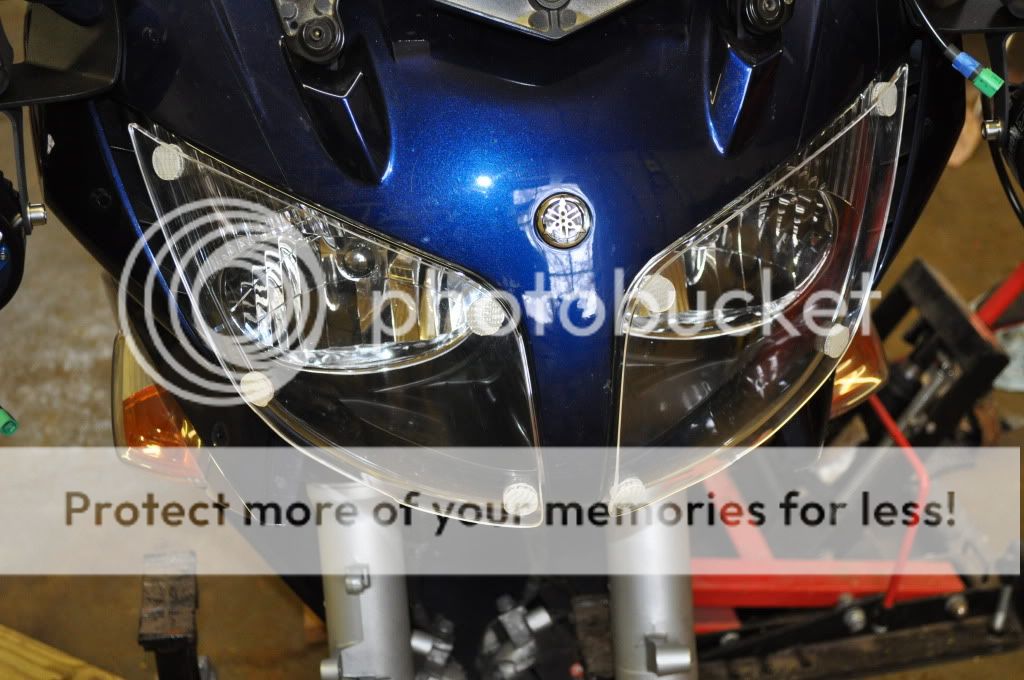
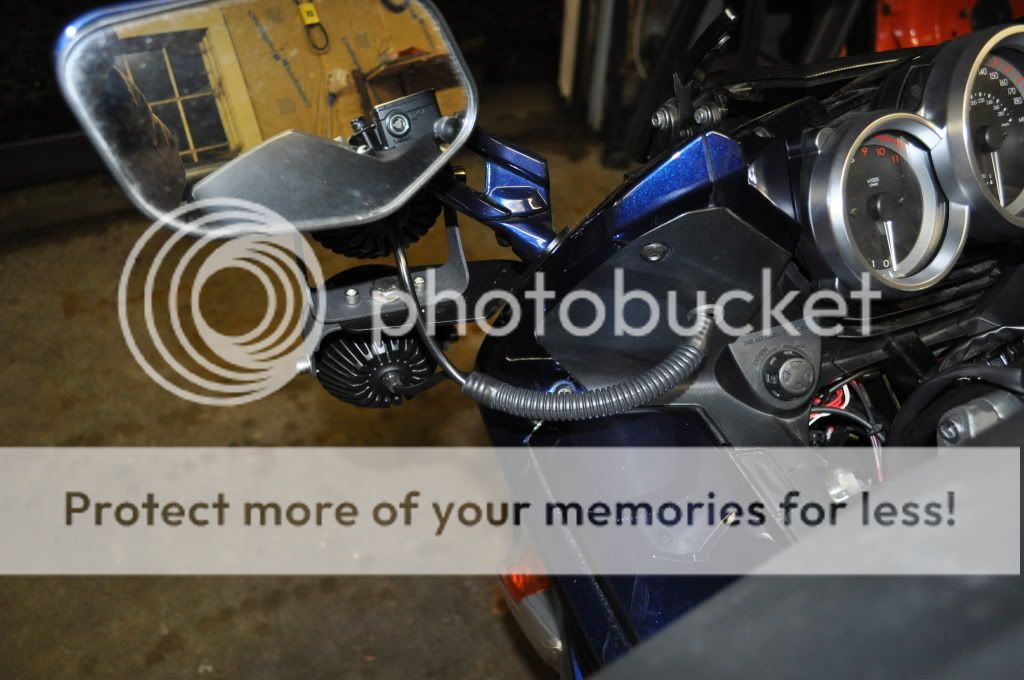
I decided to do something easy next, so I installed the Cee Baileys headlight guards. I know they look dorky, but I had them on my first FJR, and after 77K miles the factory head light plastic looked like new, while the guards had several deep scratches.

DSC_0010.jpg


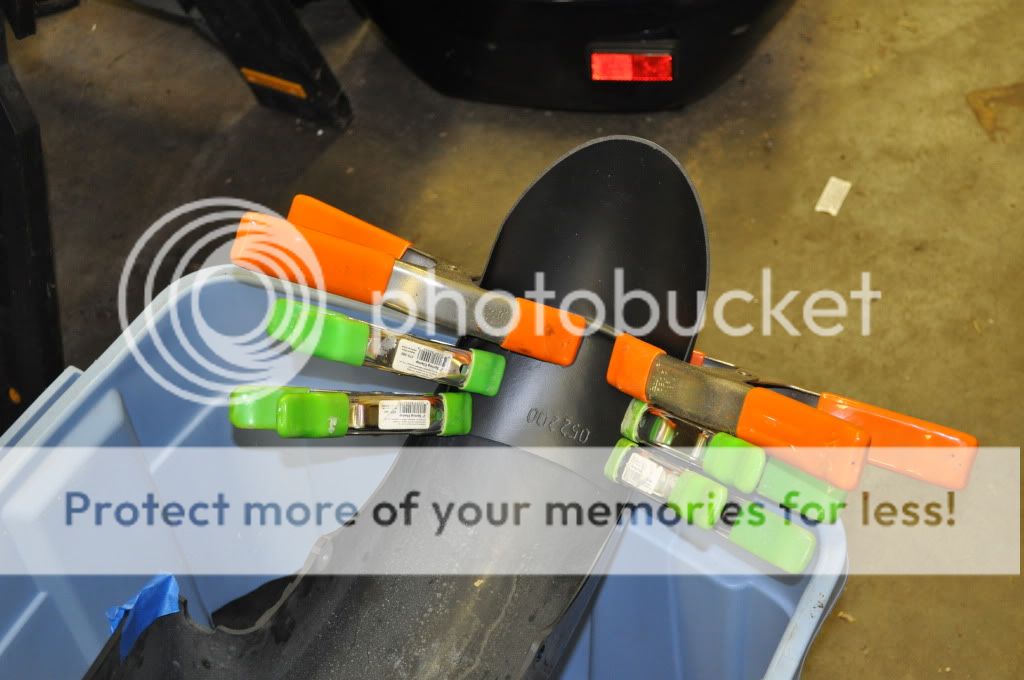
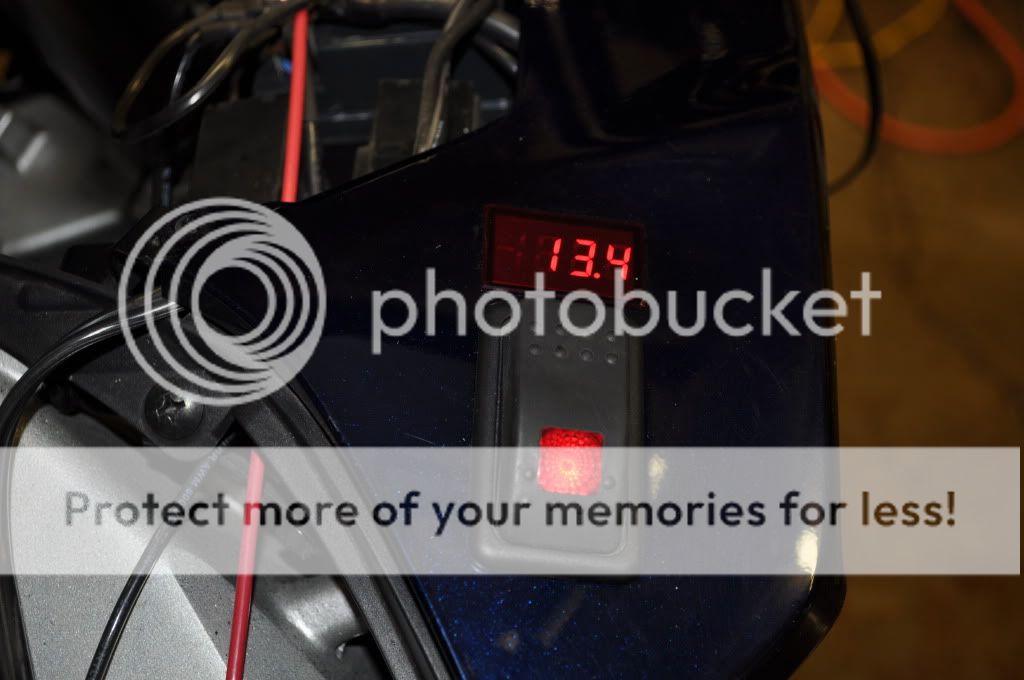
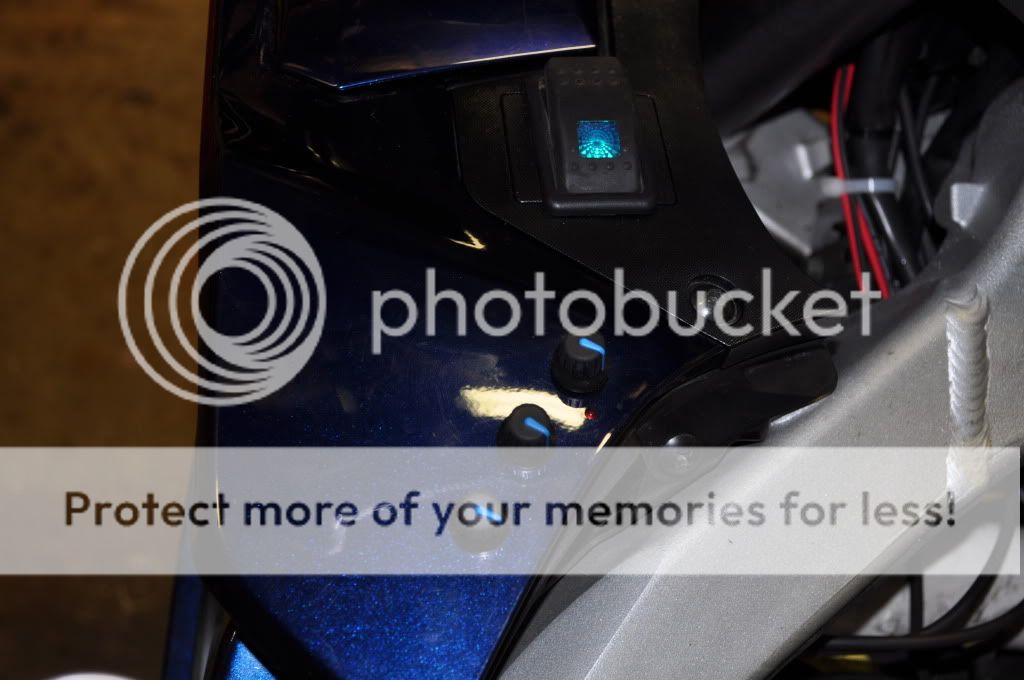
Then it was time for more wiring. I am so sick of doing wiring on this bike, but it has to get done. First I installed the Brodie ground spider harness. This was pretty easy to do with as many of the panels as I already had off the bike. I will say that a dental pick with a 90 degree bend at the tip worked great for getting the covers off, and the spiders out. I then installed the switches for the Clearwater lights, and for the Gerbing heated gear. I really liked the way the knobs from Clearwater looked, so I had them send me a few extra, and the knob fit the Gerbing control perfectly. I am really pleased with how the install of the three control knobs turned out.

DSC_0009.jpg


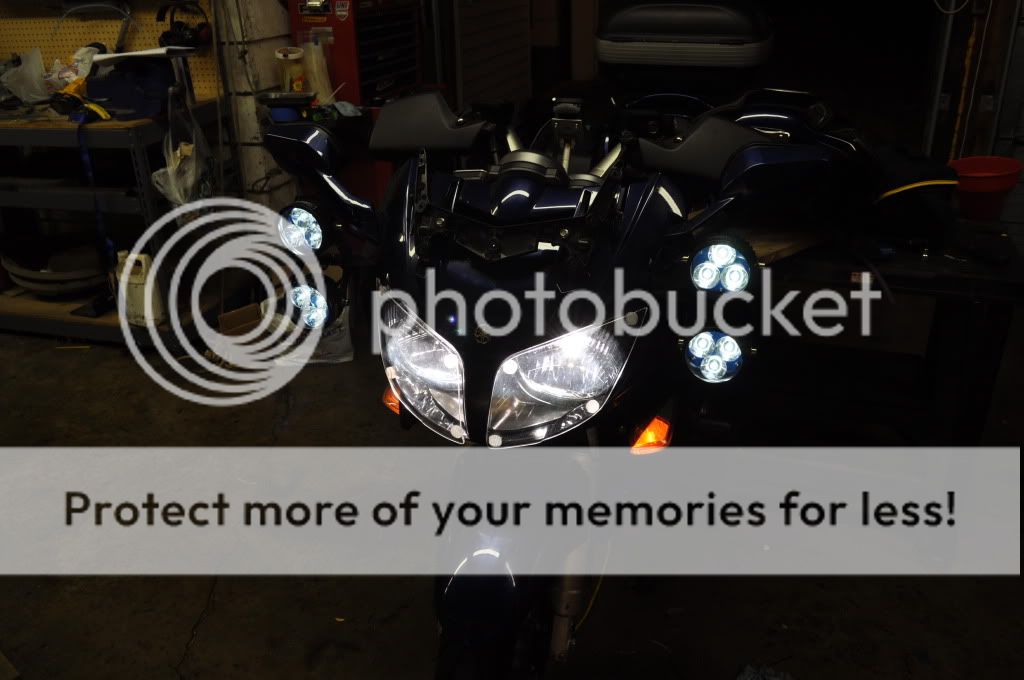
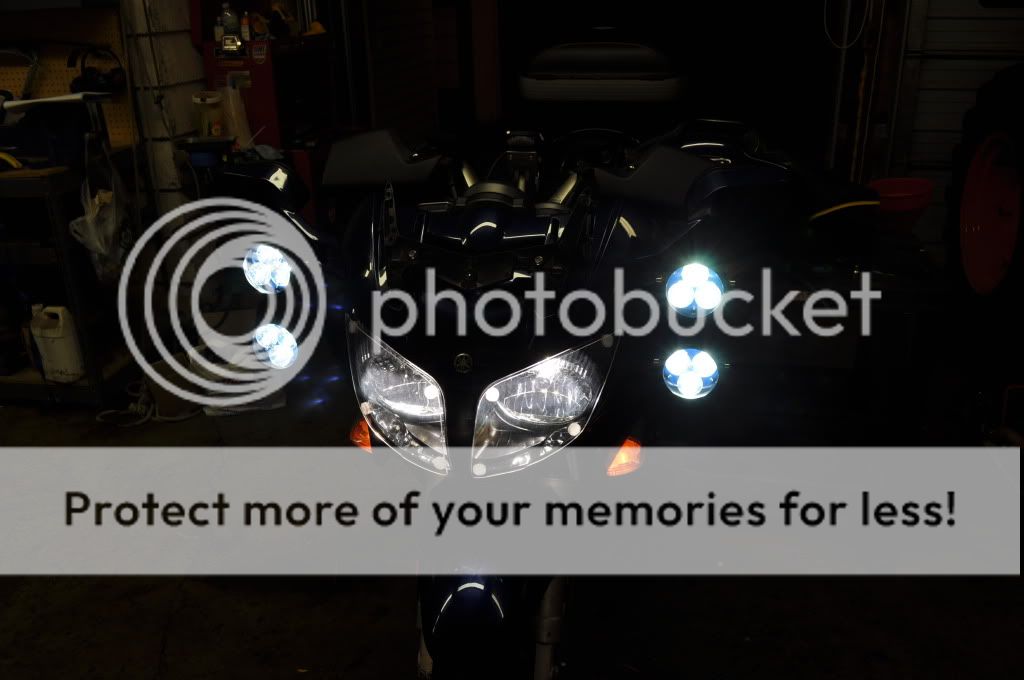
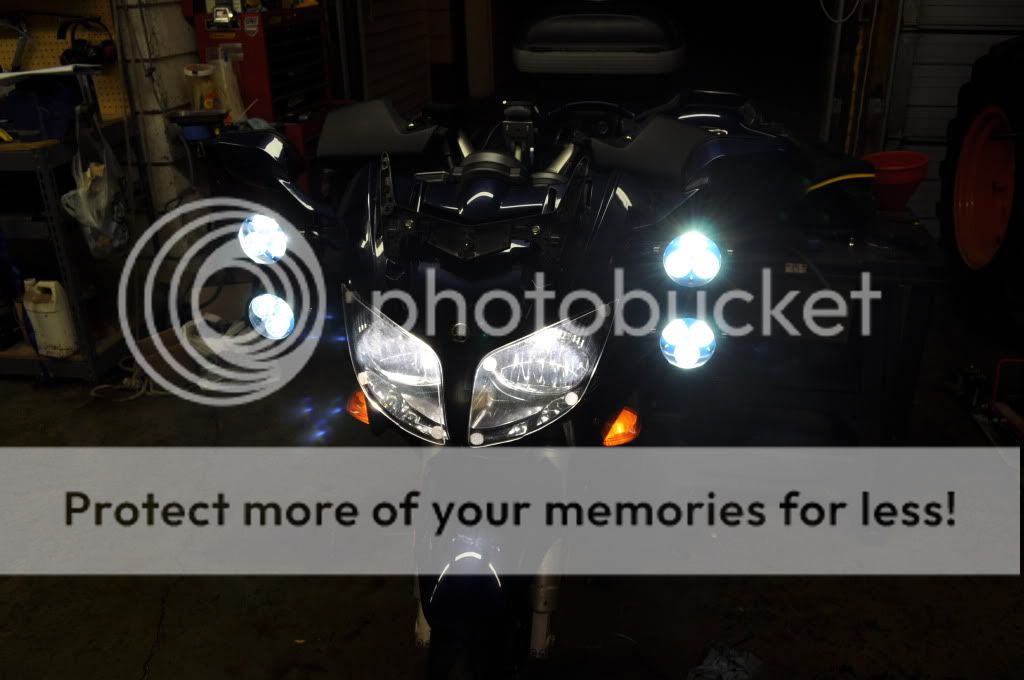
I then installed the Addmore light harness for the lights that are installed on my Givi E52. Hooking this up was a breeze with this kit, though I did not run the wires strictly the way they advise, since I had to take into consideration how I had previously had the wiring run. I then mounted the plate for the Givi, which is about as easy of a thing to do as you can imagine.

I then installed all the fittings on my TAT fuel cell, and mounted it the bike, making sure that all the lines would not be pinched, and everything would work as it should.

DSC_0008.jpg


There is still a ton to do, but I am putting things on the bike instead of taking them off, and that is a good feeling.

 
Krista question....Where and how are you passing the wire from the Krista lamps into the fairing? I've just started my install yesterday and haven't gotten that far yet. I made it as far as removing the dash panels, seat, T-bar, raising the tank and a few other prep items for this install and some regular maintenance items then it occurred to me that I'd need to figure out how to get the wire into the bike. Gen I, '03/04.

 
Krista question....Where and how are you passing the wire from the Krista lamps into the fairing? I've just started my install yesterday and haven't gotten that far yet. I made it as far as removing the dash panels, seat, T-bar, raising the tank and a few other prep items for this install and some regular maintenance items then it occurred to me that I'd need to figure out how to get the wire into the bike. Gen I, '03/04.

Most just drill a small hole in the "A" and "B" panels and then use a rubber gromet to protect the wires.

Dave

 
I drill the holes in panels C and D (the vertical panels) and use a rubber grommet to run the wires through, so there is no worry about the wires wearing on a sharp edge over time.

 
Krista question....Where and how are you passing the wire from the Krista lamps into the fairing? I've just started my install yesterday and haven't gotten that far yet. I made it as far as removing the dash panels, seat, T-bar, raising the tank and a few other prep items for this install and some regular maintenance items then it occurred to me that I'd need to figure out how to get the wire into the bike. Gen I, '03/04.

Most just drill a small hole in the "A" and "B" panels and then use a rubber gromet to protect the wires.

Dave
Thank you. Can do.

Krista question....Where and how are you passing the wire from the Krista lamps into the fairing? I've just started my install yesterday and haven't gotten that far yet. I made it as far as removing the dash panels, seat, T-bar, raising the tank and a few other prep items for this install and some regular maintenance items then it occurred to me that I'd need to figure out how to get the wire into the bike. Gen I, '03/04.

Most just drill a small hole in the "A" and "B" panels and then use a rubber gromet to protect the wires.

Dave
Thank you.

 
Well, I went out to the shop to take some picture of the work I got done today, and the batteries in the camera were dead. I will have to give more pictures for the next update.

I got up at 3:00 am this morning, so that I could have a few hours to work on things, and not have to worry about the kids, or my wife who is currently suffering from a herniated disk. Free time has been very hard to come by lately.

I finally got the front wheel installed, along with the front fender with the fender extender on it, and put the brakes calipers on. I then installed speed bleeders on the brakes and the clutch, and completely flushed the entire system. There was some nasty crap in the reservoir for the clutch, so even though the bike only has 8K miles on it, I was really glad I did this.

I then finished greasing the side and center stands, and for the first time in three months took the bike off of the cycle stand.

I then changed the anti-freeze, which probably didn't need to be done, but with all the body panels off it was easy to do.

Next up was installing the Datel volt meter. I installed it in the exact same way and location as I did on my previous bike, as pictured earlier in this thread.

After that I just couldn't resist starting the bike up to check to make sure all of the electrical items I added actually work. I added some gas into the tank, and set it next to the bike on a small work bench that works perfectly for supporting the tank and hooking it up, but not having the tank actually on the bike itself.

I had a few things to work out with how the Krista lights were hooked up, since I had hooked into the wrong wire on the horn (so that the lights go on high when the horn button is hit) and it took me a few minutes to figure out the problem. Otherwise everything worked just the way it should. I will have to wait until I get out on the road to try the cruise control, but it powered up just the way it should, so I hope it is all set.

I still have at least a full days worth of work to do before the bike will be ready to hit the road, and depending on the weather I might put off drilling the tank for the fule cell for a few weeks, but I am starting the see the light at the end of the tunnel.

Now that the bike is up and running, I need to do a TBS, and chance the oil. I also need to clean up some of the wiring, since i am always hesitant to cut everything to final length until after I have checked to make sure it is actually working.

 
OK, photos as promised:

Rear of bike with Givi E52 with Admore light kit installed, and lots of reflective decals.

DSC_0001.jpg


Datel volt meter installed just aft of the battery compartment.

DSC_0002.jpg


Aux light switch and dials for dimmers on Clearwater lights and control for heated gear (knob on right).

DSC_0003.jpg


HID head lights on low beam, Clearwater lights all the way down.

DSC_0004.jpg


HIDs on low beam, and Clearwaters dialed all the way up, but still in the "low" setting.

DSC_0006-1.jpg


HIDs on high beam, and Clearwaters on full blast.

DSC_0007-1.jpg


You can see how much more light is thrown off on each setting by how light the background, which is behind where the lights are projecting, gets.

I was also able to take a few minutes and get the TBS done, though to be honest it didn't really need it.

 
Tim

Good spot for the Datel, I have mine in the same location. When you are driving the chin section on your full face helmet blocks the light coming from it so it is not a distraction. A quick glance down gives you a good reading from it.

The headlight guards look just fine! Remember - Function over Form for these bikes. It has to look right, but can be as different as all get out.

My suggestion for the 3 knobs on the left side, is to put some of that 3M clear plastic film on the paint under them. Your gloves will be rubbing on the panel when you adjust them, you might as well protect the paint.

You have a good solid foundation with this build. Thanks for sharing.

smile.gif


Brodie

 
Good idea on the clear film.

The Datel is switched, so I only turn it on when I want to check things. The rest of the time it remains off so it is not a distraction.

 
The project bike looks awesome. I haven't read through the entire thread, but have you done the RenoJohn mod to the gas cap yet? That's one I need to do still.

 
I just looked through RenoJohn's web page where he chronicles building his "Battle Bike," and while I read a great deal about how I apparently own the slowest, and most unreliable POS motorcycle ever made, I did not see anything about the gas cap mod of which you speak. Do you have a link?

 
I just looked through RenoJohn's web page where he chronicles building his "Battle Bike," and while I read a great deal about how I apparently own the slowest, and most unreliable POS motorcycle ever made, I did not see anything about the gas cap mod of which you speak. Do you have a link?
I think this is the link.

Fuel vent mod

Read the whole thread. I drilled as described and also removed the check ball. Did this 20k miles ago, and have over 13k miles with an aux tank with no problems.

Bike's looking good!
You can get by just removing the Check Ball without drilling. I have about 20K on mine like that and never had an issue :clapping:

 
It was another 3:00 am start to try and get some work done on the bike this morning. It is actually starting to look like something I could ride again.

DSC_0014.jpg


Here is how I routed the wires for the Krista lights.

DSC_0013.jpg


And now a few pictures of how the lights work pointing out the door of my shop.

First is the HID's only, and the Krista's off.

DSC_0008-1.jpg


Now with the Kristas on the lowest setting. I didn't think there was almost any difference, but the Kristas in this mode will be acting as marker lights, and making me more noticeable.

DSC_0009-1.jpg


Now with the Kristas turned all the way up, but still in the low beam setting.

DSC_0010-1.jpg


Lastly, everything thing on full blast.

DSC_0011-1.jpg


The one MAJOR thing I have not done is hook up the fuel cell. I need to research it more, and then grow my balls enough to drill the tank.

The Rifle windshield I ordered will be here tomorrow, and then I need to place an order for the N-Line dash and a few other goodies. I also bought a Garmin 2720 today, so I will be running it along with my Zumo 550.

 
The Rifle windshield I ordered will be here tomorrow, and then I need to place an order for the N-Line dash and a few other goodies. I also bought a Garmin 2720 today, so I will be running it along with my Zumo 550.
I'm interested to see your results with the Rifle + dash + handguards. I thought the dash would interfere with either of the other two.

 
HID head lights on low beam, Clearwater lights all the way down.

DSC_0004.jpg
Cripes! This looks like a scene straight out of 'Close Encounters of the Third Kind'! Normal folk are going to be calling you in as a UFO! Hell, some rednecks might start shooting at you - hoping to hang an 'alien' trophy on their mantle. :lol:

Thanks for sharing on your project. Looks like you are making good progress.

Now if you could only get those Clearwater lights to rotate............

 
Last edited by a moderator:
The Rifle windshield I ordered will be here tomorrow, and then I need to place an order for the N-Line dash and a few other goodies. I also bought a Garmin 2720 today, so I will be running it along with my Zumo 550.
I'm interested to see your results with the Rifle + dash + handguards. I thought the dash would interfere with either of the other two.
I KNOW the hand-guards and dash are going to interfere with each other at least a little, but there are other riders out there who are running them together, so we will see.

I have asked several times on this and the other FJR forum about using the Rifle shield and the NEW shelf together, but have never gotten a response from anyone. If, and this is not high on my list of things to do, but if the shield makes contact with the dash, one option is to heat and bend the outer edges of the shield to make it work. A guy I work with actually made a shield for an old bike he was restoring because he couldn't find one. He took plexiglass and put it on a form in a pizza oven we have at work for working Corian into shapes. It turned out better than I thought it would, and gave me a little confidence in being able to reshape a shield if I really have to. I hope that is not the case.

If I could get the Clearwater lights to flash in a diagonal alternating pattern, I bet the roads in front of me would clear out fast. Even more so if I put some lens covers that just happened to be blue and red tinted.

 
As I look at the light pictures more and more, the thing that impresses me is hot the shadow line from the top board on the fence shows up on the Willow tree that is about 50 yards behind the fence. I haven't done any aiming of the lights yet either, so it should only get better as I get them completely dialed in.

 
Top