Weekly Update:
I don't feel like I got much of anything done this weekend, but I do feel like I spent a lot of time chasing my tail, and making trips to the hardware store.
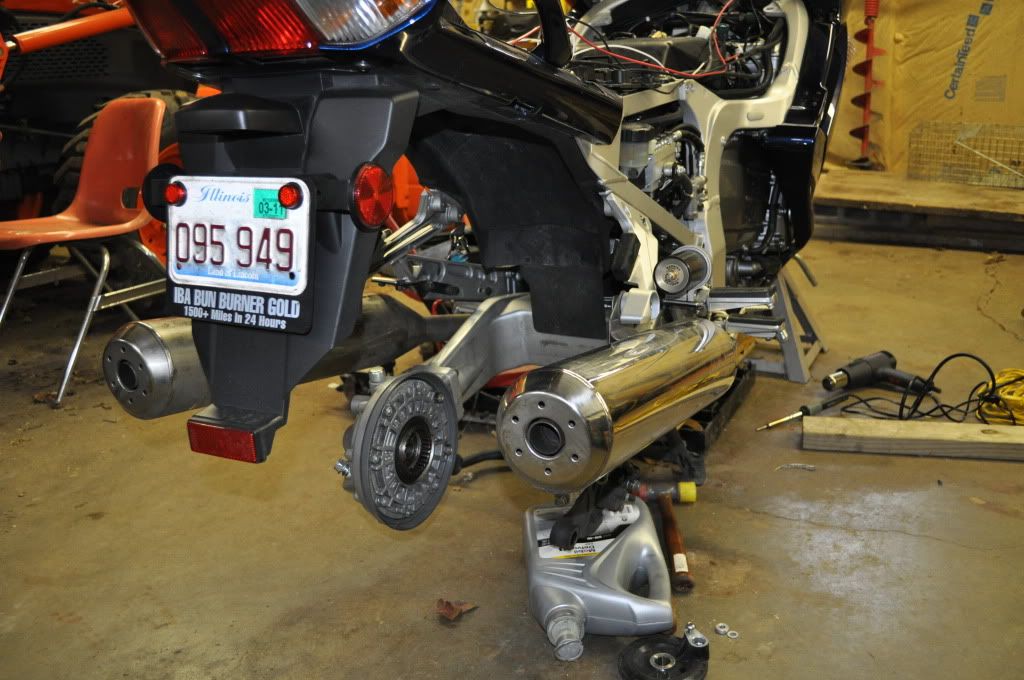
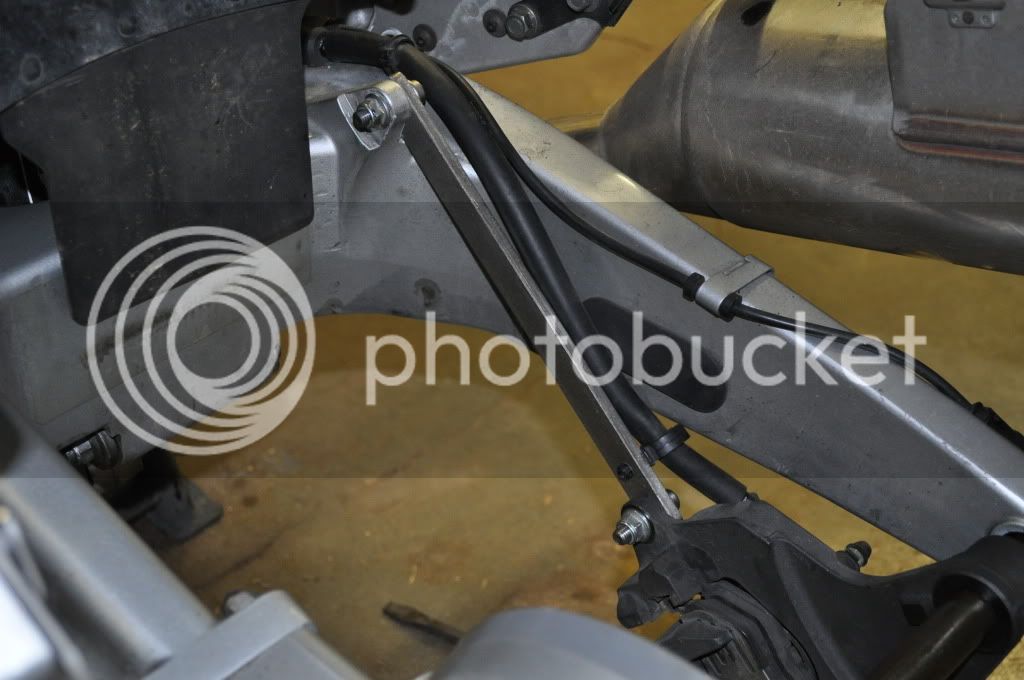
I was able to finish making my stainless steel brake bar, and got it installed. This required one of the trips to the hardware store, for 5/16" drill bit, after I FRIED the one I had.
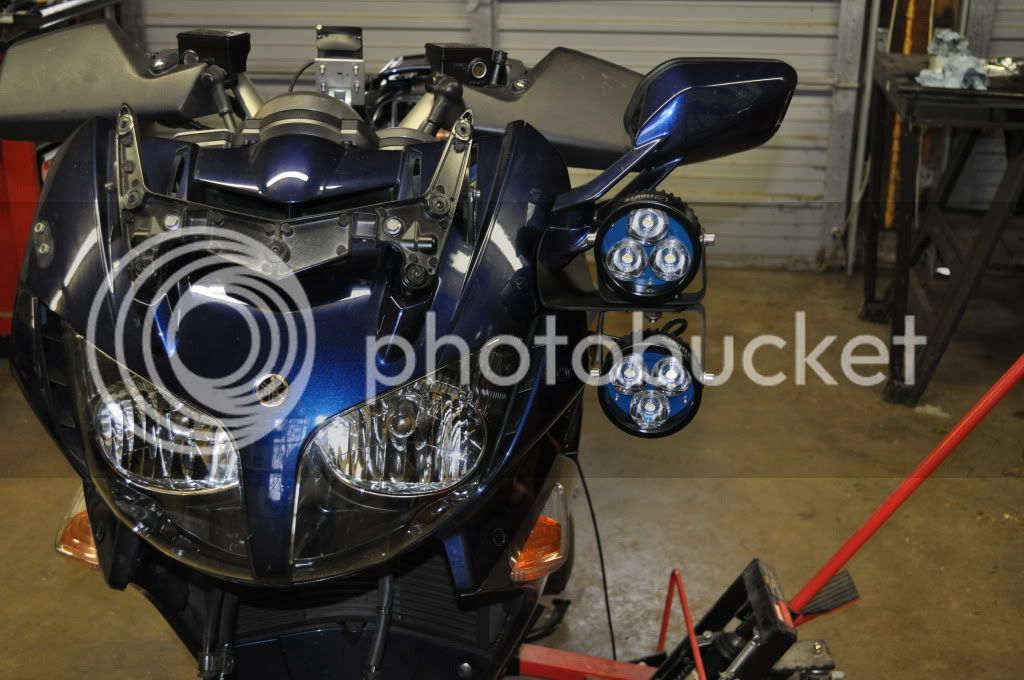
I then decided to try and finish mounting the Clearwater lights. I wanted to drill out the mounting brackets that came with the lights, so that they actually went over the studs from the mirror mounts, and didn't just sit on top of them. I wanted to make the fit of these as perfect as I could, and while it looked like a 3/8" drill bit would work perfect, I ended up having to make another trip to the hardware store to get a 25/64 bit. Even at that size, the brackets are VERY tight on the posts. I think the 4 light set up looks bad-ass, but I won't be 100% convinced until everything is hooked up, and I can use them on a dark road.
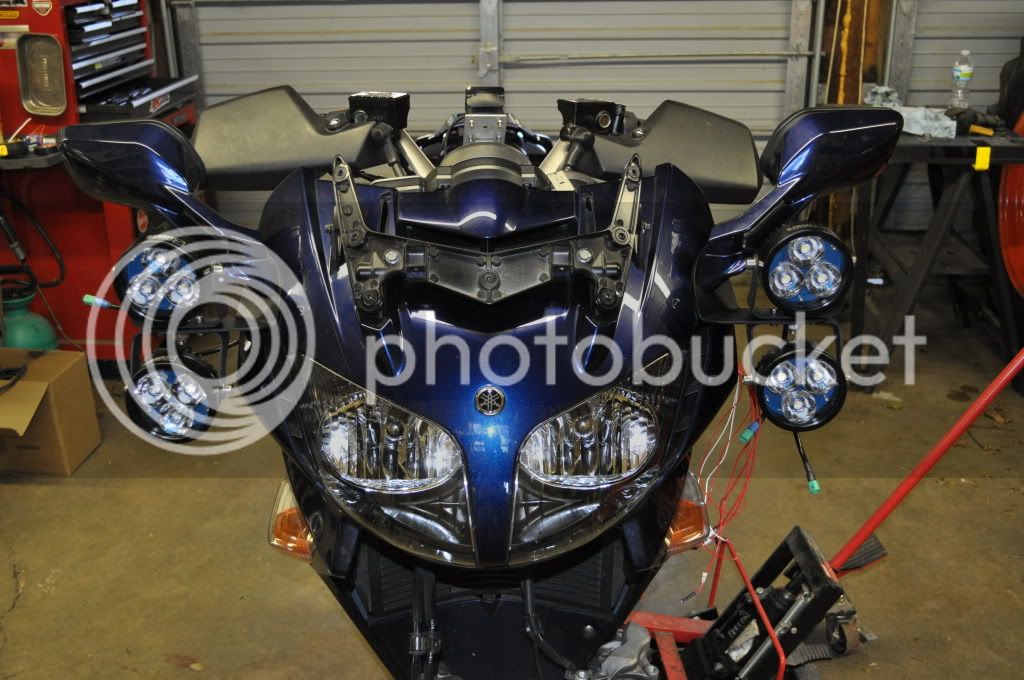
I spent a decent amount of time pulling wires, and starting to get things set up for connecting the Krista's. Between all the wires for the 2 sets of Krista's, and the wires form the converting the head lights to HID's the nose of the bike is a mess. I am just praying everything works when I start the bike up and turn the lights on. Otherwise it is going to suck to pull everything out to find the problem.
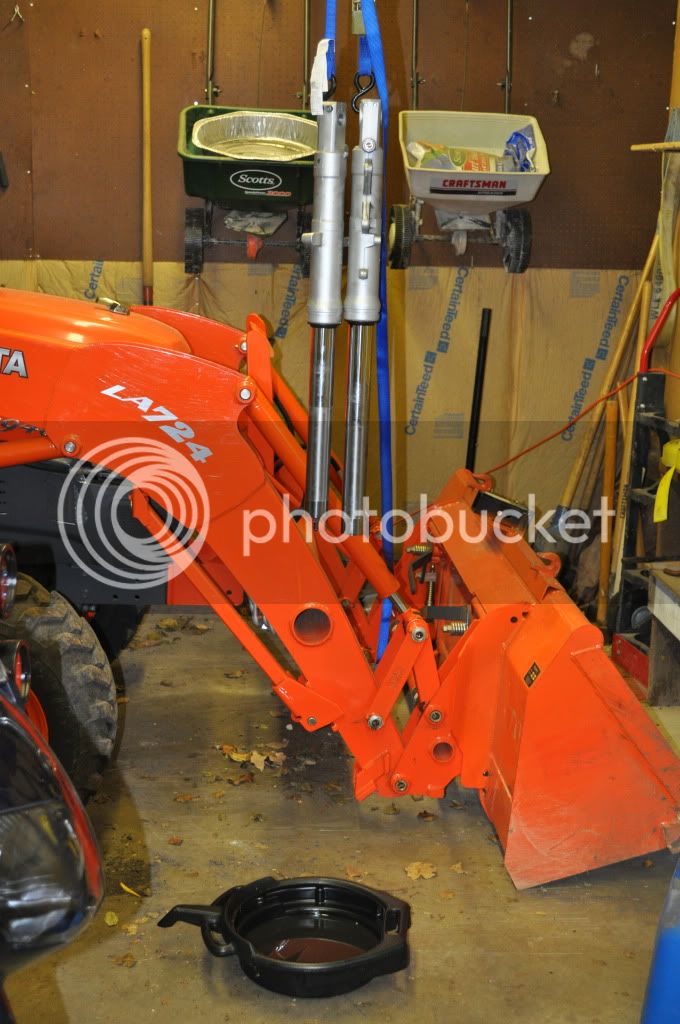
I also wanted to finish changing the oil on the forks and get them installed, but I ran out of oil after finishing one of the forks, and there wasn't anywhere to buy fork oil that was open on a Sunday. That will have to wait until next week.
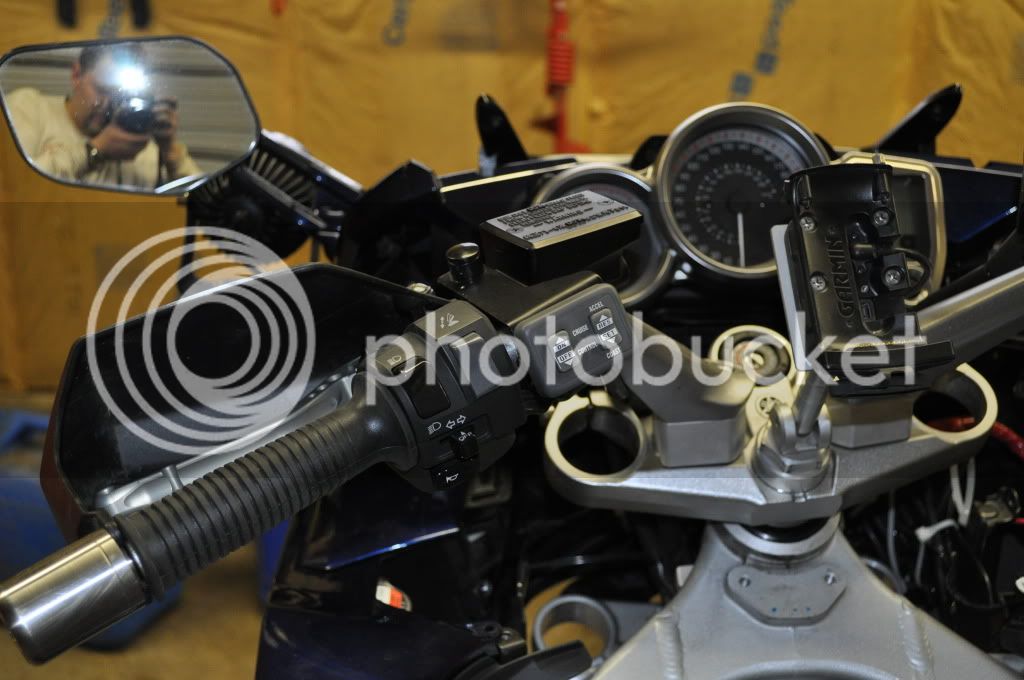
I have also been making slow progress on hooking up the Audiovox Cruise Control, but I have NO IDEA what needs to be done in regards to hooking up some of the wires just behind the air filter. I didn't have time to inspect them carefully before I removed them from the old bike, and I know something needs to be changed in regards to the factory settings, but I again I don't know what. Any help would be great, and I have sent an E-mail to Smitty, since he installed the unit on my old bike. FWIW, I have red, blue, and purple wires coming from the Audiovox that need to be hooked up.
The fuel cell from Joe will be here tomorrow, but I haven't done anything to get things ready for installing it. I had been hoping to have bought some of the fittings and fuel lines by now, but there just aren't enough hours in the day.
I almost forgot, that I also received the G2 throttle tube from Highlander, and installed it. It was a piece of cake to install, and I hope it smooths things out as much as some of the people who have them say.