Warthog34
Active member
Thanks for the Krista pics. Very helpful. I'll be wiring mine up this weekend.
Last edited by a moderator:


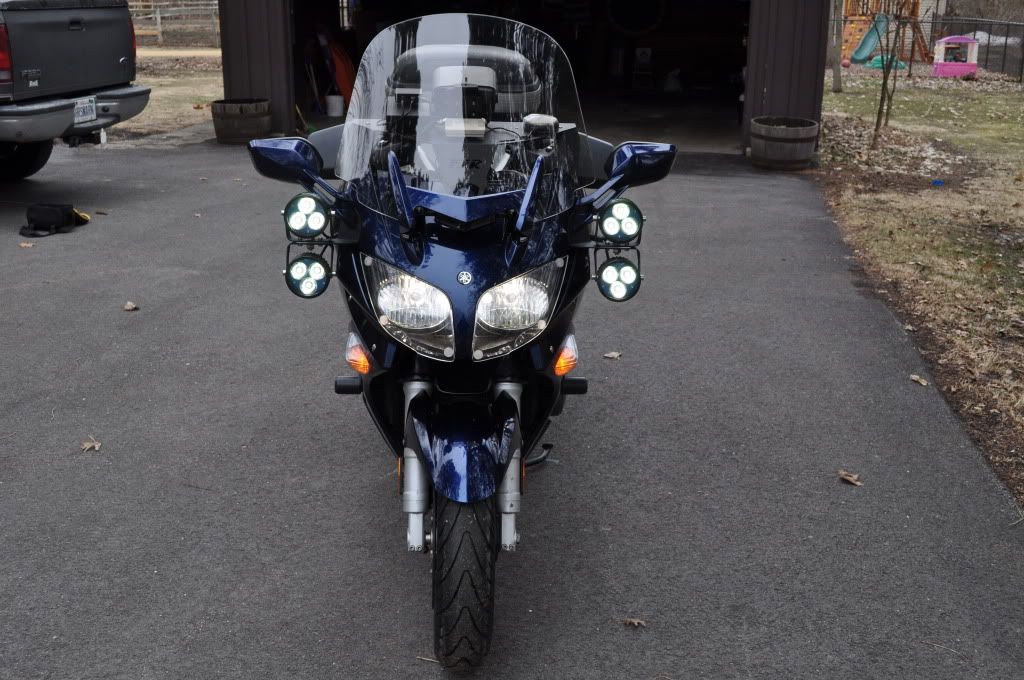
I still can't get the feature where the horn turns the Krista's on high to work, so if someone figure out which wire you are supposed to tie into, please let me know. I tried calling Clearwater, and i have to say they weren't all that helpful. I could have figured out "use a sensor on the wires to see which one has a current when the switch is depressed" all on my own. In my case, both wires that are attached to the horn on the clutch side of the bike will cause the lights to be on high all of the time if I tie into them with the wires that were labeled "Horn" on the Clearwater control unit.
I am working on it. Down about 13 pounds in the last 2.5 weeks. I traveling for work right now, and fighting a cold which makes it really tough...now then, what have you been doing for your body to ensure it's in shape for the future 'tests'?
I still can't get the feature where the horn turns the Krista's on high to work, so if someone figure out which wire you are supposed to tie into, please let me know. I tried calling Clearwater, and i have to say they weren't all that helpful. I could have figured out "use a sensor on the wires to see which one has a current when the switch is depressed" all on my own. In my case, both wires that are attached to the horn on the clutch side of the bike will cause the lights to be on high all of the time if I tie into them with the wires that were labeled "Horn" on the Clearwater control unit.
In getting ready to install my Krista's (I have an 04 so this may be different for you) I reviewed the wiring diagram and it looks to me like the pink wire is the ground and the brown wire is the positive. I have only explored the battery side horn and the wires are clearly different colors on that side. The instructions say to tap into the horn positive so I plan on hitting the brown wire. You could positap each wire (one at a time) and use a volt meter to which wire gets the juice when you hit the horn as you have already indicated. I've not gotten as far as you on my install but I have put a bit of time into the prep. Good luck and let me know.
I looked at the diagram again and the brown is definitely the wire coming from the switch.
With what you describe, I'm wondering if both horns activate when you hit the switch.
I just checked the schematic and yes, both wires will appear "hot". The pink wire going to the switch is grounded when the horn switch is pushed. This is per a 2006/2007 schematic.I still can't get the feature where the horn turns the Krista's on high to work, so if someone figure out which wire you are supposed to tie into, please let me know. I tried calling Clearwater, and i have to say they weren't all that helpful. I could have figured out "use a sensor on the wires to see which one has a current when the switch is depressed" all on my own. In my case, both wires that are attached to the horn on the clutch side of the bike will cause the lights to be on high all of the time if I tie into them with the wires that were labeled "Horn" on the Clearwater control unit.
In getting ready to install my Krista's (I have an 04 so this may be different for you) I reviewed the wiring diagram and it looks to me like the pink wire is the ground and the brown wire is the positive. I have only explored the battery side horn and the wires are clearly different colors on that side. The instructions say to tap into the horn positive so I plan on hitting the brown wire. You could positap each wire (one at a time) and use a volt meter to which wire gets the juice when you hit the horn as you have already indicated. I've not gotten as far as you on my install but I have put a bit of time into the prep. Good luck and let me know.
I looked at the diagram again and the brown is definitely the wire coming from the switch.
With what you describe, I'm wondering if both horns activate when you hit the switch.
Just put the multimeter on the horns to confirm which terminal goes hot when you hit the switch and the odd thing is BOTH terminals are getting 12v all the time so I'm going to have the same issue. I don't think I'm gonna dick with it until someone posts the solution. I think Clearwater didn't do all the research on the horn thing. I'll call/email them and post back if anything positive comes out of it.
I still can't get the feature where the horn turns the Krista's on high to work, so if someone figure out which wire you are supposed to tie into, please let me know. I tried calling Clearwater, and i have to say they weren't all that helpful. I could have figured out "use a sensor on the wires to see which one has a current when the switch is depressed" all on my own. In my case, both wires that are attached to the horn on the clutch side of the bike will cause the lights to be on high all of the time if I tie into them with the wires that were labeled "Horn" on the Clearwater control unit.
") Hope to ride with you again sometime this year.
Hope to ride with you again sometime this year.Thanks for following up with Clearwater on this.
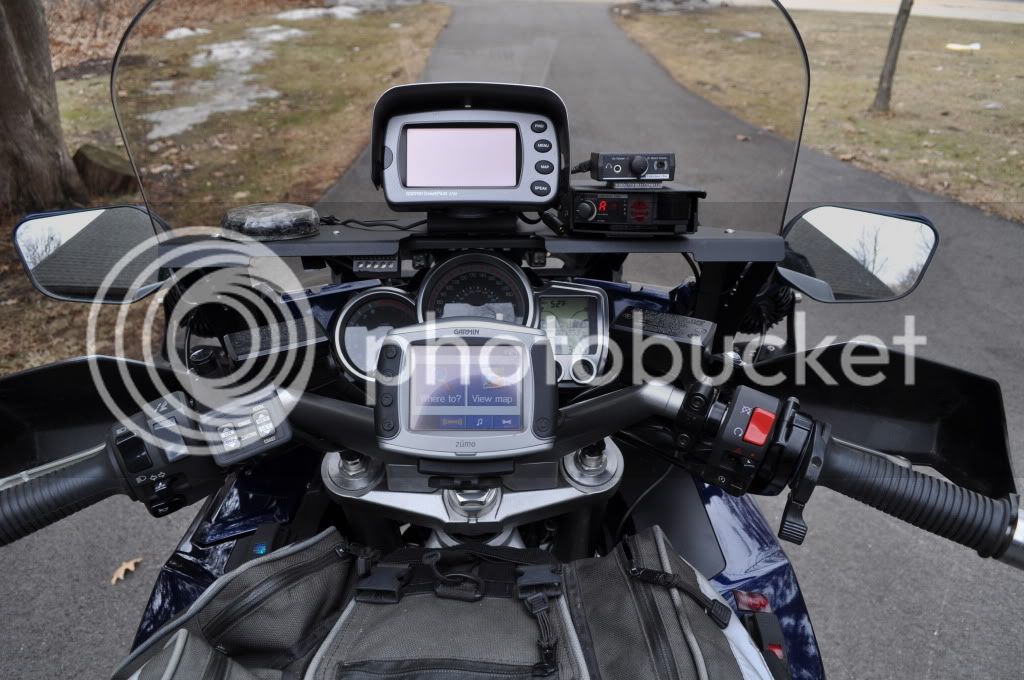
Not going to have time to work on the bike this weekend. I received the Rifle windshield and the Garmin 2720 GPS earlier this week. Items from N-Line are on the way, so hopefully I can make some time next weekend to get things put on.


Enter your email address to join: