• If you have bought, sold or gained information from our Classifieds, please donate to FJRForum and give back.

    You can become a Supporting Member or just click here to donate.

Skyway's Personal Hydration System

Yamaha FJR Motorcycle Forum

Help Support Yamaha FJR Motorcycle Forum:

This site may earn a commission from merchant affiliate links, including eBay, Amazon, and others.
Status
Not open for further replies.
Can you say how the hose attachment to the jug is made? I cannot see how it might work. Will it go straight thru the pouring valve?
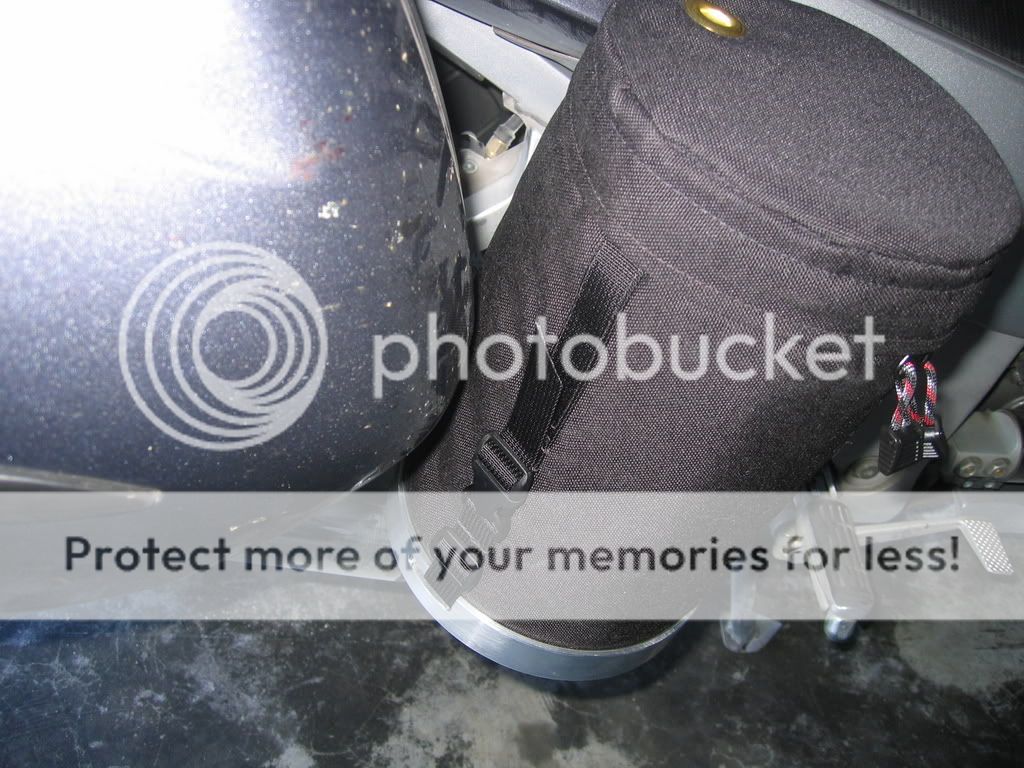
A small hole needs to be drilled into the lid of the rubbermaid jug. This provides the entry point for the tube used for drinking. The brass eyelet in the lid of the storage case shown above is where the tube will be fed through. I'll insert a tube and post some pictures this weekend.

 
Skyway

Thanks very much. I also have a question regarding this new product. Just how long out a production are we talking. Not that I am needing it with winter coming up but was just wondering. Thanks again.

devanator/Mike

 
Got any pics of the attachment setup? How much hassle is it to remove if one's passenger should decide to go for a ride? I'm interested.

Check your PM's :)

 
Got any pics of the attachment setup? How much hassle is it to remove if one's passenger should decide to go for a ride? I'm interested.
Check your PM's :)
The attachment is done by first removing 2 fasteners from the backside of the footpeg and replacing them with the SS set and base plate that I will provide. Once you remove the rubber footgrip portion from the footpeg you will see that there is an area left that has a flat spot, this is what provides the mounting location for my base plate. The actual footpeg does not need to be removed from the bike, only 2 screws. The cast aluminum foot peg does however have a little raised bump at the end of the peg, but I have machined clearance in my base plate to avoid this.

I did find that the factory philips screws supplied by Yamaha are what I would call 'rubber metal' could not easily be removed with messing them up. They have loctite and would require heat to get them out. I simply drilled off the heads and then was able to get the last part of the screw out by hand.

I plan on supplying additional SS hex head fasteners to replace the 'rubber screws', so that future swapping of both base plate and rubber footgrip will be a 2 minute job..

SkywayJust how long out a production are we talking. Not that I am needing it with winter coming up but was just wondering.
This will depend on a couple of things. First there has to be enough sales to cover cost. Also it will depend on the schedule of the seamstress. The latter should not be too big of a problem as the winter is approaching and this is generally their slow time.

 
I think that you can safely count me in on your "sale" column provided the cost is within reason & not horrifically expensive.

I've been trying to think of a way to sew something up to put a water bladder in because I didn't want it sweating all over the inside of my tank bag because of the cold water. This idea... I really like it! & cold drink all day! me like!

Heidi

 
Very interested.

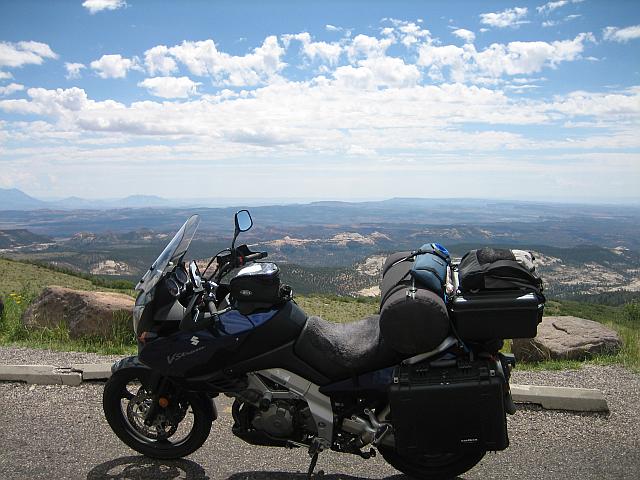
A lot more elegant than the Unobttle which I've previously strapped on wherever I could:

BoulderPassStrom.jpg


-Uwe-

 
Put me down in the VERY interested column. Will the cover be sold seperate from the holder ? Finished my 1st IBA ride last weekend, an In State Saddlesore 1000...

 
Last edited by a moderator:
FINALLY! The basic farkle idea and improvement. Okay....depending on price....put me on "the list".

 
Last edited by a moderator:
Since I have been getting lots of mail about the fastener of the outside bag, here's a side shot of how the 2 pieces are connected.

IMG_1790.jpg


I have been thinking about how to do this transaction, and will probably do it like a group buy. At least this way I can make sure that my costs are covered and will allow me to be able to at least add some gatorade to my own. :D

 
Nicely done. Here's what I've been running (one on each side) for a while. I based it on a concept used by Ron Smith (his was a different execution of the jugs-on-the-pegs idea) that he was using as far back as 1999. For the "frugal" rider the page includes details on the bits and how to make it yourself.

https://www.bikes-n-spikes.org/acc/hyd/hyd.html

(web page says 7/2003, but that's just when i made the page)

 
Last edited by a moderator:
Put me down for one. :rolleyes: Just what I have been looking for. Let me how much and where to send the funds. Nice job! :clapping:

 
This looks interesting. I have a question though. How does this effect the balance of the bike when the jug is full of water being that it is only on one side of the bike?

 
Water is aprroximately 7lbs per gallon. One half gallon 3.5 lbs plus jug, maybe 4 lbs. I will bet your bags in the sidecase will be more than 4 lbs difference. You will never notice it there.

 
I think there's enough interest that I could possibly offer a choice of base color, either clear, or black anodize without impacting the overall cost.

There could also be an option for the outer case color. I saw a nice grey color there, that wouldn't look out of place on the FJR. I'll grab a sample and shoot some pictures of it so you can all see it.

I'm not even sure if anyone would like to have the options mentioned, but thought I would throw it out there.

I am going to add a poll to see if this is even worth pursuing?

 
Status
Not open for further replies.
Top